My first apartment kitchen had exactly one drawer that didn’t stick and a counter the size of a cutting board.
I know that struggle personally, and I know the scroll-through-Pinterest-at-midnight panic that comes with it.
Small kitchens don’t need a renovation budget to function well.
They need a system. Once you stop fighting the layout and start working with it, a tiny kitchen can hold more than you’d think, and still look pretty enough to photograph.
Here are 27 ideas that actually work in real apartments, not just in staged photos.
Why small kitchens feel harder than they should
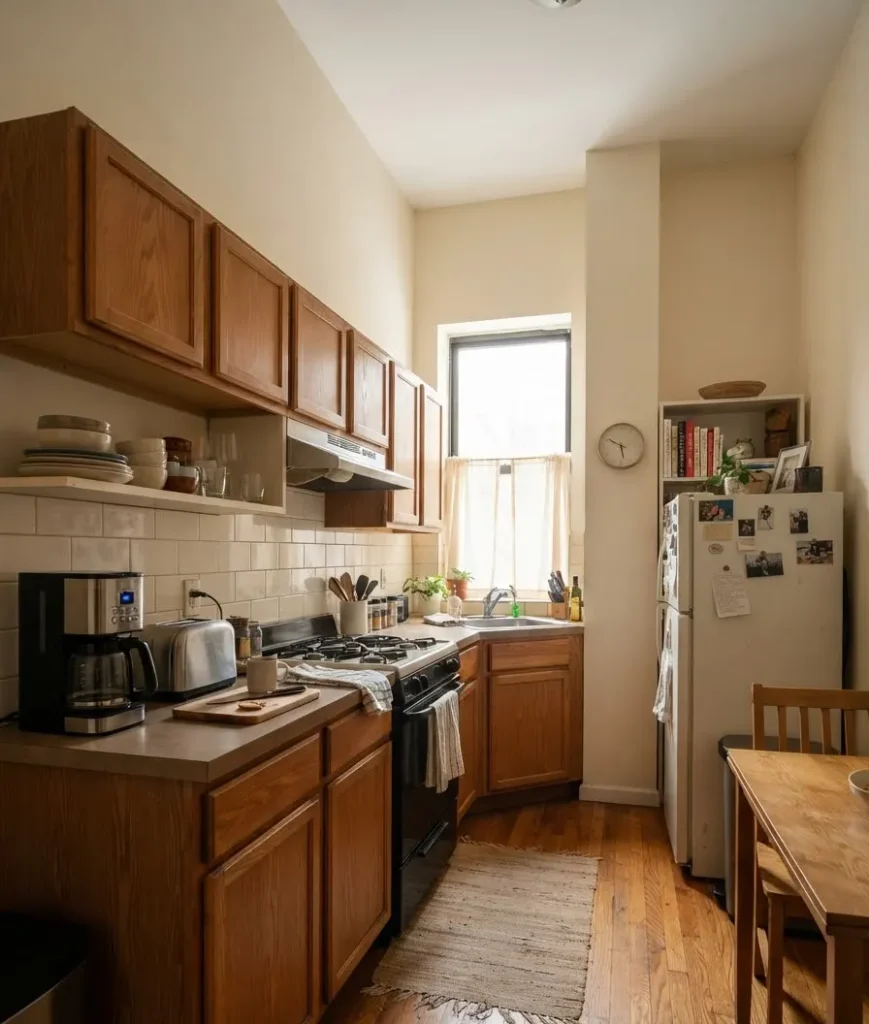
Most rental kitchens waste vertical space. Cabinets stop a foot below the ceiling, walls sit empty, and everyone piles small appliances on the one strip of counter that exists.
Fix the wasted vertical space first, and counters open up almost on their own. That’s the whole philosophy behind this list.
Vertical storage ideas that free up your counters
Going up is the single biggest lever you have in a small kitchen. Here’s where to start.
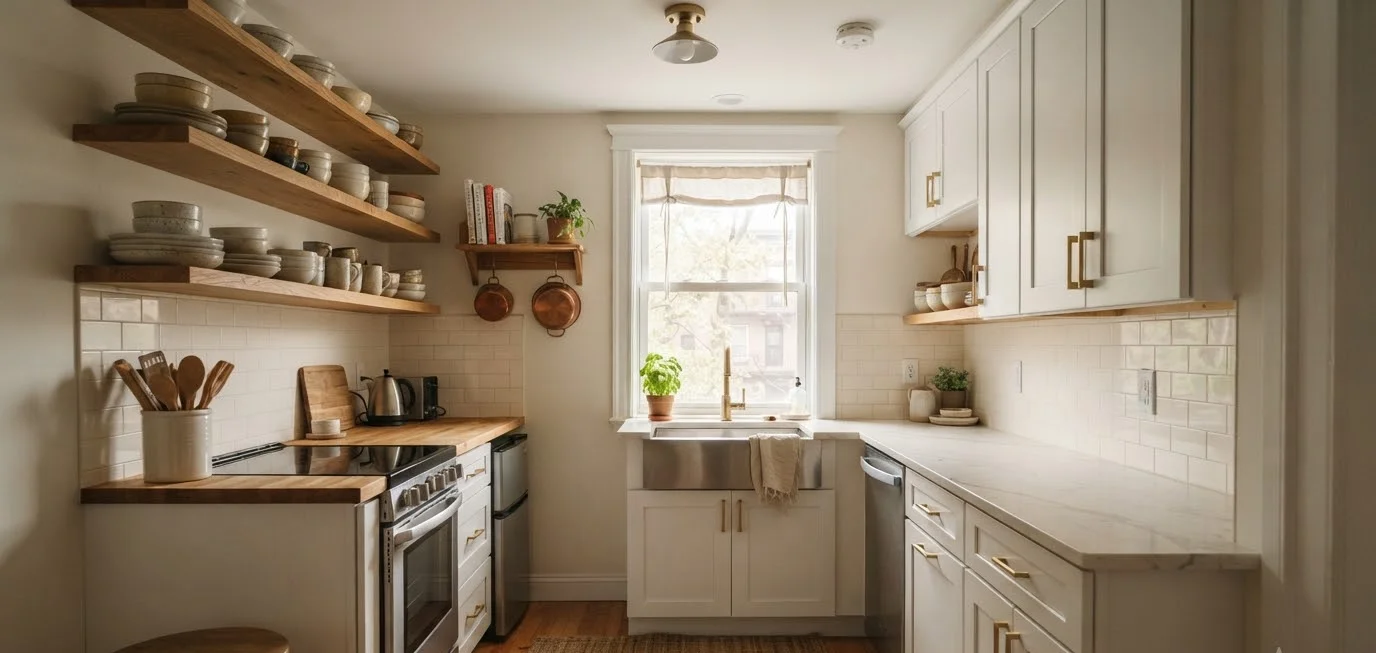
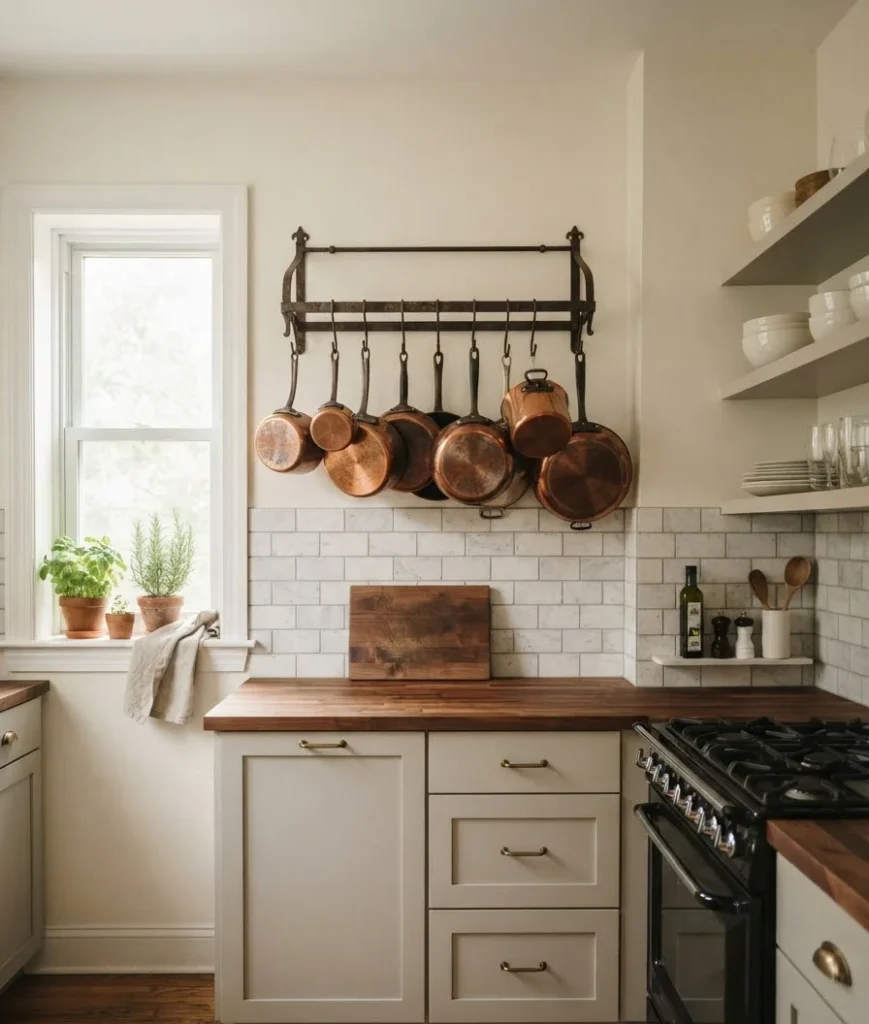
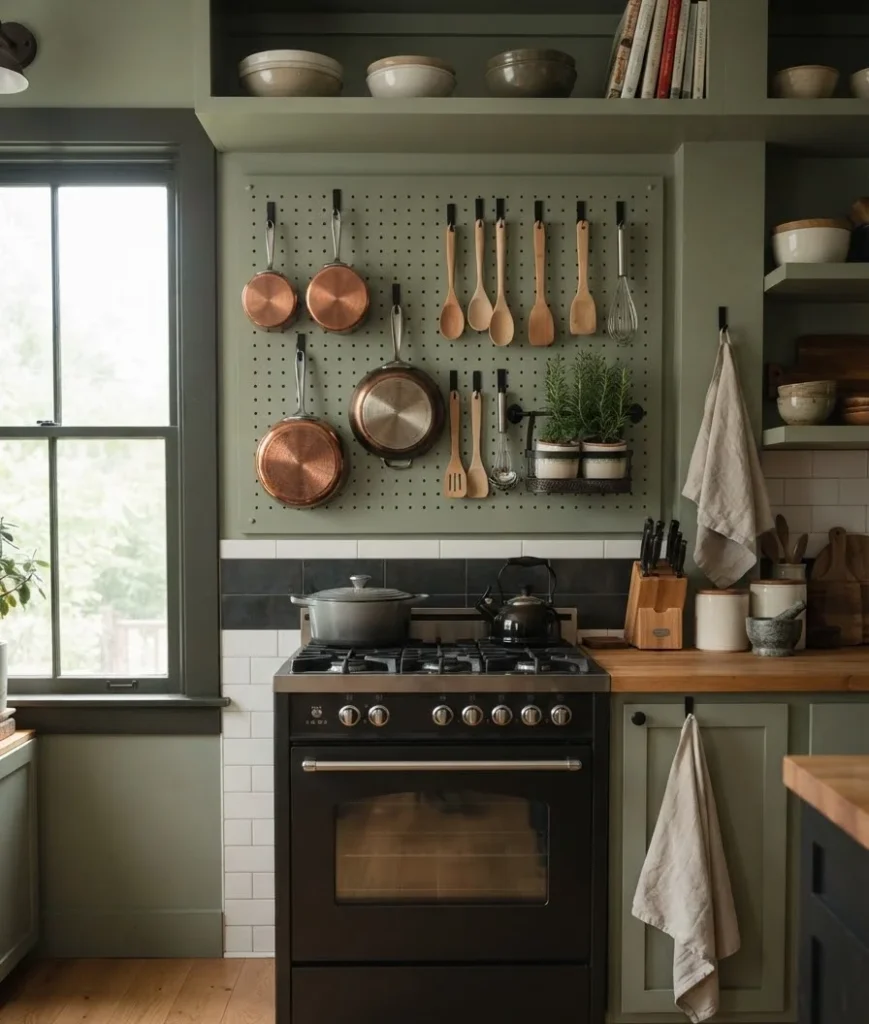
- Install a wall-mounted pot rack. Pots and pans eat cabinet space fast. Hang them near the stove instead, and you’ll free up an entire lower cabinet.
- The Kitchn’s storage roundup shows a version of this with a hanging rack right in front of a window, and honestly, it looks better than most cabinets do.
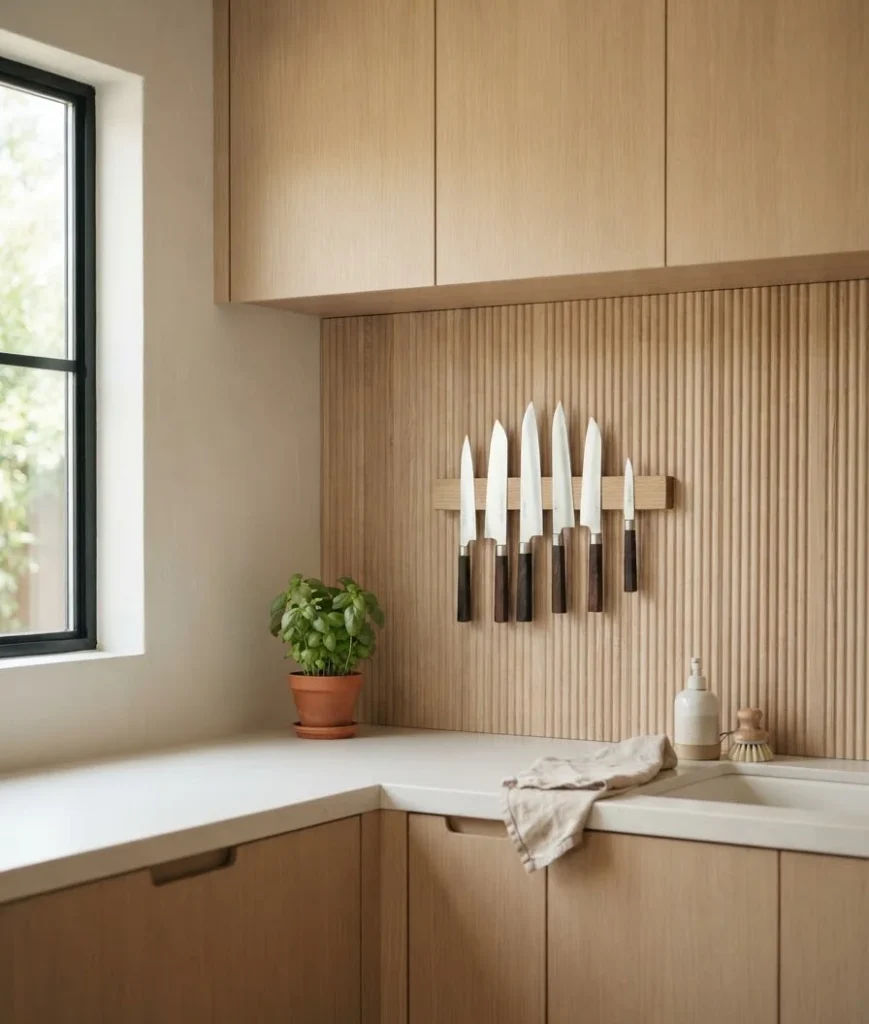
- Add a magnetic knife strip. Ditch the knife block. A strip mounted on the backsplash keeps blades sharp, visible, and off the counter.
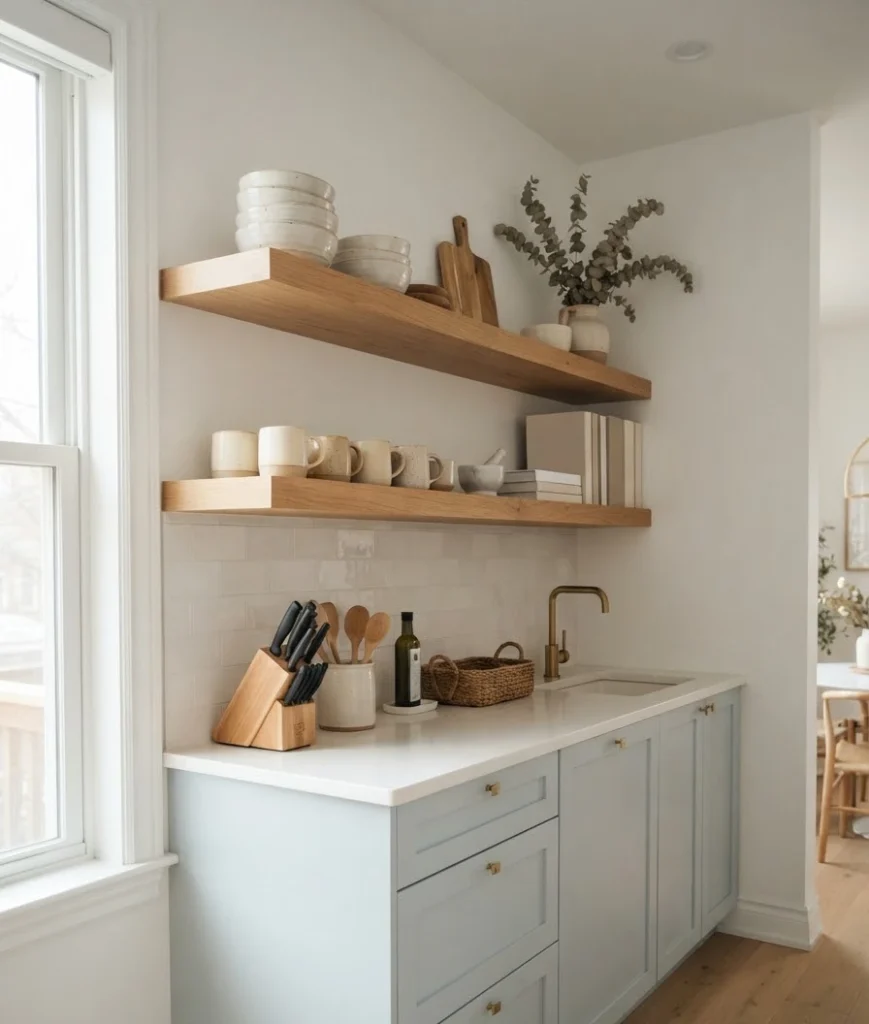
- Mount open shelving above the counter. Open shelves hold dishes, mugs, and cookbooks without the bulk of cabinet doors. IMO this is the fastest visual upgrade a rental kitchen can get.
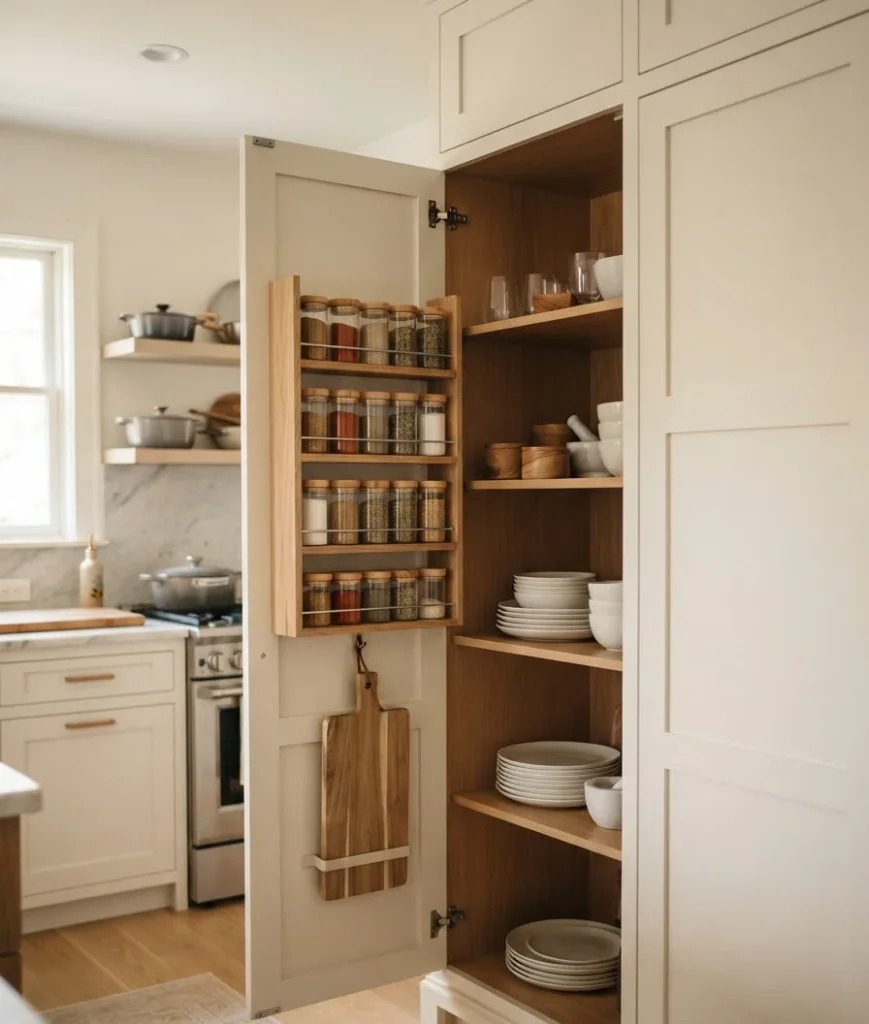
- Use the inside of cabinet doors. Slim racks mounted on the door interior hold spice jars, foil, or cutting boards. That’s free storage you already own.
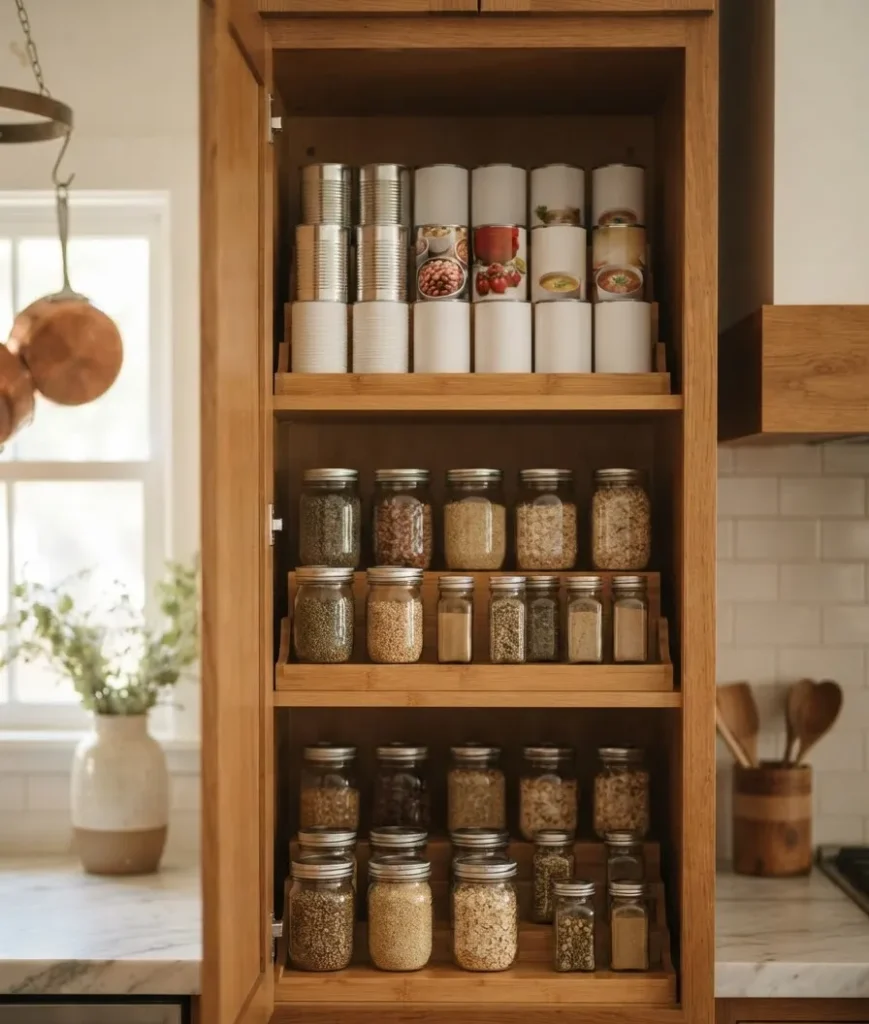
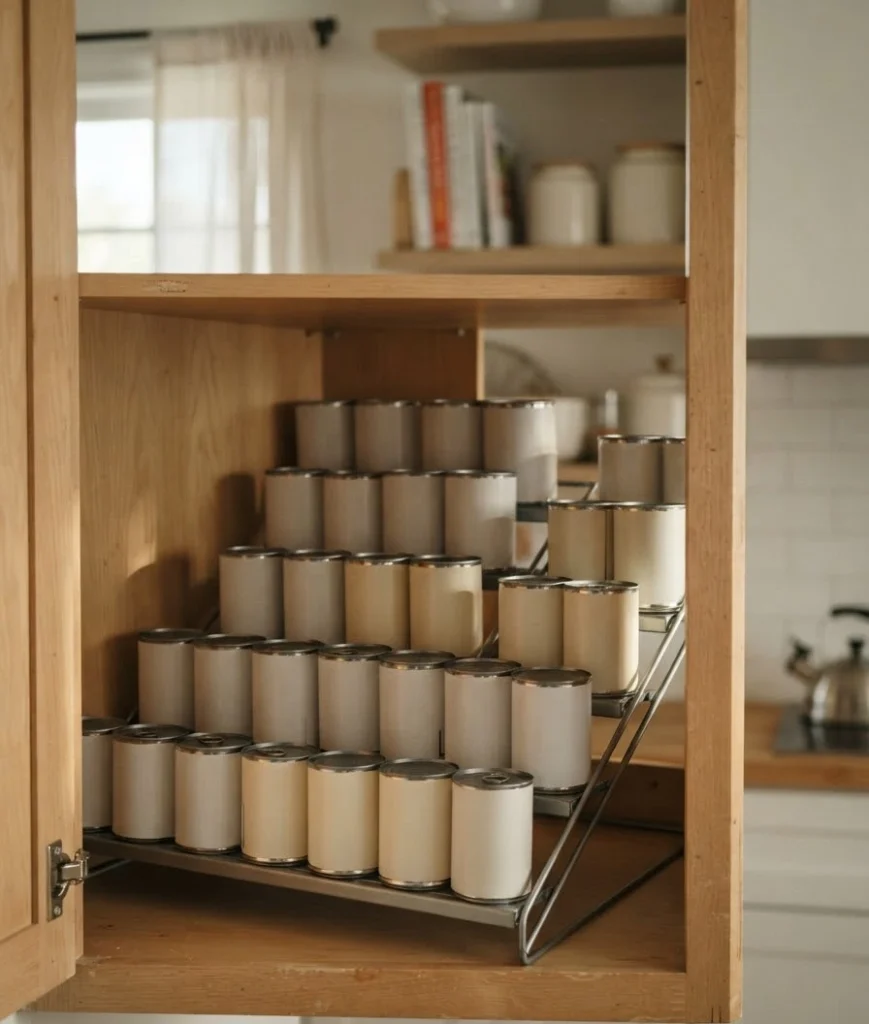
- Add stacking risers inside cabinets. Risers double the usable space on a single shelf, which matters a lot when your cans and jars are three rows deep.
- Hang a pegboard. A pegboard behind the stove or sink holds pots, utensils, even small planters. Rearrange it whenever your needs change, no drilling required for most versions.
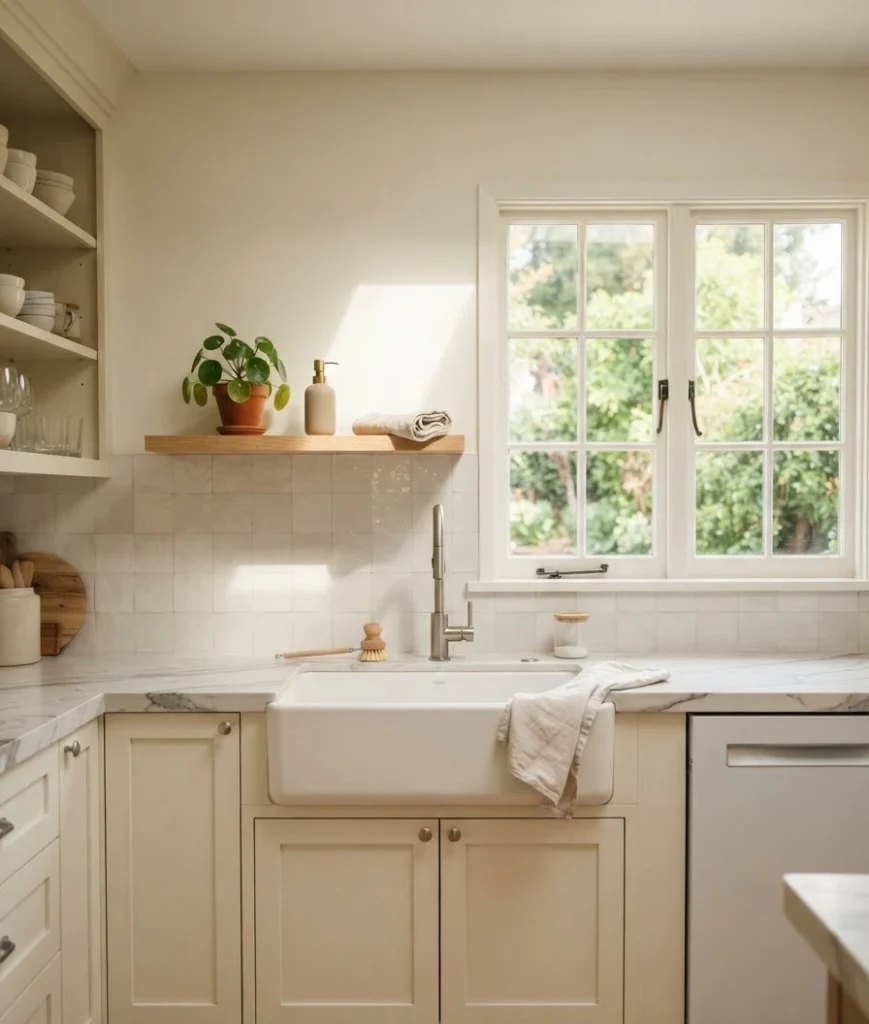
- Install a shelf over the sink. That space above the faucet usually sits empty. A slim shelf there holds soap, sponges, or a small plant, and it costs almost nothing to add.
Counter space hacks that actually make room to cook
You don’t need a bigger counter. You need fewer things sitting on the one you have.
- Get an appliance garage or roll-top. Store the coffee maker and toaster behind a small curtain or roll-top cover, and your counter reads clean again in seconds.
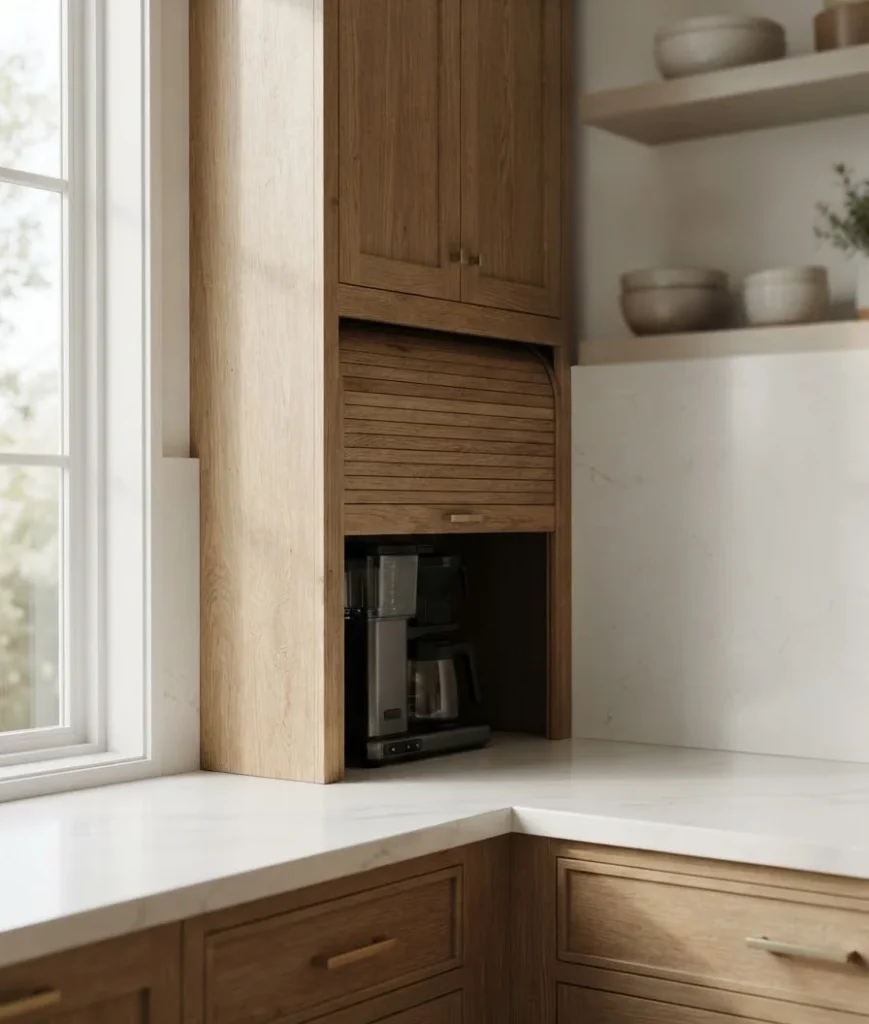
- Use a cutting board that fits over your sink. A sink-cover board instantly adds prep space when you need it and disappears when you don’t.
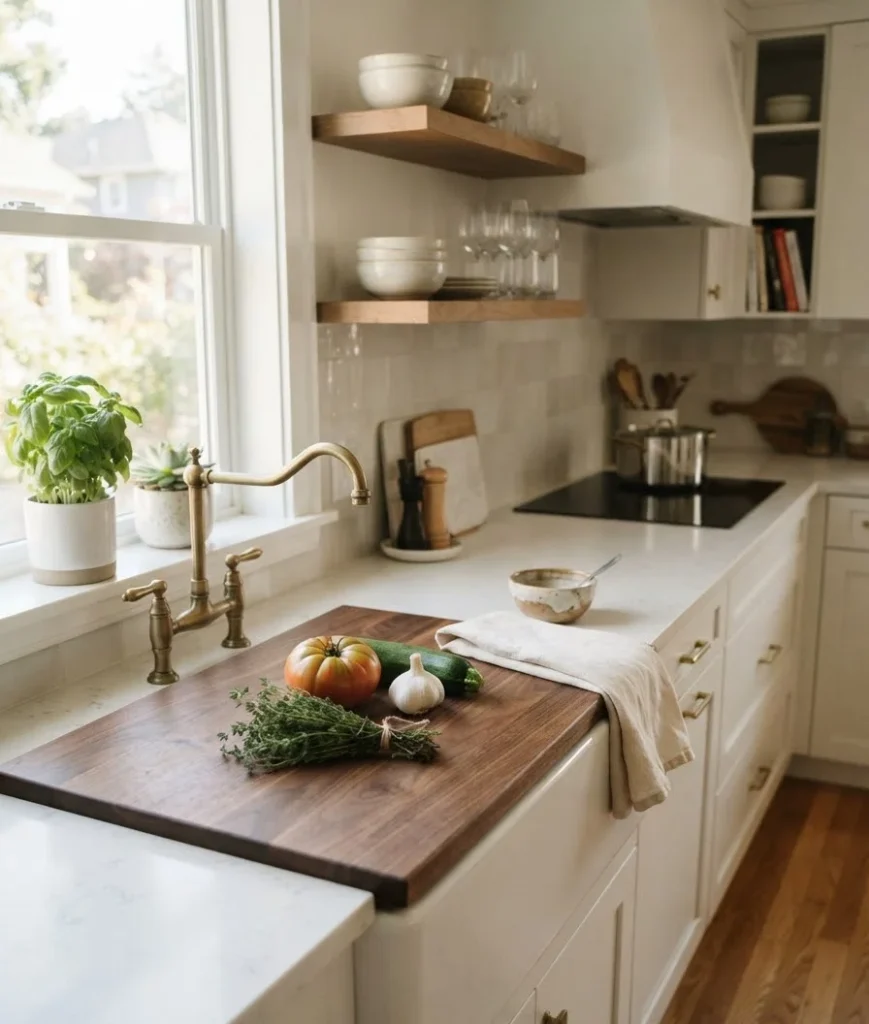
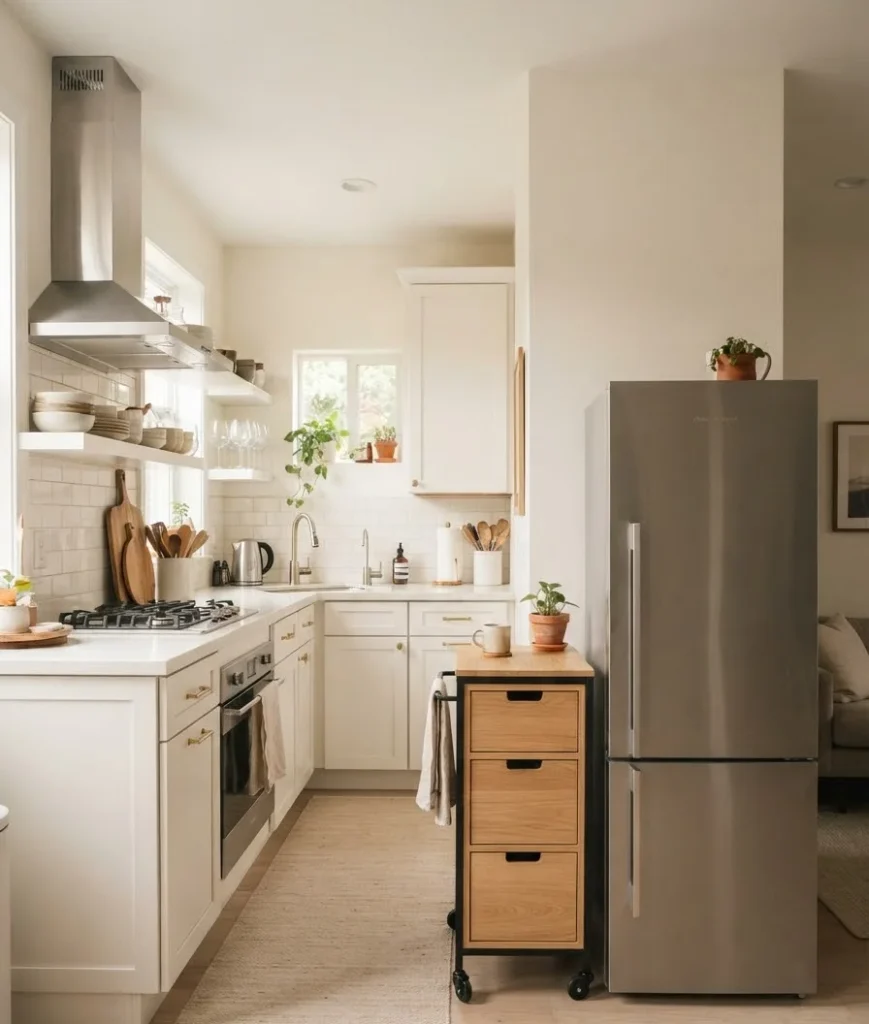
- Try a rolling cart as auxiliary counter. A slim cart on wheels can slide under a bar or into a corner and roll out whenever you need extra surface.
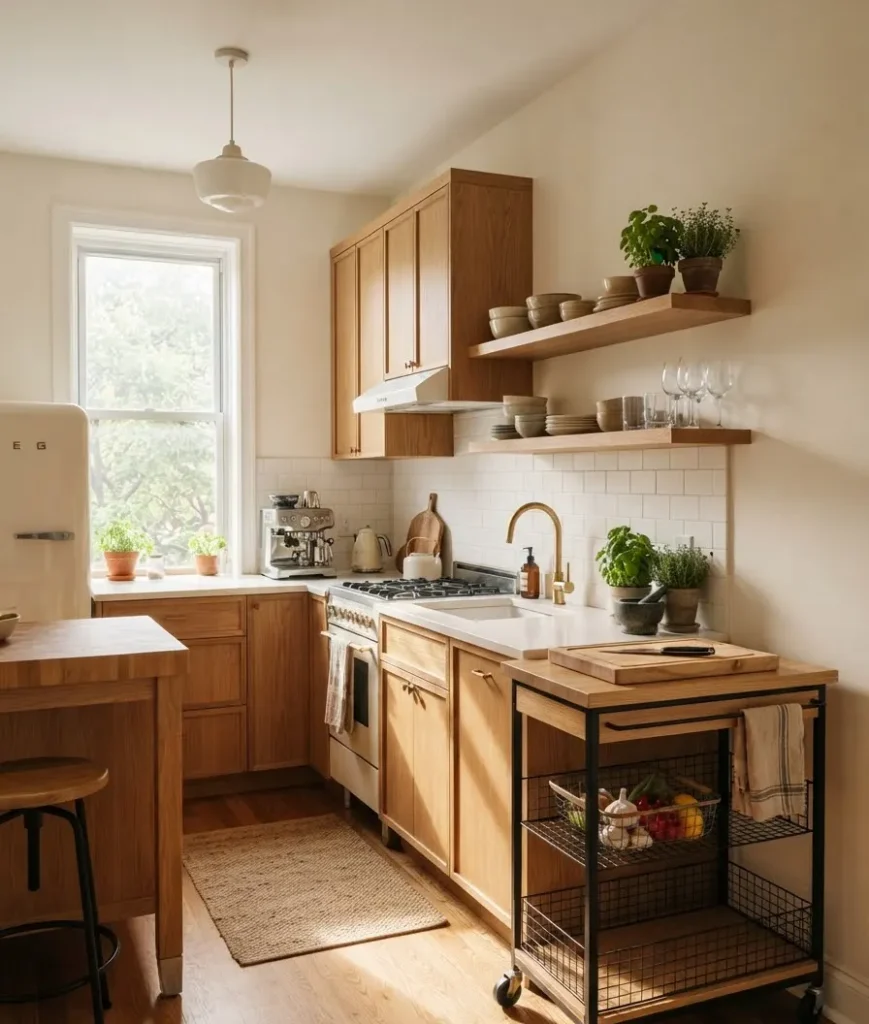
- Mount a fold-down shelf on a wall. These flip up for prep work and fold flat against the wall the rest of the time. Great for tiny galley kitchens.
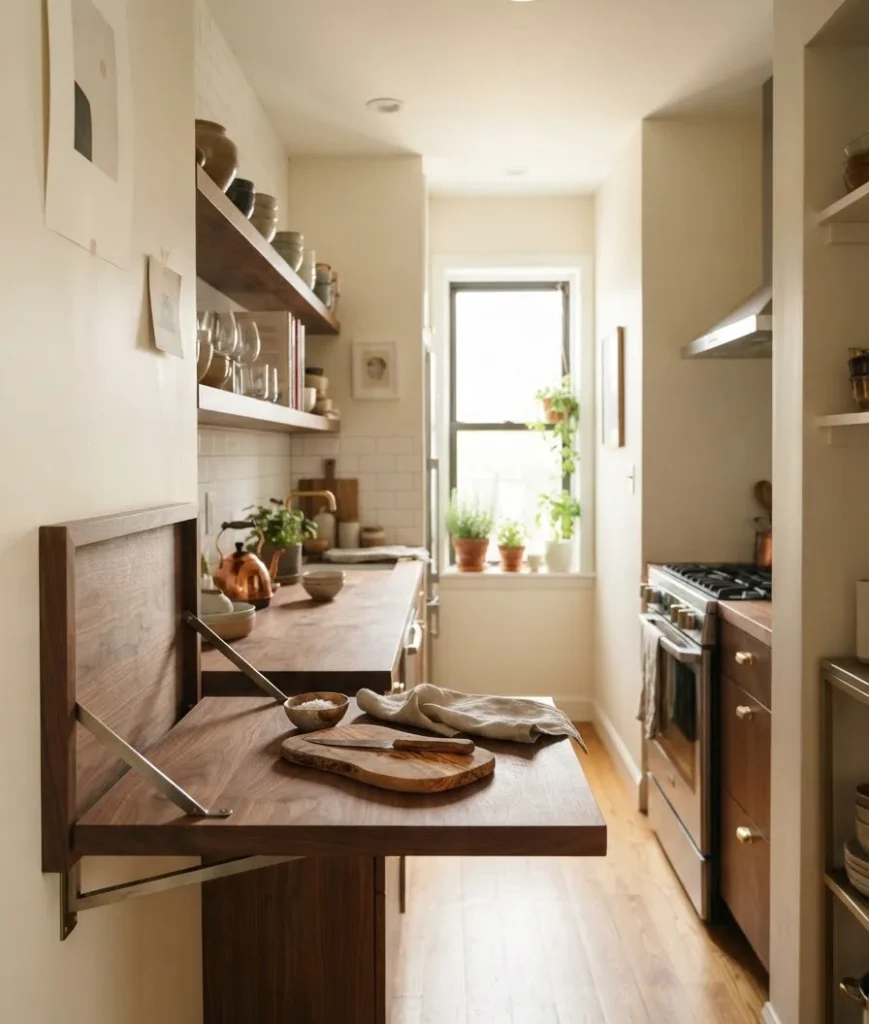
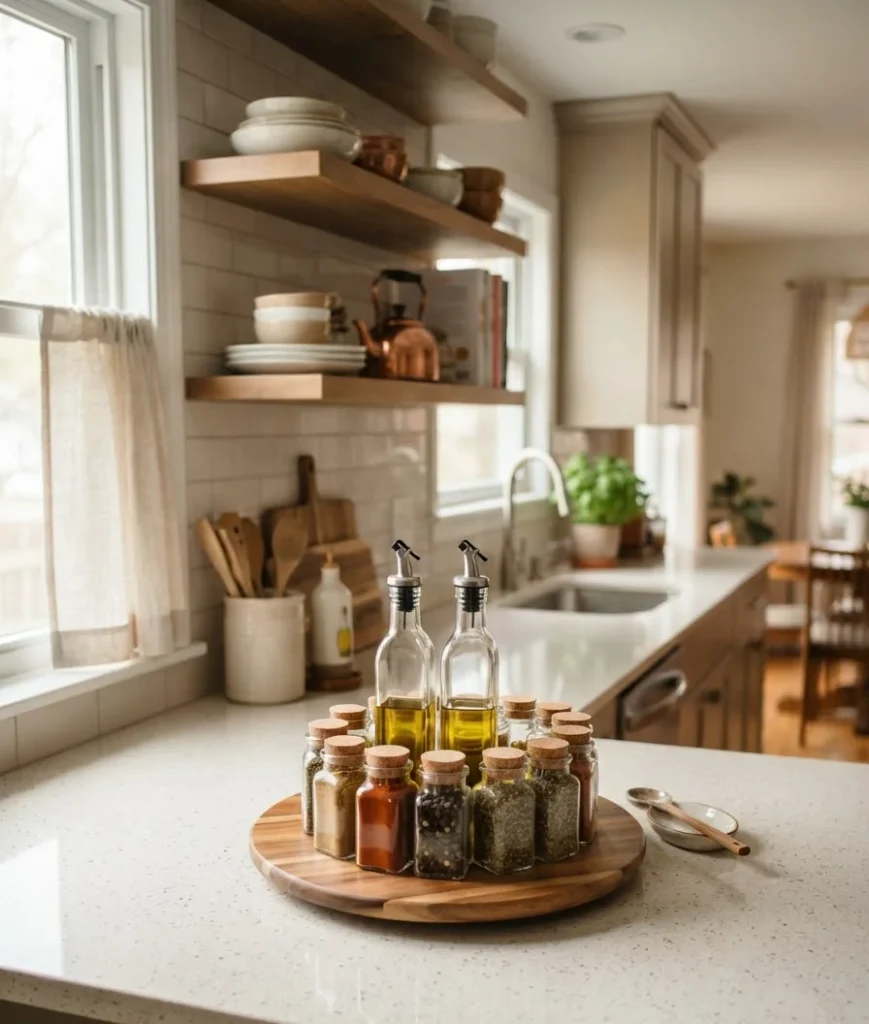
- Corral small items in a lazy Susan. Oils, spices, and condiments spin into reach instead of sprawling across the counter.
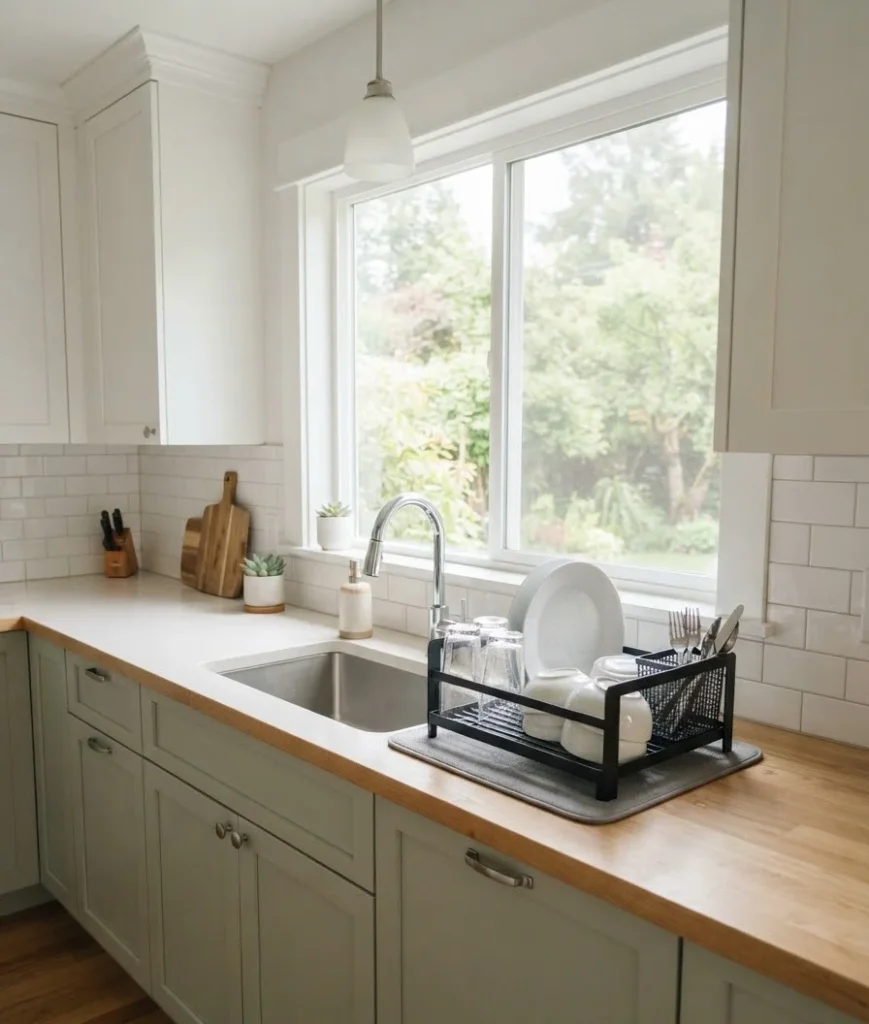
- Use vertical dish racks. A slim, upright rack takes a fraction of the footprint of a flat one, and honestly dries dishes faster too.
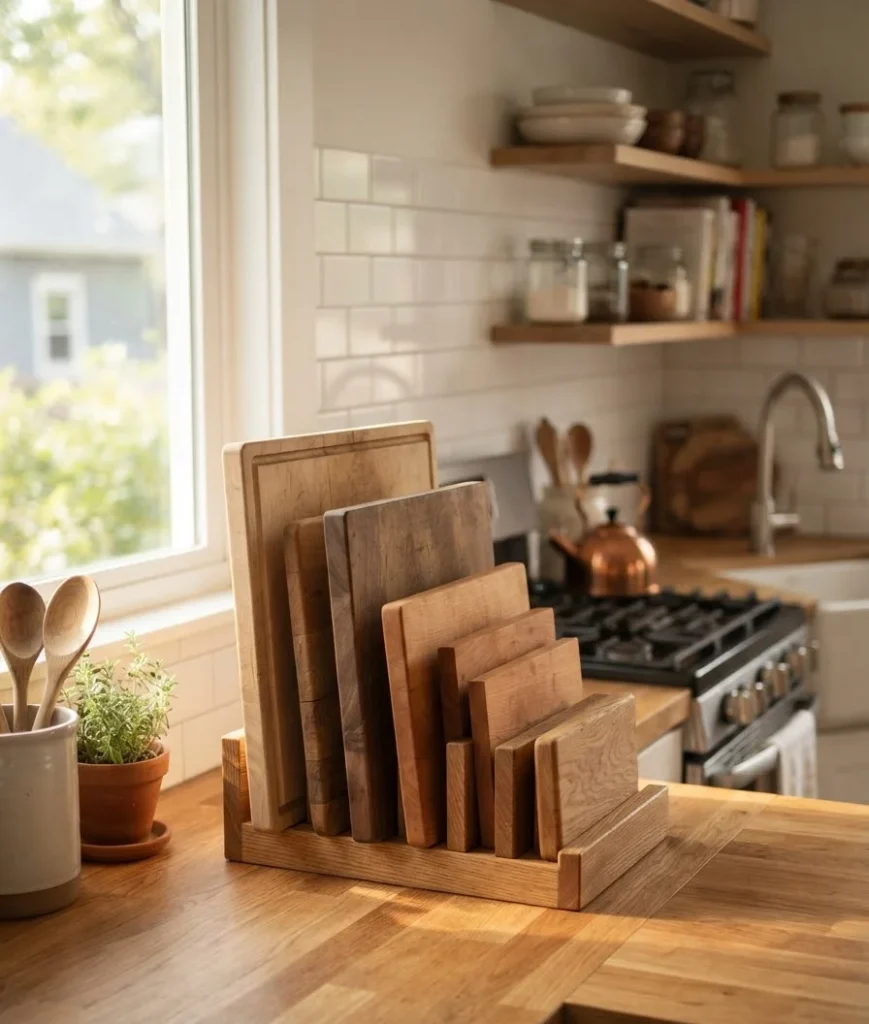
- Store cutting boards upright in a slot organizer. Standing storage beats a stack you have to dig through every time you need the one on the bottom.
Cabinet and drawer tricks worth the ten minutes they take
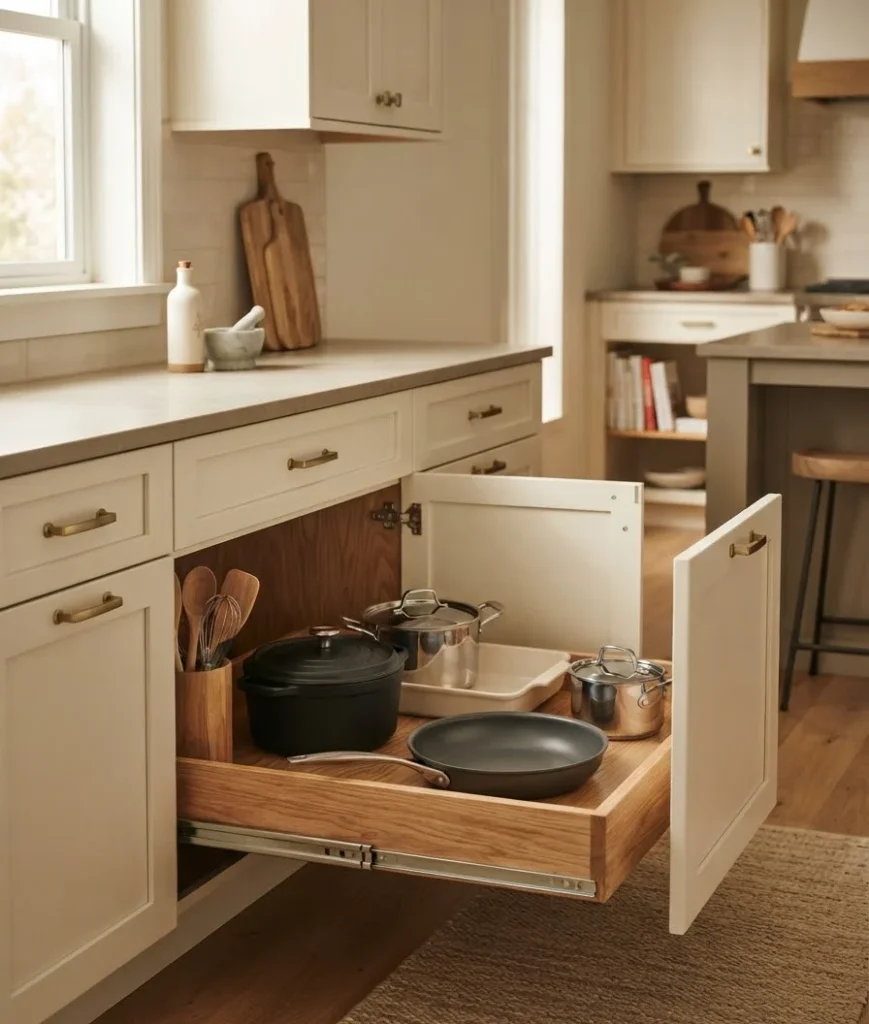
- Add pullout shelves to lower cabinets. According to organizer Olivia Parks of Nola Organizers, pull-out and adjustable shelving deliver the biggest storage boost of any cabinet upgrade, and they make corner cabinets far less annoying to use, as noted in this Food Republic interview.
- Use drawer dividers for utensils. A $12 divider tray stops your drawer from turning into a junk pit within a week.
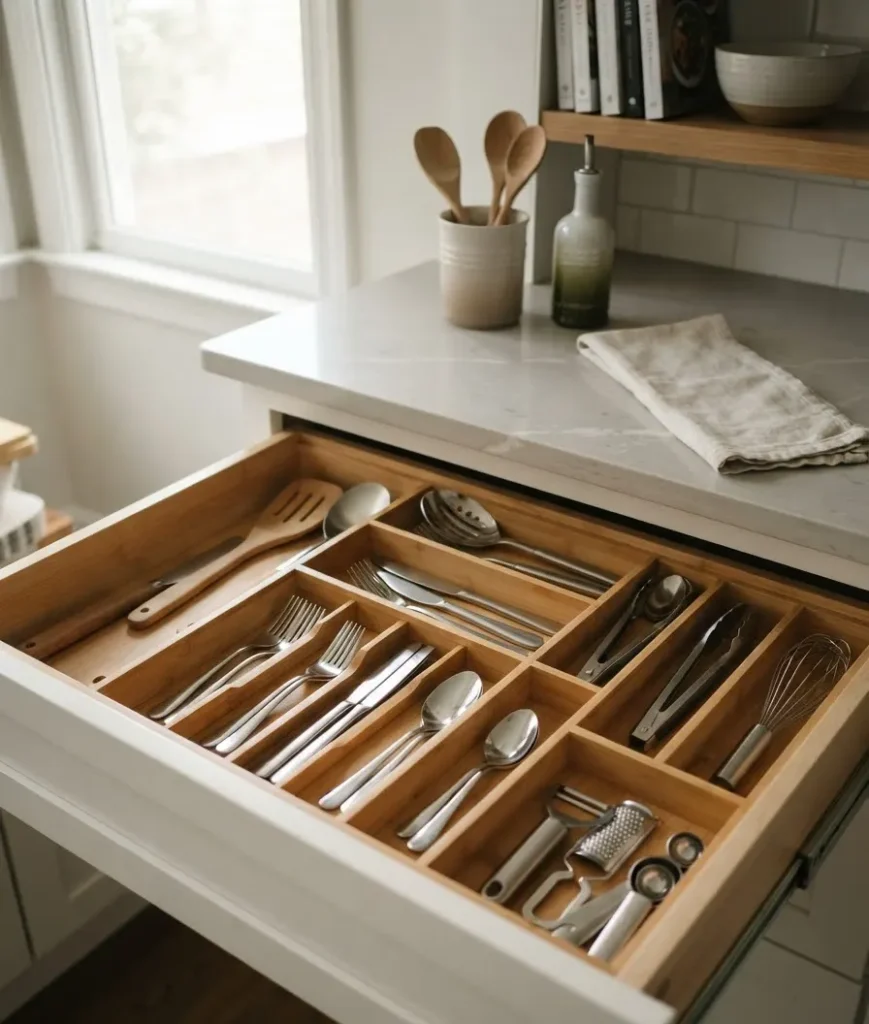
- Install a pullout trash and recycling bin. Tucking bins into a slim cabinet pullout frees up an entire corner of floor space.
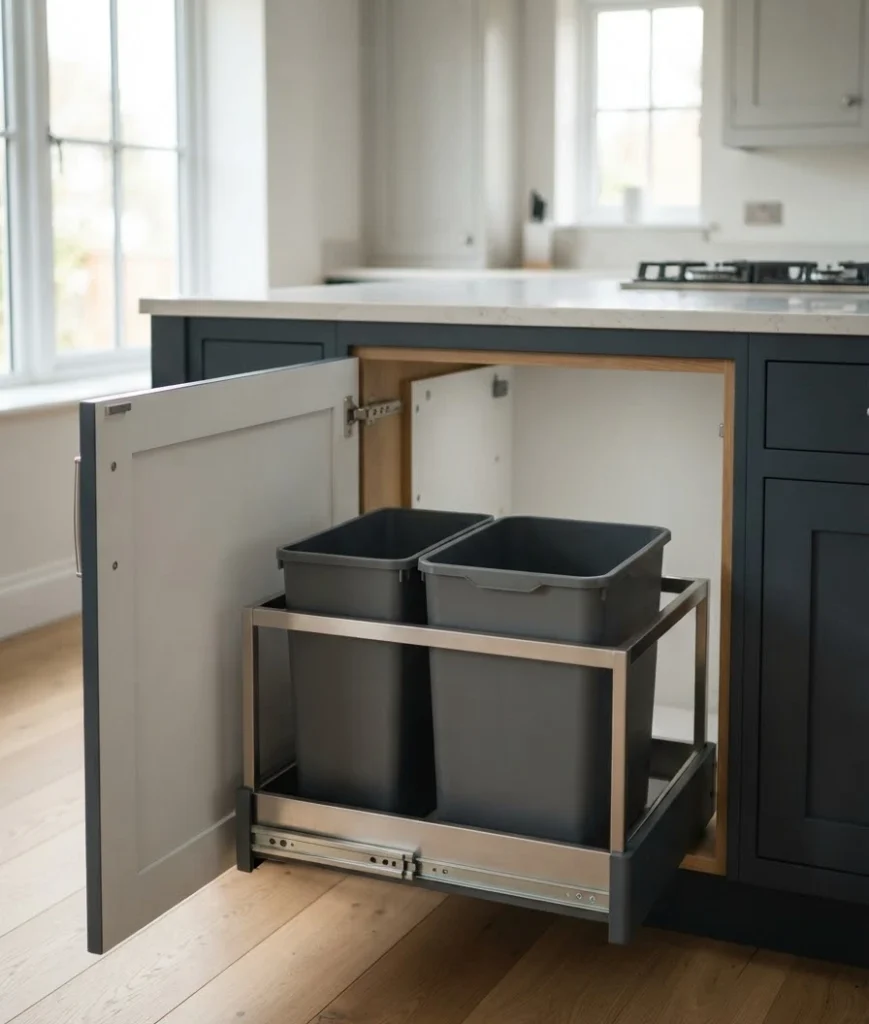
- Stack plates with felt separators. Cheap felt discs stop chipping and let you fit more plates into the same stack.
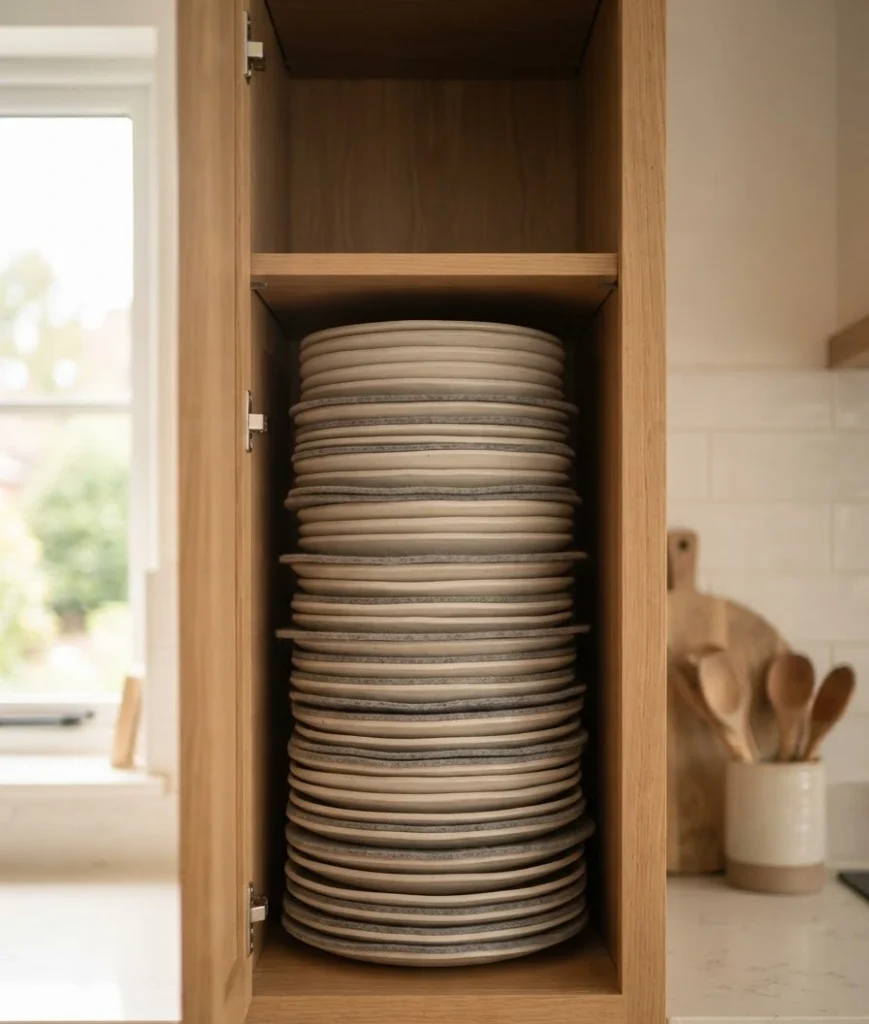
- Add a tension rod under the sink. Hang spray bottles from the rod, and suddenly the cabinet floor has room for bins too.
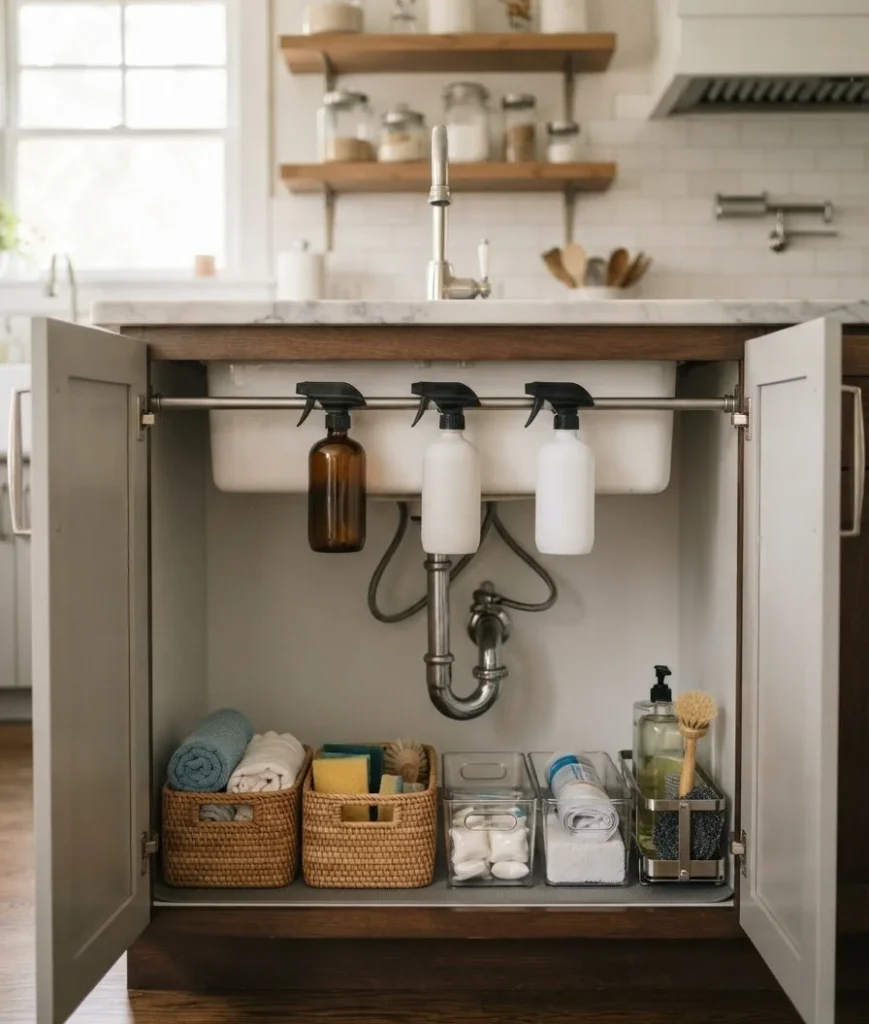
- Label everything in the pantry cabinet. This sounds basic, but labeled bins cut down on the “wait, do I already have paprika” problem, and Better Homes & Gardens points to clearing out unused items first as the real first step in any small-kitchen storage overhaul.
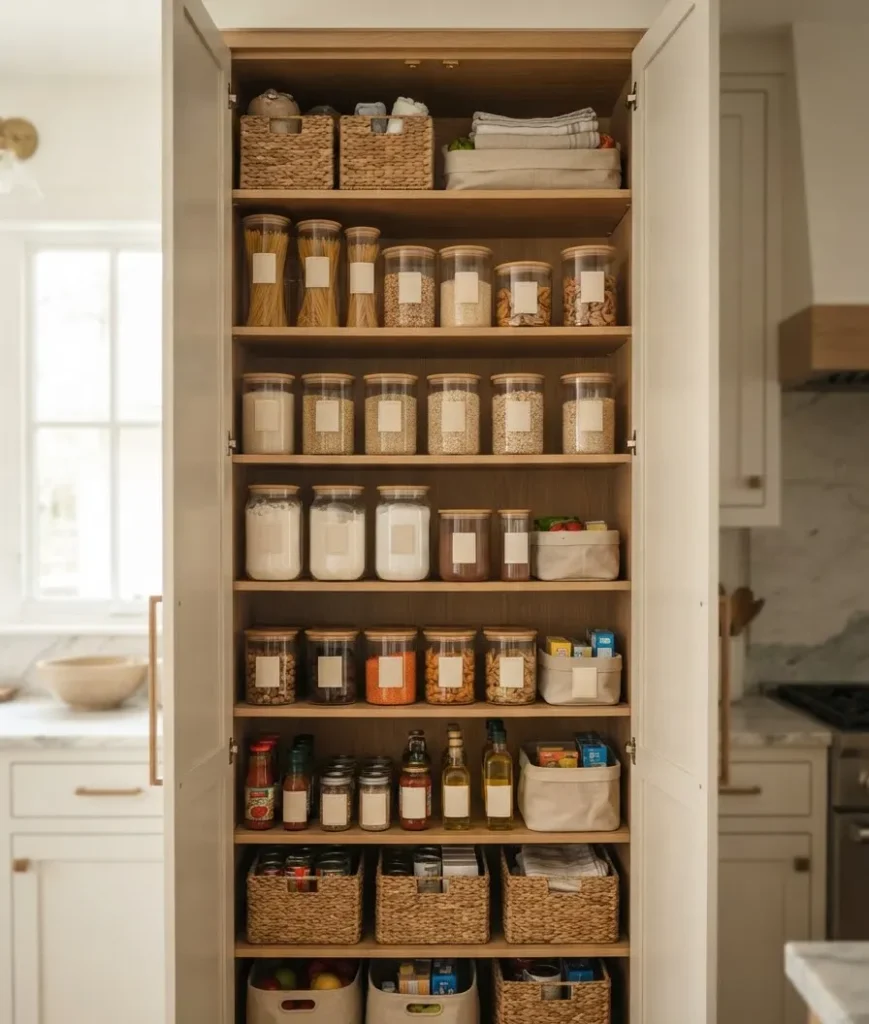
Smart buys that punch above their price
- A slim rolling cart with drawers. These tuck into gaps as narrow as 6 inches and give you three extra storage layers.
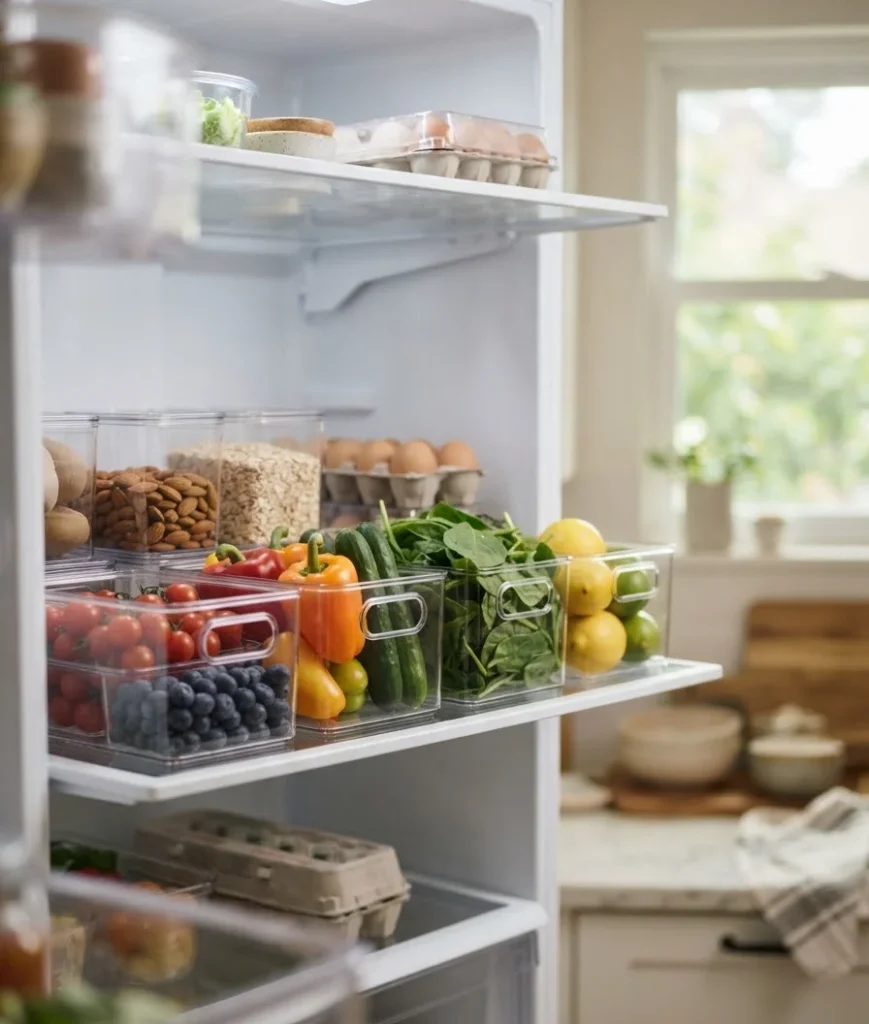
- Stackable clear bins. Clear bins in the fridge and pantry mean you actually see what’s expiring, which saves money over time.
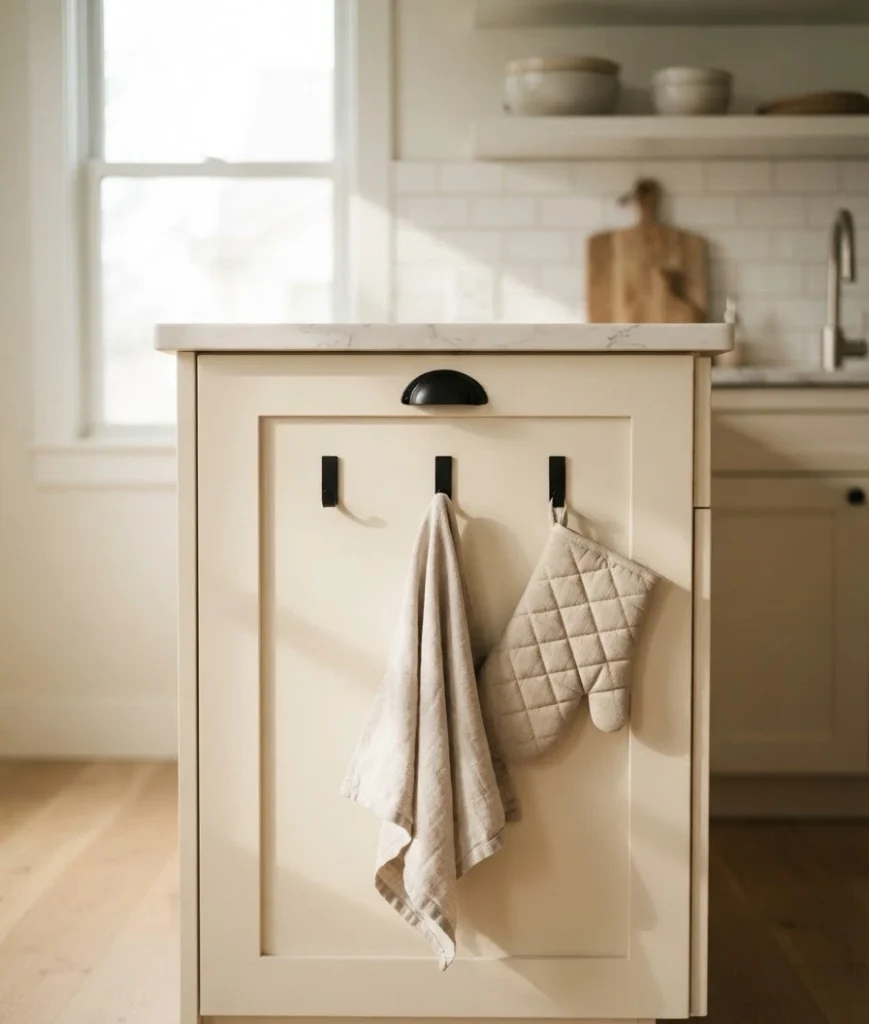
- A over-the-cabinet door hook set. Command hooks over a cabinet door hold towels, oven mitts, or a small bag of onions.
- A tiered cabinet organizer for cans. Angled shelves show every label at once, so nothing hides behind a giant bag of rice again.
Design tricks that make a small kitchen feel bigger
Storage solves function. These last few solve the way the room feels.
- Match your counter, backsplash, and any visible surfaces. A single continuous material reads as one clean plane instead of three competing ones.
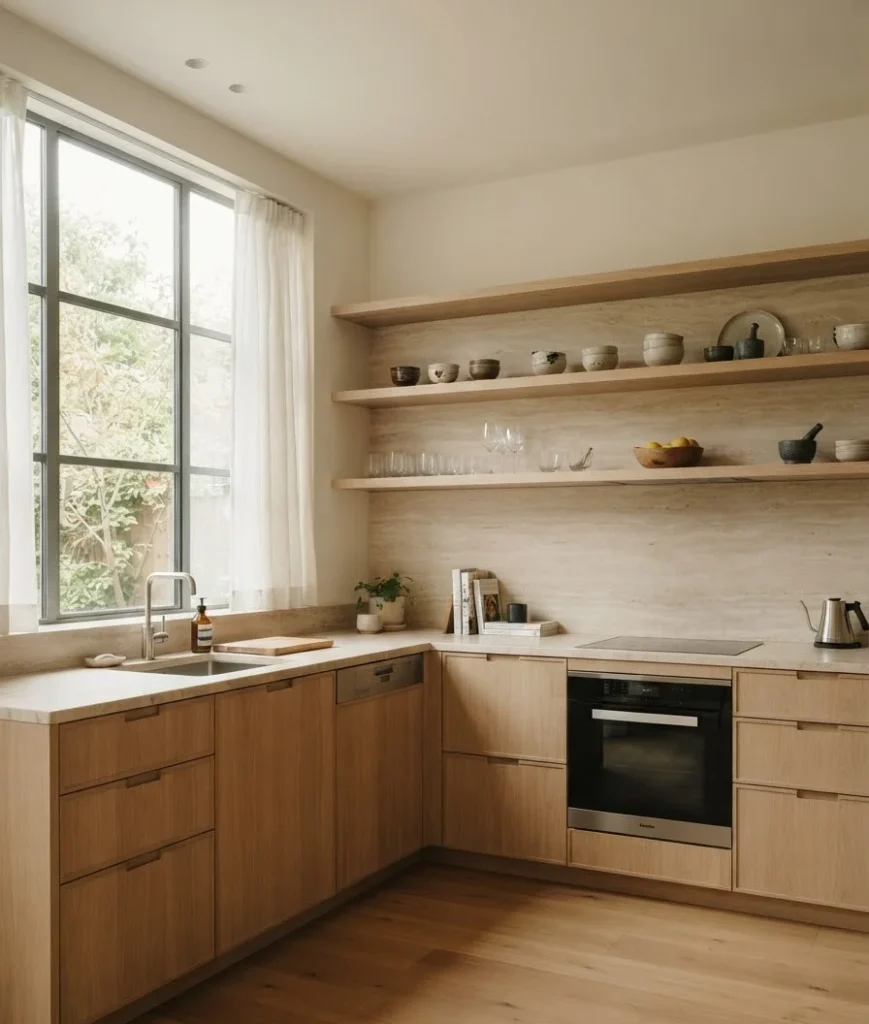
- Choose light-colored cabinets or a light backsplash. Light surfaces bounce more light around a tight room, and the difference is bigger than people expect.
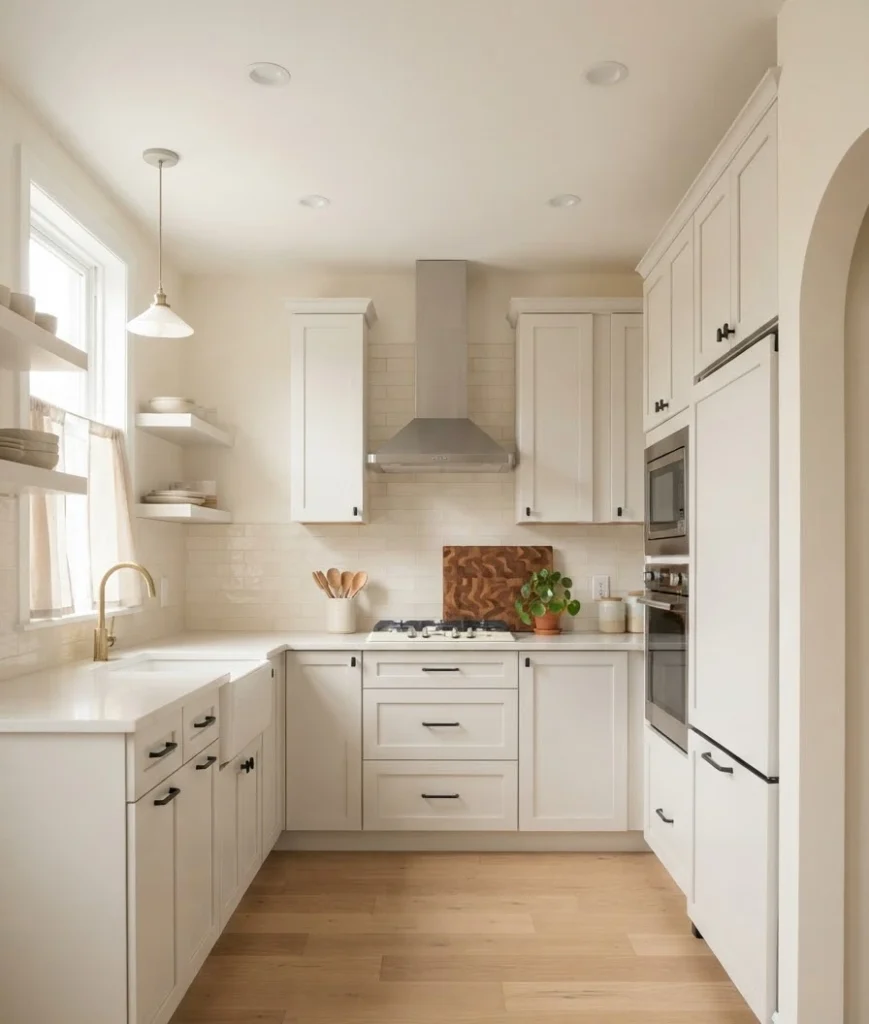
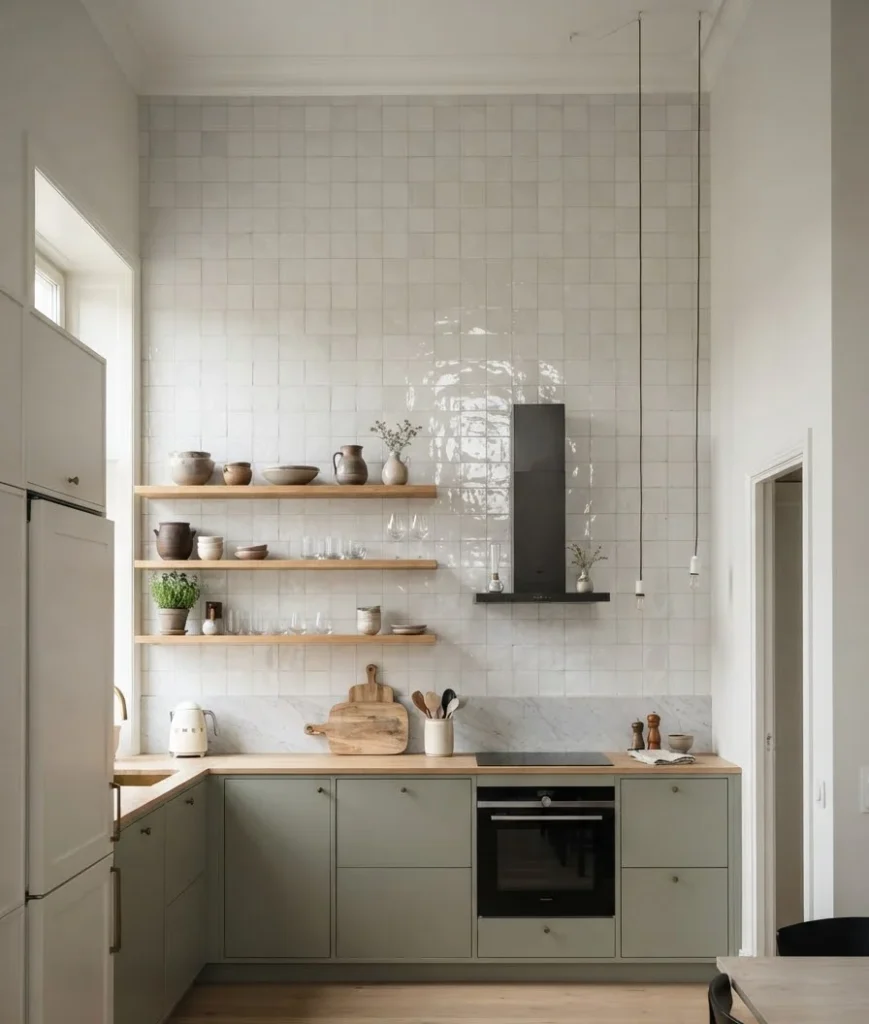
- Keep the backsplash tile running to the ceiling. It draws the eye up, which makes the whole kitchen feel taller without moving a single wall.
Quick side note, and this has nothing to do with cabinets: I once spent 45 minutes color-coding a spice rack instead of unpacking a single box after a move. Priorities, right? Anyway, back to the kitchen.
A quick comparison of where to start
| Budget | Best first move | Time to install |
|---|---|---|
| Under $20 | Drawer dividers or felt plate separators | 10 minutes |
| $20 to $75 | Magnetic knife strip or pullout drawer bin | 30 to 60 minutes |
| $75 and up | Rolling cart with drawers or wall-mounted shelving | 1 to 2 hours |
A few storage combos that work especially well together
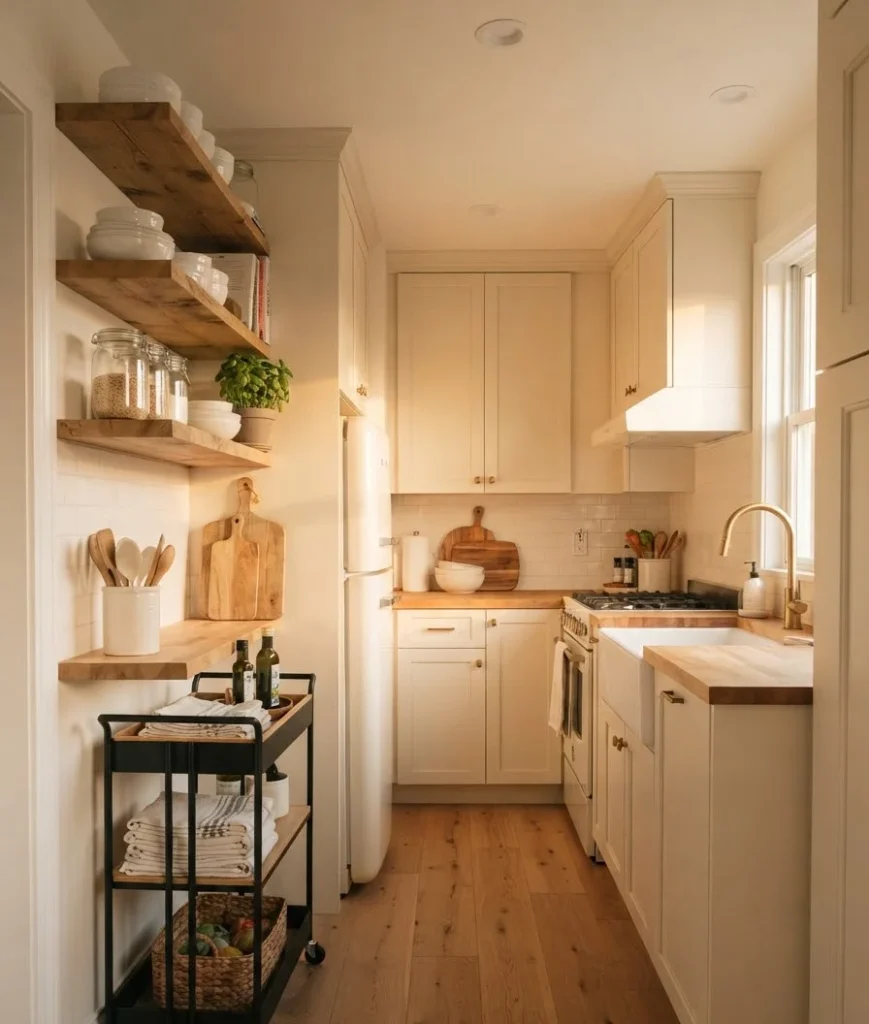
- Open shelving plus a magnetic knife strip. Both keep the counter clear while putting your most-used items in easy reach.
- A rolling cart plus stackable bins. The cart becomes a mini pantry you can wheel wherever you’re cooking that day.
- Pullout cabinet shelves plus drawer dividers. This combo made the biggest difference in my own kitchen. Going from digging through a dark cabinet to sliding a shelf straight out still feels like cheating.
FAQs
Do I need my landlord’s permission for wall-mounted storage? Usually yes, for anything involving drilled holes. Command-strip versions of hooks, racks, and even some shelving exist specifically for renters, so check the weight rating before you hang anything heavy like cast iron.
What’s the single best upgrade for a kitchen under 70 square feet? Pullout shelves in the lower cabinets. They solve the “I can’t reach the back” problem that makes small cabinets feel smaller than they are.
Is open shelving actually practical, or just a Pinterest trend? Both, honestly. It works well for dishes you use daily, but it does mean more dusting. If you’re not great about wiping shelves weekly, keep glass-front cabinets for anything you don’t reach for often.
A tiny kitchen isn’t a life sentence. Pick two or three ideas from this list, try them this weekend, and see how much counter space comes back. Which one are you starting with first?