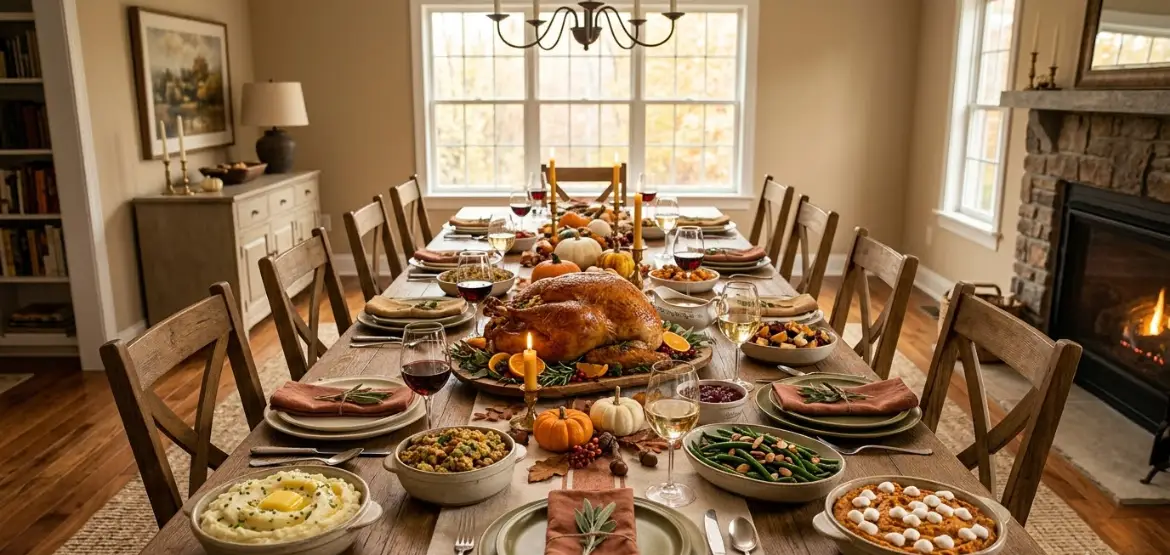
Picture this. The turkey is resting, the gravy is bubbling, and you’re standing in your dining room holding a 12-pound casserole dish with absolutely nowhere to set it down.
I’ve hosted Thanksgiving for 11 years running, and I’ve lived that exact moment more than once.
In 2017, my cousin reached across the table for the rolls and took out a full gravy boat with her sleeve. Wow, did that tablecloth have a rough evening.
So here’s what I’ve learned: a good Thanksgiving table food setup is a puzzle you solve before the food comes out of the oven. Once you know where each dish lives, dinner runs itself.
This guide walks through every dish, four layouts you can copy, and the small styling moves that make your table look like something off a Pinterest board.
15 Thanksgiving Decorations Table Setting Dollar Tree Ideas That Look Expensive
Click Here →Start with the real problem: you have less room than you think
Most people plan the menu first and the table second. That order causes the chaos.
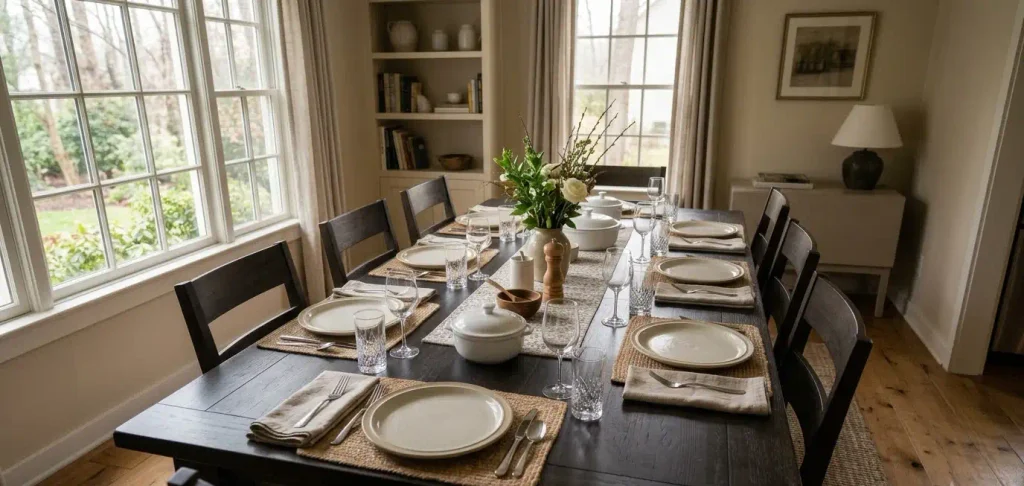
A standard 6-foot rectangular table gives you roughly 72 inches of length and 36 inches of width.
Subtract place settings (about 24 inches per person for elbow room), and your serving space shrinks fast.
Eight guests with full plates, glasses, and napkins leave a strip down the middle about 12 to 14 inches wide.
That strip has to hold a turkey, 6 to 9 side dishes, gravy, cranberry sauce, and a centerpiece. See the problem?
Before you assign a single dish a spot, do this:
- Measure your table (length and width, in inches).
- Count your dishes and write each one on a sticky note.
- Check the dish footprints. A 9×13 casserole takes up about 14 by 10 inches with handles. A round Dutch oven runs 12 inches or more across.
- Decide where the turkey lives. This single choice shapes everything else.
I tape a paper outline of my table onto the fridge and stick the notes on it. It looks silly. It works every year.
The rules I follow before placing any dish
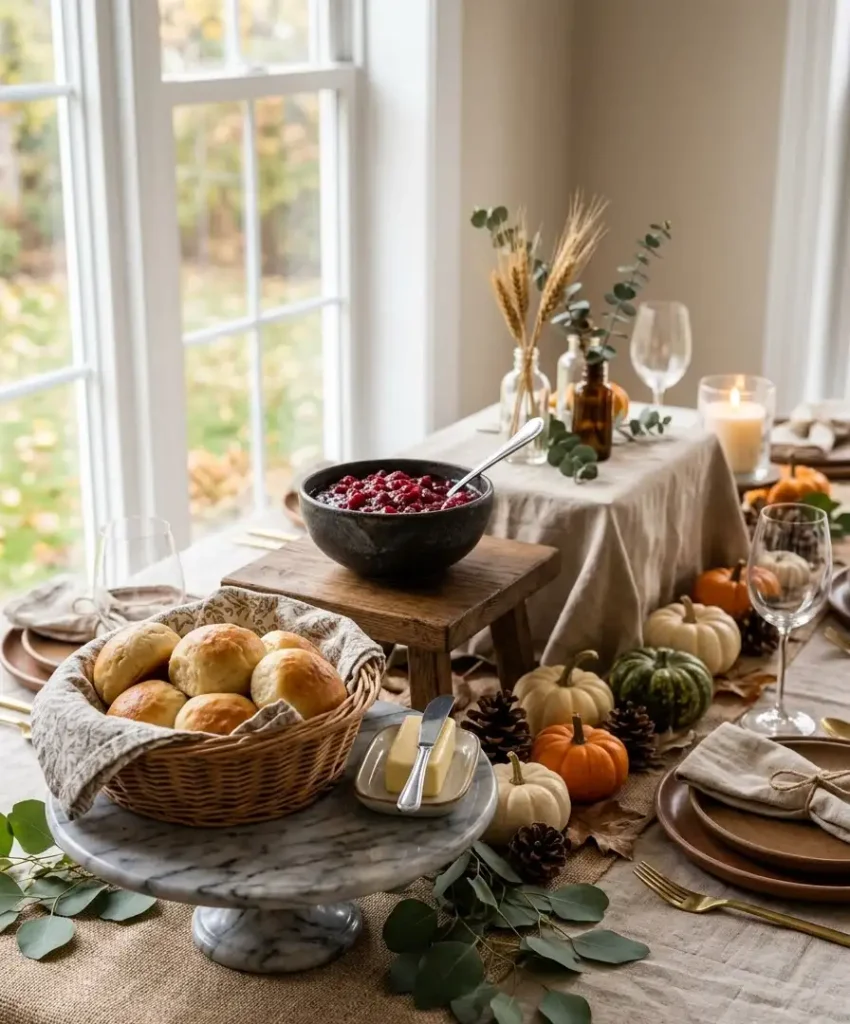
Over a decade of hosting, I boiled my layout logic down to a few rules. Break them and you’ll feel it by 4:15 p.m.
Keep heavy and hot dishes close to the person serving
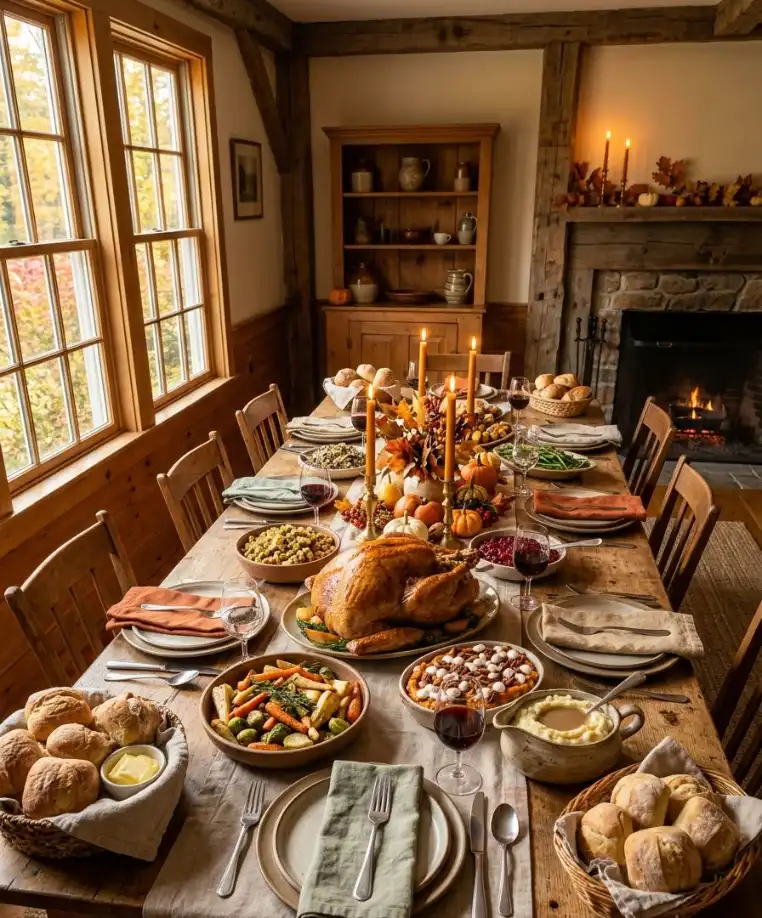
The turkey, the stuffing, and anything fresh from the oven need a spot near a sturdy hand.
Nobody wants to pass a scalding 10-pound casserole across three people.
Park the heavy items at the ends of the table or on a sideboard, where the host or a designated carver can reach them.
Put reach-for-it dishes within arm’s length of every seat
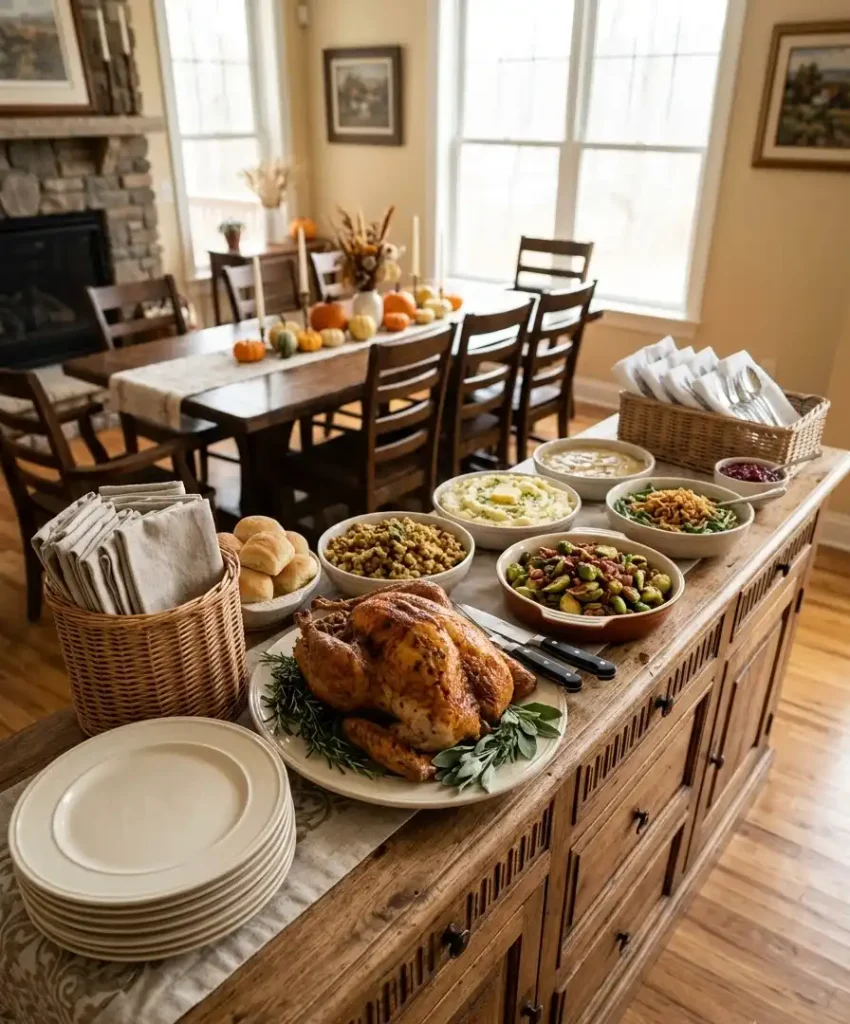
Rolls, butter, and cranberry sauce get grabbed by everyone. Duplicate them.
Two small bread baskets, one near each end, save you from a dinner-long game of “pass the butter, please.”
Group dishes that go together
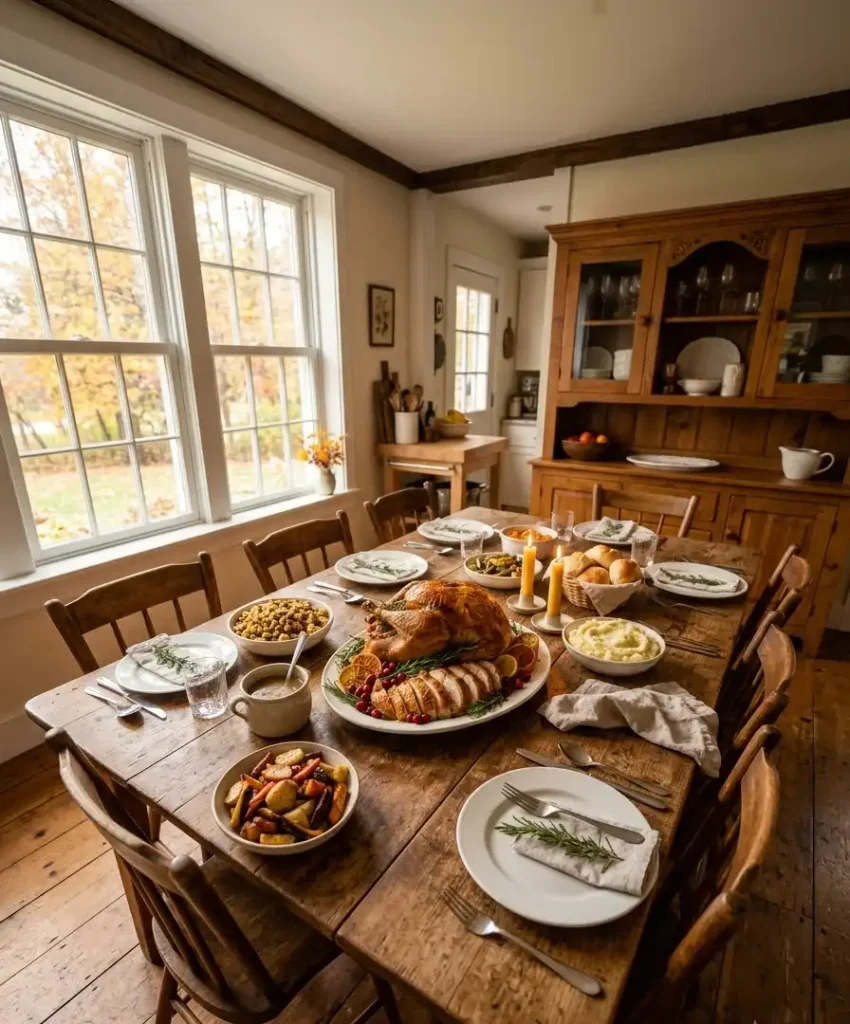
Gravy belongs next to mashed potatoes and turkey. Cranberry sauce sits near the turkey too, because people build that bite on purpose.
Grouping by flavor pairing means guests stop hunting around the table and start eating.
Leave a landing spot for every dish
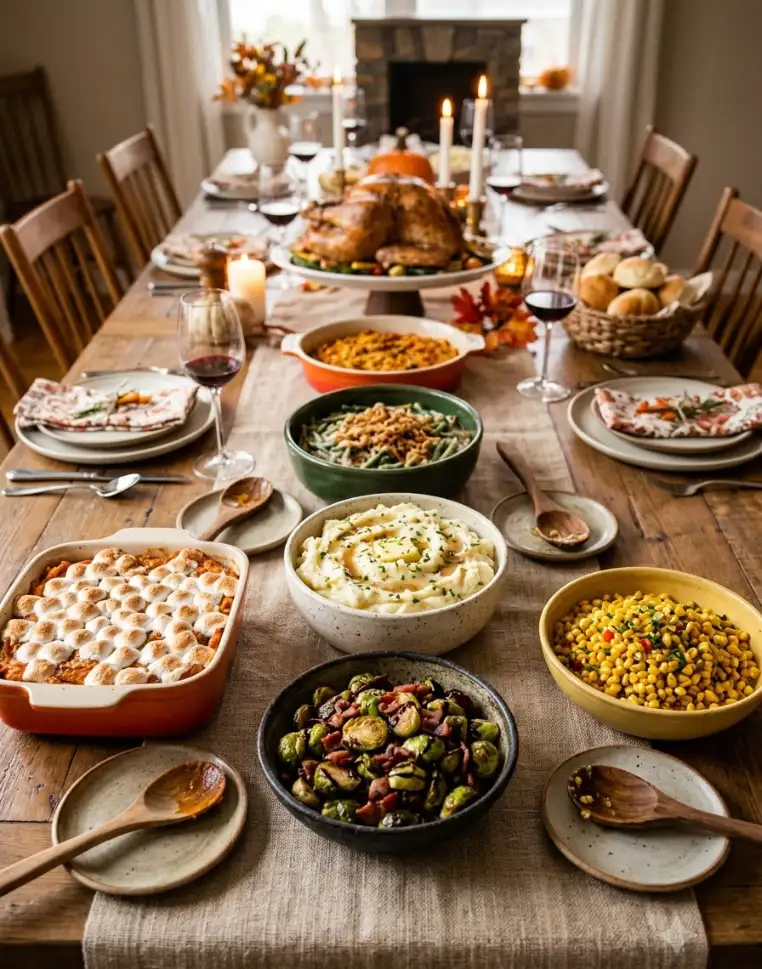
Here’s a rule I picked up the hard way: never place a dish where you have no room to set the serving spoon.
Spoons and tongs need a coaster-sized spot of their own.
Lay a small plate or trivet next to each dish if you’re short on space.
Think about height
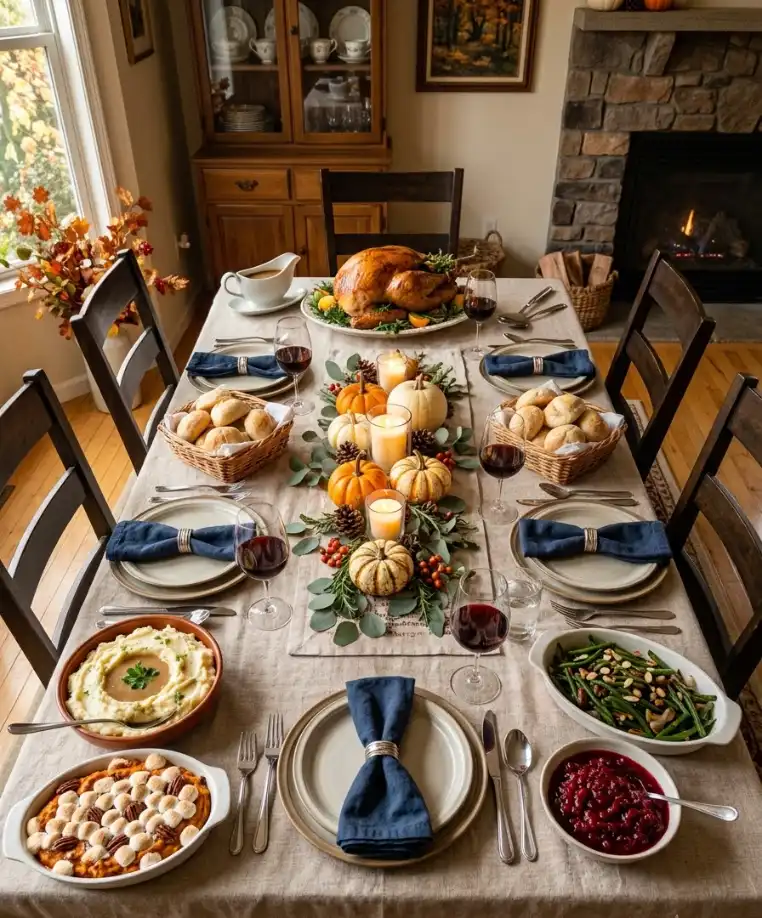
Flat tables look flat in photos. A cake stand, a wooden riser, or an upside-down bowl under a tablecloth gives you levels.
Pinterest boards love this trick because levels pull the eye around the table.
Family style or buffet: pick the one that fits your home
Both work. The right choice depends on your guest count and your floor plan.
Family style (all dishes on the table)
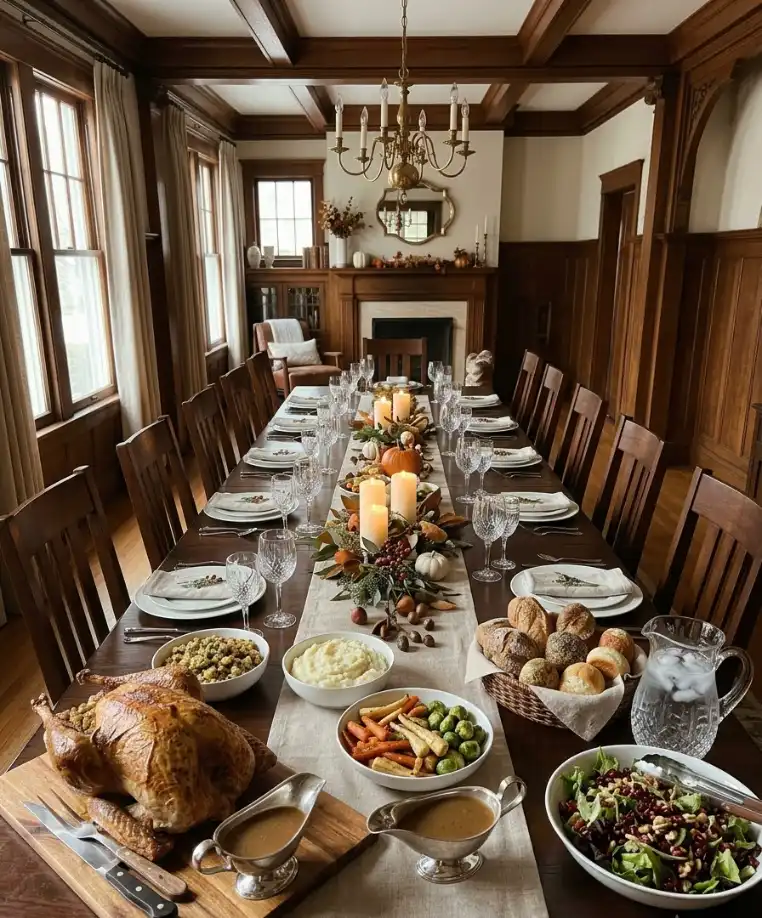
Family style feels warm and a little chaotic in the best way. Everyone passes dishes, chats, and reaches across each other. It works best for 6 to 10 guests at a table that seats everyone comfortably.
The downside is space. A crowded table gets hot, and food cools down while it sits there.
IMO, family style is worth it only when your table is at least 6 feet long or you’re willing to put a few dishes on a nearby surface.
Buffet style (food on a separate surface)
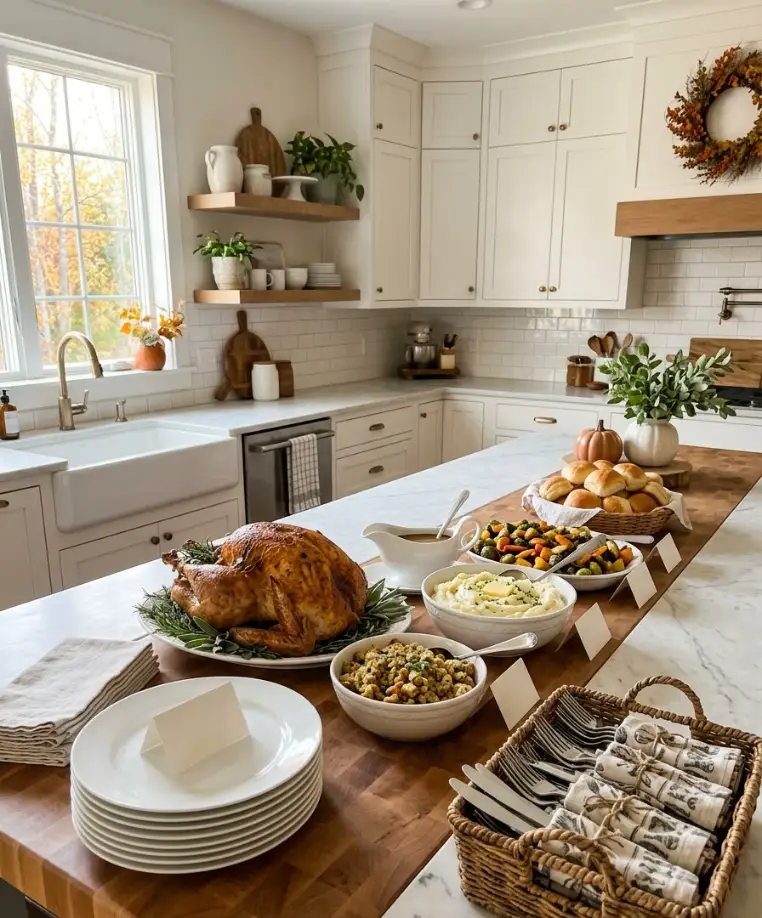
A buffet clears your dining table for plates, candles, and conversation.
It suits 10 or more guests, and it handles surprise plus-ones better, since you can stretch the line.
The downside is the traffic jam. People bunch up at the first dish and hover.
I fix that by placing plates at the start, silverware at the very end, and the turkey in the middle, so the line moves in one direction without a pile-up.
The hybrid that I use most years
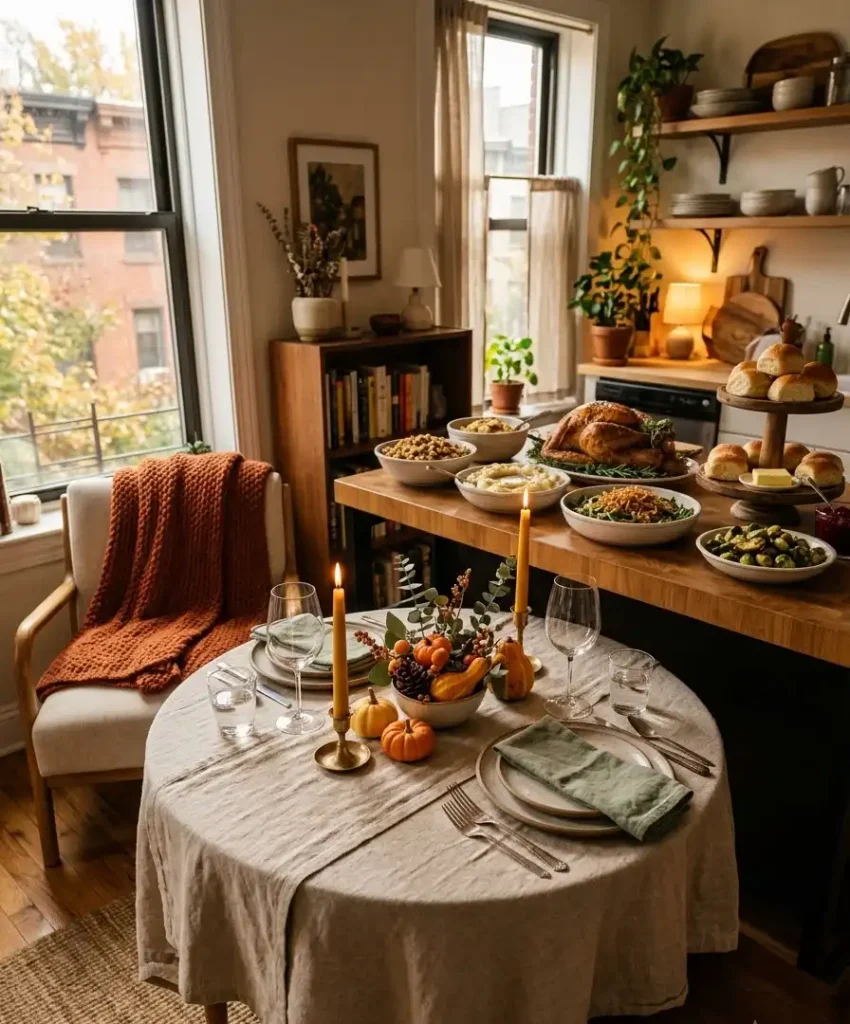
I put the turkey, the gravy, and two or three big sides on the dining table, and I park the rest on the kitchen island.
Guests pick up what they want, return to the table, and the main table stays tidy. It’s my favorite option, and my aunt (who has opinions about everything) approves, which says something.
Where each dish goes: the dish-by-dish breakdown
Here’s how I assign every standard Thanksgiving item a home.
The turkey
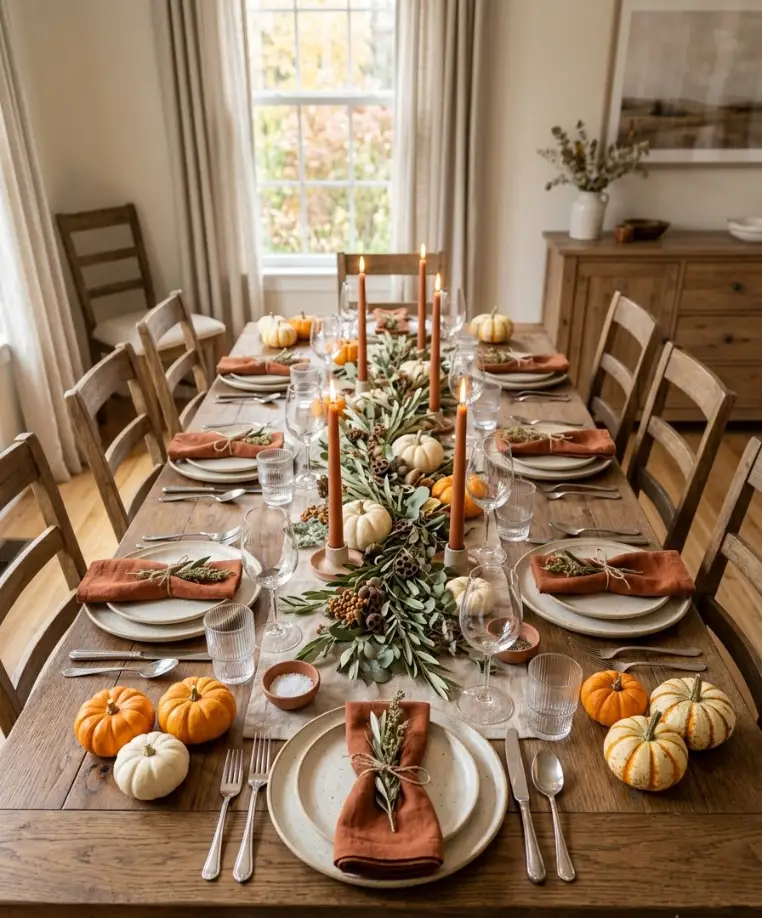
Put it at the head of the table if you carve at the table, or on a sideboard or counter if you carve in advance.
Carving in the kitchen and bringing out a platter of sliced meat saves roughly 20 minutes of awkward knife work in front of hungry guests.
I carve in the kitchen and arrange the slices on a long platter with a few rosemary sprigs.
Keep the platter near the middle of the table so it stays within reach of everyone.
If you roast a second bird or a turkey breast, give it its own platter at the opposite end.
Mashed potatoes and gravy
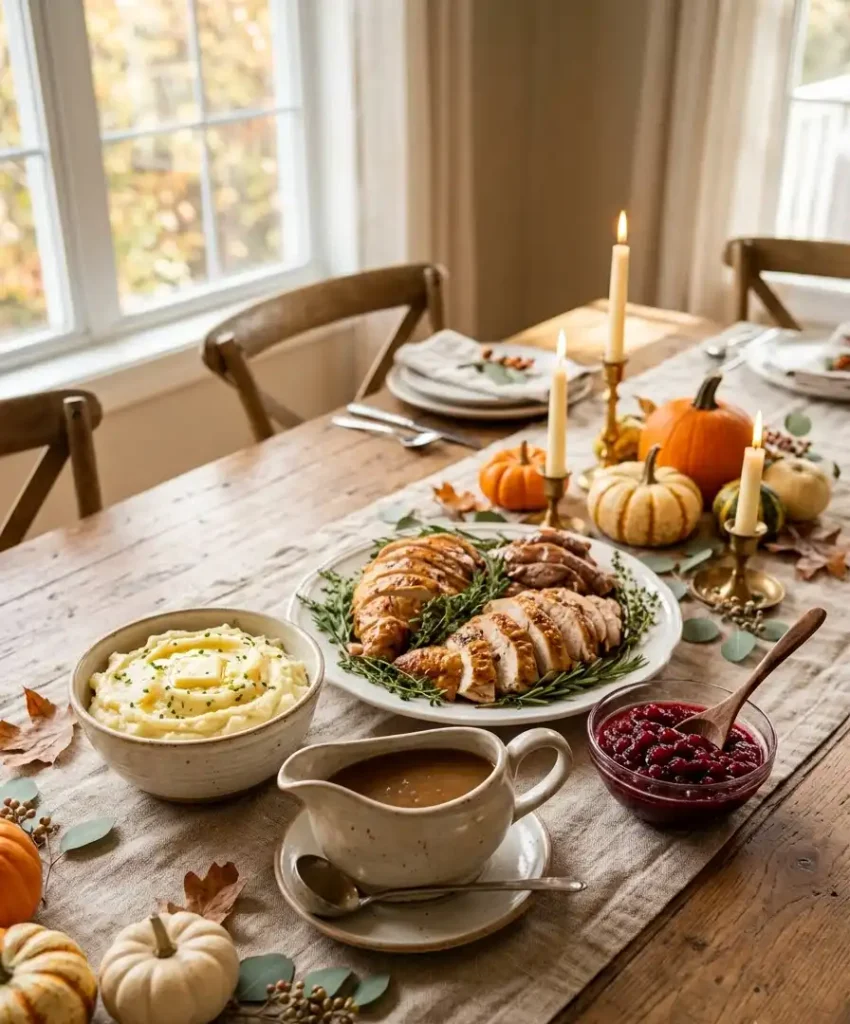
Place them side by side, near the turkey. People spoon potatoes, make a well, and pour gravy in one smooth motion. Splitting them across the table breaks that rhythm.
Always set the gravy boat on a small plate or saucer. It drips. I promise it drips.
Stuffing or dressing
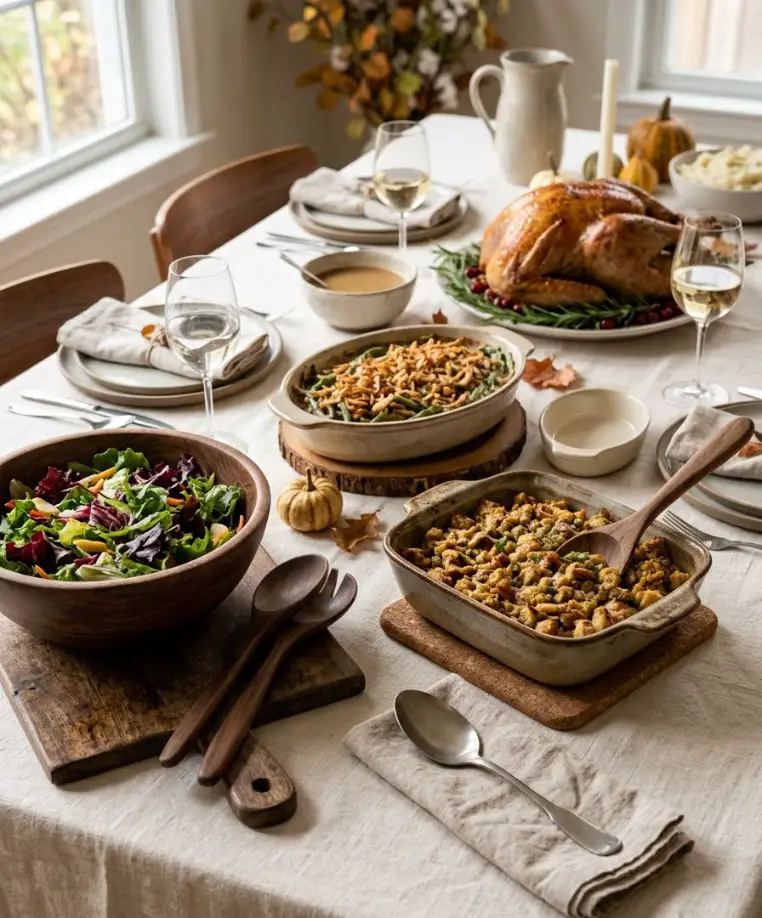
Stuffing is the second most claimed dish after the turkey, so give it prime real estate.
It also stays hot for a long time in a covered casserole dish, so it can sit slightly farther from the center than the potatoes.
Cranberry sauce
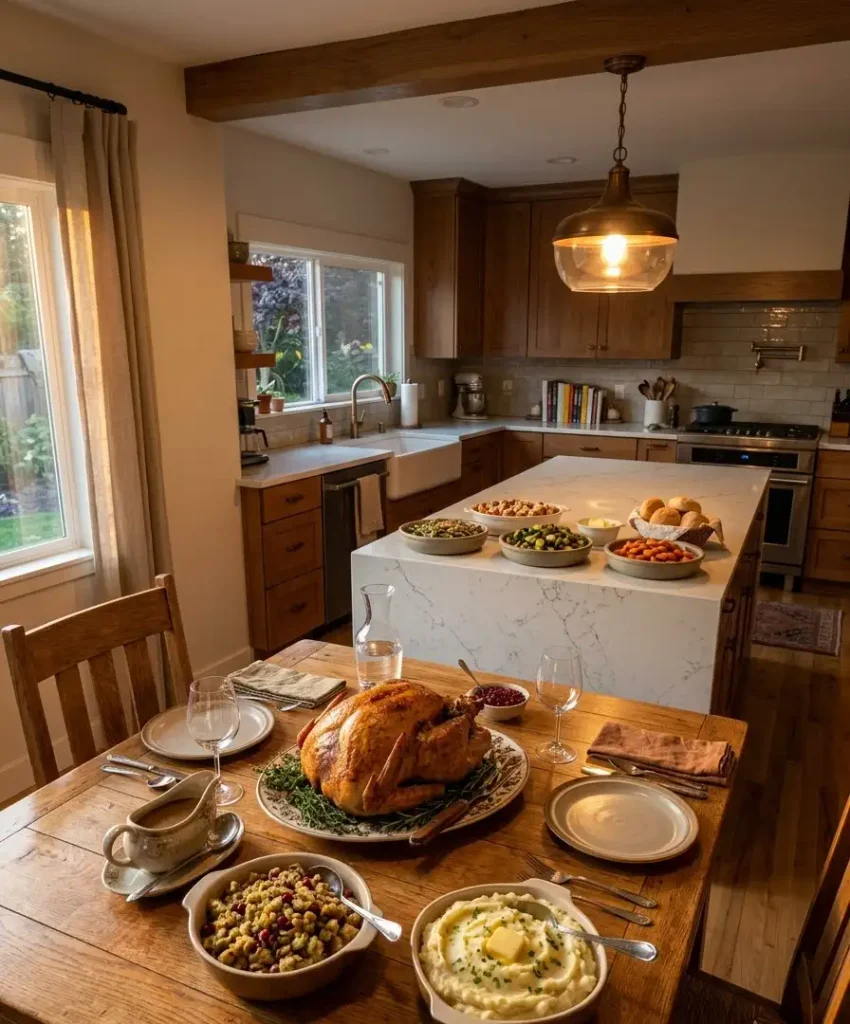
Put it within reach of the turkey and potatoes. A small bowl or a jar with a spoon looks charming, and a ruby-red color pops against a neutral table runner.
On Pinterest, cranberry sauce in a glass bowl with a few fresh berries on the rim is a classic.
Vegetables and casseroles
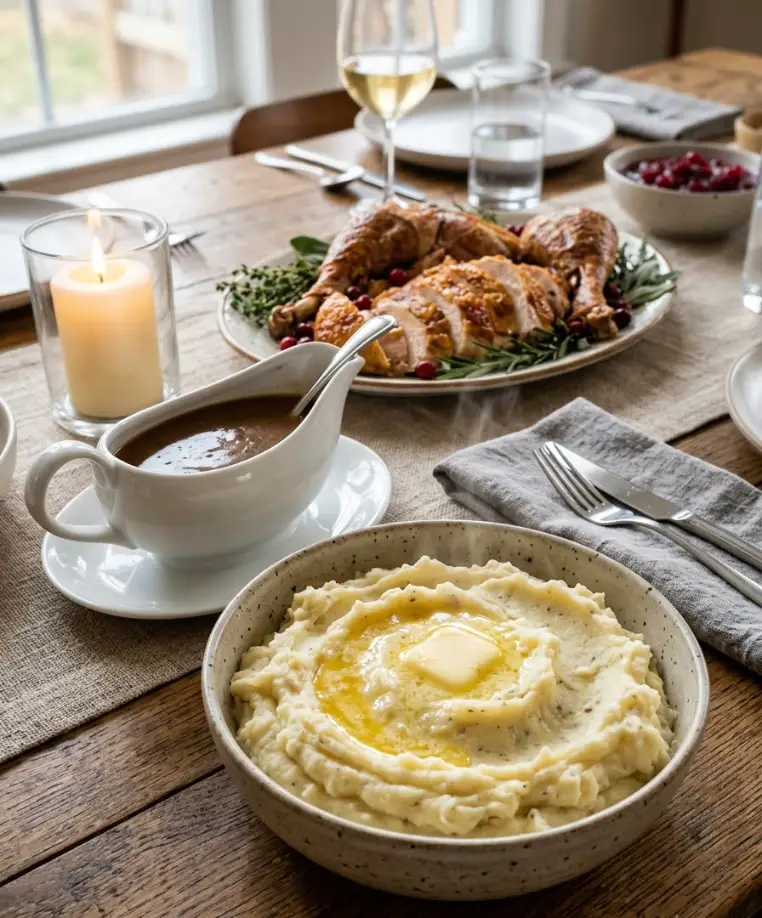
Green beans, roasted Brussels sprouts, sweet potatoes, and corn all belong in the middle zone of the table.
I spread them out instead of clustering them, because color variety makes the spread look abundant. Put an orange dish next to a green one next to a white one.
Rolls and bread
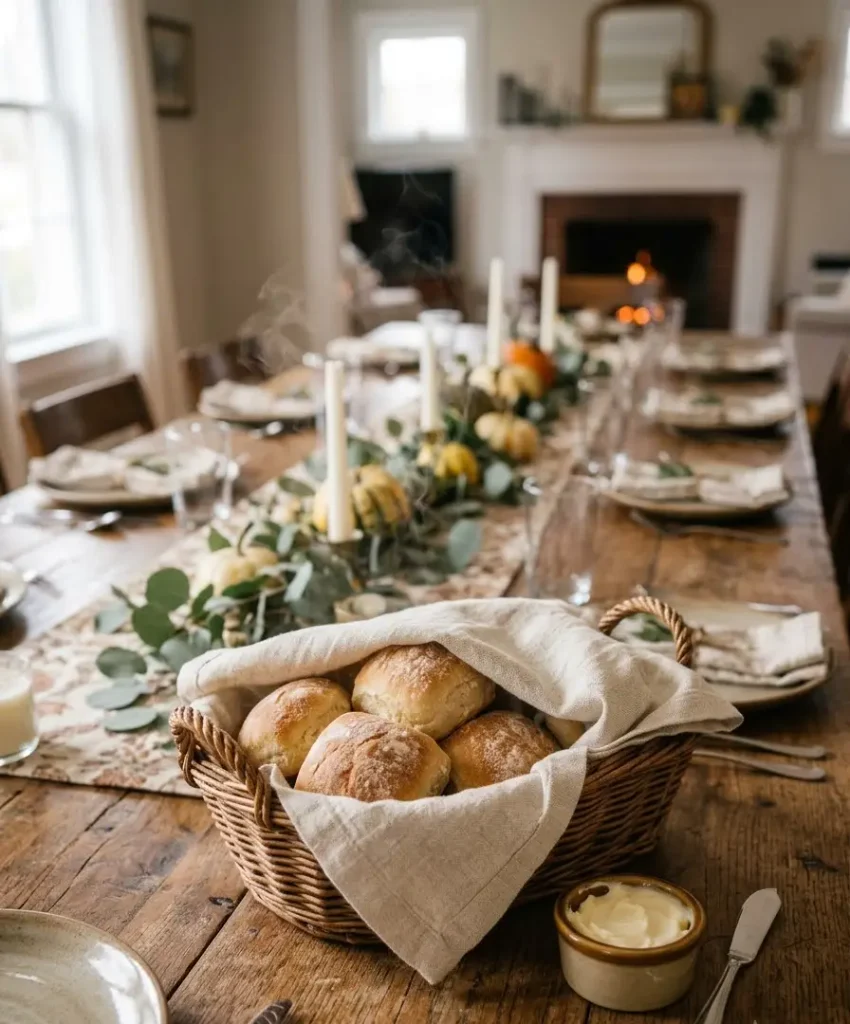
Put one basket at each end of the table. Tuck a warm cloth napkin inside so the rolls stay toasty.
Place the butter right beside the basket, softened an hour ahead so nobody saws through a frozen brick.
Salads and cold dishes
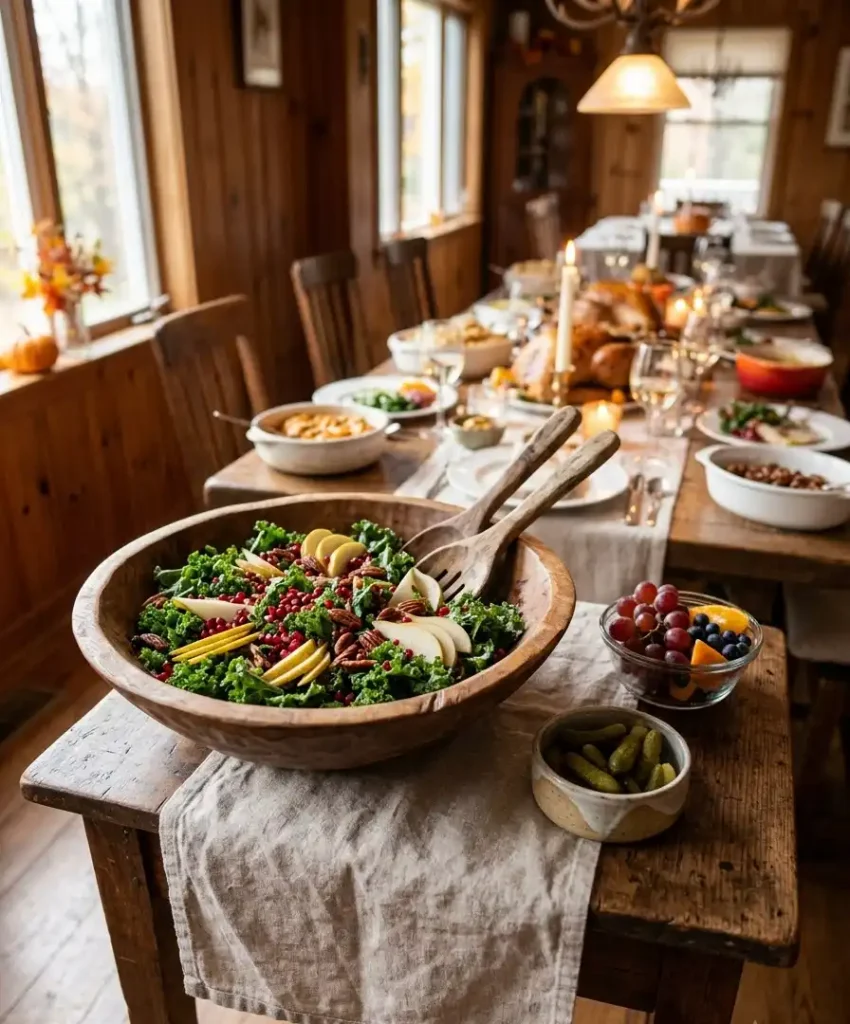
Cold dishes live on the cooler edges of the table, away from the hot dishes and the candles.
A crisp salad wilts next to a steaming casserole. If your table runs short on room, set the salad on a side table and let guests add it to their plates.
Drinks and glassware
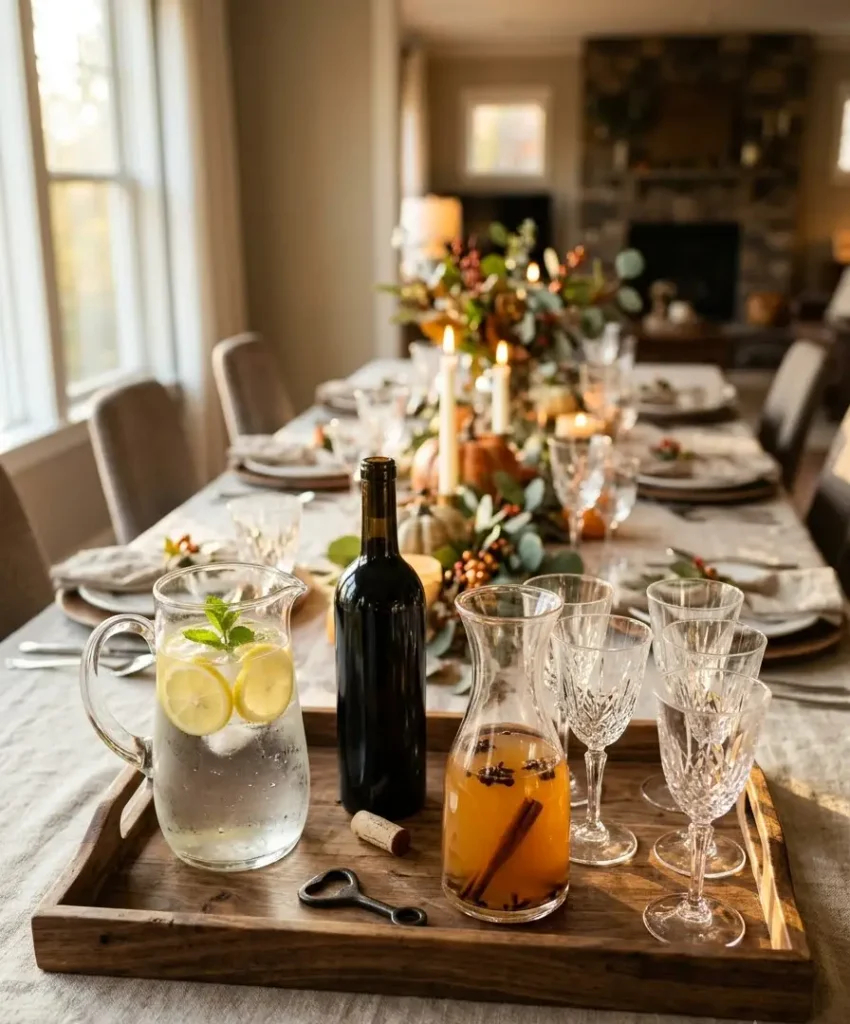
Pitchers of water, wine bottles, and cider carafes go at the corners or on a nearby tray.
I keep a tray at one end of the table with the wine, a bottle opener, and a water pitcher. That way I’m not jumping up for refills every five minutes.
Desserts
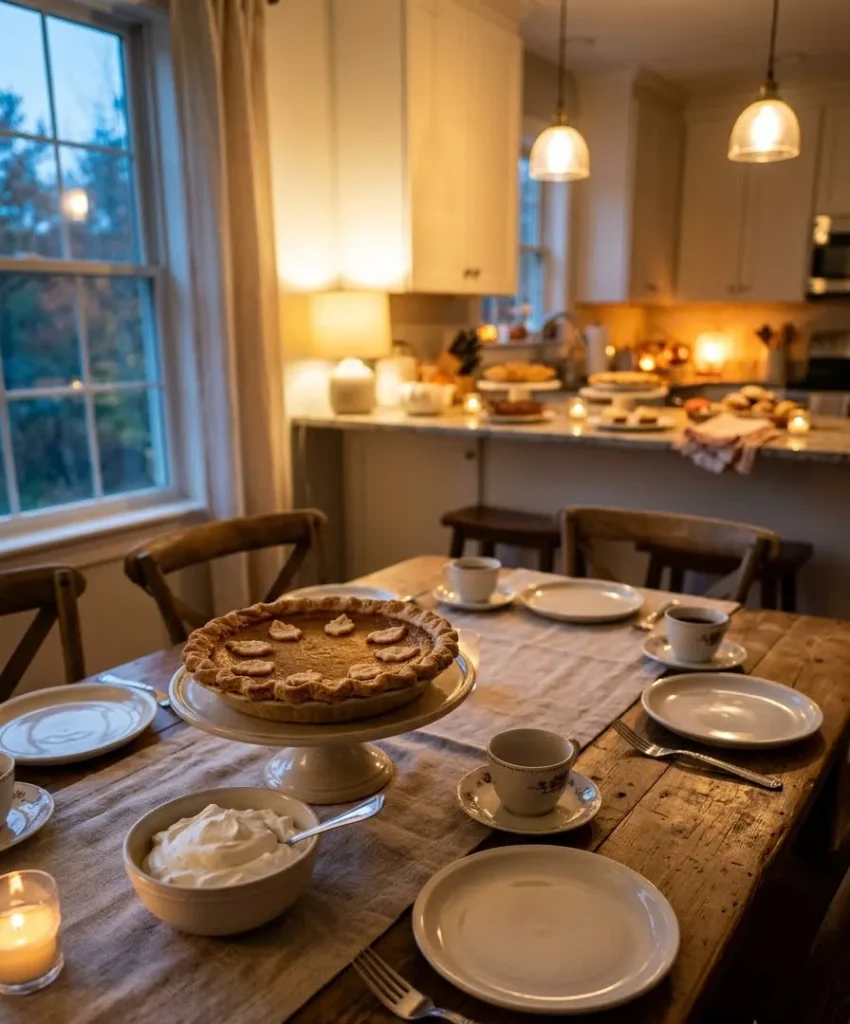
Pies stay off the table until the plates are cleared. Set up a dessert station on the counter, with pies, a pie server, whipped cream, and small plates.
This keeps the main table from looking like a food pile, and it gives you a second photo-worthy moment.
Layout example 1: a table for 6 (family style)
A table for 6 usually runs 60 to 72 inches long. You’ve got room for a lean but beautiful spread.
Here’s how I arrange it:
- Center of the table: a low centerpiece (a few pumpkins, candles, and some greenery), no taller than 6 inches so everyone can see across.
- Head of the table: the turkey platter, placed in front of the person who carves.
- Left of center: mashed potatoes and gravy.
- Right of center: stuffing and green beans.
- Foot of the table: sweet potatoes and cranberry sauce.
- Between place settings: a bread basket at each side, with butter.
Six people can reach almost everything without standing. I serve the dessert from the counter afterward.
Layout example 2: a table for 10 to 12 (long rectangle)
Big tables need a plan, or the middle becomes a no-man’s land that nobody can reach. Here’s how I split a 8-foot table into zones.
- Zone A (left end): turkey and carving station, plus the first bread basket.
- Zone B (center-left): mashed potatoes, gravy, and stuffing.
- Zone C (center): a low centerpiece, flanked by candles and two small bowls (cranberry and pickles).
- Zone D (center-right): green beans, roasted vegetables, and sweet potatoes.
- Zone E (right end): a second bread basket, a salad, and the water pitchers.
Duplicate the gravy and cranberry sauce if you can. Two gravy boats, one near each end, make a huge difference for people sitting far from the turkey.
This is where I use the “hybrid” approach. If a guest in the middle can’t reach the green beans, I hand the dish around once at the start, and it floats loosely wherever there’s room. Nobody remembers. They just eat.
Layout example 3: a buffet line on the kitchen island
A kitchen island is the ideal buffet spot. It’s already counter height, it’s near the oven, and it keeps guests moving.
Set it up in the order guests actually build a plate:
- Plates at the start (stack them in a neat tower).
- Turkey, carved and platter-ready.
- Stuffing and mashed potatoes.
- Gravy, right beside the potatoes.
- Vegetables and casseroles.
- Cranberry sauce and rolls.
- Napkins and silverware at the very end (so nobody juggles them while serving).
Napkin-wrapped silverware in a basket at the end is a small trick that changes everything.
People carry plates with both hands, and fumbling for forks mid-line causes a bottleneck.
Place the drinks on a separate table or cart so the line doesn’t tangle with the thirsty crowd. And label the dishes.
A tiny chalkboard sign or a folded card on each dish helps guests with allergies and picky eaters (hi, Uncle Dan).
Layout example 4: a small table or apartment setup
Small spaces demand creativity. My first Thanksgiving in a studio apartment had a 4-foot round table and 7 guests.
It was chaos. It was also one of my favorite years.
Here’s how I made it work:
- Use the counter as your main buffet. Put every dish on the kitchen counter and let guests build plates there.
- Keep the table clear for plates, drinks, and one tiny centerpiece.
- Pick fewer, bigger dishes. Choose 5 sides instead of 9, and make each one count.
- Stack serving dishes on a rolling cart or a tiered stand to save horizontal space.
- Use small bowls and a platter instead of full casserole dishes. Tiny serving bowls stay tidy and look polished.
A small table with a single, simple centerpiece and a few candlesticks looks calm instead of crowded. Pinterest rewards that cozy, intimate look.
A quick reference table
Here’s a short cheat sheet. Use it as a starting point and adjust to your table.
| Setup type | Best for | Guest count | Key move |
|---|---|---|---|
| Family style | Cozy gatherings | 6 to 10 | Duplicate gravy and bread |
| Buffet line | Larger crowds | 10 or more | Plates first, silverware last |
| Hybrid | Mixed groups | 8 to 14 | Hot mains on the table, rest on island |
| Counter service | Small spaces | 4 to 8 | Clear the table, serve at the counter |
A quick side note about gravy boats
Okay, slight detour. I own four gravy boats. I bought the first for $9, the second at a flea market, and the others because my sister gave them to me as a joke gift after the 2017 incident.
I bring this up because the best tableware investment I ever made was a set of small, heavy-bottomed serving bowls with wide handles. Light, tippy dishes cause spills.
Heavy ones sit still. If you hunt for one thing at a thrift store this fall, hunt for those. Back to the table.
How to style the table so it looks Pinterest-ready
A functional layout matters most. A pretty one earns the screenshots. Here’s what I do every year to make my table photograph well.
Build the base with layers
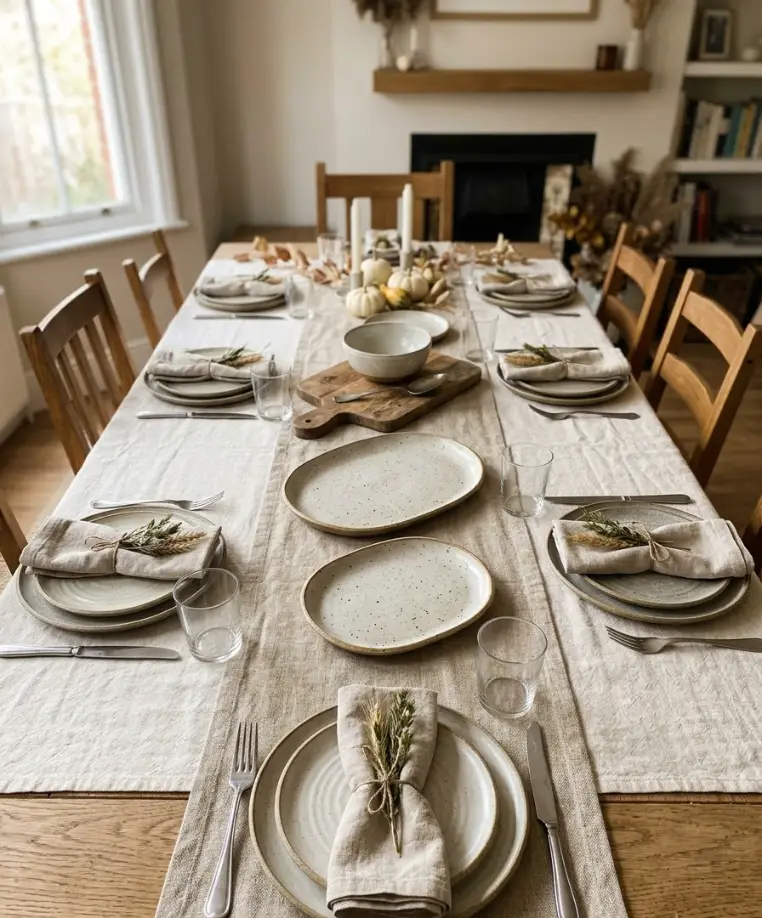
Start with a neutral tablecloth or a bare wooden table. Add a linen or burlap runner down the center, then stack your dishes on top.
Layers (cloth, runner, wood boards, dishes) give the table depth in photos.
Pick a color palette and stick to it
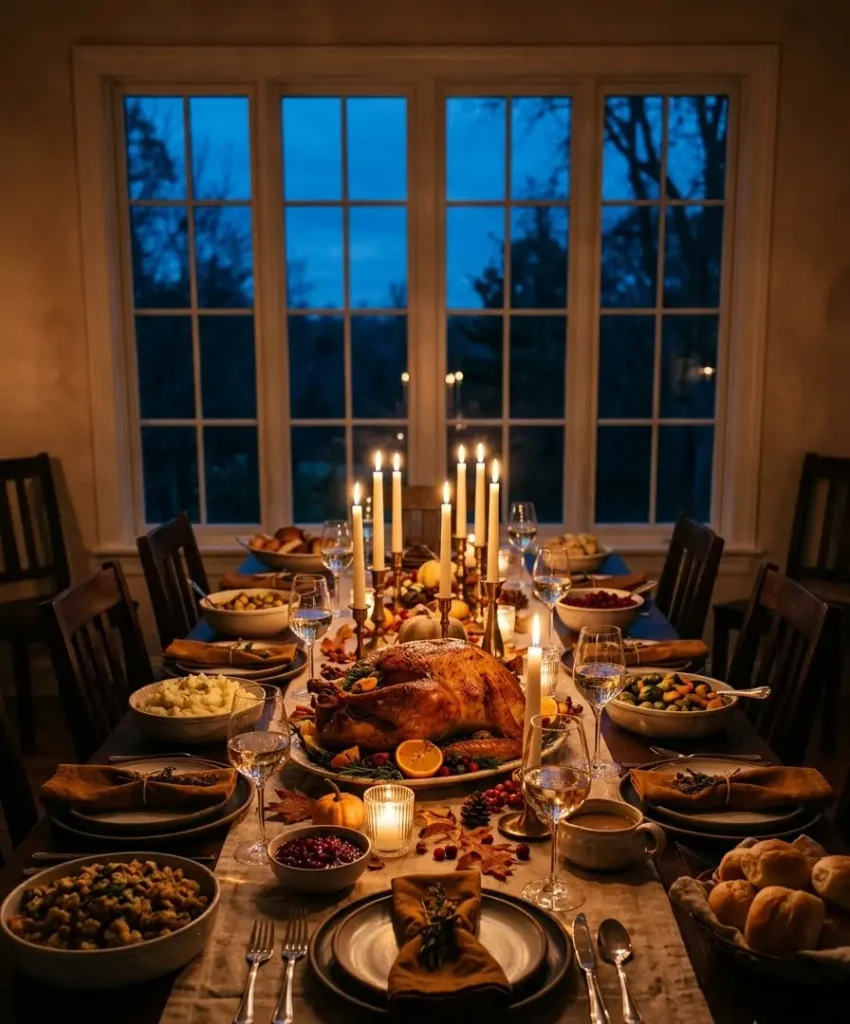
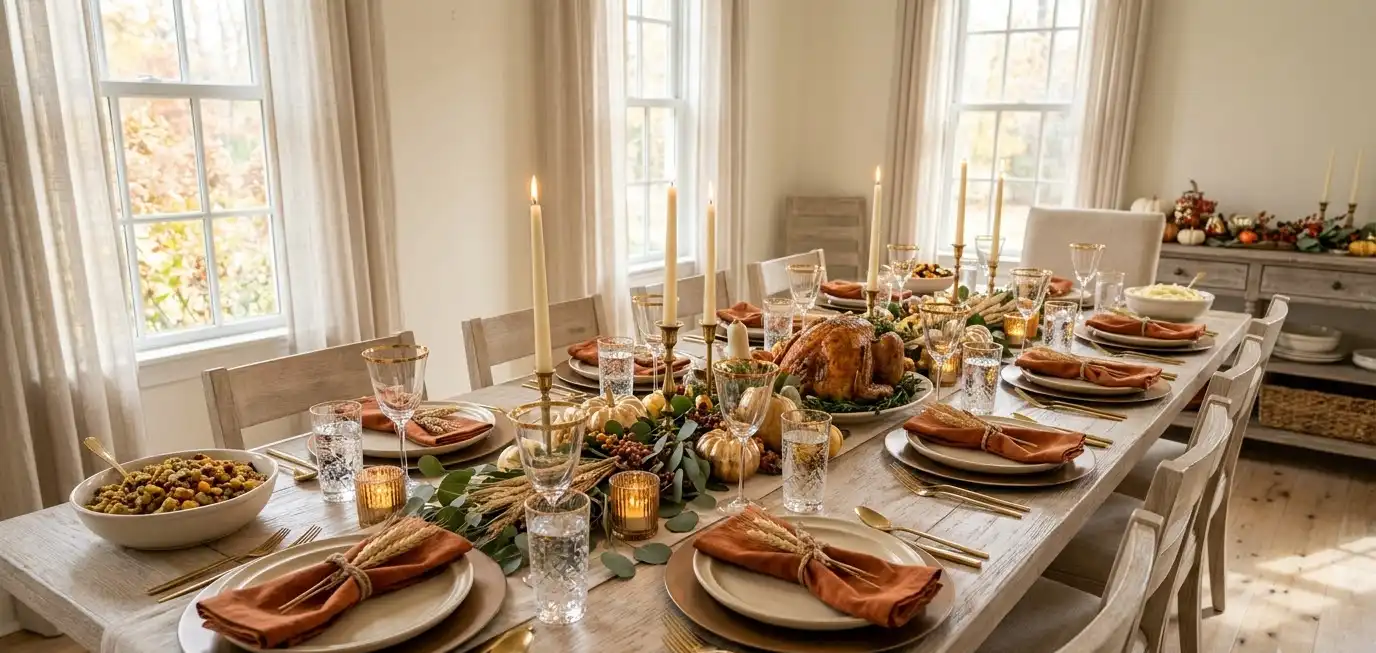
I choose three colors each year, usually rust, cream, and olive green. Matching your napkins, candles, and florals to that palette makes the whole spread look planned.
Pinterest boards for Thanksgiving tables lean heavily on warm neutrals, deep burgundy, and sage.
Use wooden boards and cake stands for height
A wooden cutting board under a bowl of cranberry sauce looks intentional. A cake stand under a plate of rolls adds a second level.
Even a stack of two books under a tablecloth creates a platform.
Add greenery and seasonal touches
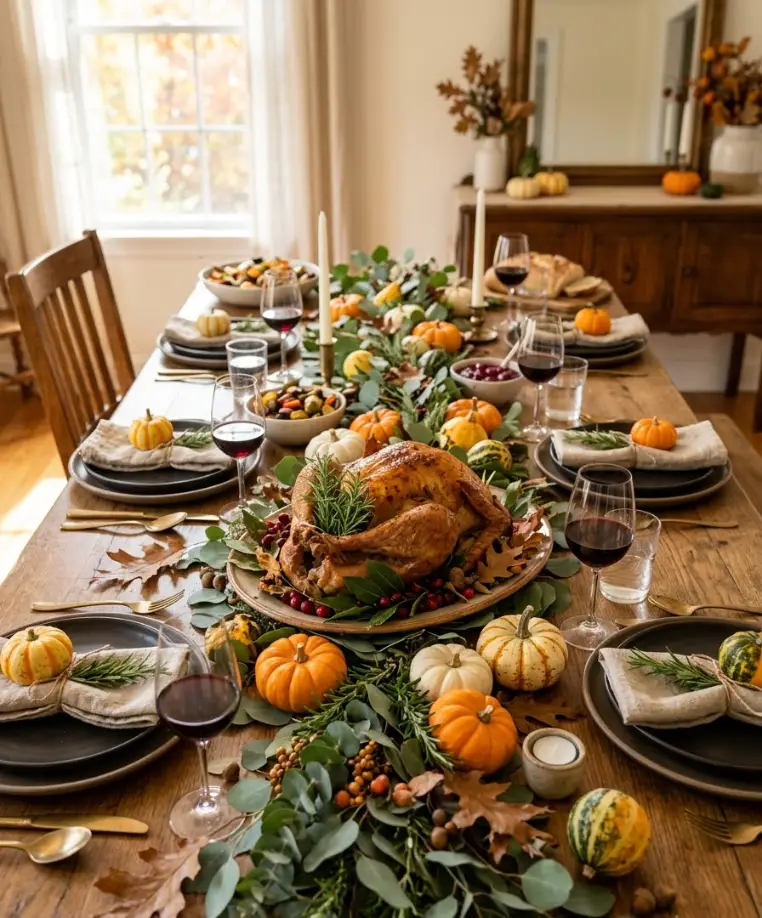
Eucalyptus, rosemary sprigs, and a few mini pumpkins are cheap and gorgeous.
I clip rosemary from my yard and tuck it around the turkey platter. It smells wonderful and costs nothing.
Light the table with candles
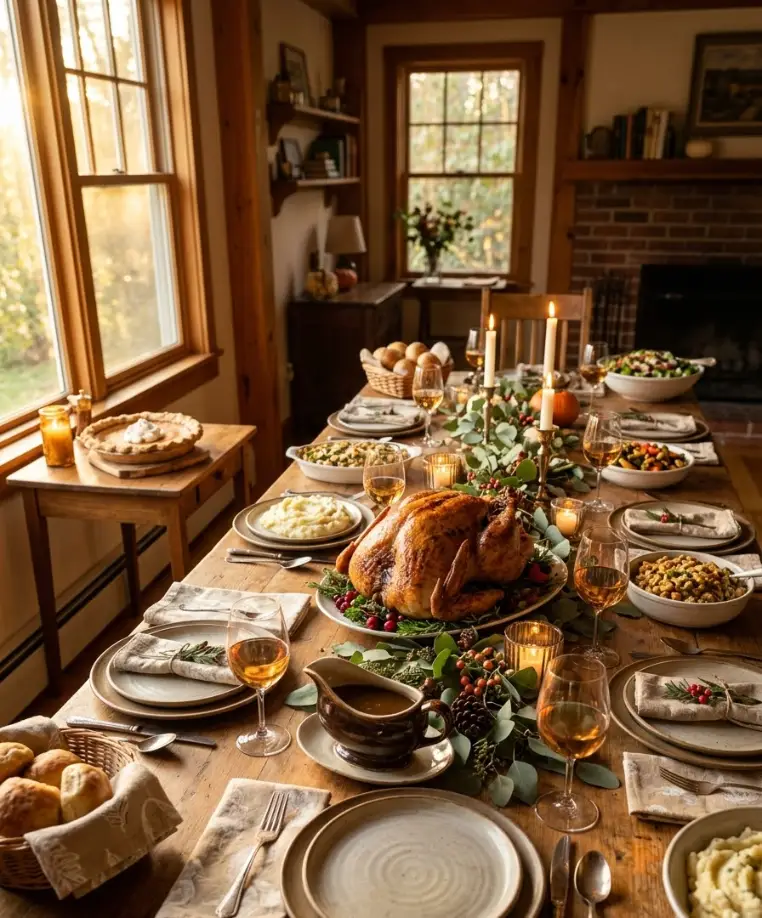
Taper candles in mismatched holders look moody and warm. Keep them low or far enough from the dishes that no wax drips into the stuffing.
Set them in the gaps between the dishes, and your table gets a glow without crowding.
Label dishes with small cards
Handwritten place cards for food look adorable and solve a real problem. A guest with a gluten sensitivity can read “stuffing (contains bread)” without interrogating the cook. I use small kraft paper tags and a fine-tip marker.
Keep the food safe while it sits on the table
Gorgeous food that makes people sick is a bad trade. A few basics keep everyone healthy.
The USDA calls 40°F to 140°F the temperature danger zone, because bacteria multiply quickly in that range.
Hot food should stay above 140°F, and cold food should stay below 40°F. Perishable food should not sit out for more than 2 hours.
Here’s how I handle it:
- Keep hot dishes warm with chafing dishes, slow cookers, or a low oven (around 200°F).
- Set cold dishes on ice if they’ll sit out for a while.
- Carve the turkey in batches and keep half the meat warm in the kitchen.
- Use a food thermometer. The USDA’s turkey safety guide recommends cooking turkey to an internal temperature of 165°F.
FYI, I set a phone timer when the food hits the table. It buzzes at the 2-hour mark, and that’s my cue to pack up leftovers.
It sounds fussy. It prevents the kind of stomachache nobody wants to remember.
The kids’ table and the dessert station
Every family has a kids’ table, and every kids’ table deserves a little planning.
Make the kids’ table its own zone
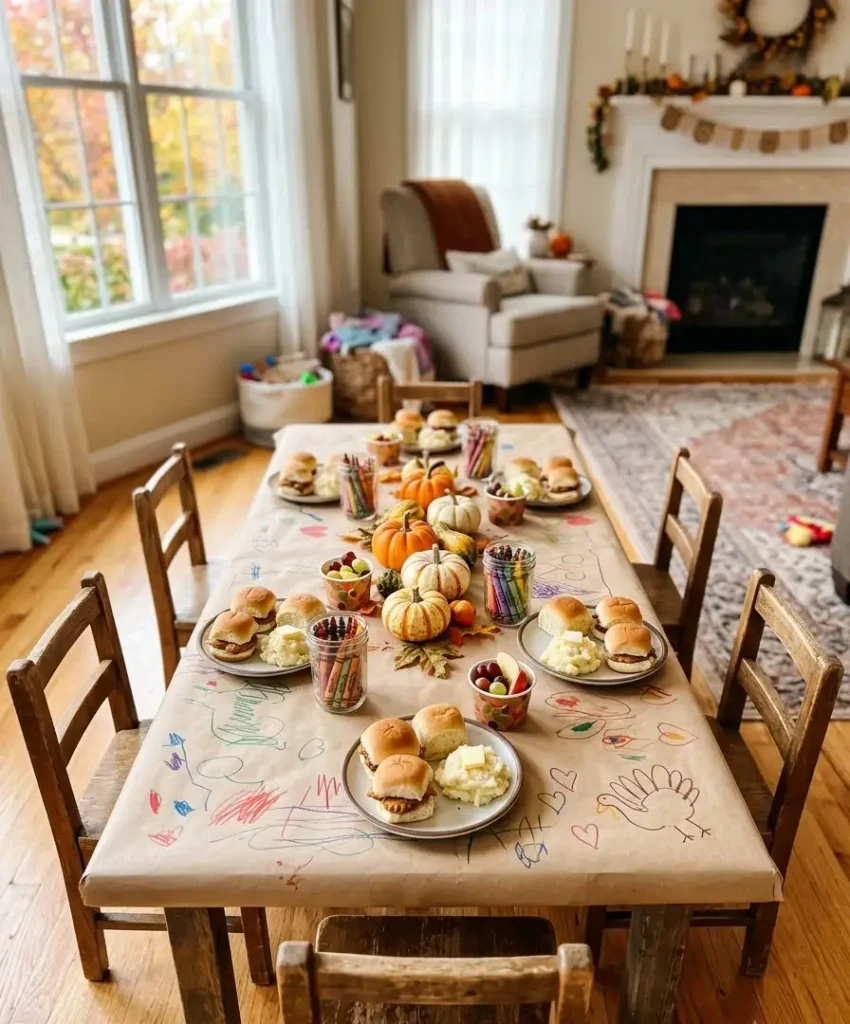
I put a roll of kraft paper down as a tablecloth, set out crayons, and add small plates with simple foods.
A few sliders, a plain roll, mashed potatoes, and some fruit cover most picky eaters. Kids stay busy with the crayons, and the adults enjoy a calmer meal. Everybody wins.
Set up the dessert station
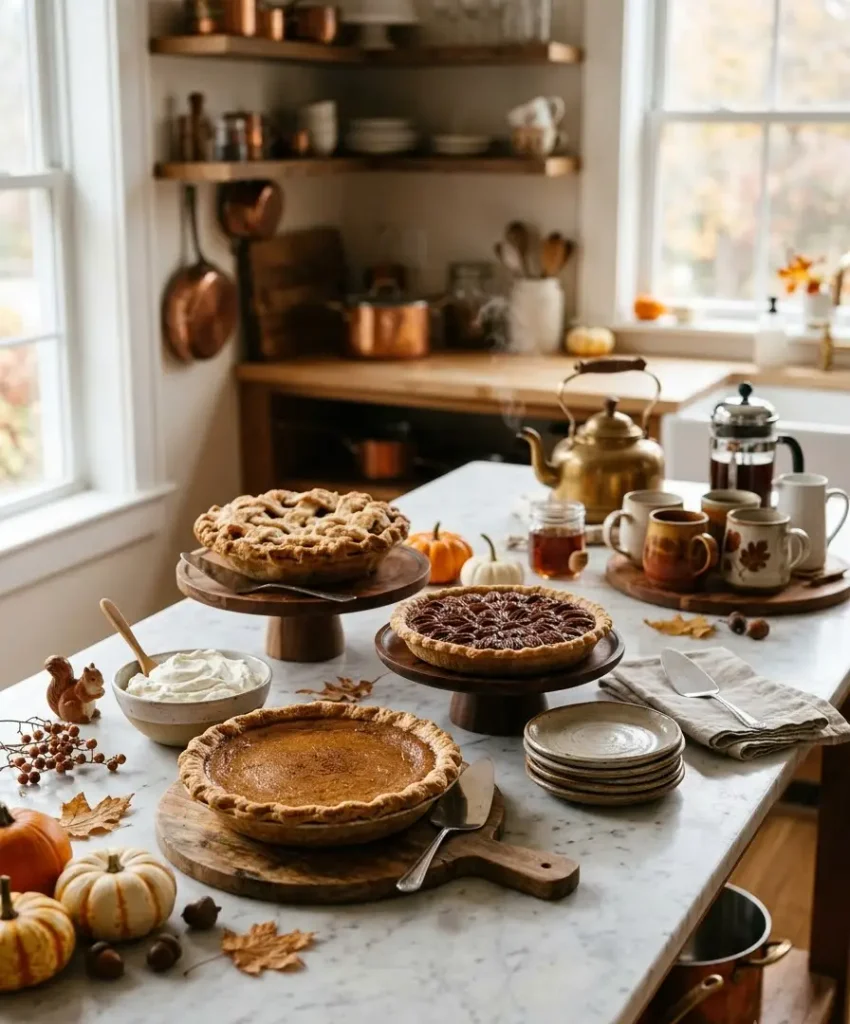
Clear a counter or a side table, and line up the pies. I put out a pumpkin pie, a pecan pie, and an apple pie, plus whipped cream and a stack of small plates.
A coffee and tea setup next to the desserts gives guests a reason to linger.
Place the pie server beside each pie, and cut the first slice of each so the pie looks inviting. Nobody wants to be the first person to hack into a perfect pie.
Mistakes I’ve made so you don’t have to
I’ve collected a long list of Thanksgiving blunders. Here are my top offenders.
- I put the gravy in the far corner. Half the table ate dry turkey for an hour.
- I forgot serving spoons. Guests used their own forks. Gross.
- I crowded the centerpiece. A tall floral arrangement blocked everyone’s view of each other, and conversation died. This is insane, because I spent $40 on those flowers.
- I ignored the traffic flow at the buffet. Two guests got stuck in a standoff over the stuffing.
- I skipped labels. A guest with a nut allergy had to ask about every single dish. That’s on me.
Every one of these mistakes taught me something. Honestly, I’d rather you learn from my disasters than from your own.
A simple day-of timeline
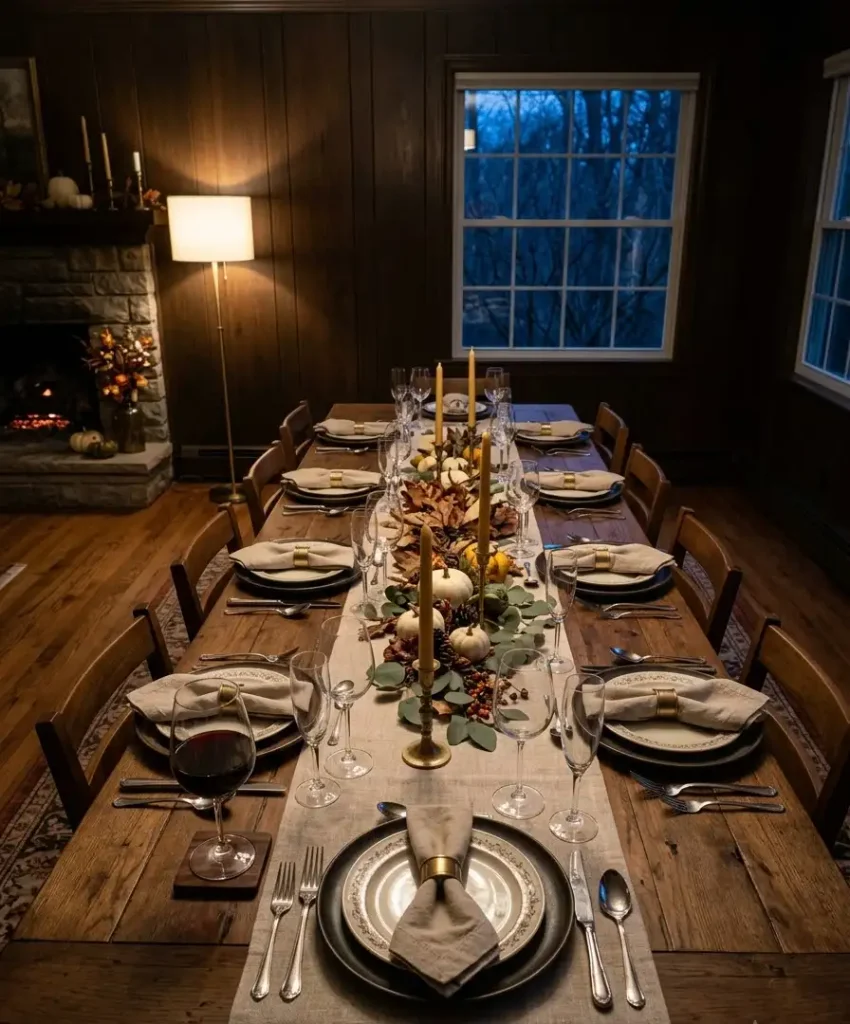
A smooth table starts hours before dinner. Here’s the schedule I follow.
- The night before: Set the table. Lay the cloth, place the plates, fold the napkins, and put out the candles. Label every serving dish with a sticky note showing where it goes.
- Morning of: Arrange the centerpiece, set up the drink station, and place the empty serving dishes where they’ll go.
- 2 hours before dinner: Prep the buffet surface or the table zones. Put out trivets and serving utensils.
- 30 minutes before dinner: Carve the turkey, warm the sides, and fill the gravy boats.
- 10 minutes before dinner: Light the candles, pour the first round of drinks, and carry the dishes to their spots.
Setting the table the night before is my favorite move. It takes 20 minutes and removes the single most stressful chore from the big day.
And you get to admire your work with a glass of wine while the house is quiet.
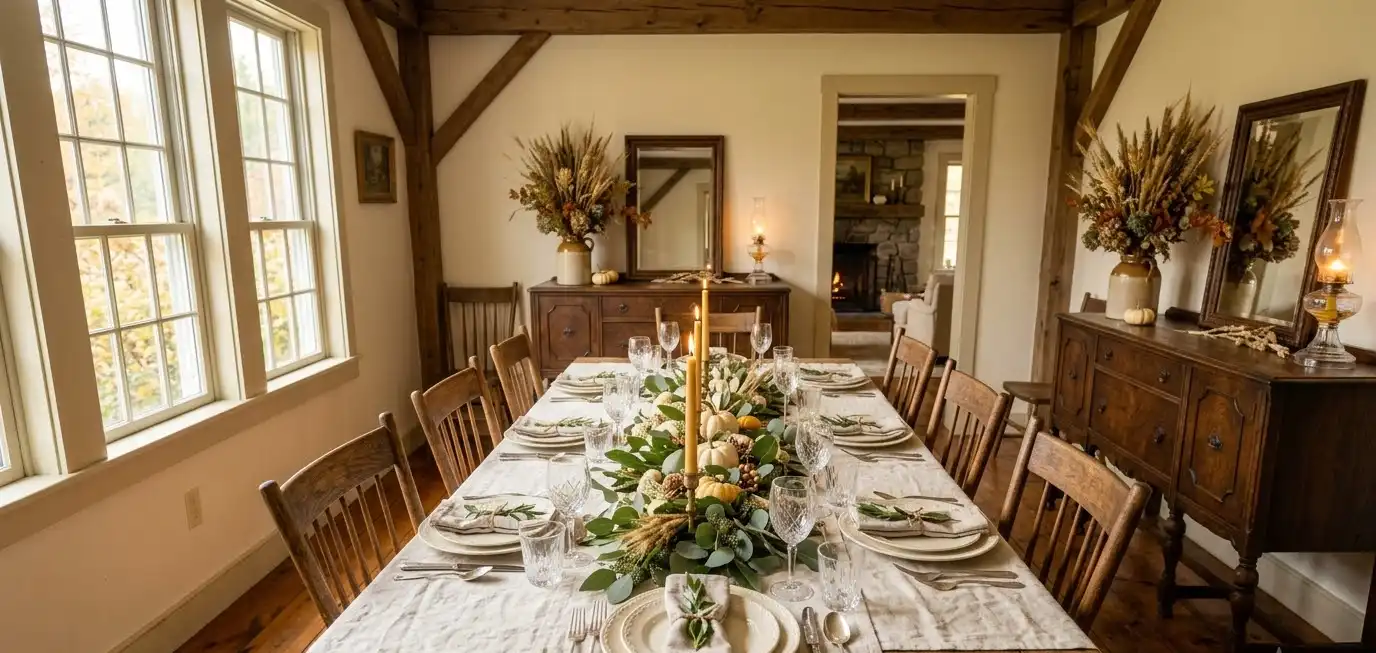
Thanksgiving Table Setup Elegant On A Budget How To Create A High End Look For Less
Check It Out →Frequently asked questions
How much table space does each dish need?
Plan on about 10 to 14 inches of width per standard serving dish, plus a few inches for a spoon rest.
A 9×13 casserole needs the most room. If your table can’t hold everything, move the cold sides or the desserts to a side table.
Should the turkey go in the center of the table?
You can put it in the center for a classic look, but I prefer the head of the table or a sideboard.
A big bird in the center blocks sightlines, and carving at the table makes a mess.
If you love the dramatic presentation, set the whole turkey in the center for photos, then carve it in the kitchen.
How do I set up a Thanksgiving buffet without a long line?
Arrange the food in the order guests build their plates, with plates first and silverware last.
Add a second line if you have more than 15 guests, and place drinks away from the food.
Duplicating popular dishes, like stuffing and mashed potatoes, also keeps the line moving.
Final thoughts
A great Thanksgiving table food setup comes down to a handful of decisions: measure your space, group your dishes by pairing, keep hot items near the carver, and leave room for serving spoons.
Choose family style, buffet, or a hybrid, and copy whichever layout fits your guest count.
Style it with layers, candles, and a few sprigs of greenery, and you’ll end up with a table worth pinning.
My best Thanksgivings had a lopsided gravy boat, a pie that slumped a little, and a table full of people who didn’t care. The food matters. The people matter more.
So tell me, which dish always ends up in the wrong spot on your table, and what will you try differently this year?
Drop your layout idea in the comments, and pin this guide to your Thanksgiving board so you have it when the oven timer starts beeping.