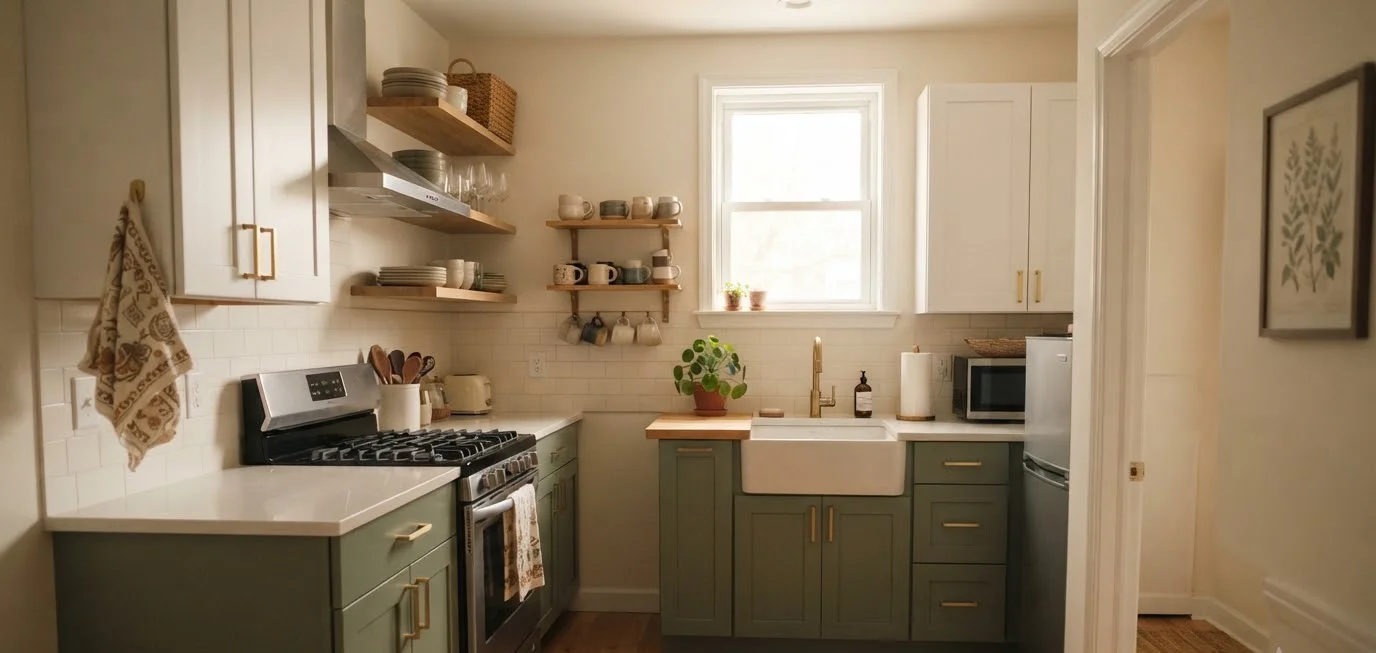
The kitchen in that first place was 58 square feet. I measured it twice because I didn’t believe the tape.
Two years and roughly $1,400 later, people asked which designer I used.
There wasn’t one. There was a lot of trial, a couple of expensive mistakes I won’t repeat, and a growing pile of paint samples on my counter.
That’s the thing nobody tells you about small kitchens: size has almost nothing to do with how expensive a kitchen looks.
Proportion does. Finish quality does. Restraint does. A tiny galley kitchen with the right hardware can read more custom than a sprawling one with mismatched everything.
If you’ve been scrolling Pinterest boards of dreamy kitchens and feeling a little defeated by your own square footage, I get it.
I’ve been there. This list is the stuff I actually tried, plus a few ideas from designers and renovators whose work I trust,
all aimed at getting that expensive, collected look without the expensive, collected price tag.
Start with paint, because it changes everything
Paint is the cheapest transformation available to you, full stop. A gallon runs $40 to $70, and the impact is completely out of proportion to the cost.
Skip the safe white. I did the safe white thing for a year and my kitchen looked like a rental unit, because, well, it was one.
Designers pushing 2026 trends are steering clients toward moody neutrals, softened earth tones,
and confident colors that make a kitchen feel current and considered instead of default, according to designer commentary on kitchen paint trends.
Here’s a short list of paint moves that punch above their price:
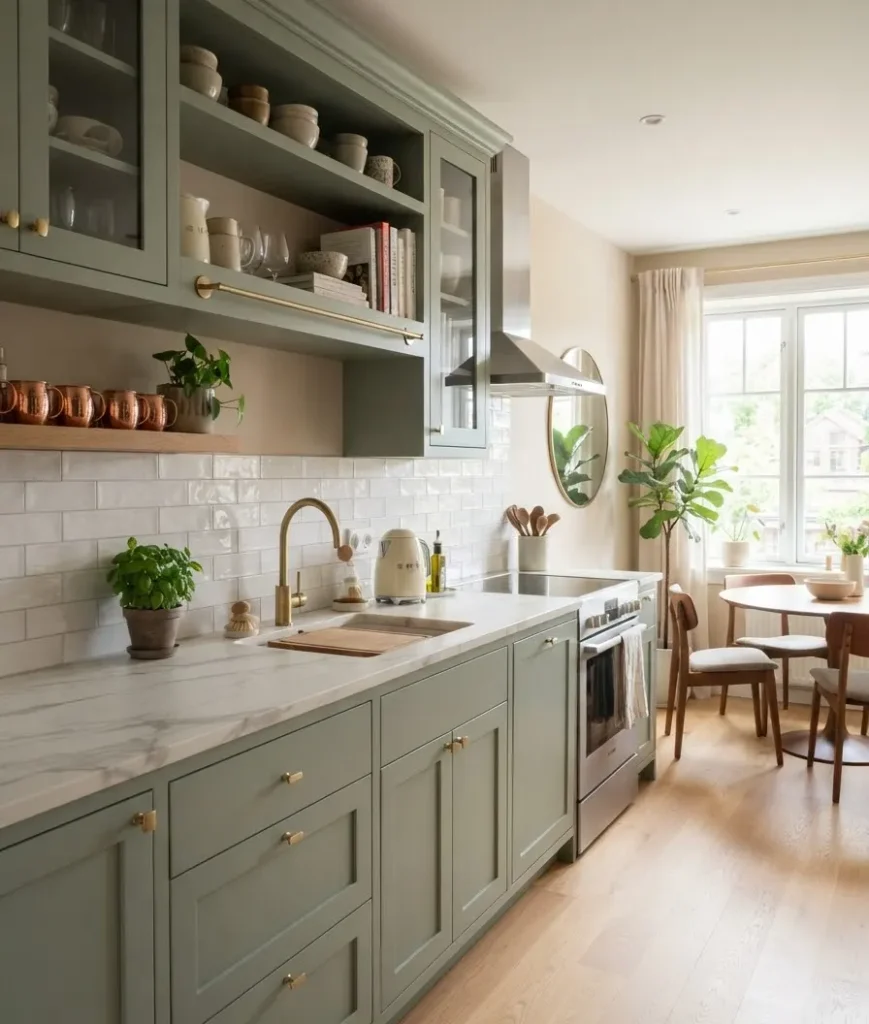
- Two-tone cabinets: darker lower cabinets, lighter uppers. This grounds a small room instead of making it feel like a white box.
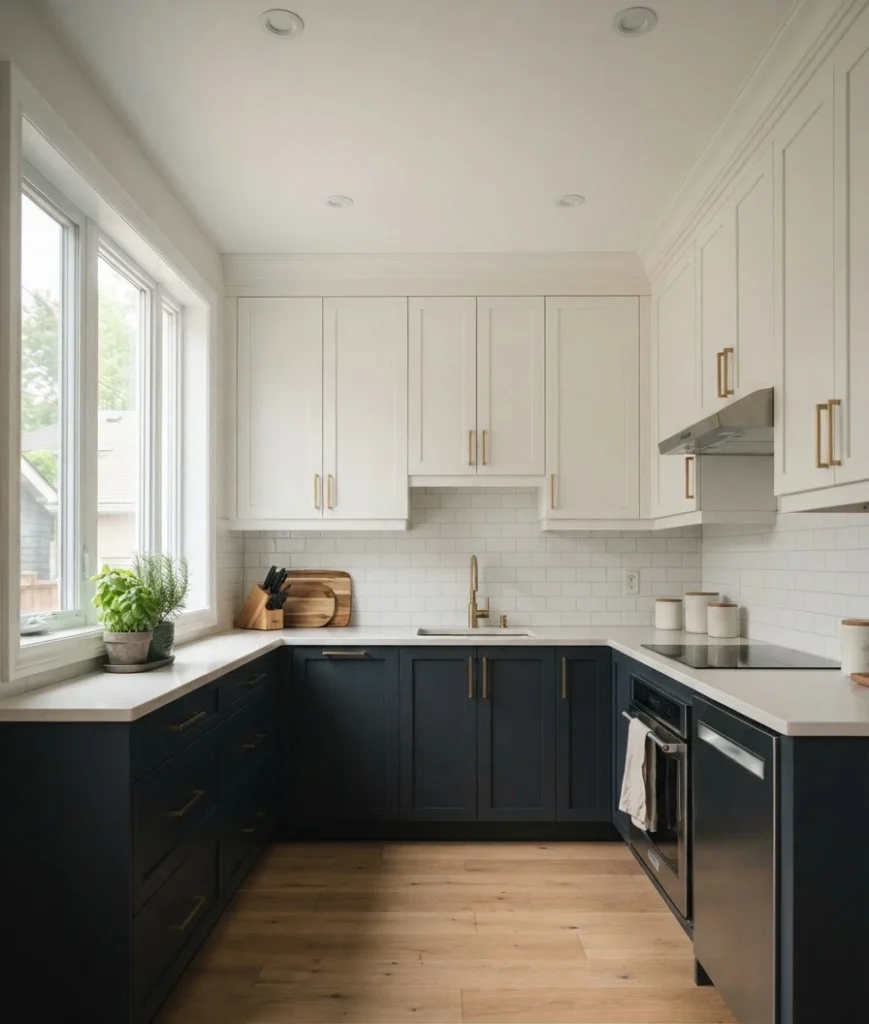
- A single deep color on lower cabinets only, left as an accent against neutral walls.
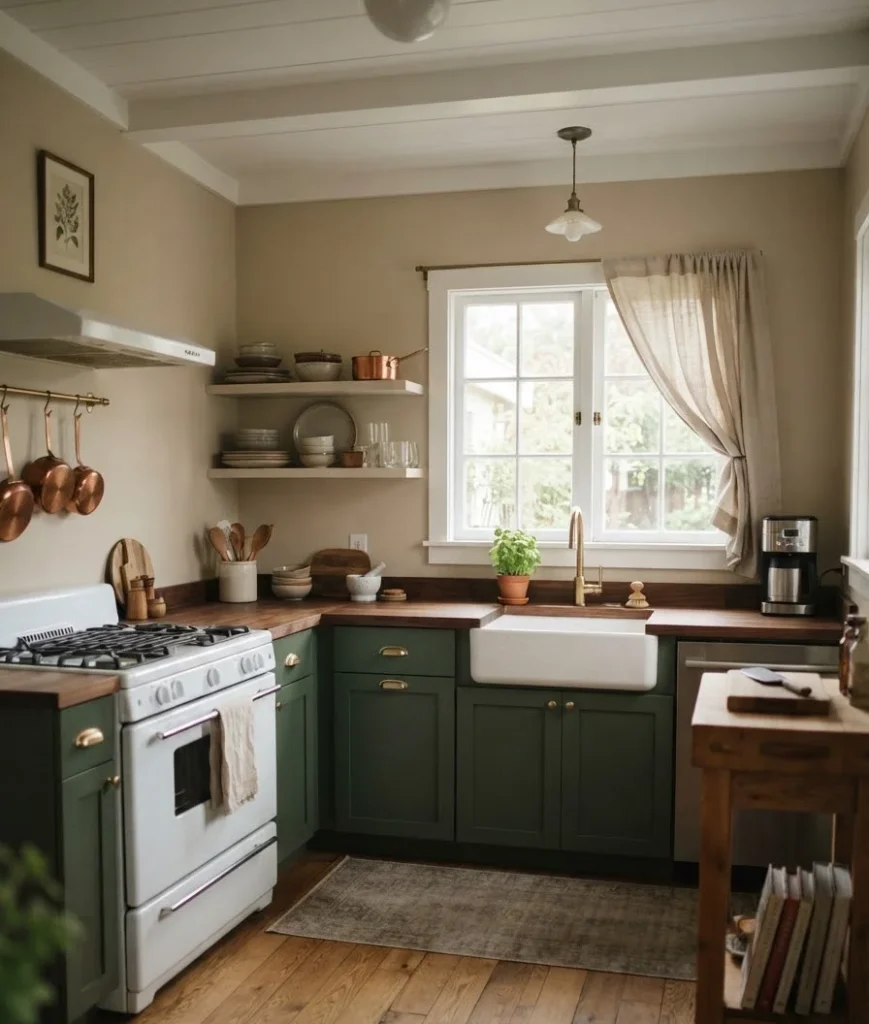
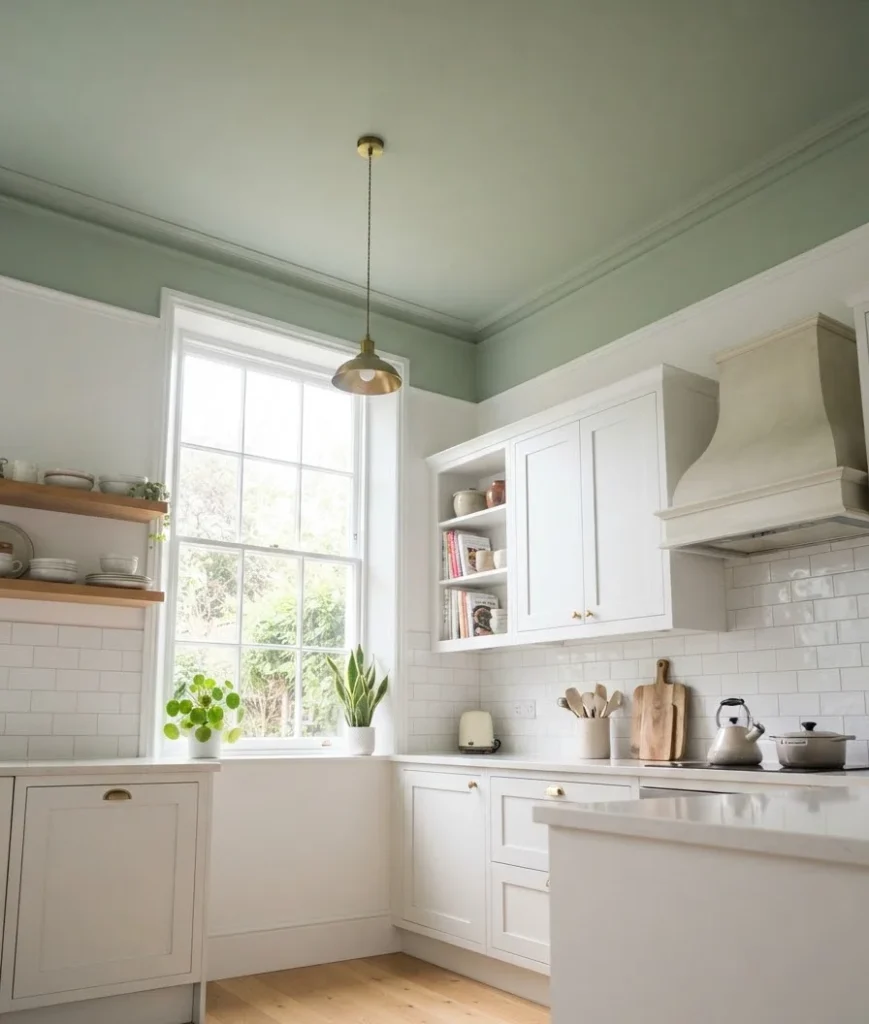
- Painted ceiling in a soft tone, which tricks the eye into ignoring low square footage.
- Matte black or forest green on an island or peninsula for instant contrast.
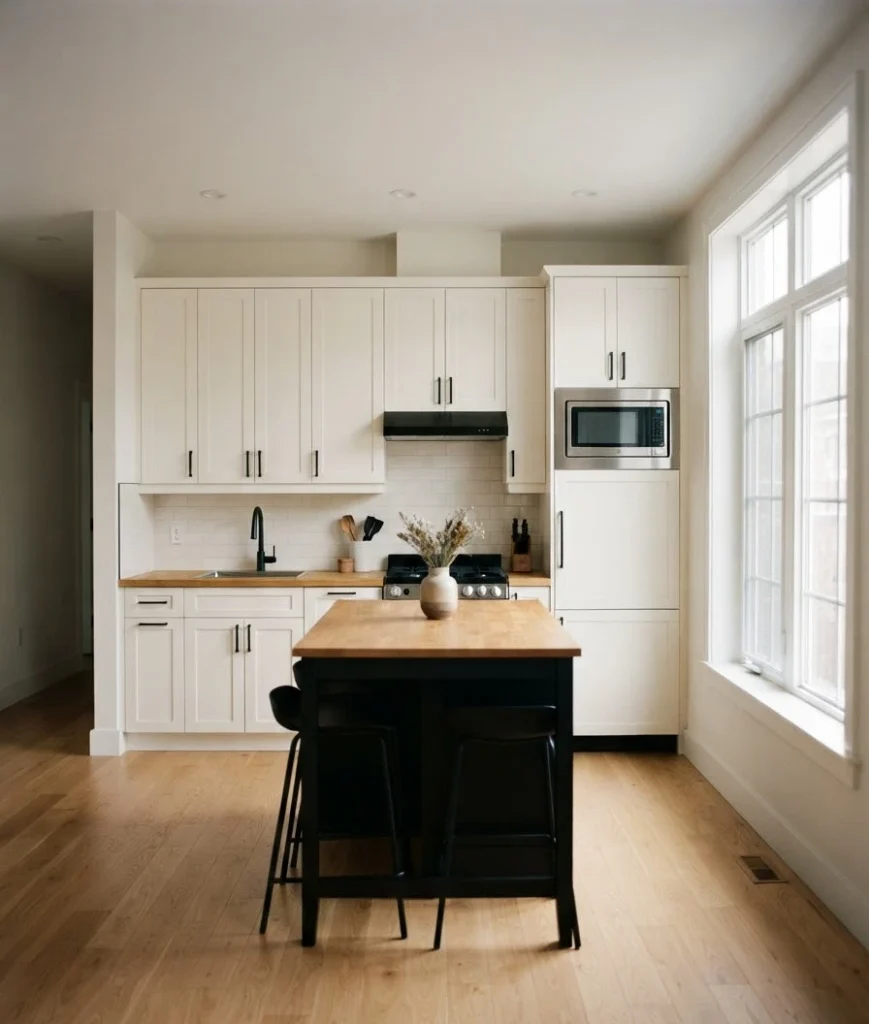
IMO the two-tone trick is the one worth trying first. It’s reversible, cheap, and forgiving if you pick a shade you later regret.
Cabinet fronts and hardware: the $240 kitchen that looked like $3,000
This one still makes me a little annoyed I didn’t try it sooner.
If your cabinet boxes are solid but the doors look tired, you don’t need new cabinets.
You need new doors. Companies now make replacement fronts that fit directly onto standard IKEA boxes, running roughly $40 to $120 per door depending on style,
and the difference in perceived quality is honestly kind of insane once they’re installed and the boxes underneath stay exactly the same,
but the doors look completely different, with a reveal and proportion that reads as custom rather than flat-pack.
Hardware matters just as much. Soft brass, mixed metals, and slightly sculptural pulls are what’s giving kitchens a collected,
not-matchy feel this year, and you don’t need to replace every single knob to get the effect.
A few hardware notes worth knowing:
- Focus your budget on the most visible cabinets first, not every single one.
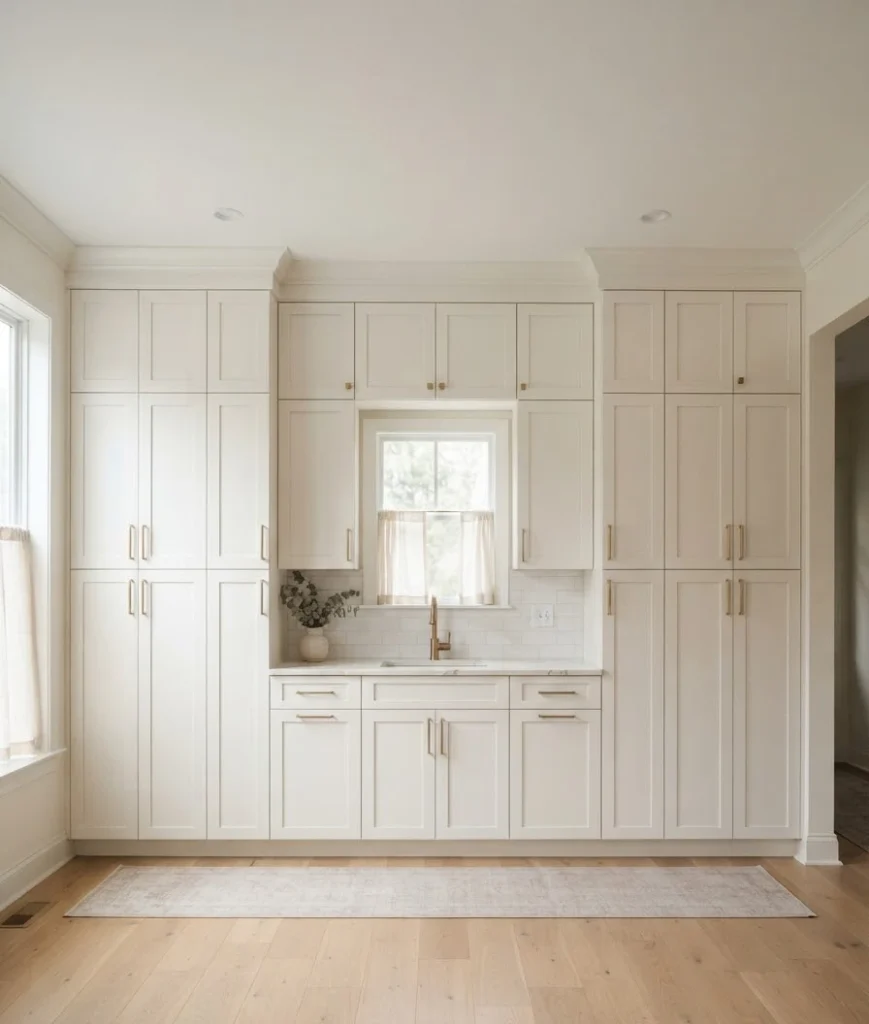
- Mixing two finishes (say, brushed brass and matte black) reads as intentional, not chaotic.
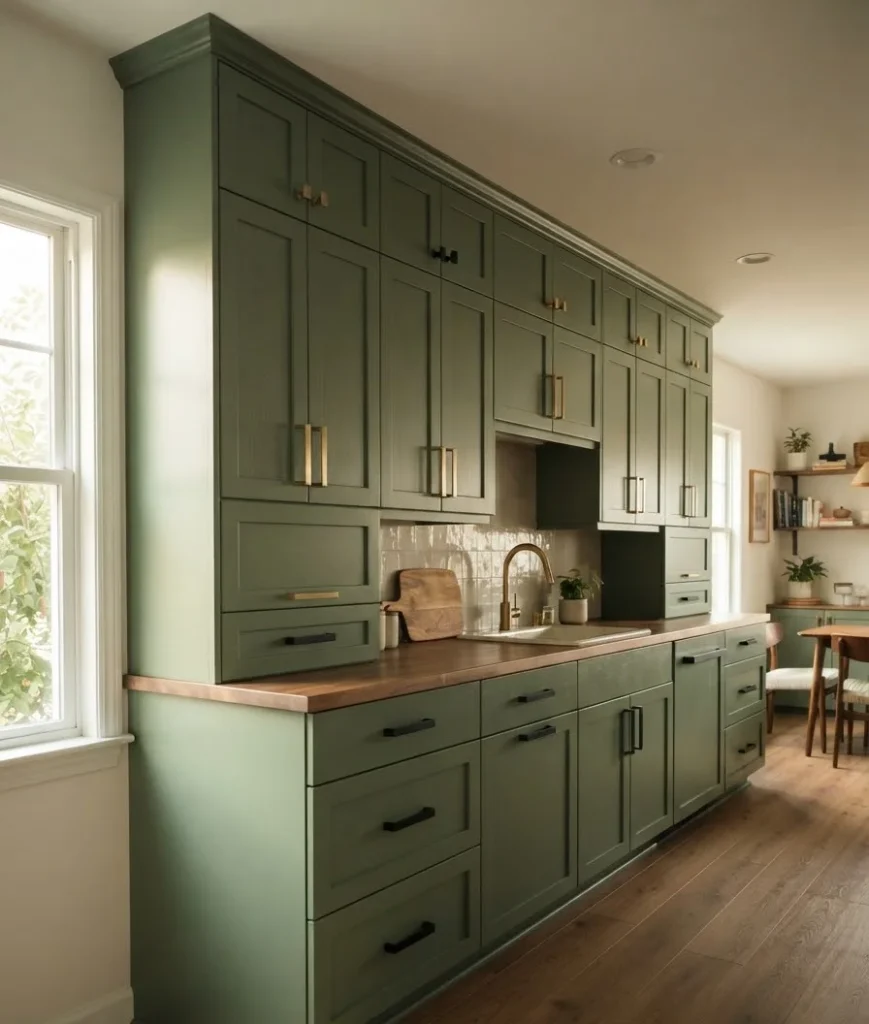
- Keep the finish consistent across whatever you do choose to replace.
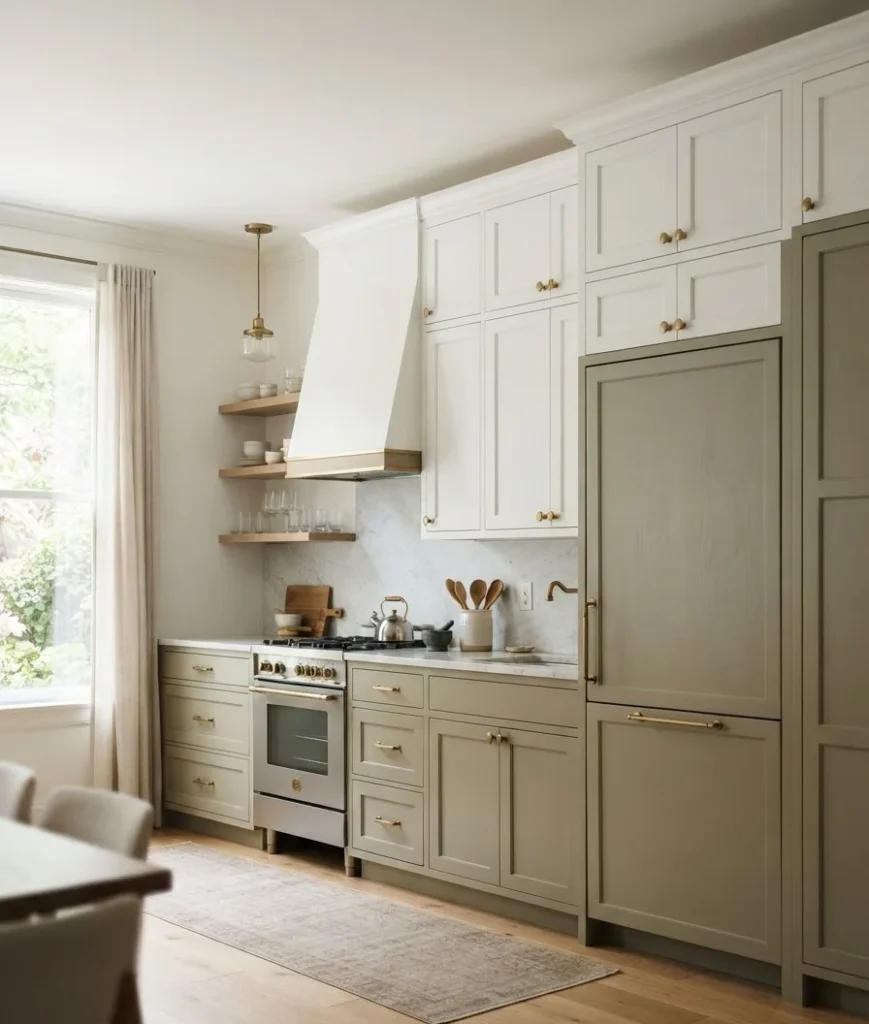
I mixed brass pulls with black cabinet hinges once, thinking it would look eclectic.
It looked like I ran out of one and grabbed the other. Lesson learned: mix on purpose, not by accident.
Lighting does more work than people expect
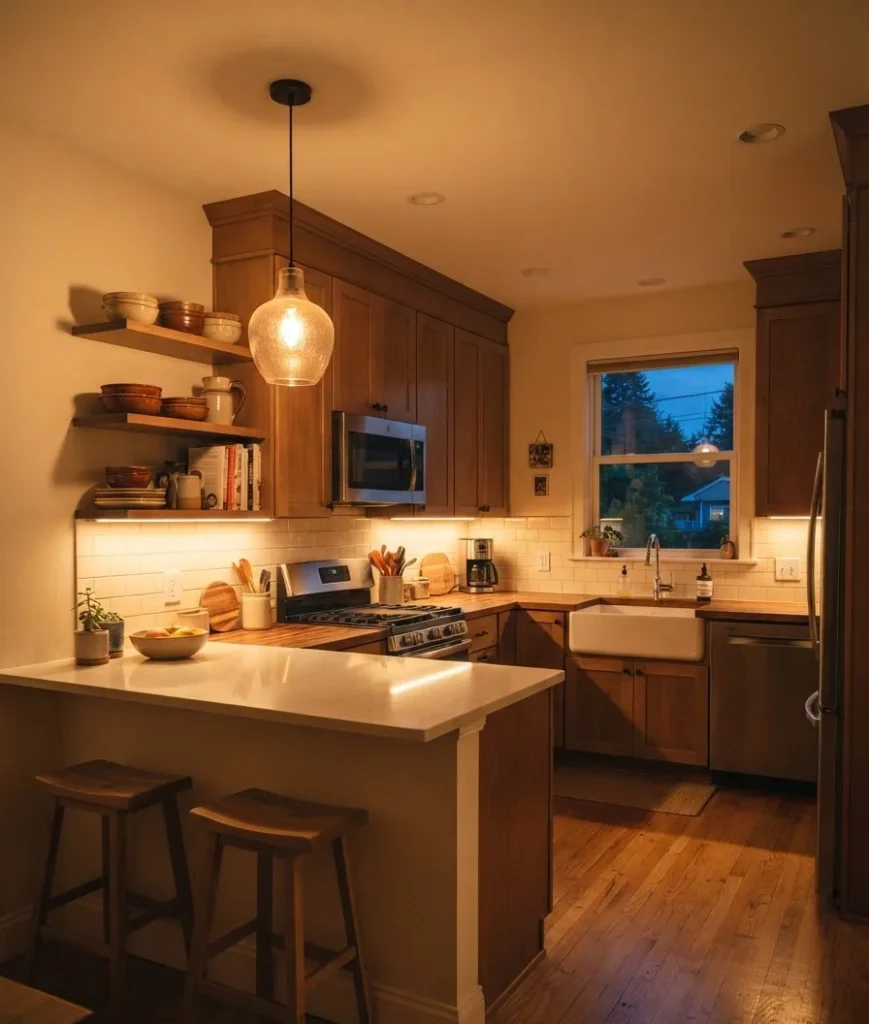
Under-cabinet LED strips cost under $30 and take an afternoon to install.
Layer that with a single statement pendant over your sink or a small peninsula, and suddenly your kitchen has depth instead of one flat overhead glow.
Ever notice how showroom kitchens never rely on a single ceiling light? That’s not an accident.
Layered lighting, warm-toned bulbs, and a dimmer switch change the entire mood of a room for the price of a nice dinner out.
Storage that looks designed, not desperate
Small kitchens live or die on storage, and this is where a lot of budget advice gets it wrong by suggesting flimsy over-the-door racks that look exactly like what they are.
Try these instead:
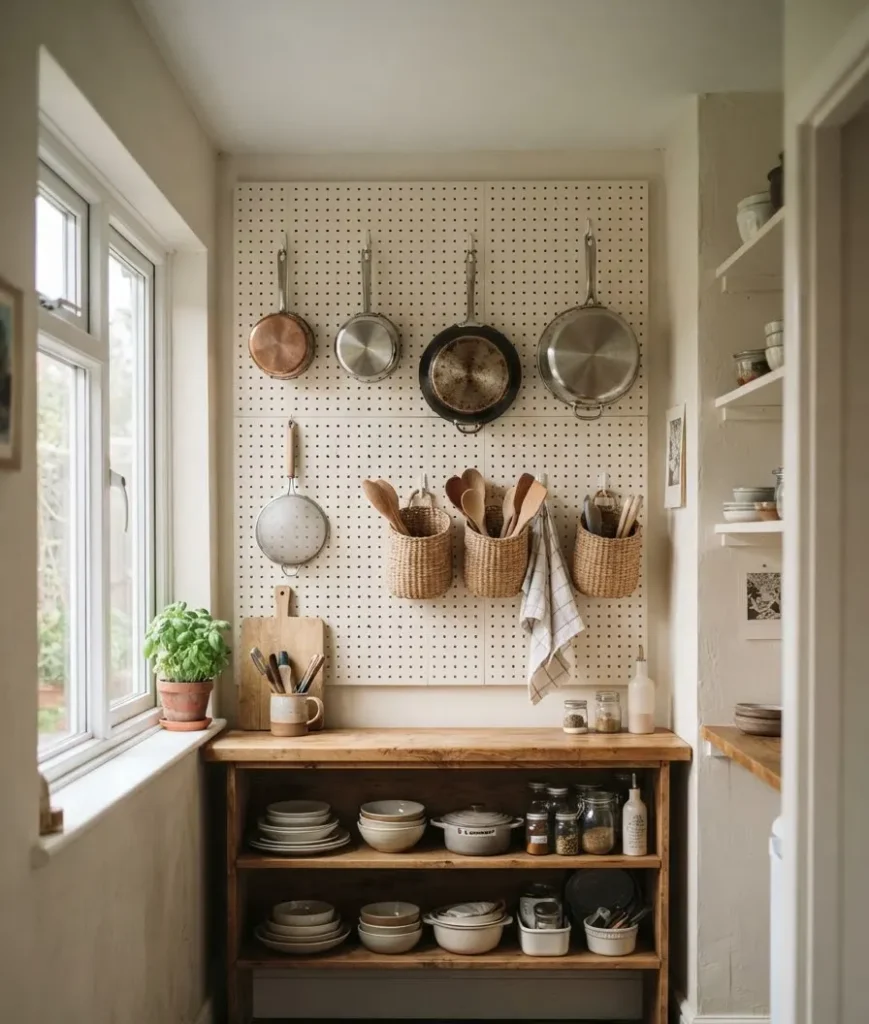
- Pegboard walls. Paint a 24-by-48-inch panel the same color as your wall for a built-in look, or go bold with a contrasting shade.
- Under $50 for board and hooks, and it replaces an entire base cabinet’s worth of daily-use storage.
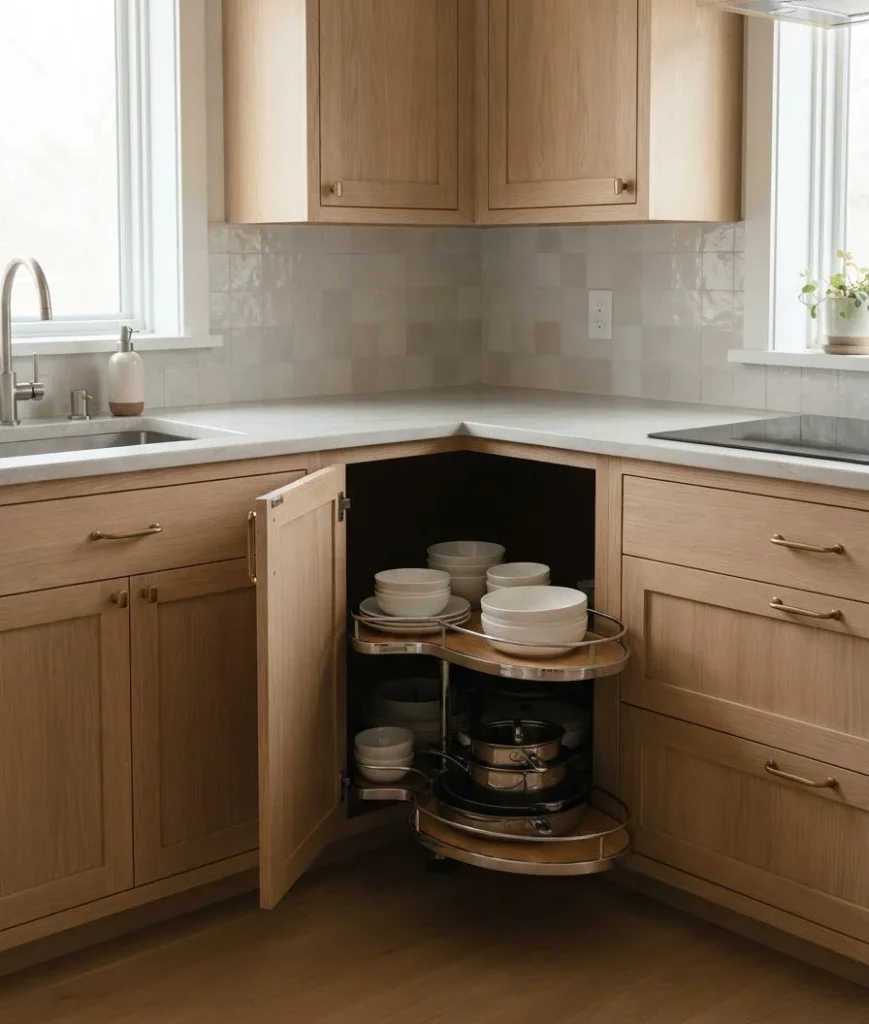
- Pull-out corner trays. Corner cabinets waste more space than almost any other element in a small kitchen. A rail-mounted pull-out system runs $200 to $600 installed and turns dead space into something usable.
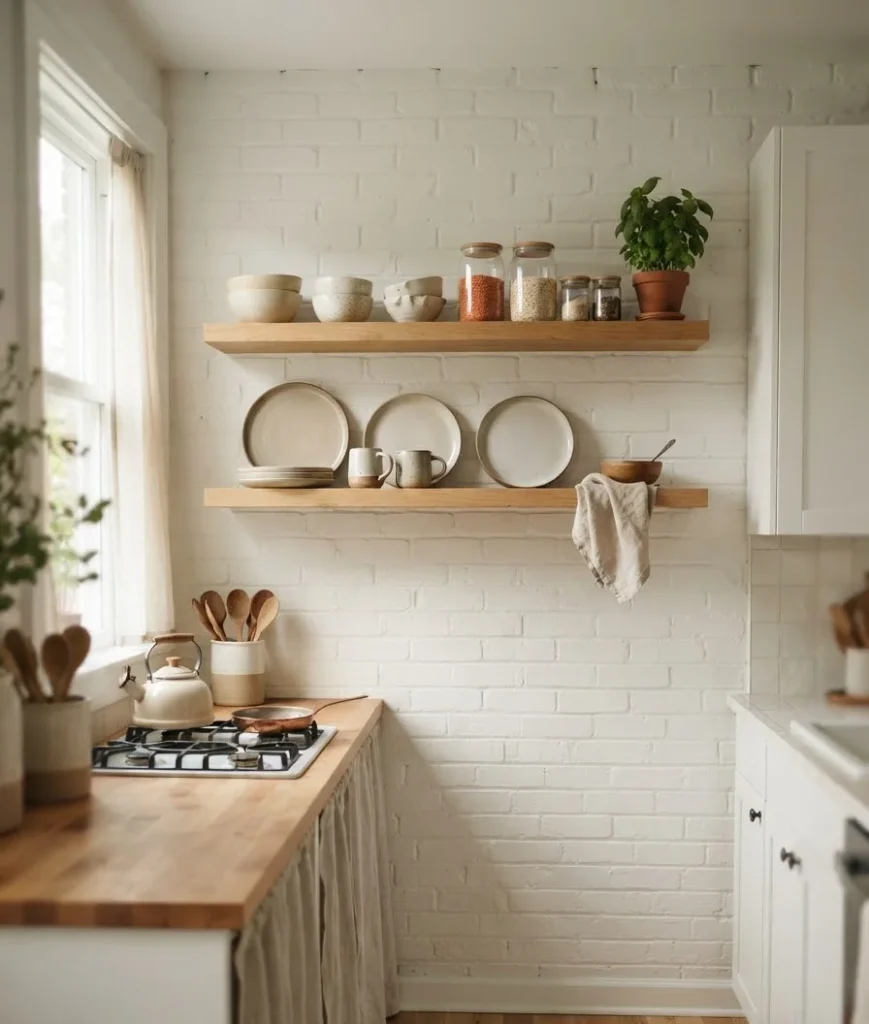
- Open shelving in place of one or two upper cabinets. It’s free if you already have the studs exposed, and it makes a small room feel less boxed in.
- A slim rolling cart as a mobile pantry, prep surface, or bar cart depending on the night.
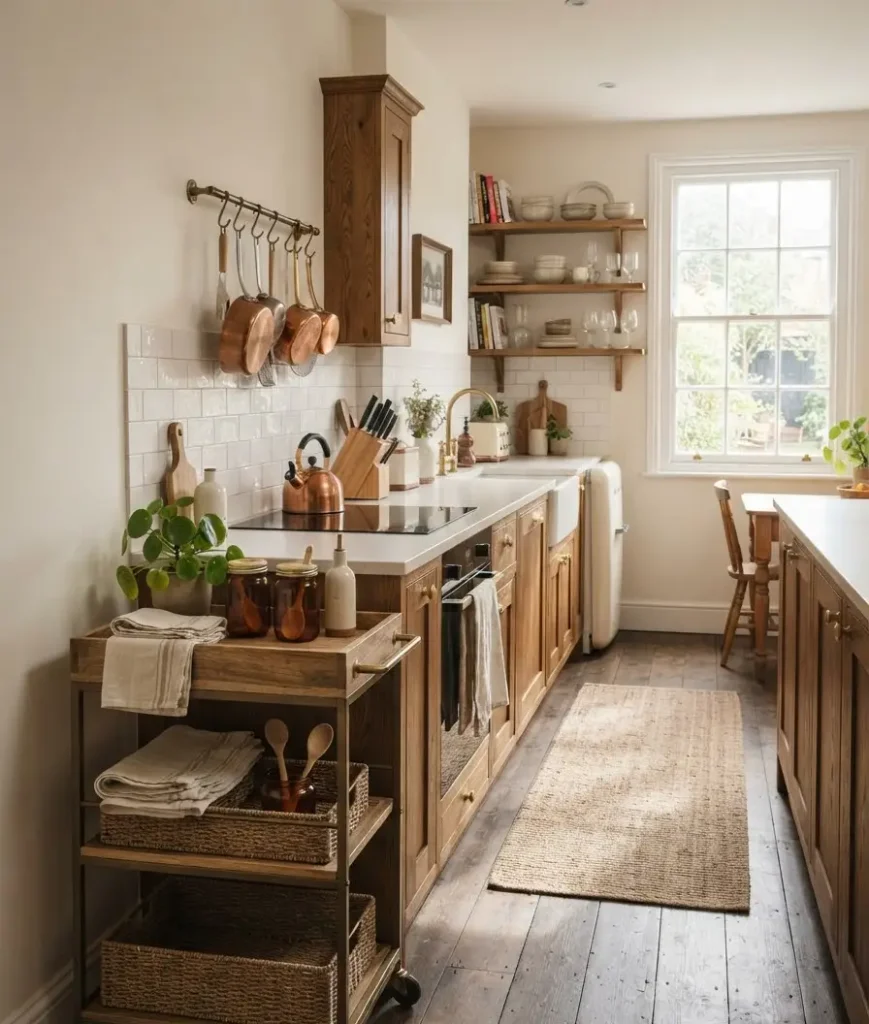
A lot of storage guides act like every trick works for every kitchen, and that’s just not true.
Pegboard looks intentional in a cottage or Japandi-style space. In a sleek modern kitchen it can look out of place.
Match the trick to your existing style, not the other way around.
Countertops and backsplash without the full remodel
Real stone counters are gorgeous and also genuinely expensive.
If a full swap isn’t in the budget this year, there are workarounds that photograph beautifully and hold up fine for renters or first-time buyers.
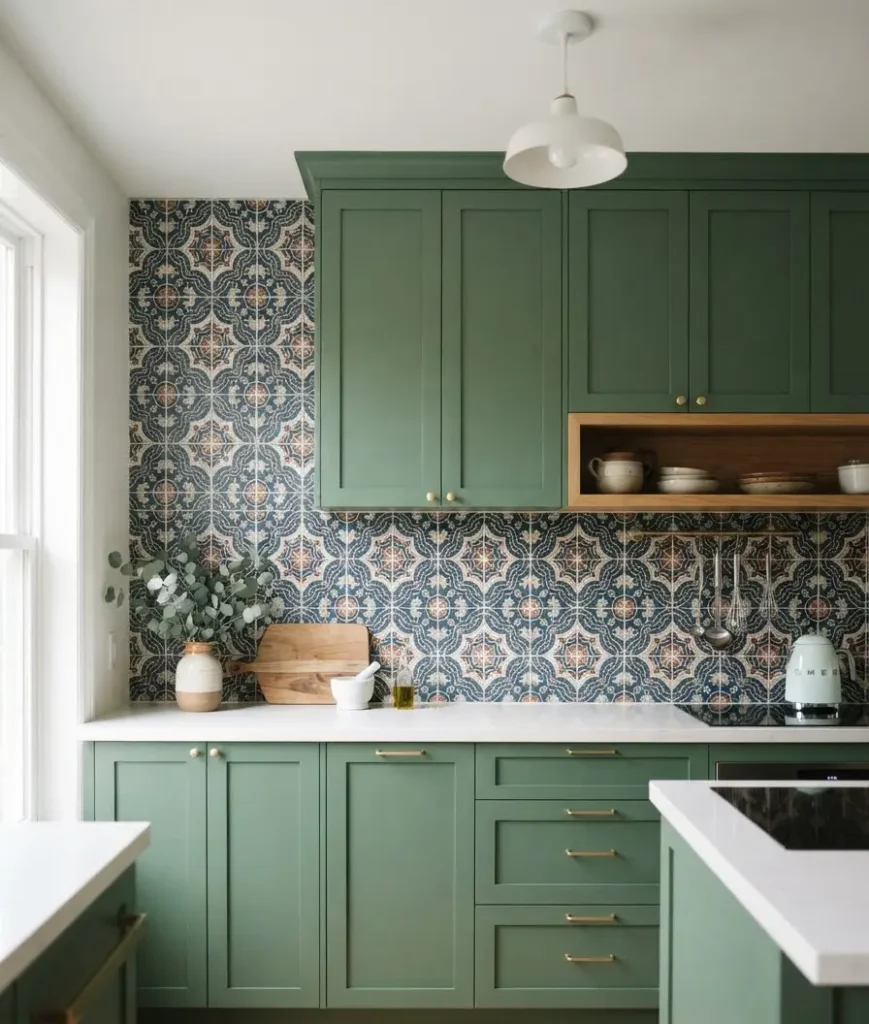
- Peel-and-stick tile backsplash for a statement pattern without grout or a contractor.
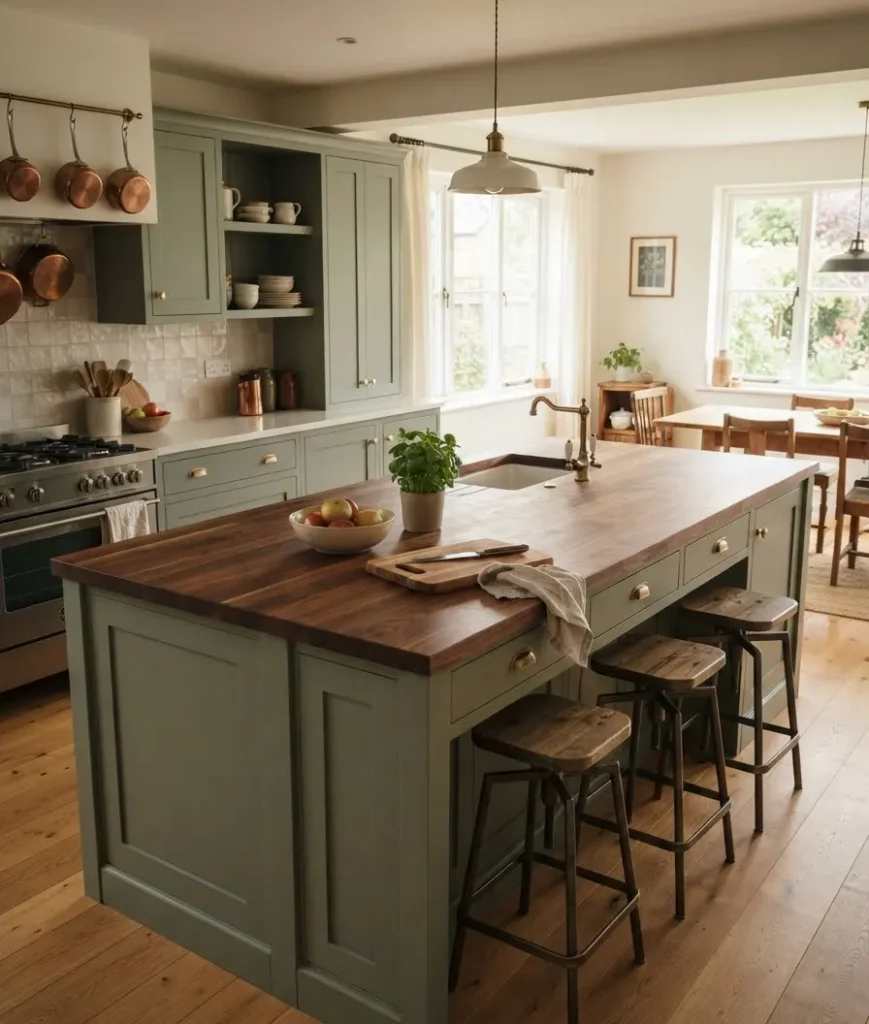
- Butcher block counters on a single section, like an island edge, for warmth against cooler cabinetry.
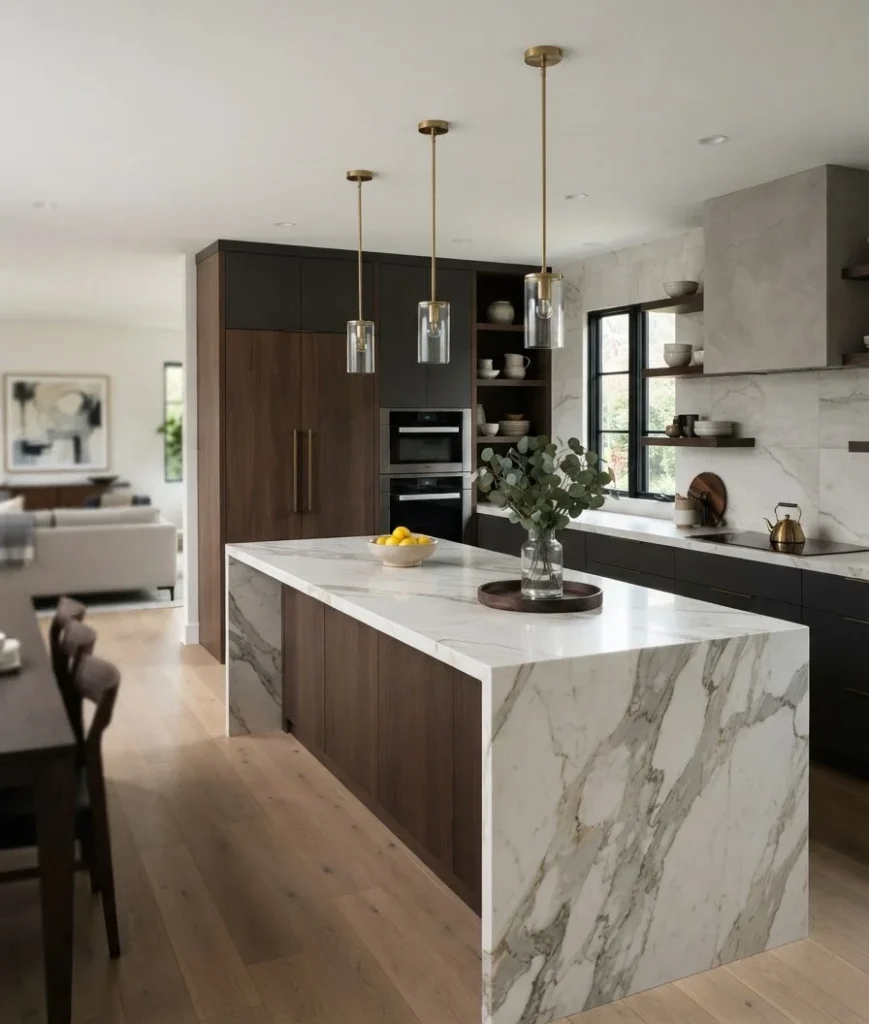
- A waterfall-style overlay on an existing island edge using a laminate or engineered panel, which reads as high-end even at a fraction of the cost of true stone waterfall counters.
- Contact paper counter wraps for a temporary but shockingly convincing marble look.
Quick side note, completely unrelated to renovation budgets: I once spent forty minutes in a hardware store debating two nearly identical
shades of white peel-and-stick tile with a stranger who was also renovating. We never exchanged names. I still think about her kitchen sometimes. Anyway.
A quick cost snapshot
| Upgrade | Typical Cost | Impact Level |
|---|---|---|
| Paint (cabinets or walls) | $40–$150 | High |
| Replacement cabinet doors | $40–$120 per door | Very High |
| Pull-out corner storage | $200–$600 | Medium-High |
| Peel-and-stick backsplash | $30–$100 | Medium |
Appliances and the finishing 20%
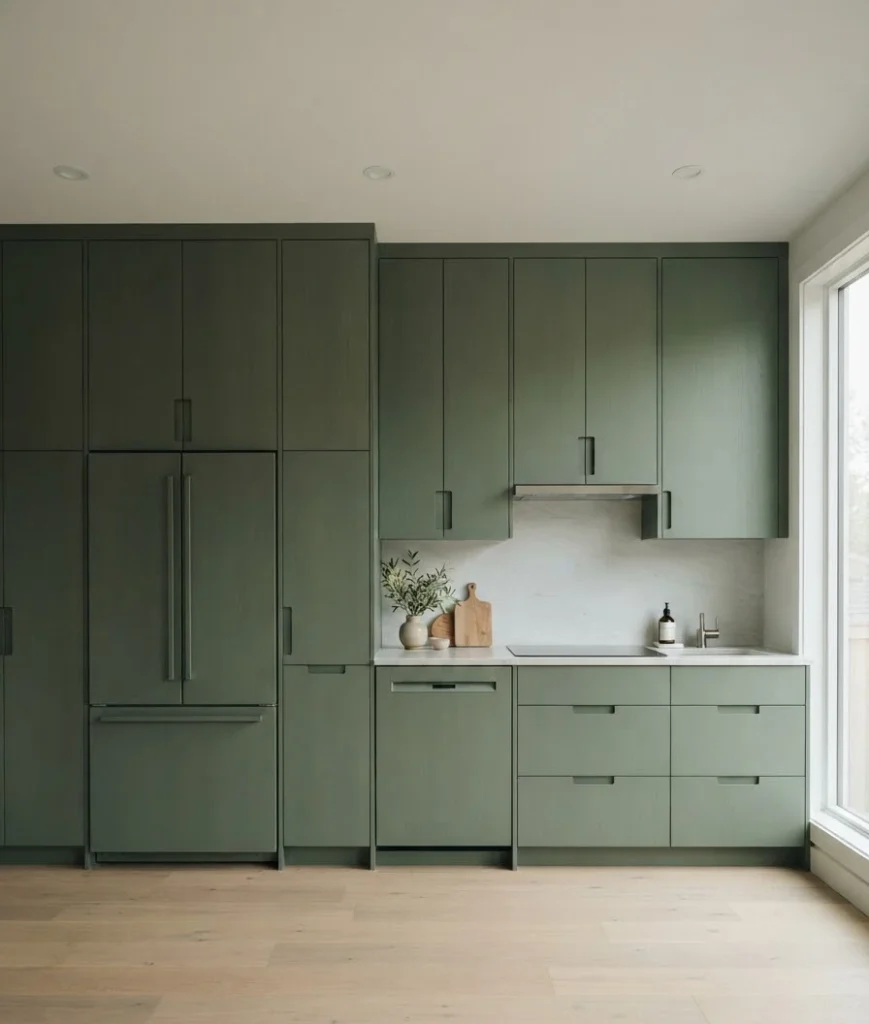
You don’t need a full appliance overhaul to get a cohesive, high-end look. Panel-ready fridge and dishwasher fronts are having a moment because they
let appliances blend into cabinetry instead of interrupting it, and even a partial version of that (a fridge cabinet surround, for instance) softens visual clutter in a tight footprint.
Beyond appliances, styling closes the gap:
- A gallery wall in the dead space above your upper cabinets and the ceiling. Three small framed prints turn wasted space into the most designed-looking corner of the room.
- Matching canisters instead of a shelf of mismatched cereal boxes and half-used bags.
- One good rug that isn’t beige. Small choice, disproportionate impact.
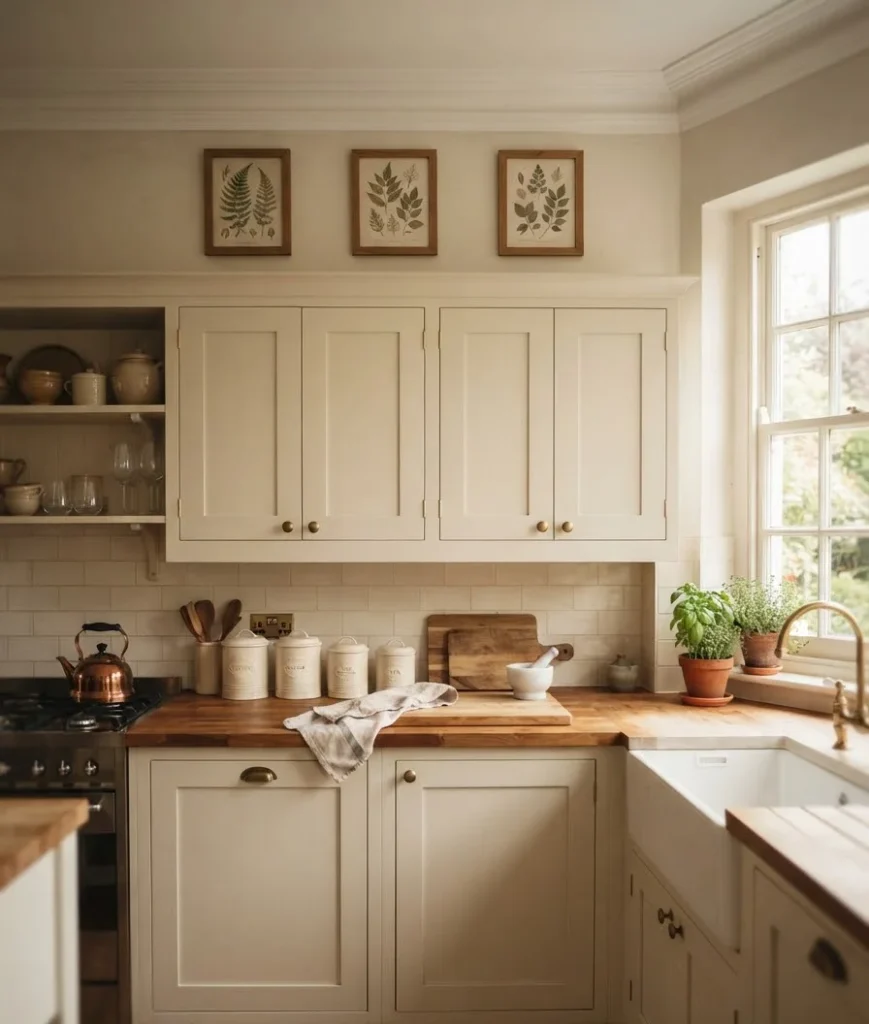
- Fresh herbs on the windowsill, because green plants make everything look more expensive, and I will die on this hill.
Mistakes I’d skip if I did this again
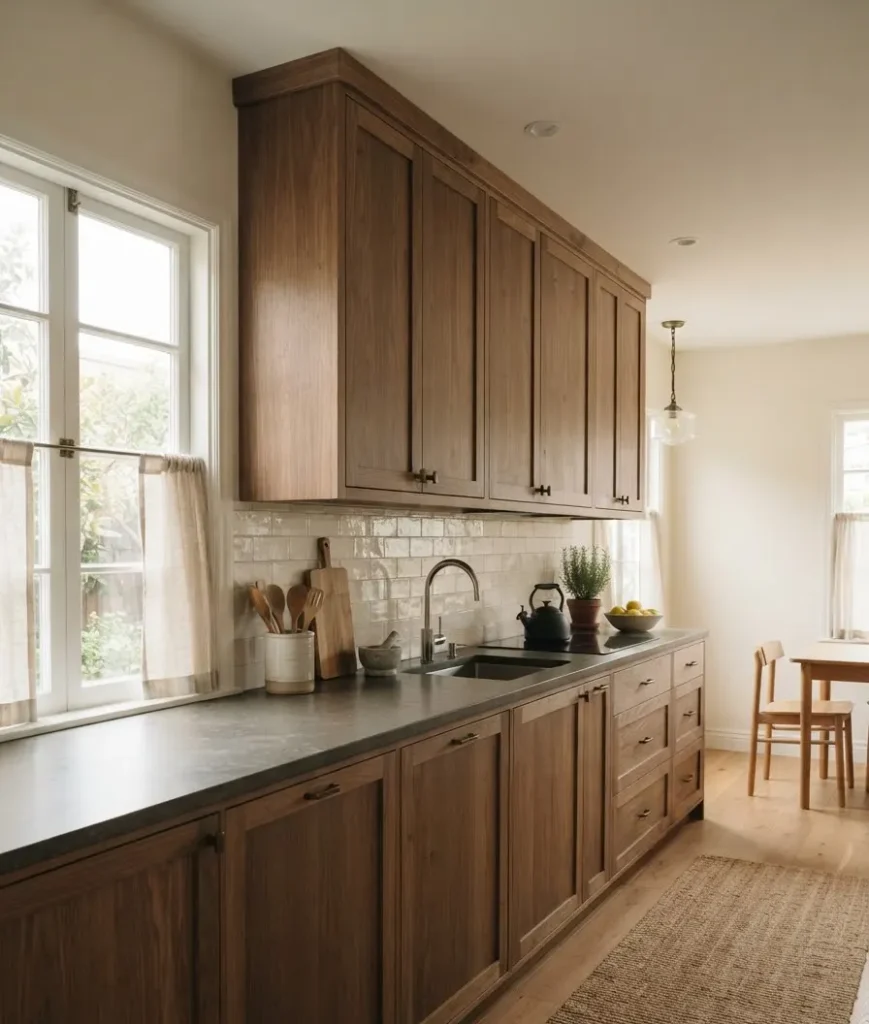
Not everything I tried worked. A few things I’d tell my past self to skip entirely:
- Glossy laminate counters in a north-facing kitchen. They looked cheap under my lighting no matter how clean I kept them. Matte finishes hid wear better and photographed nicer too.
- Buying a full matching hardware set before testing one drawer. I bought 22 identical pulls before realizing the finish read yellow-gold under my under-cabinet lighting instead of the warm brass I saw online. Order a sample of one or two first. Always.
- Over-organizing open shelves. Pinterest photos make open shelving look effortless. Mine looked cluttered until I cut what was displayed by about half and left breathing room between items.
None of these were expensive mistakes in dollars, but they cost me time, and small kitchens punish wasted time more than big ones do, because there’s nowhere to hide a half-finished project.
Making your kitchen actually photograph well
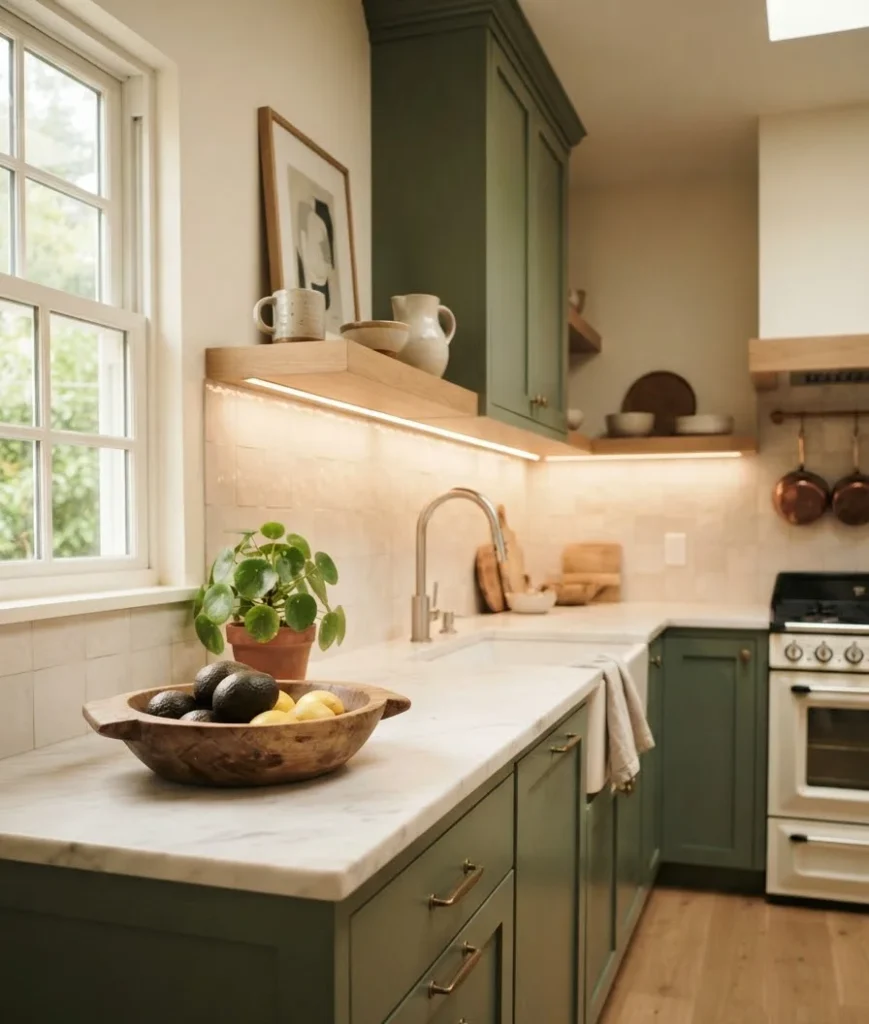
If you’re pinning kitchen inspiration for your own future reno (or, IMO, just for the joy of a well-styled board), a few small staging habits make any budget kitchen look considerably more expensive in photos:
- Clear the counters down to two or three objects max before shooting.
- Shoot during the day with warm bulbs off, then again at night with warm bulbs on. The two moods photograph completely differently and both are useful for a board.
- Angle slightly downward from a corner rather than straight on. It shows depth even in a genuinely tiny room.
- Style one open shelf, not all of them, if your storage is mostly closed cabinets.
These sound like small things. They are small things. But they’re the difference between a kitchen photo that gets scrolled past and one that gets saved.
A word on layout, because it’s the one thing paint can’t fix
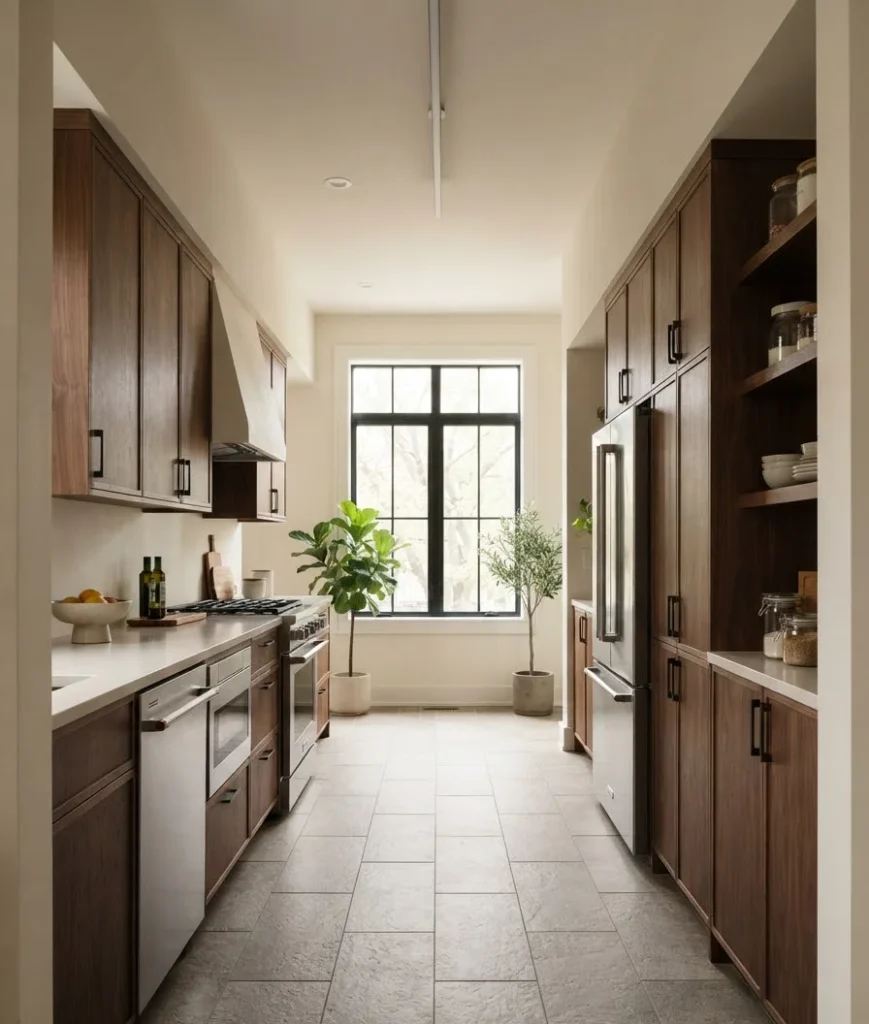
Cosmetic changes matter, but if your layout genuinely fights you, no amount of styling solves that.
Sometimes the highest-value move is rethinking the actual footprint before you touch a single finish, which is where guides focused specifically on small kitchen layouts that work come in handy, especially if you’re weighing galley versus L-shape versus a single run.
If your layout genuinely works and it’s just tired-looking, everything above will get you most of the way to that expensive, collected feel without a permit or a contractor on speed dial.
Frequently asked questions
Can I really make a small kitchen look high-end for under $500? Yes, if you’re strategic.
Paint, hardware swaps, and one or two storage upgrades from this list can transform the look of a kitchen for a few hundred dollars.
A full cabinet-door replacement will push that higher, but it’s still a fraction of a full remodel.
What’s the single best upgrade if I only have budget for one thing? Cabinet paint or replacement fronts, hands down.
It’s the largest visual surface in most kitchens, so changing it changes the whole room.
Do renters have realistic options here? Absolutely. Peel-and-stick backsplash, removable hardware (keep the originals in a labeled bag),
pegboard, open shelving inserts, and lighting swaps are all renter-friendly and reversible.
So, where’s your kitchen sitting right now: one paint can away from a whole new mood, or ready for the full pegboard-and-pull-out-corner treatment?
Pin the ideas that speak to you, save this for your next free weekend, and tell me in the comments which one you’re trying first.






1 thought on “Small Kitchen Design Inspiration on a Budget: 20 High-End Looks for Less”