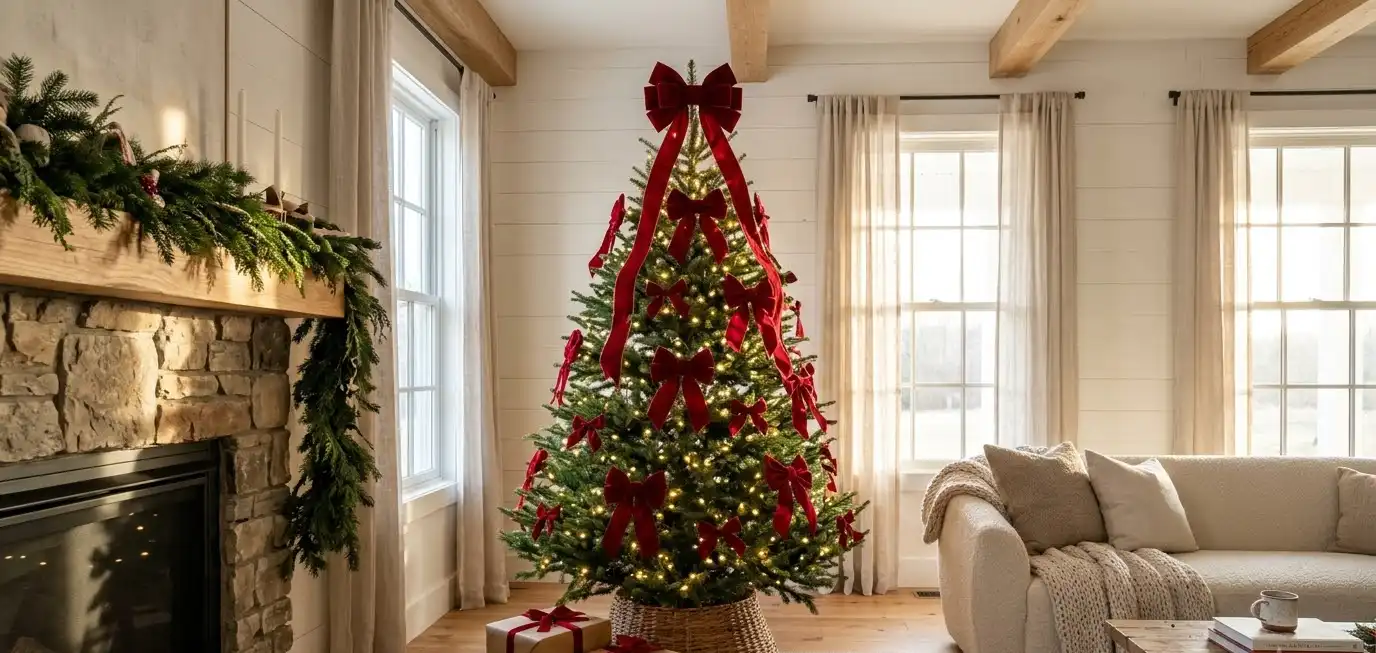
A bow that looks flawless in a pinned photo can collapse into a limp pretzel the second it touches a real branch. Ribbon gravity wins every time unless you give it a fight.
This guide gives you exact ribbon widths, lengths, colours, and a wiring method that keeps every loop upright until January.
You will find the supplies, a ribbon calculator, three tying methods, ten full bow ideas with alt text for your own Pinterest pins, and a list of mistakes to dodge.
Grab a pair of sharp scissors first. Kitchen scissors chew ribbon edges and leave them ragged.
Large Front Porch Christmas Decor Ideas On A Budget How To Style Wide Spaces For Less
Check It Out →Why bows work on a tree
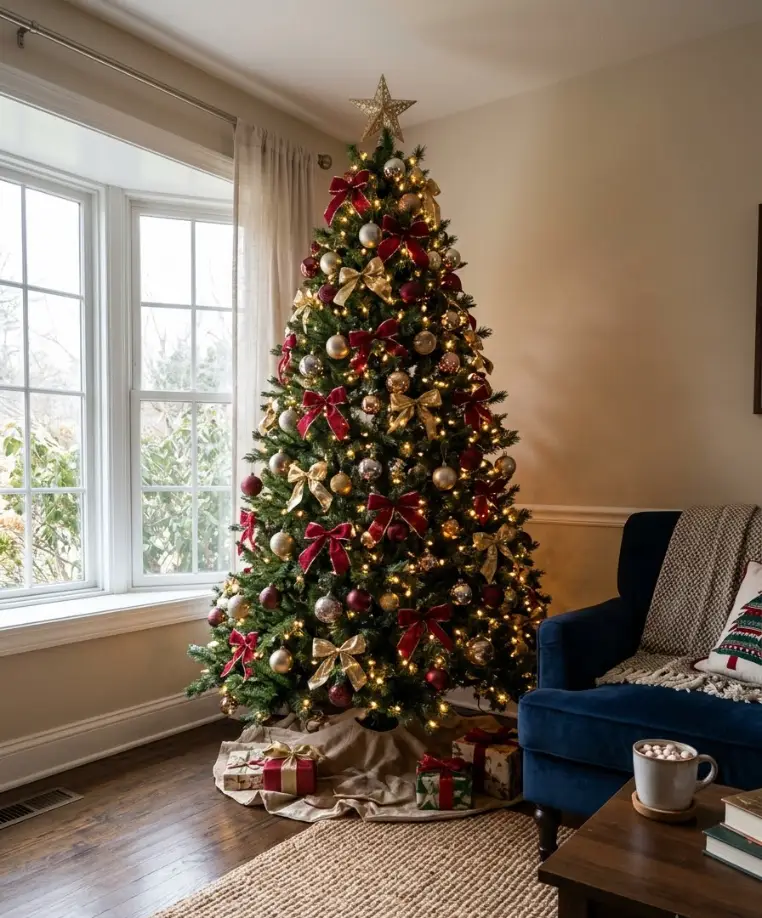
Bows add colour, texture, and movement without the weight of a glass ornament.
They hang from the branch tips, so they fill the gaps that baubles leave behind.
A tree dressed in ribbon also photographs well, which matters if your goal is a pin that gets saved thousands of times.
Ribbon also costs less than most ornaments. A 25-yard spool of 1.5-inch satin runs about 6 to 10 dollars in US craft stores (or roughly the same in pounds in the UK), and that spool makes 25 full bows.
Compare that with a single hand-blown bauble. The maths speaks for itself.
Pinterest users tend to save trees that show a clear colour story. Pick two main shades and one metallic accent, then repeat them.
Repetition makes a tree look designed instead of accidentally crowded.
For a look at what people currently save, browse Pinterest Trends before you buy ribbon.
What you need before you start
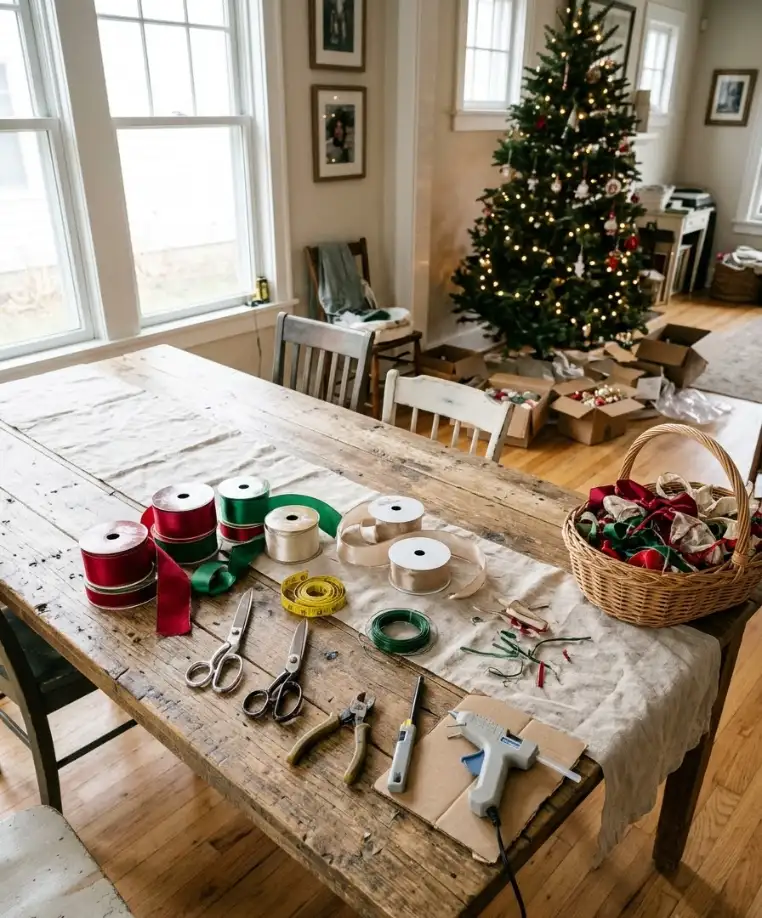
Gather everything on one table first. Hunting for wire halfway through a bow is how half-finished ribbon ends up tangled in the dog’s bed.
Core supplies
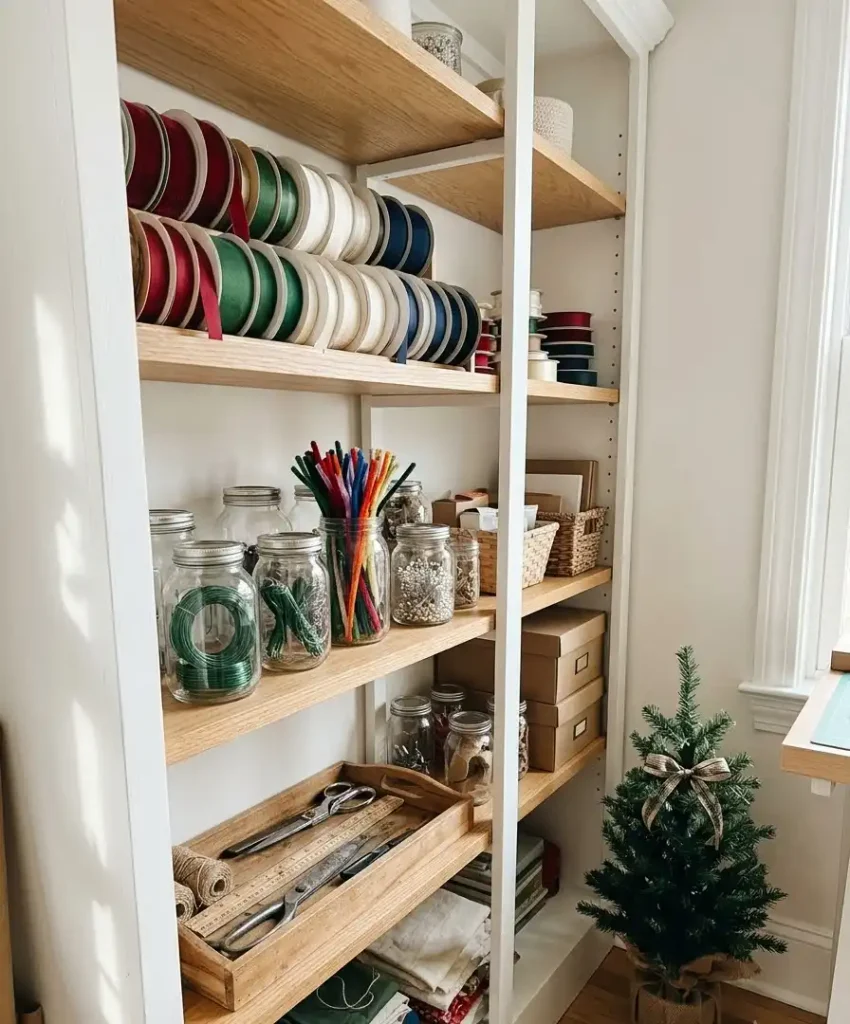
- Wired ribbon, 1.5 to 2.5 inches wide, for bows that hold their shape
- 22-gauge floral wire, cut into 8-inch pieces (or chenille stems in a matching colour)
- Fabric scissors, kept away from the paper drawer
- A tape measure or a ruler with inches marked
- A lighter or fray-stop liquid for sealing satin and polyester ends
- A hot glue gun, for bows with pearl or button centres
- A small pair of wire cutters
Here is where opinion enters the list. I think chenille stems beat floral wire for first-timers, because they grip bark-like branches without stabbing anyone.
I also think a cheap tape measure is the best 2-dollar upgrade you can buy, since eyeballing ribbon length gives you bows in six different sizes.
Nice extras
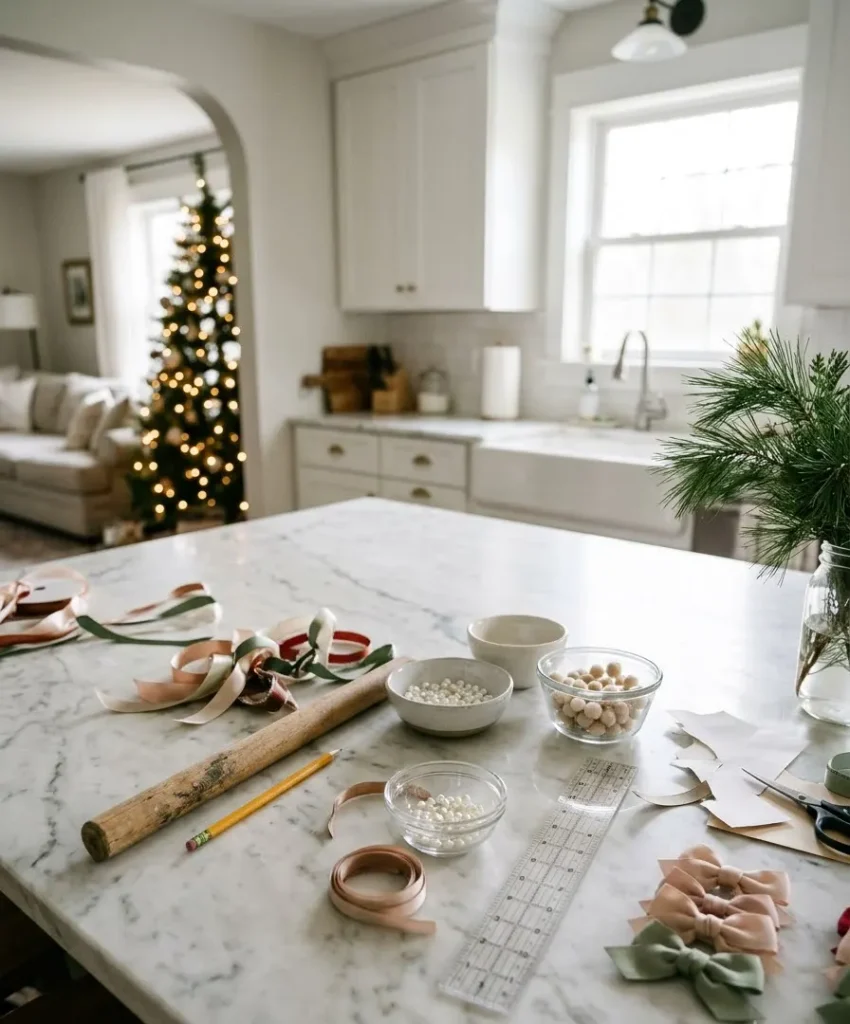
- Pearl pins or mini pom-pom trim for bow centres
- A wooden dowel (a pencil works) to curl ribbon tails
- A clear ruler for cutting straight V-notches
How much ribbon you really need
Most people buy too little and run out halfway up the tree. The table below assumes a medium bow made from 1.5-inch ribbon, using 36 inches (1 yard) per bow including tails.
It adds a separate allowance for a topper bow.
| Tree height | Bows | Bow ribbon | Topper ribbon |
|---|---|---|---|
| 4 ft | 10 | 10 yards | 1 yard |
| 6 ft | 16 | 16 yards | 2 yards |
| 7.5 ft | 22 | 22 yards | 3 yards |
| 9 ft | 30 | 30 yards | 3 yards |
Add one extra yard for mistakes. Everyone makes at least one bow that ends up too small, too lopsided, or tied to the wrong side of the ribbon.
If you plan cascading streamers as well, add 9 feet of ribbon per streamer.
Shop with a full spool in hand if you can. Dye lots differ between batches, and two spools of “red” can look like tomato and brick next to each other. Buying all your ribbon in one go avoids that.
Choosing the right ribbon and fabric
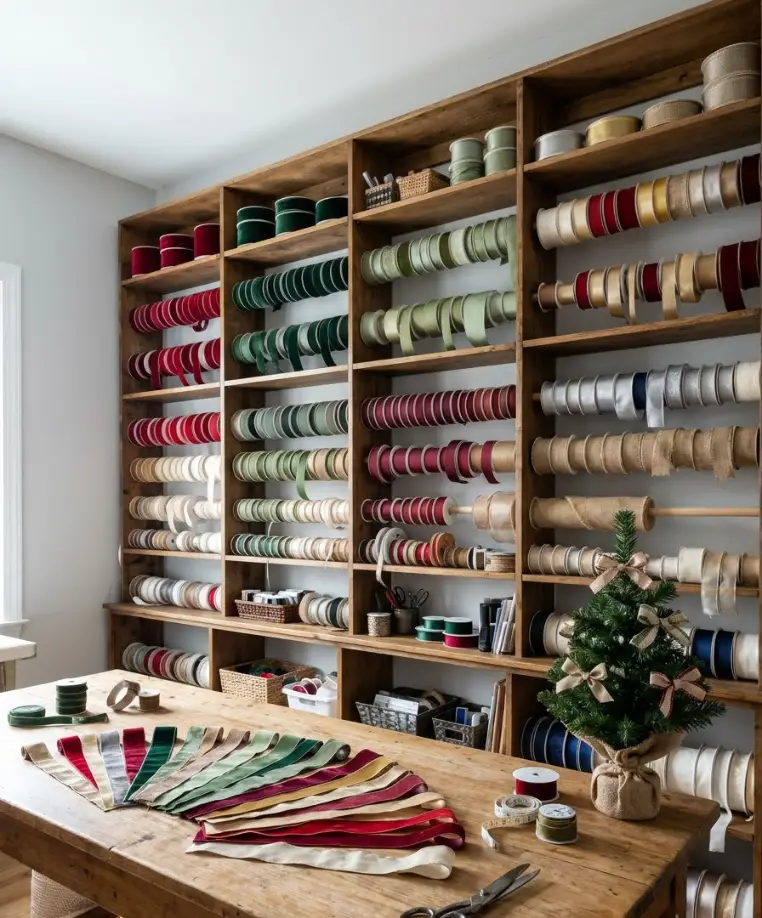
Ribbon fabric decides how a bow behaves. The same loop pattern looks crisp in wired taffeta and sloppy in plain satin.
Wired versus unwired
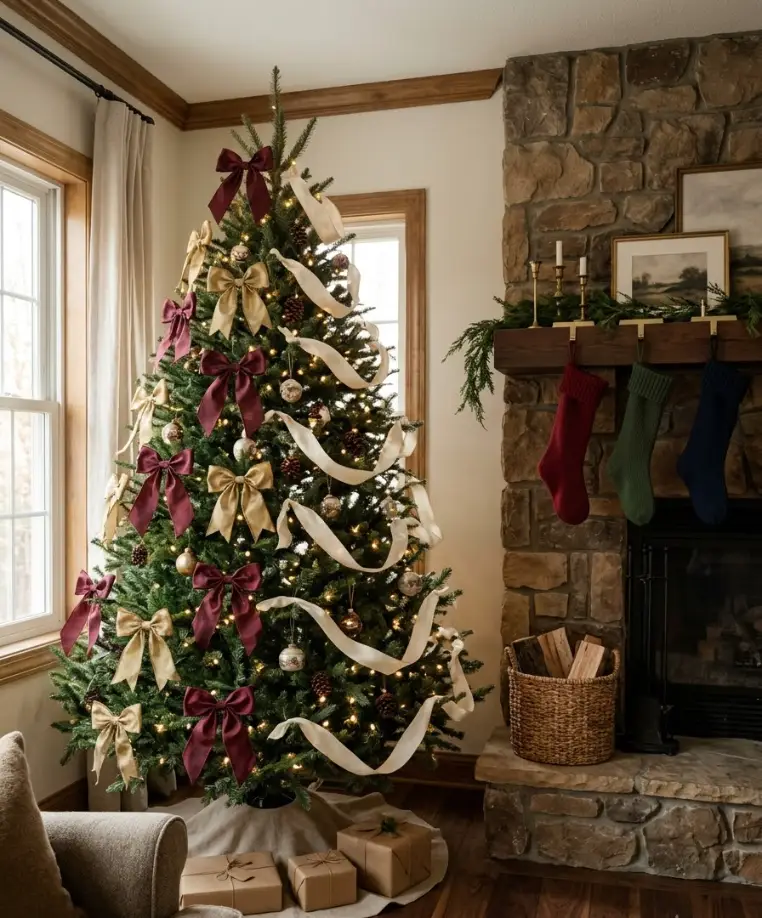
Wired ribbon has thin copper threads running along both edges. You can bend it, reshape loops, and fix a drooping tail in seconds.
For tree bows, I recommend wired ribbon almost every time.
Unwired ribbon drapes beautifully but needs a stiffer centre wire and more careful fluffing. Save it for small bows or soft ribbon swags.
Fabric guide
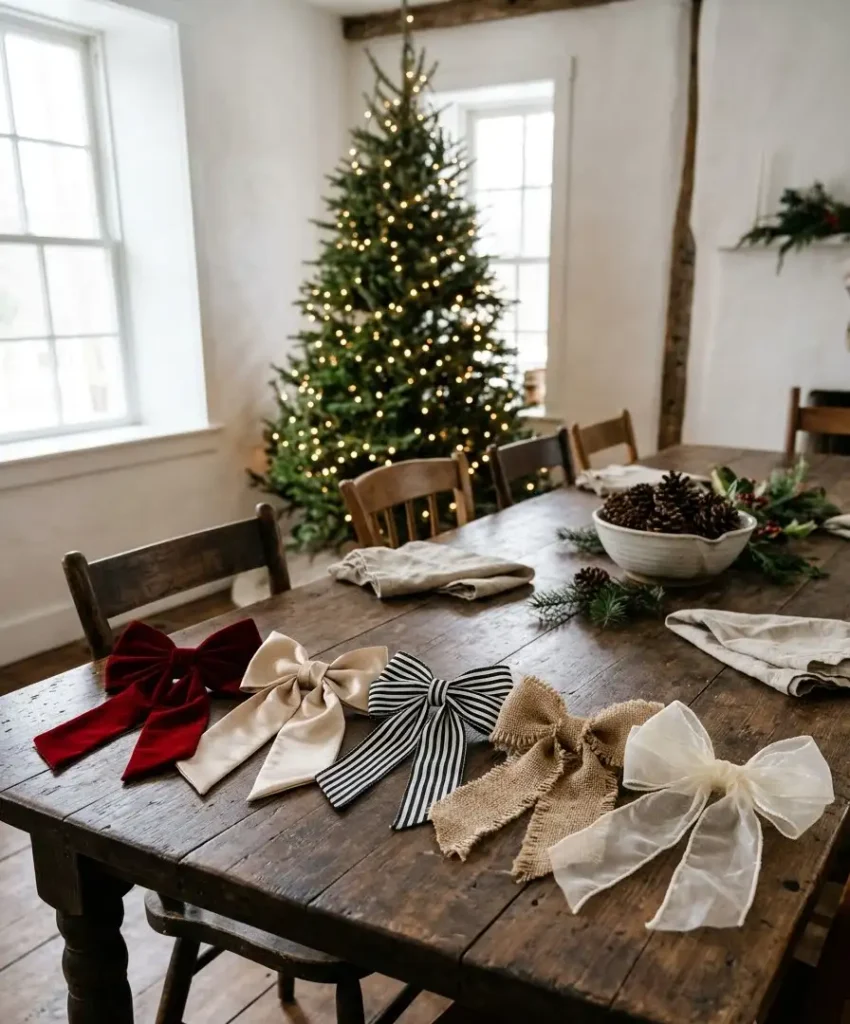
- Velvet gives a rich, quiet look. It flattens if you crush it in a drawer, so steam it lightly before use.
- Satin catches light and looks formal. Seal the cut ends with a flame or fray-stop, or they unravel within a week.
- Grosgrain has a ribbed texture and holds loops firmly. It suits structured bows and ties well with plaid.
- Burlap brings rustic texture. It sheds fibres, so shake each bow outdoors before hanging.
- Sheer organza looks airy and floats between branches, though it needs a wire edge to hold any shape.
One more rule: wider ribbon needs a bigger tree. A 4-inch ribbon on a 4-foot tree looks like a clown collar.
Stay between 1 and 1.5 inches for small trees, and move to 2.5 inches for trees taller than 7 feet.
Three ways to tie bows for a Christmas tree
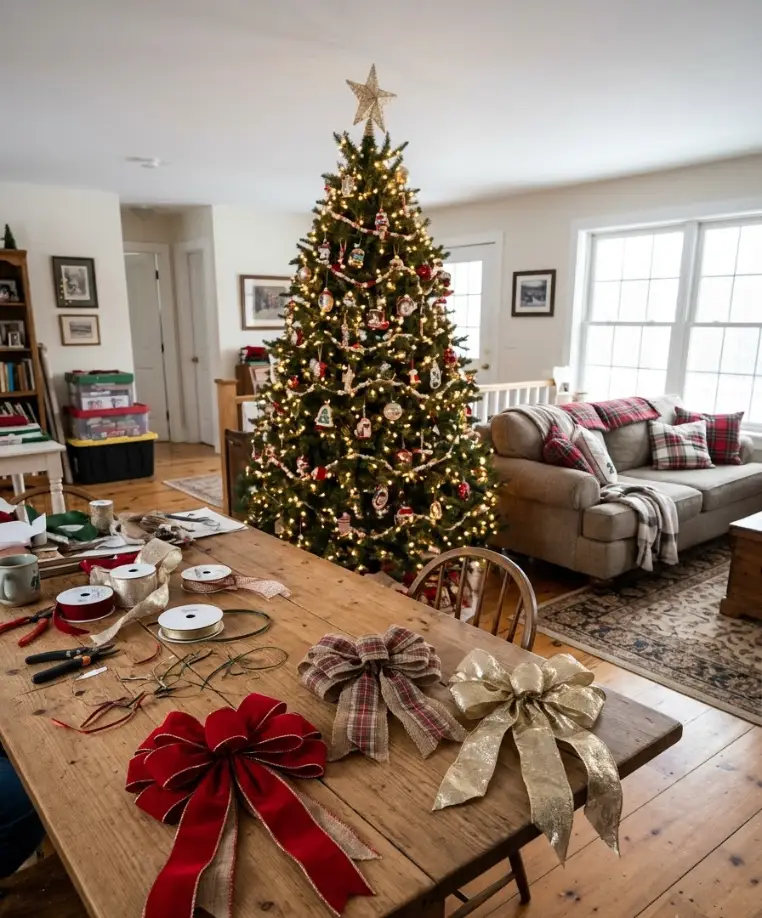
Each method below takes less than five minutes once your hands know the motion. Practise on a scrap piece of cheap ribbon first.
The classic loop bow (best all-rounder)
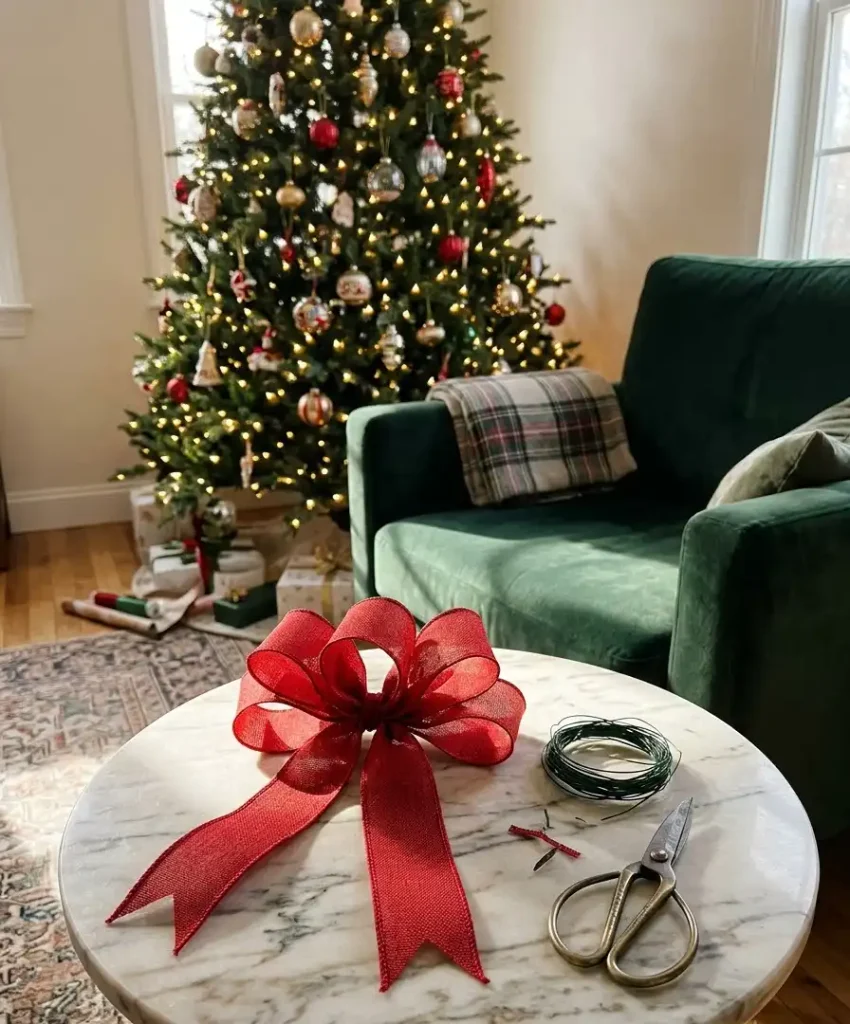
You will need 36 inches of 1.5-inch wired ribbon and one 8-inch piece of floral wire.
- Leave a 6-inch tail at one end and pinch the ribbon between your thumb and forefinger.
- Fold a 4-inch loop to the left and pinch it at the same point.
- Fold a 4-inch loop to the right and pinch again.
- Repeat with two slightly smaller loops, 3 inches each, on top of the first pair.
- Slide the wire through the pinched centre, twist it twice, and leave a long end for attaching.
- Cut the remaining ribbon to a 6-inch tail and trim both tails in a V shape.
- Fluff each loop outward until the bow looks full.
The single-loop tie-on (fastest)
This one skips wire. Cut 24 inches of ribbon and wrap it around a branch near the trunk.
Tie a plain knot, then tie a regular bow like a shoelace, but make the loops larger. Pull the knot snug and trim the tails at an angle.
It looks relaxed and slightly imperfect, and that is the charm. Use it when you need 30 bows and ran out of patience at bow number 12.
The tree topper bow (the showpiece)
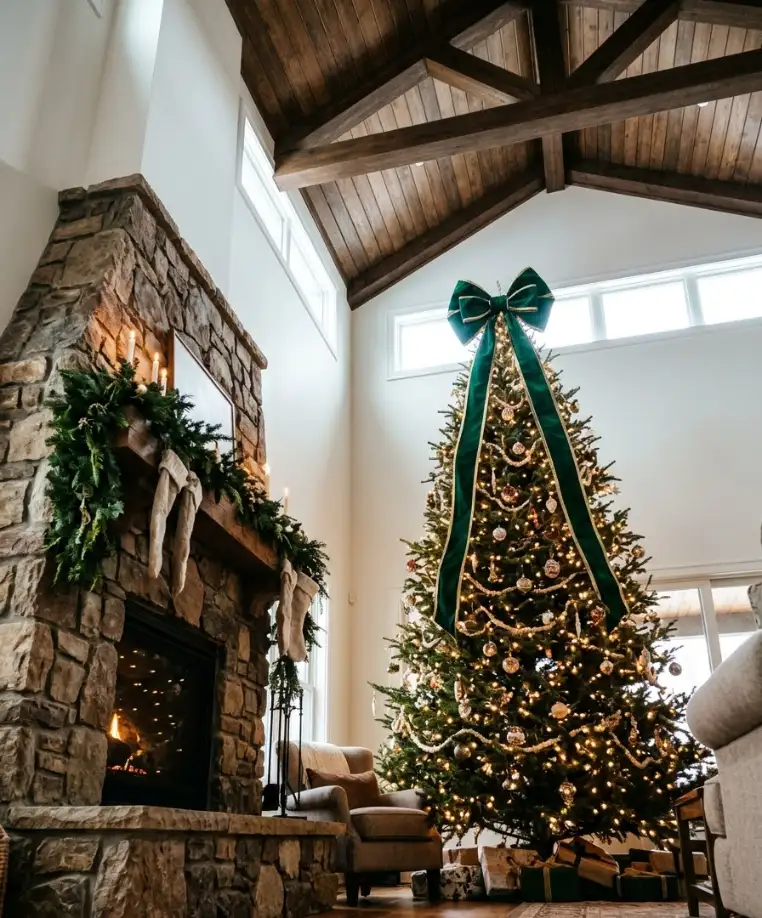
You need 3 yards of 4-inch wired ribbon and a 12-inch piece of floral wire.
- Make a loop about 8 inches long and pinch the base.
- Stack five more loops on alternating sides, making each slightly shorter than the last.
- Wire the pinched centre tightly.
- Leave two 24-inch tails and cut the ends in a deep V.
- Attach the bow to the top branch with the wire ends and arrange the tails so they fall down each side.
Attaching bows so they stay put
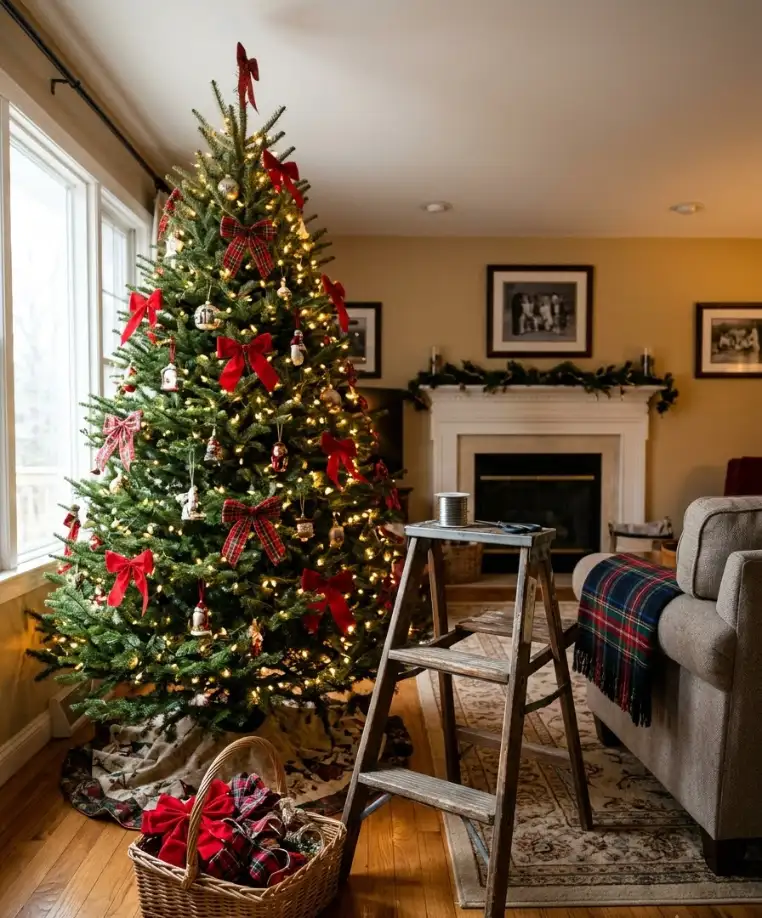
Most bow disasters happen at the branch, not at the tying table. Wired ribbon weighs very little, but a bow that slides down a branch ends up pointing at the floor within a day.
Twist the wire ends around a thick branch junction instead of a thin tip. Wrap the wire twice, bend the end back, and press the twist into the needles so it cannot snag.
On an artificial tree, grip the metal branch frame itself instead of the plastic needles.
Real trees drop needles and sag with dryness, so check bows after a week and retighten any that slid.
I suggest hanging bows on the sturdier, lower and middle branches, and saving the delicate upper tips for lightweight ornaments.
Mid-article side thought: the cardboard tube from a wrapping paper roll makes a good storage spool for ribbon.
Wind each leftover bow ribbon around it, secure the end with a clothes peg, and your 2027 self will thank you. Back to the main event.
Ten bow ideas for your tree
Every idea below lists the pieces you need, the colours, one fabric or fit tip, and an occasion.
The alt text line gives you ready-made wording for your own pins.
1. Classic red velvet with gold-edged tails
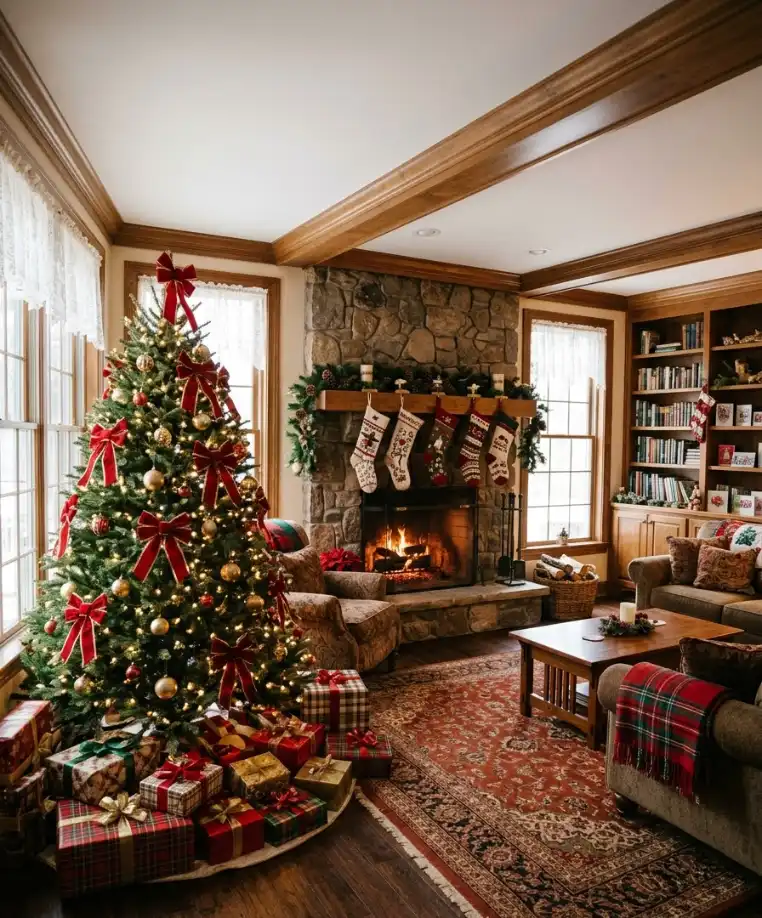
Pieces: 12 bows, each cut from 40 inches of 2.5-inch wired red velvet ribbon, plus 12 pieces of 8-inch gold floral wire.
Colours: Deep cranberry red with gold edges.
Fabric tip: Steam the velvet from the wrong side before tying, then fluff the loops with your fingers, never an iron.
Occasion: Christmas morning with the whole family around the tree.
I rate this as the safest choice in the whole list. It looks right on a 6-foot Fraser fir and works with nearly every ornament you already own.
2. Buffalo plaid farmhouse bows
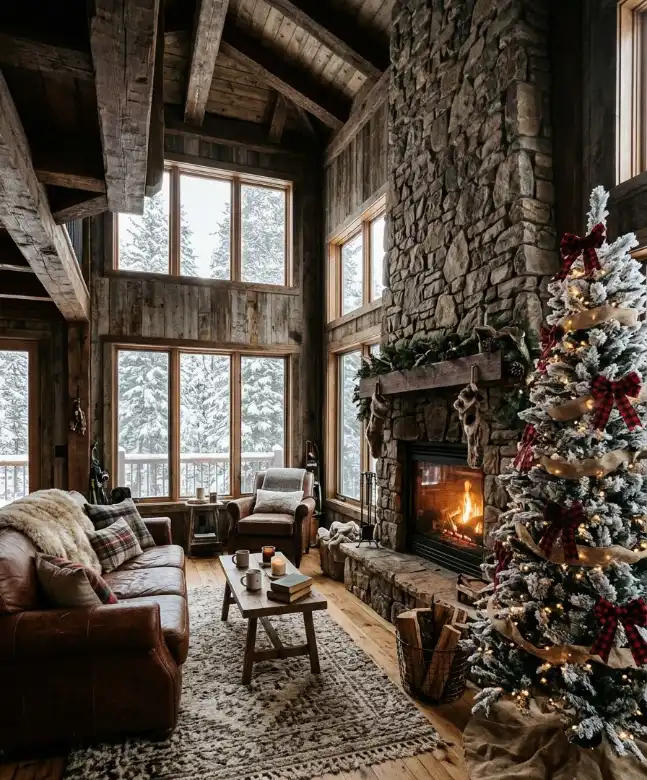
Pieces: 14 bows from 36 inches of 2.5-inch wired red-and-black buffalo plaid, with 14 short lengths of 1.5-inch natural burlap ribbon as a layered base.
Colours: Red, black, and oatmeal beige.
Fabric tip: Cut plaid ribbon on a pattern line so the V-notch in the tails cuts through a clean square.
Occasion: A cabin weekend or a cosy mountain rental.
3. Champagne satin bows with pearl centres

Pieces: 16 bows from 30 inches of 1.5-inch double-faced satin ribbon, plus 16 flat-backed 10 mm pearls glued to the centres.
Colours: Champagne, ivory, and a hint of soft gold.
Fabric tip: Seal every cut end with a lighter held a few inches away, because satin frays almost immediately.
Occasion: A New Year’s Eve party where the tree doubles as the photo backdrop.
4. Blush and sage velvet bows
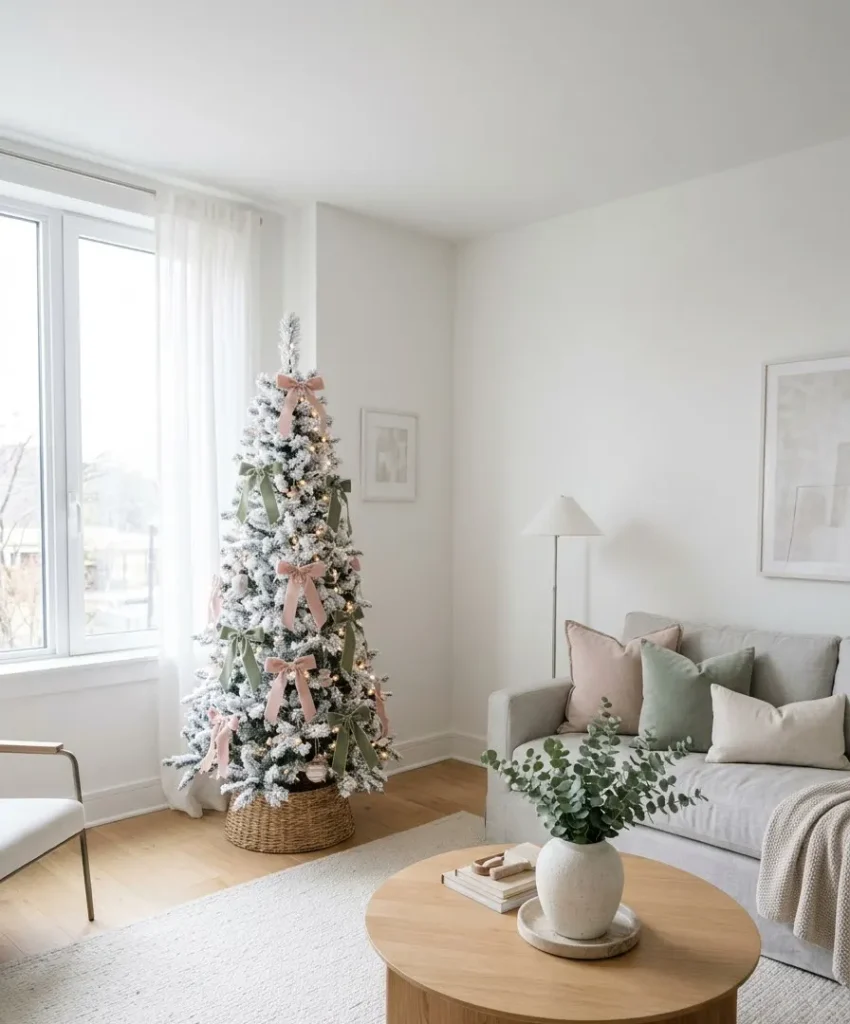
Pieces: 10 blush bows and 10 sage bows, each from 32 inches of 1.5-inch velvet ribbon, hung in alternating pairs.
Colours: Dusty blush pink and muted sage green.
Fabric tip: Keep tails short, about 4 inches, so the soft velvet does not drag against the branch.
Occasion: A Christmas brunch or a baby’s first holiday.
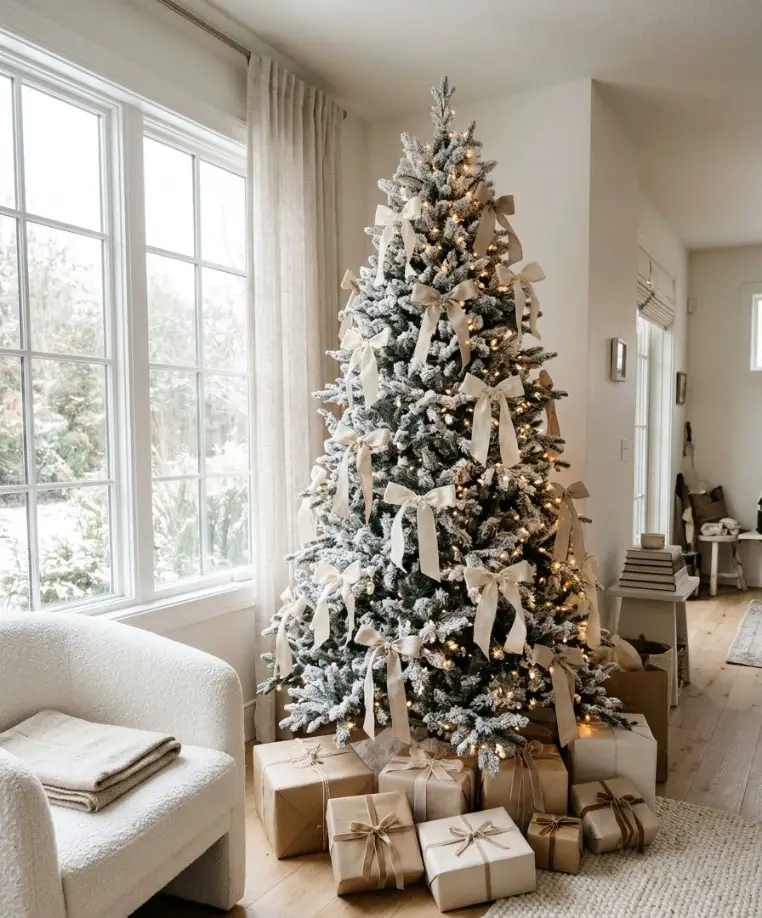
This palette photographs especially well against a white flocked tree. It also lets a small apartment tree look intentional rather than leftover.
5. Navy and silver winter bows

Pieces: 15 bows from 36 inches of 1.5-inch navy grosgrain, each layered over a 1-inch silver glitter ribbon bow, 24 inches long.
Colours: Midnight navy, silver, and white.
Fabric tip: Grosgrain holds shape well, so use a smaller loop size of 3 inches to prevent stiff, fan-shaped bows.
Occasion: A winter wonderland party or a Hanukkah-friendly holiday display.
6. Oversized emerald topper bow
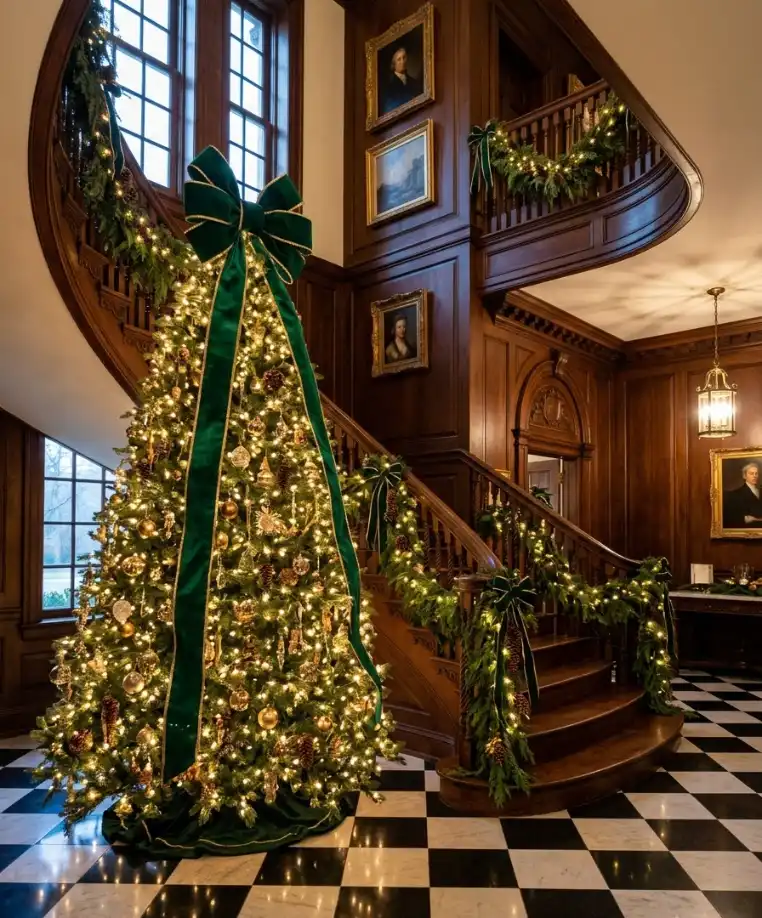
Pieces: One bow from 3 yards of 4-inch wired emerald velvet ribbon with a gold edge, plus a 12-inch wire.
Colours: Emerald green and antique gold.
Fabric tip: Make the topper bow 10 to 12 inches wide for a 7.5-foot tree, which keeps it in proportion with the tree’s width at the top.
Occasion: The Christmas Eve reveal, when the lights go on for the first time.
7. Ivory and gold cascading streamers
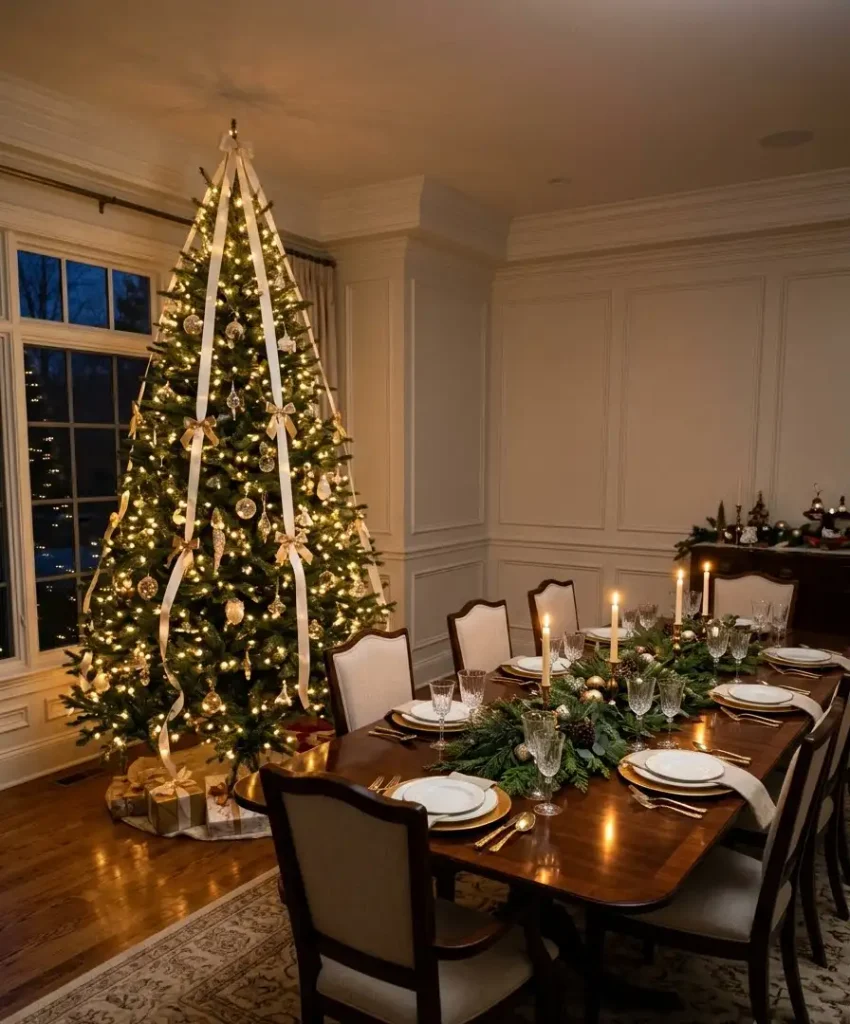
Pieces: Two 9-foot lengths of 2.5-inch wired ivory ribbon and 12 small 1.5-inch gold bows tied along the length every 12 inches.
Colours: Ivory, champagne gold, and a touch of antique brass.
Fabric tip: Pin each streamer under a branch at the top and weave it loosely downward so it follows the tree’s slope.
Occasion: A formal Christmas dinner where guests see the tree from every angle.
8. Tiny burgundy and dusty rose bows
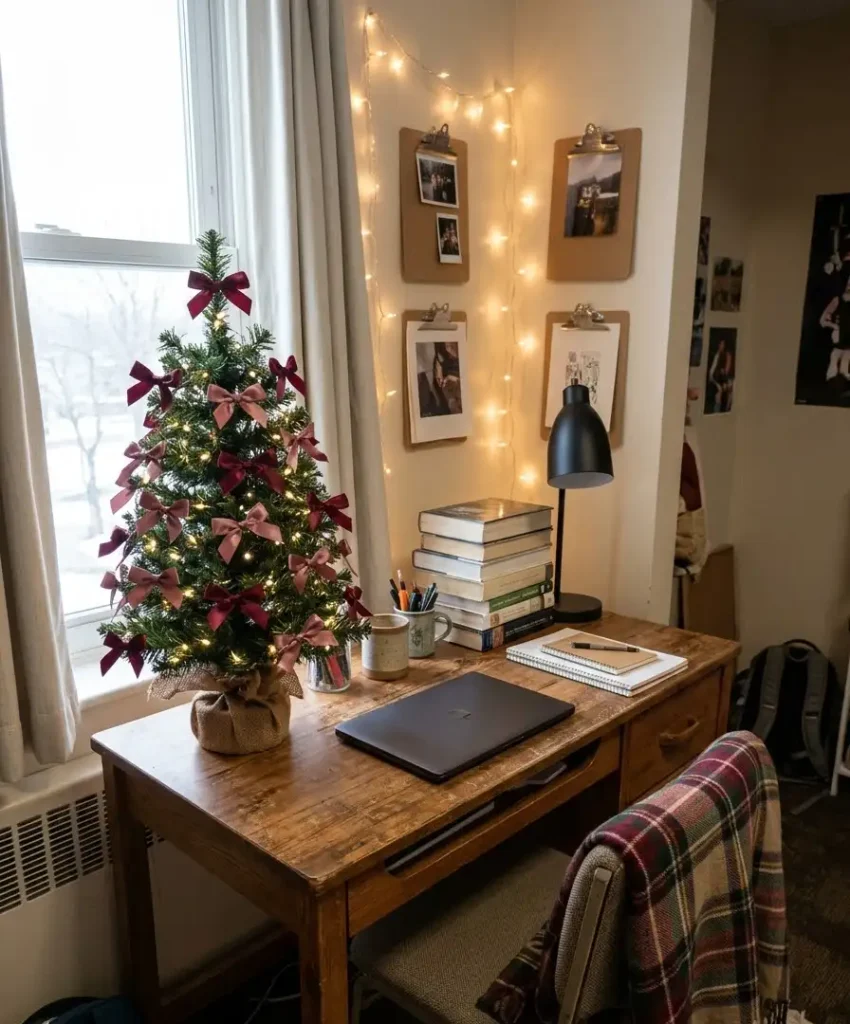
Pieces: 24 mini bows from 12-inch lengths of 5/8-inch satin ribbon, tied with a simple single knot and double loop.
Colours: Burgundy and dusty rose.
Fabric tip: Use a dab of fabric glue inside the knot, since thin ribbon slips undone faster than wide ribbon.
Occasion: A dorm room, a desk at work, or any 2-foot tabletop tree.
9. Rustic burlap and lace bows
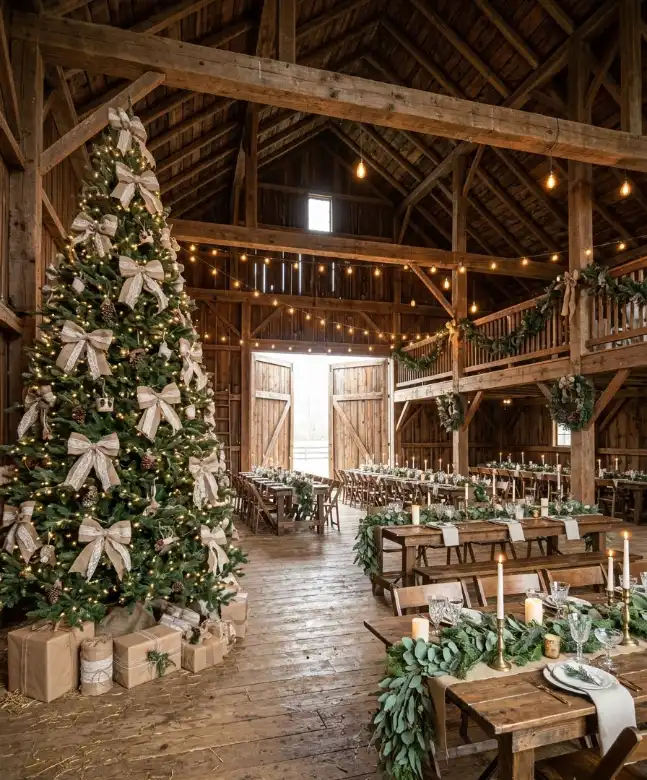
Pieces: 12 bows from 30 inches of 2-inch wired burlap ribbon, each tied with a 20-inch strip of 1-inch ivory lace laid across the middle.
Colours: Natural tan, ivory, and soft grey-green.
Fabric tip: Brush fray-stop along the burlap edges to stop the shedding that leaves strands on your carpet.
Occasion: A barn wedding, a woodland-theme holiday party, or any cabin-style gathering.
10. Black and white stripe with red accents

Pieces: 14 bows from 36 inches of 1.5-inch black-and-white striped grosgrain, plus 14 small 1-inch red satin bows layered on top.
Colours: Black, white, and bright red.
Fabric tip: Line up the stripes so each tail ends on a black band, which gives the V cut a clean, graphic edge.
Occasion: A modern Christmas dinner party or a city-apartment holiday.
Where to place bows on the tree

Placement decides whether a tree looks styled or random. Think in layers, working from the top down.
Top-down layout
- Attach the topper bow first and let its tails fall down the front.
- Hang bows in a loose spiral from the upper third of the tree, spaced about 10 inches apart.
- Tuck larger bows deeper into the branches and keep smaller bows near the tips.
- Fill any remaining gaps with ornaments after the bows, not before.
Depth and spacing
Push two or three bows deep against the trunk. The shadows they make behind the lights give the tree a layered look in photographs. Space the outer bows unevenly, with 8 inches between some and 12 between others, so the tree does not look like a grid.
A rule I use for fuller trees: one bow per vertical foot at each of three rotations around the tree. That works out to roughly the numbers in the table above, and it keeps the eye moving around the tree instead of stopping at one flat patch.
Common mistakes and quick fixes
Most bow problems come down to a few repeat offenders. Each has a simple remedy.
- Bows look flat. Fluff every loop outward and bend the wire edges into a gentle curve. A flat bow almost always comes from skipping this step.
- Tails curl wildly. Humidity makes satin tails twist. Press them under a heavy book for an hour or iron them on low with a cloth on top.
- Colours clash with the tree. Hold the ribbon against a branch before buying a full spool. Warm reds often fight with cool blue-white lights.
- Bows sag on one side. The wire sits too low in the centre. Retwist it closer to the pinch point and pull it snug.
- Ribbon looks cheap. Thin, unwired ribbon under 1 inch usually reads as gift-wrap. Use wired ribbon in 1.5 inches or wider for the main bows.
I also think mixing more than three ribbon widths makes a tree look busy. Stick to two widths, plus one topper size.
Safety and storage
Ribbon burns quickly, so keep tails away from bulbs that run hot and from candles or heaters.
The National Fire Protection Association publishes clear guidance on Christmas tree fire safety, including how far to keep trees from heat sources. Read it before you string a single light.
For real trees, the National Christmas Tree Association offers watering and care advice that keeps needles from dropping onto your bows.
A well-watered tree stays flexible, and wired ribbon sits more securely on supple branches.
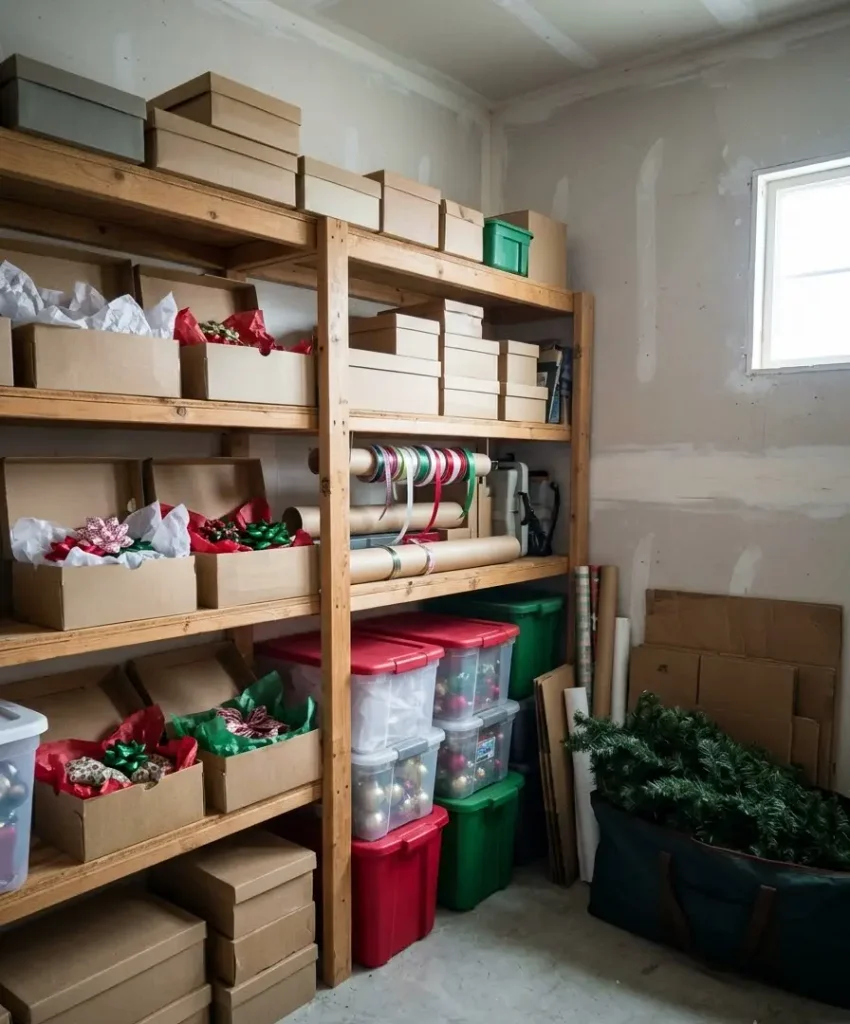
When the season ends, clip the wire, flatten each bow gently, and store them in a shoebox lined with tissue paper.
Label the box by colour scheme. If you want to learn more about how ribbon weaves differ, the Wikipedia article on ribbon gives a decent overview of the main types.
Frequently asked questions
How far apart should I space bows on a Christmas tree?
Aim for 8 to 12 inches between bows, and vary the gaps slightly. Even spacing reads as mechanical, while slight variation looks natural in photos.
Keep the spacing tighter near the top of the tree, where the branches narrow.
Large Front Porch Christmas Decor Ideas On A Budget How To Style Wide Spaces For Less
Check It Out →What ribbon width works best for tree bows?
For trees under 6 feet, 1.5-inch wired ribbon gives a balanced size. For trees over 7 feet, use 2.5-inch ribbon so the bows still read from across the room. Pair them with a 4-inch topper if the tree stands taller than 8 feet.
Can I reuse bows from year to year?
Yes, if you store them flat in a lined box away from heat and humidity. Wired ribbon bounces back after a quick fluff, and velvet recovers with light steam.
Replace any bow with crushed loops or loose wire, since those fail first.
Final thoughts
A good ribbon bow takes a few inches of fabric, one piece of wire, and about four minutes.
Match the width to your tree, pick a tight colour story, and fluff every loop before it goes on a branch.
The ten ideas above give you a starting point, and the table gives you the shopping list.
Which colour palette will you pin to your board first, and will you tie the topper bow before or after the lights go on?










1 thought on “Tying Bows On Christmas Tree: Easy Step-by-Step Guide”