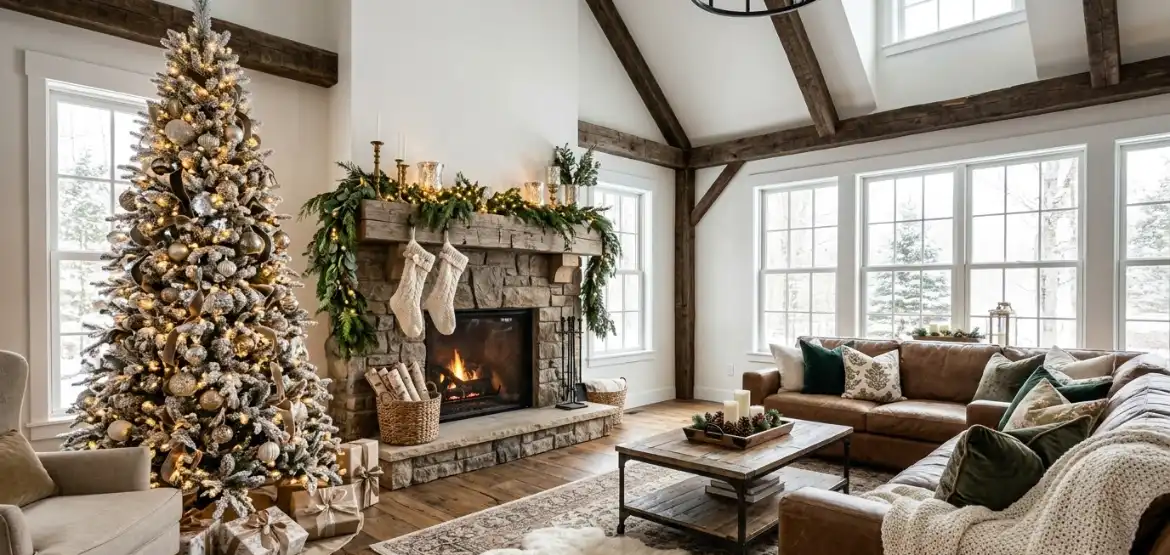
Your Pinterest board has 400 pins, your living room looks like a log cabin and a jewelry store had an argument, and you can’t decide which one wins. Good news: neither wins. That tension is the whole look.
I started decorating this way 6 years ago, after a messy first attempt that involved way too much glitter and one very confused pinecone.
Since then I’ve rebuilt the same tree 4 different ways, and I finally know what works. This guide walks you through every step, from picking colors to styling the photo you’ll pin.
What rustic glam actually means
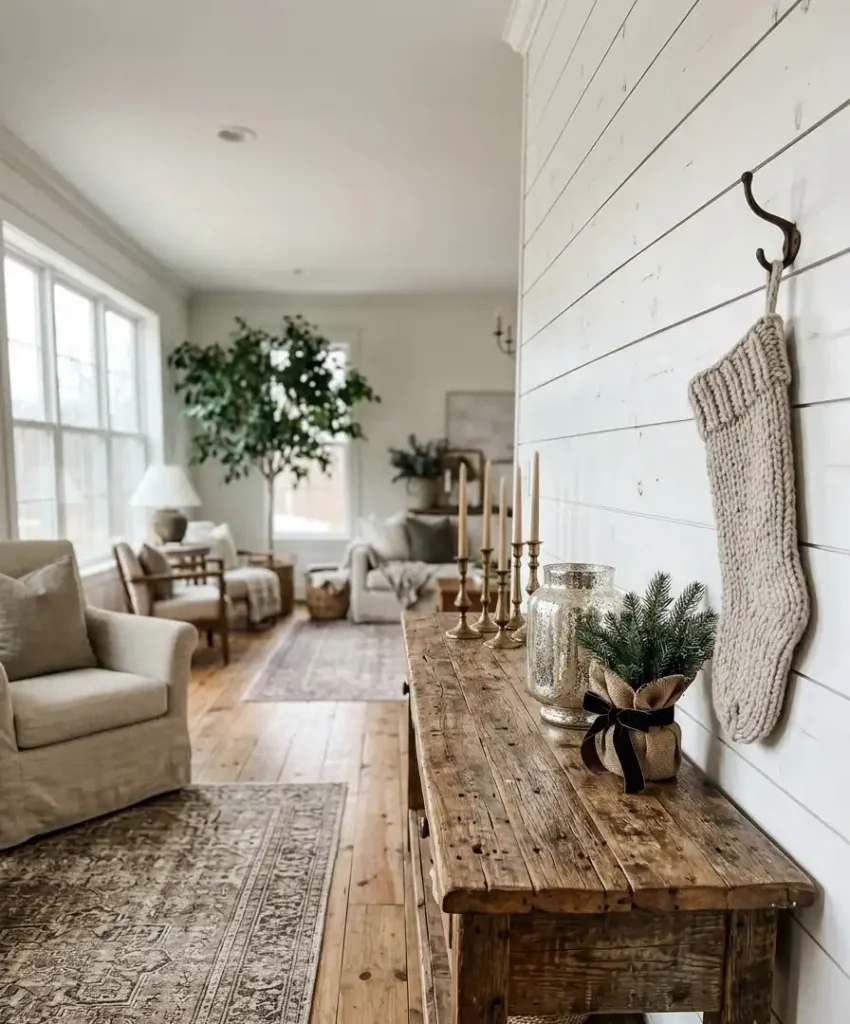
Rustic glam pairs raw, earthy materials with a few shiny, polished ones. Think weathered wood next to brass.
Burlap next to velvet. A chunky knit stocking hanging beside a mercury glass candle holder.
The balance matters more than any single item. I aim for roughly 70% natural texture and 30% sparkle.
Flip that ratio and you end up with a department store window, which looks nice but doesn’t feel like home.
Ever wondered why some rooms look expensive without trying hard? Contrast does most of the work.
Rough meets smooth, matte meets metallic, and your eye keeps moving.
The materials that earn their spot
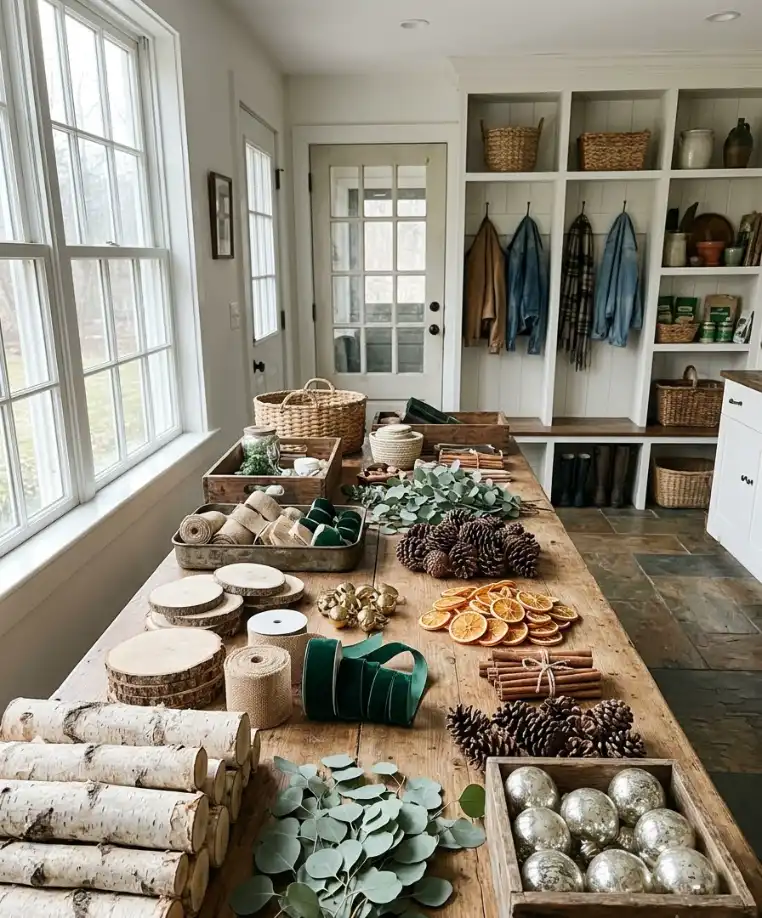
- Wood: reclaimed boards, birch logs, wood slices, rough-cut beads
- Textiles: burlap, buffalo check, velvet, chunky knits, faux fur
- Metals: brass, antique gold, copper, champagne finishes
- Natural bits: pinecones, dried orange slices, cinnamon sticks, eucalyptus
- Glass: mercury glass, clear bulbs, hurricane lanterns
IMO the velvet ribbon is the secret weapon here. It costs about $6 a roll and instantly softens all that wood.
Step 1: Pick a palette before you buy anything
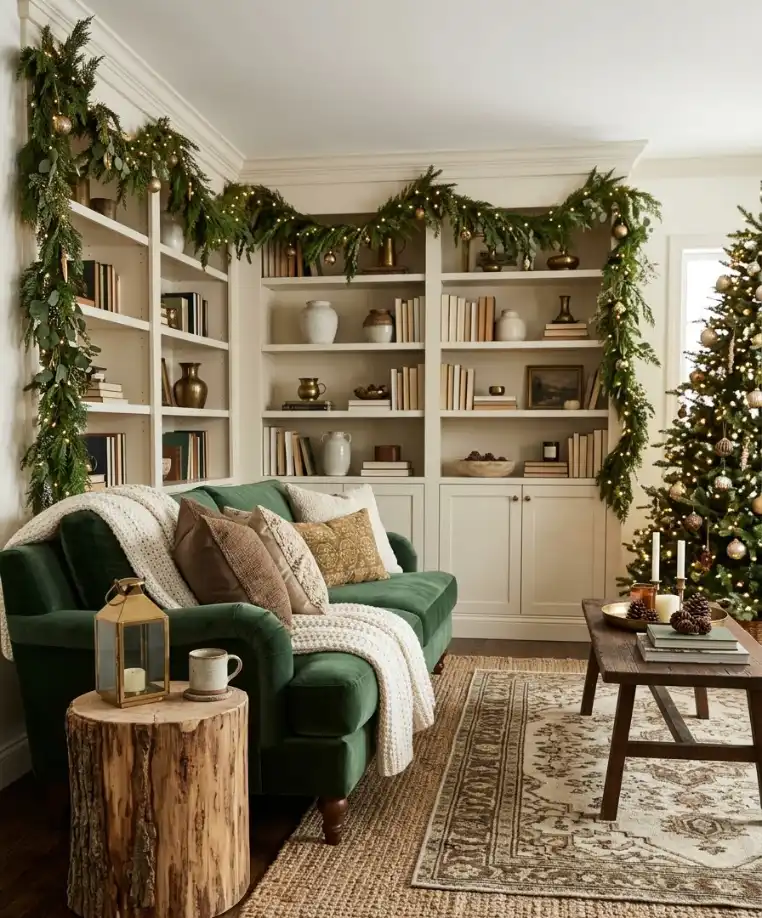
I skipped this step my first year and paid for it. I came home with 11 different shades of gold, and not one of them matched.
Choose 3 base colors and 1 accent. My favorite combo is warm white, forest green, and brown, with antique gold as the accent.
If you want something moodier, try deep burgundy, charcoal, and cream with copper.
Pull up Pinterest Trends before you shop. It shows you which holiday searches are climbing, so you can see whether people want champagne tones or deep green this season.
I check it every October, and it has saved me from at least 2 expensive trend purchases.
A quick palette test
Lay your ribbon, an ornament, and a fabric swatch on a table. Squint at them. If one item jumps out like a sore thumb, swap it.
Step 2: Build the tree
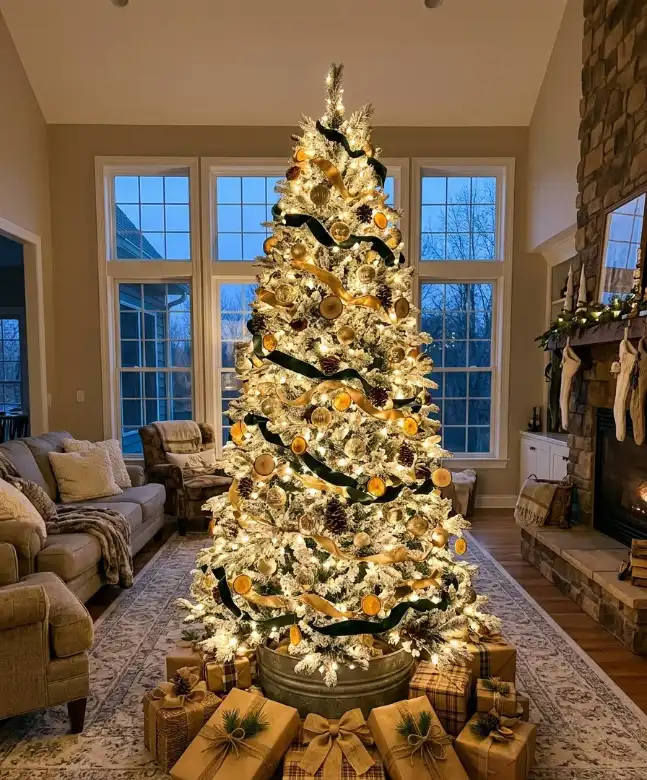
The tree is your biggest canvas, so I start here. Everything else in the room borrows from it.
Choose the right base
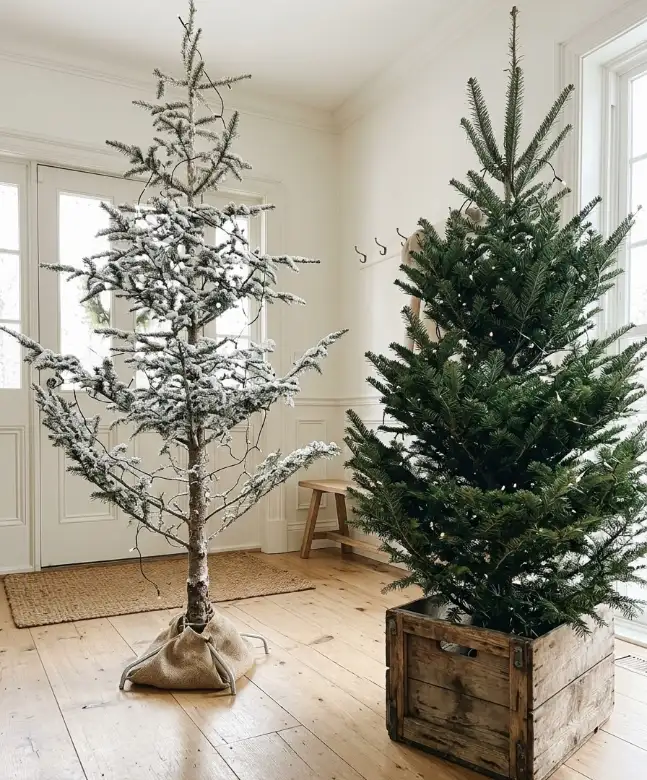
A flocked or lightly frosted tree gives you instant winter drama, and I love one with a slightly uneven shape. A perfectly symmetrical tree looks like a catalog photo.
A slightly lopsided one looks like somebody actually lives in your house.
A real tree works great too. If you go real, pick a Fraser fir; the sturdy branches hold heavy ornaments without drooping.
Skip artificial trees with plastic-shiny needles, because that sheen fights the rustic side of the look.
Light it properly
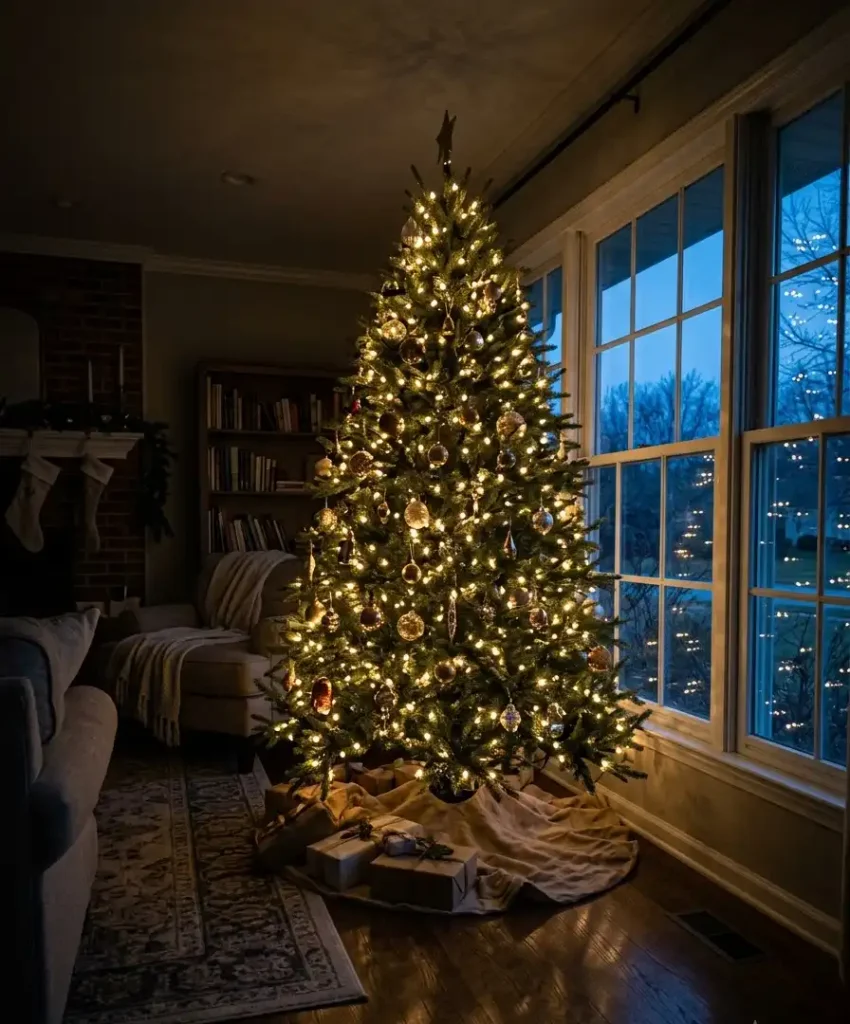
Wrap lights from the trunk outward, not just around the outside edge. This gives you depth, and the tree glows from within.
I use roughly 100 warm white lights per foot of tree height.
Warm white only. Cool white turns the whole scene clinical.
Layer your decorations
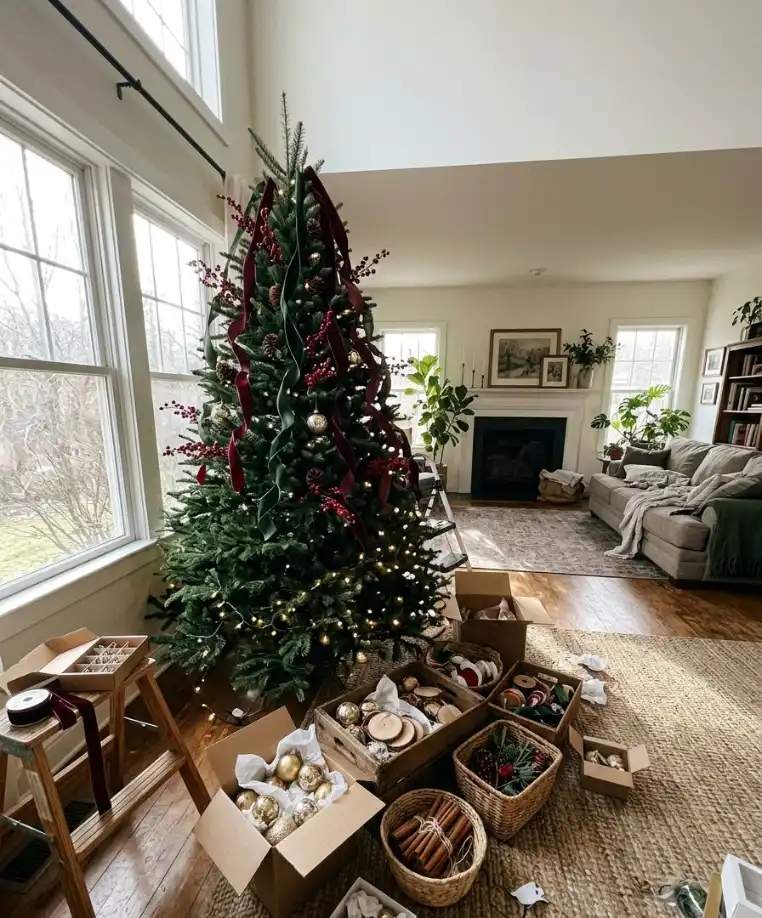
Work in this order and you’ll never feel lost:
- Ribbon first. Tuck wide velvet or burlap ribbon in loose waves from top to bottom.
- Picks and stems. Poke in faux berries, pinecones, and frosted branches at different depths.
- Large ornaments. Hang big gold or mercury glass balls deep inside the branches for shine.
- Natural ornaments. Add wood slices, dried orange slices, and cinnamon bundles near the outer edge.
- Small details. Finish with beaded garland and tiny ornaments to fill gaps.
I always hang the big metallic ornaments first, then step back and squint at the tree again. Gaps show up fast that way. Wow, how many bare spots can one tree hide?
Top it and skirt it
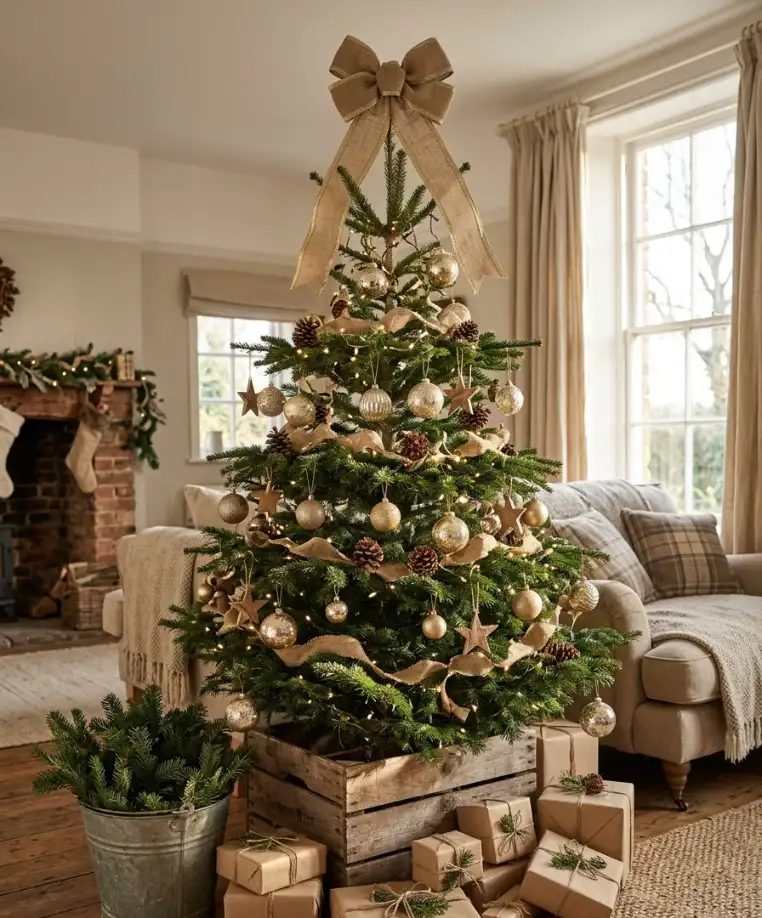
For the topper, I prefer a big burlap bow with a gold-edged ribbon over a traditional star.
A star works fine, but a bow gives you that handmade feel. For the base, a wooden crate or a galvanized tub beats a standard tree skirt, IMO. It hides the stand and adds one more rustic texture.
Step 3: Style the mantel
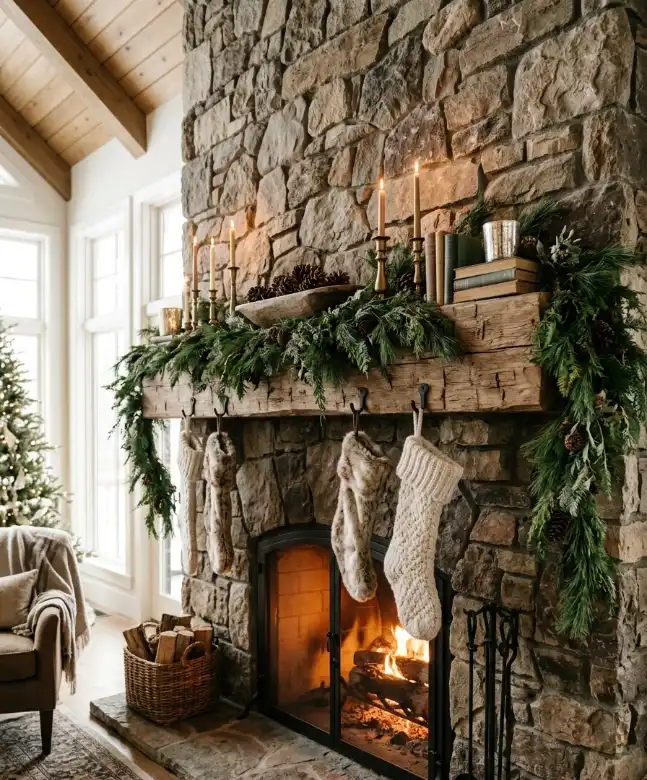
The mantel is where rustic glam really shows off. I treat it like a little stage.
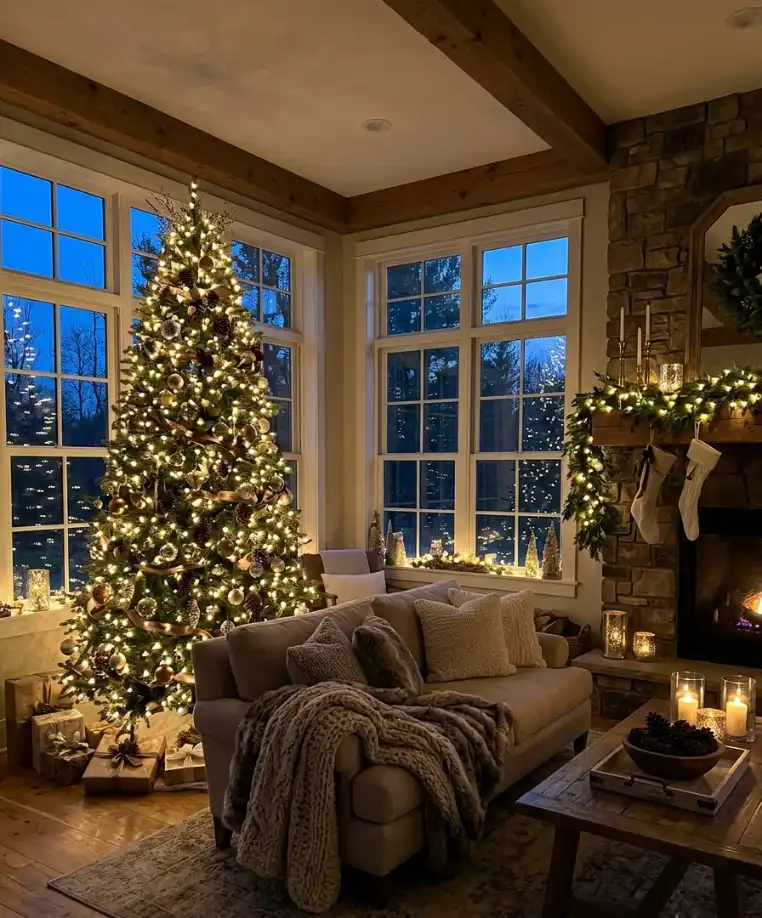
Start with a garland of real or faux pine. Drape it so it hangs unevenly, with one side lower than the other.
Then add 3 or 4 candles in different heights, using brass or mercury glass holders.
Stack a few books with the spines turned inward, and set a small wooden bowl of pinecones on top.
Hang stockings from simple iron hooks, and pick knit or faux fur ones instead of shiny satin.
I once spent a whole Saturday perfecting my mantel garland. My cat knocked half of it down in 4 minutes.
Worth it? Honestly, yes, because the photo I took before the incident got 2,300 saves.
Step 4: Set a table that stops conversation
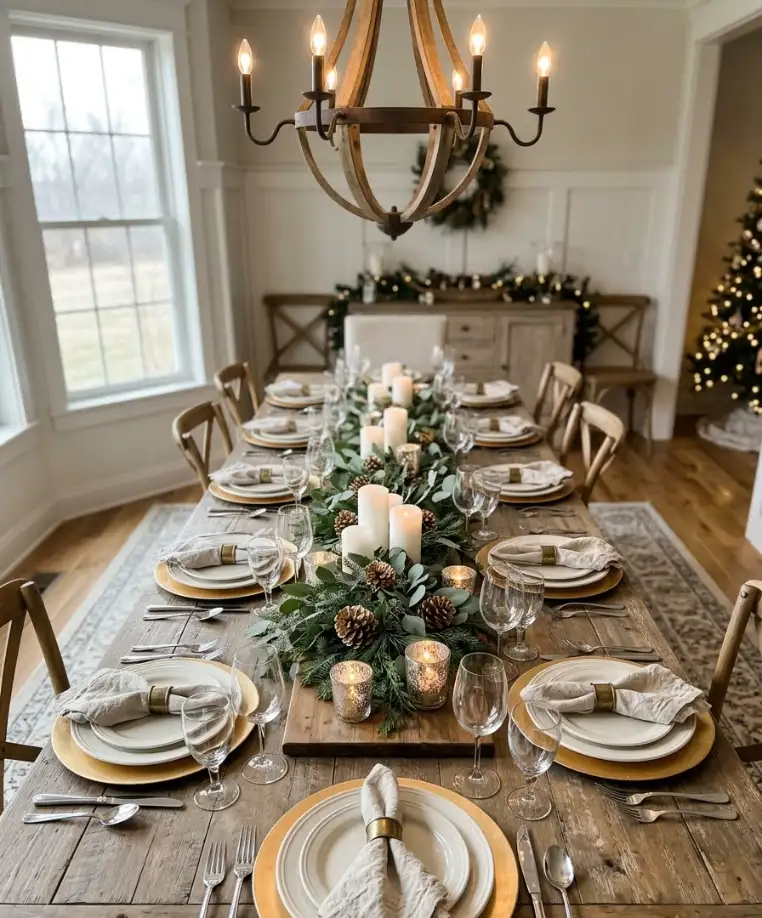
A dining table centerpiece sets the mood for every meal in December. A long wooden board down the middle of the table gives you a base.
Line it with greenery, then add candles in clustered groups.
Here’s a quick look at how I mix the rustic and the glam on a table:
| Layer | Rustic piece | Glam piece | Budget |
|---|---|---|---|
| Base | Wood board or burlap runner | Gold charger plates | $10 to $25 |
| Greenery | Fresh eucalyptus or pine | Gold-dipped pinecones | $8 to $15 |
| Lighting | Pillar candles in wood holders | Mercury glass votives | $15 to $30 |
| Place settings | Linen napkins | Brass napkin rings | $12 to $20 |
Candles near greenery need attention. I always keep them at least 12 inches from anything dry, and the National Fire Protection Association has solid guidance on holiday decorating safety if you want to double-check your setup.
Step 5: Make the front door and porch count
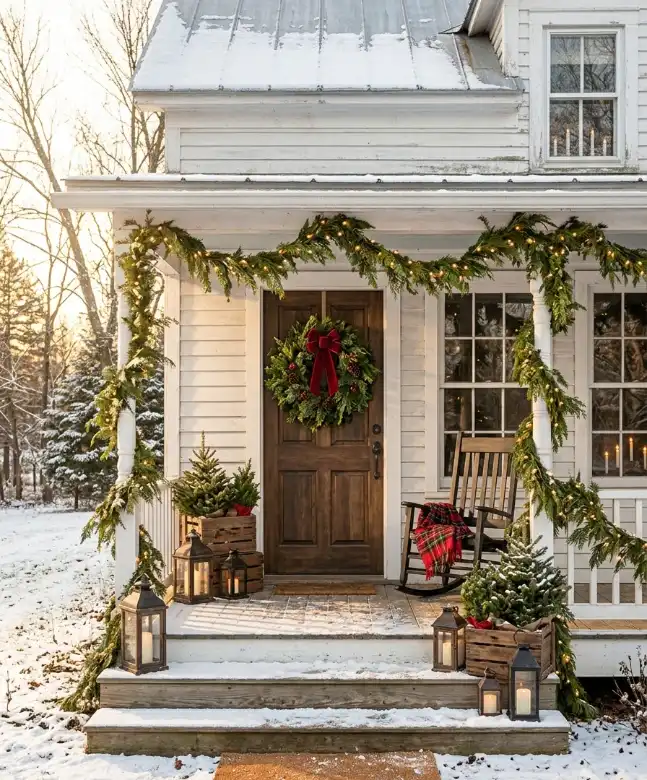
Your porch gets seen by neighbors, delivery drivers, and anyone who happens to scroll past your photos. So it deserves a little effort.
Hang a wreath of mixed greenery with a thick velvet bow, and tuck in some berry stems and a few gold-sprayed pinecones.
Place two wooden crates by the door, then fill them with potted evergreens and a lantern.
If you want one cheap trick, string warm lights along the railing and weave in some faux pine garland. The glow at dusk looks incredible and costs maybe $20.
A random tangent about porch lights
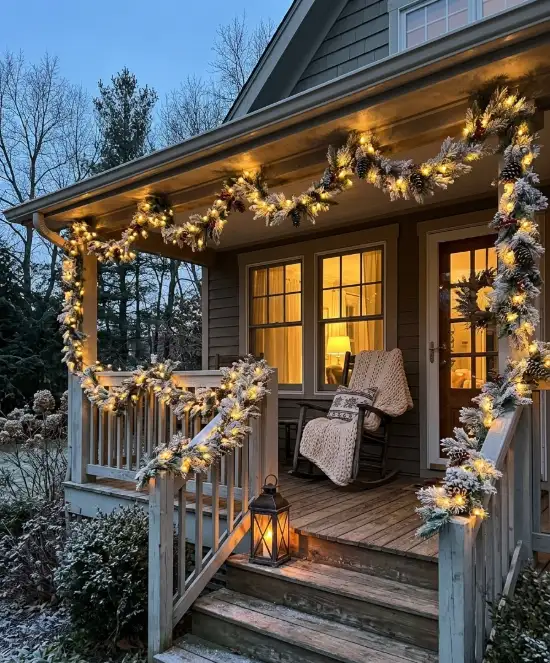
Side note: I think everybody should own one of those old-fashioned plug-in timers.
Mine turns my porch lights on at 4:30 every afternoon, and I never think about them again. Best $8 I’ve ever spent, and it has nothing to do with decor, but I had to share.
Step 6: DIY projects worth your weekend
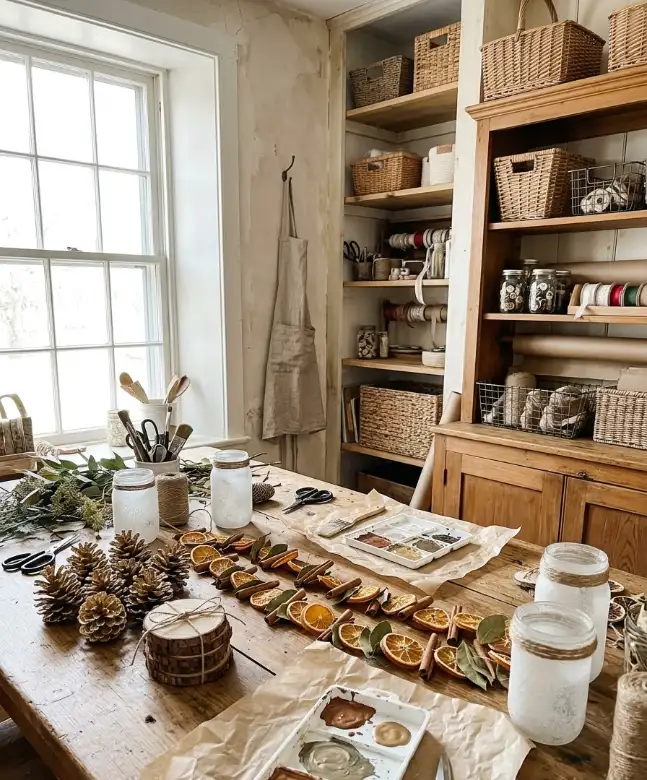
Handmade pieces give rustic glam its soul. Some of them also look better than store-bought, which feels great.
- Gold-dipped pinecones: Dip the tips in gold paint and let them dry. They take 10 minutes and look expensive. I love these, and I make 3 dozen every year.
- Wood slice ornaments: Drill a small hole, loop twine through, and brush on a little gold leaf. I think these beat any plastic ornament at 5 times the price.
- Dried orange garland: Slice oranges thin and bake at low heat for about 3 hours. The smell alone justifies the effort, though they do fade after a couple of weeks.
- Burlap and velvet bows: Layer the two fabrics and tie them together. Honestly, this is the project I’d skip if you’re short on time, because the store versions look nearly identical.
- Mason jar lanterns: Frost the glass, add a tea light, and tie twine around the neck.
My honest ranking: pinecones, then wood slices, then lanterns. The bows landed at the bottom of my list, and I stand by that.
Photograph it for Pinterest
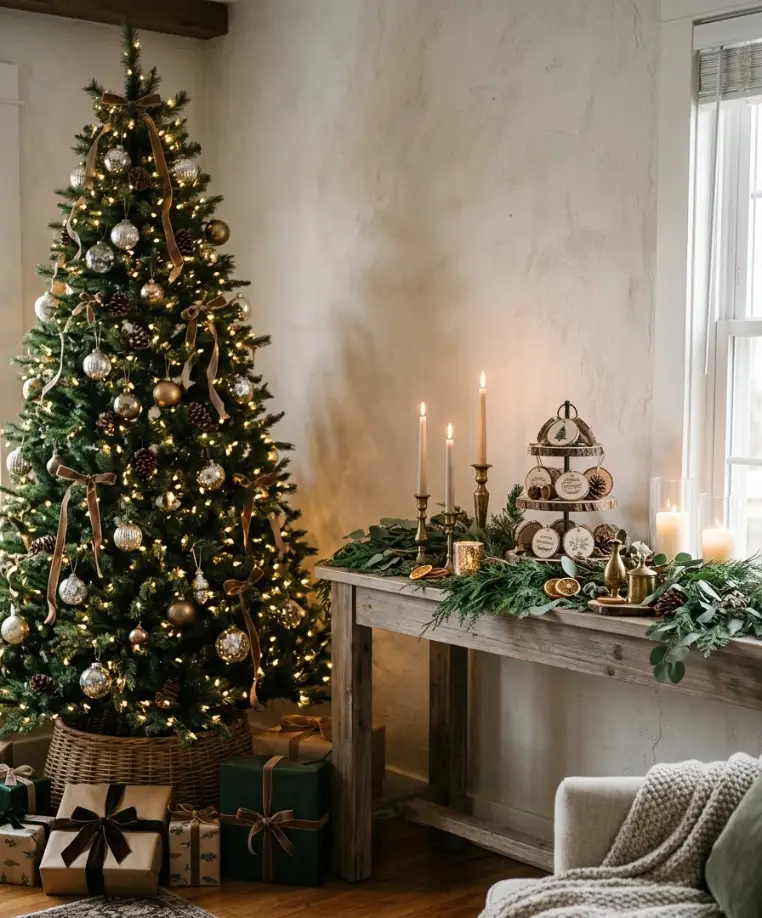
You built something beautiful, so show it. Pinterest rewards bright, vertical images, and a 2:3 ratio works best.
Shoot in the morning, when soft window light flatters the warm tones.
Turn off the overhead lights and let the tree glow. Shoot close-ups of texture too: a hand-tied bow, a wood slice ornament,
a candle flickering against greenery. Those detail shots tend to get saved more than wide room photos.
Write pin titles that include real search phrases, like “rustic glam Christmas tree ideas” or “cozy Christmas mantel decor.
” I check which phrases people search for each season, and Pinterest Trends makes that easy.
For supplies, I usually grab trims and picks from Michaels when they run their seasonal sales.
Mistakes I made so you can skip them
I’ve botched this look in plenty of ways. Here are my top offenders:
- Buying everything in one shade of gold, which made the room look flat
- Piling on so many ornaments that the tree lost all its rustic character
- Forgetting to test my lights before wrapping them (that took 40 painful minutes)
- Using scented candles on every surface until the house smelled like a candle factory
Fix the lights first. Always.
Quick FAQ
How much does a rustic glam Christmas setup cost?
You can pull off a full tree, mantel, and table for roughly $150 to $300 if you mix store-bought basics with DIY pieces. I spent about $90 my first year and reused most of it since.
Can I do rustic glam in a small apartment?
Yes. Scale everything down: a 4-foot tree, a mini garland on a shelf, and a small wooden tray with candles on your coffee table. Small spaces actually make the look feel cozier.
Which colors work best besides gold?
Copper, champagne, and bronze all pair well with wood and greenery. Silver also works if you like a cooler, frostier feel, though I find gold warmer against rustic textures.
Final thought
Rustic glam comes down to a handful of choices: warm light, rough textures, a few shiny pieces, and a palette you commit to.
Start with the tree, add a mantel, and build outward from there. Your home will tell you when it’s done.
So what’s the first piece you’re adding to your rustic glam setup this year? Drop it in the comments, and tell me which DIY you’ll try first.