I lost a $400 deposit once because of one nail hole and a very ambitious teal paint job. The landlord’s email came with photos. Of the nail hole. At an angle, with a flashlight.
So I get why you’re nervous. You want a living room that looks like it belongs on a Pinterest board, and you also want your full deposit back.
Good news: both are possible, and I’ve tested most of the methods below in real rentals with real landlords who look at walls way too closely.
This guide covers every damage-free accent wall option I trust, how much each costs, and what goes wrong when you rush. Grab a coffee. Maybe a tape measure.
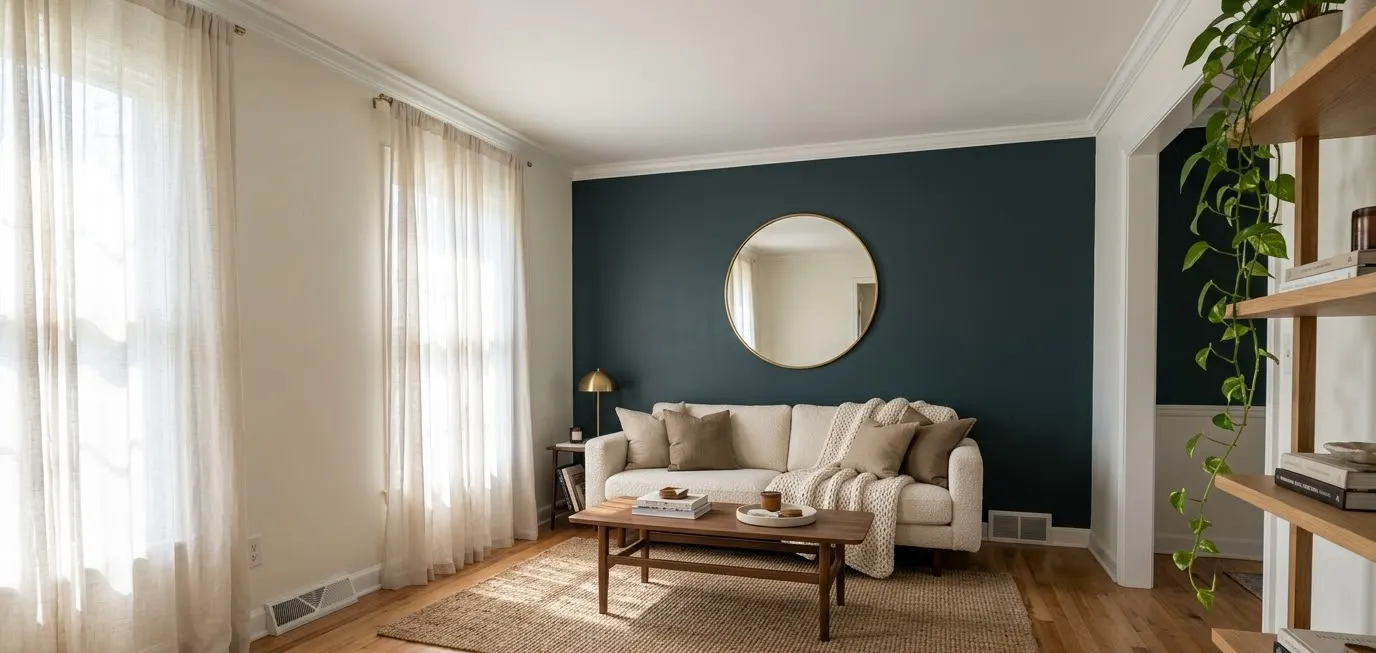
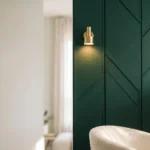
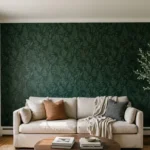
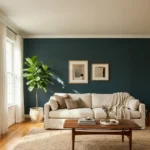
Dark Teal Accent Wall Living Room Ideas With Wood Cream And Gold Accents
Check It Out →Read your lease before you buy anything
Boring step, I know. Do it anyway. Open your lease and search for “alterations,” “decorating,” “nails,” and “paint.” Some leases ban everything.
Others allow small changes if you ask first, and a surprising number say nothing at all about removable products.
Email your landlord before you commit. A written yes protects you better than any product ever will.
I send something short: “I’m planning to add a removable peel-and-stick accent wall in the living room.
It leaves no residue and comes off completely when I move out. Is that okay?” Most landlords reply within a day, and most say yes.
Save that reply. Screenshot it. Put it in a folder called “deposit insurance” if you want to feel organized.
Document your walls first
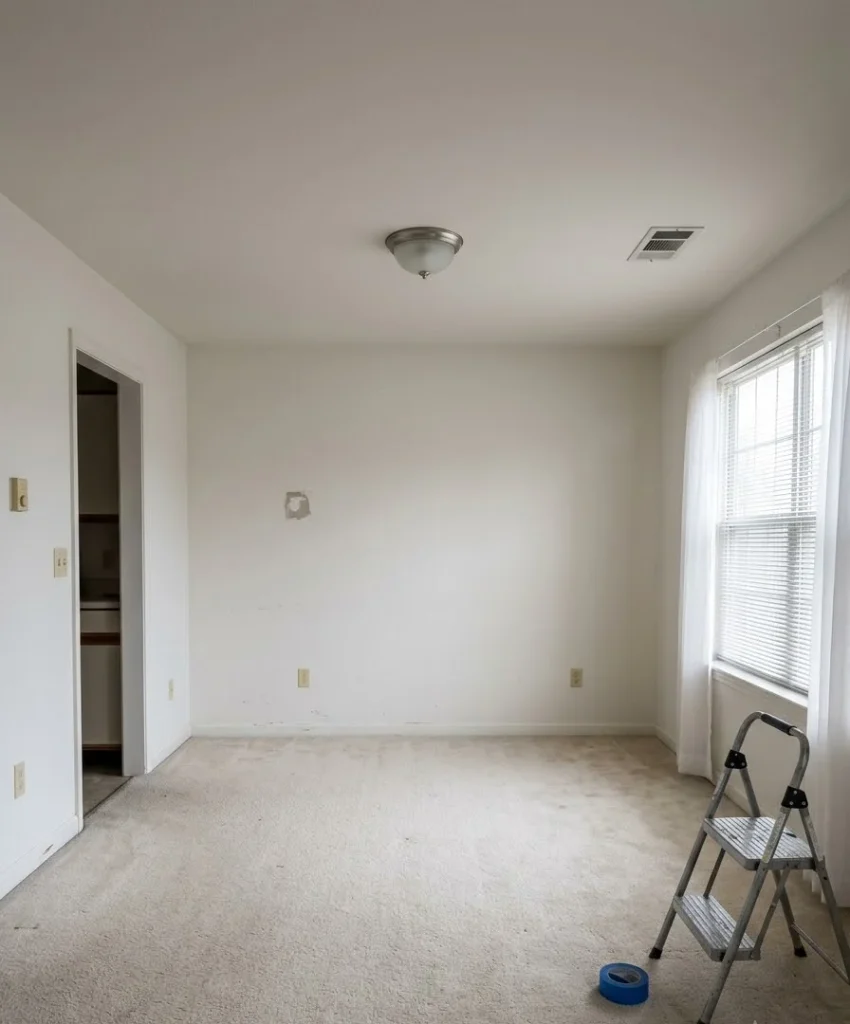
Photograph the wall you plan to cover, with the date on, before you touch it. Take close-ups of existing dings, scuffs, and paint texture.
Wow, the number of tenants who skip this step and then argue about a scratch that was there on day one.
Choose the right wall
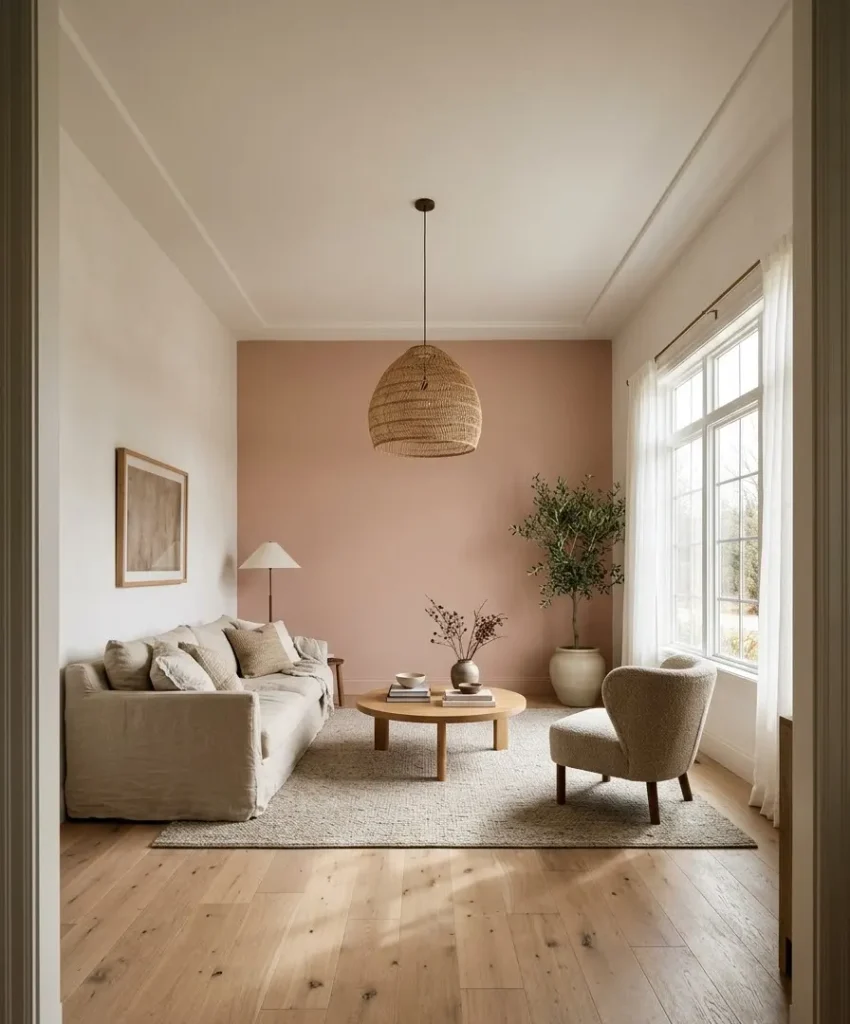
Not every wall deserves the spotlight. A good accent wall pulls your eye the second you walk in, so pick the one you already look at.
The sofa wall
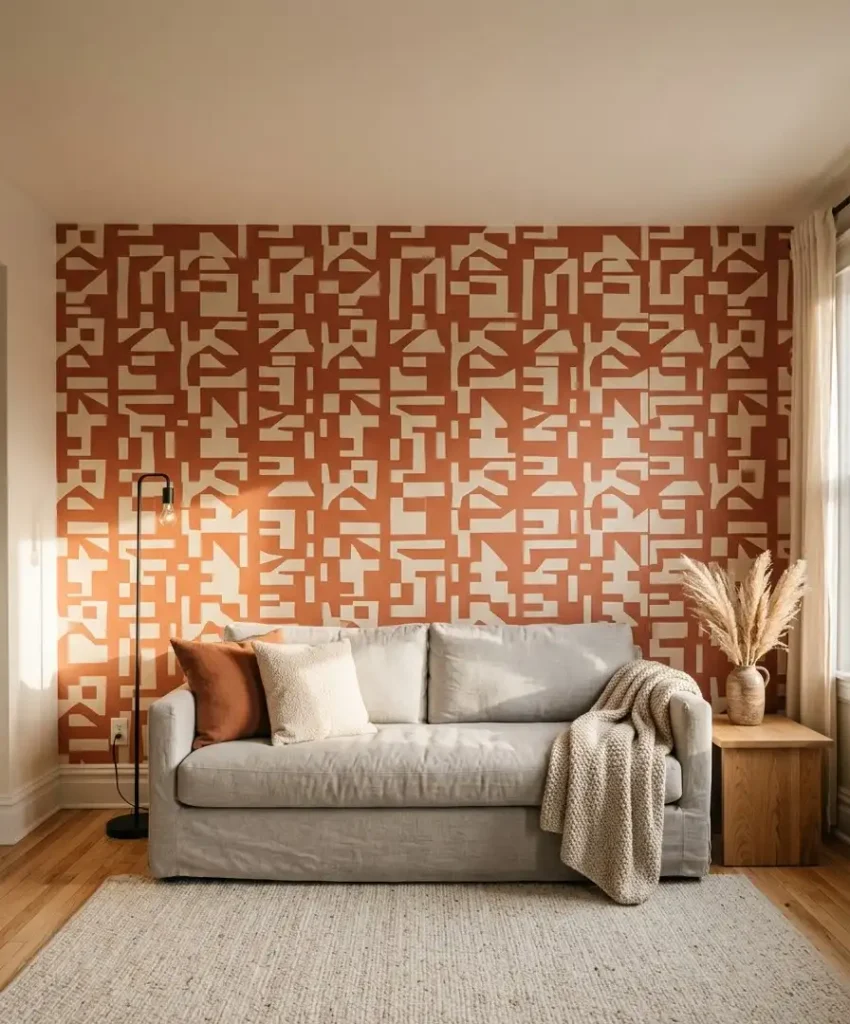
This is my default pick. You sit facing it, guests see it, and your couch gives the wall a natural anchor.
A bold pattern behind a plain sofa looks intentional with almost no extra styling.
The wall behind the TV
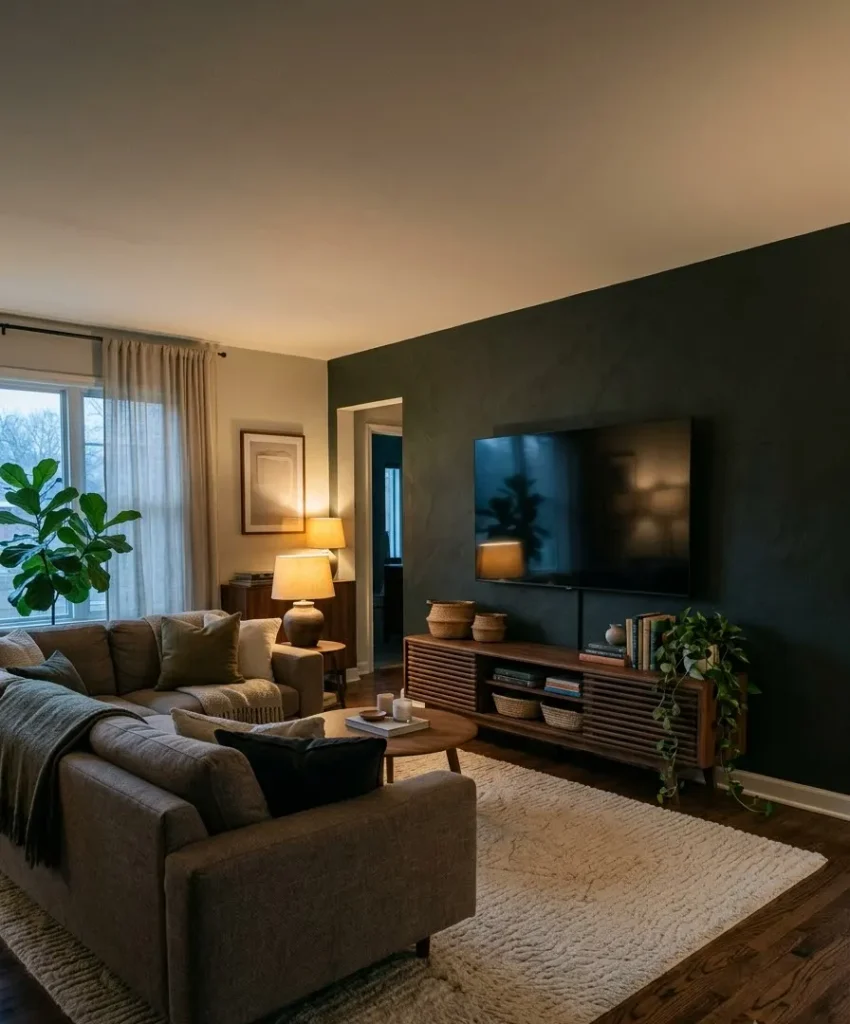
I like this one more than I expected. A dark or textured wall makes a black screen blend in instead of glaring at you.
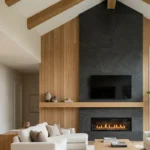
FYI, wood slats or deep green behind a TV look great in photos.
The wall opposite your windows
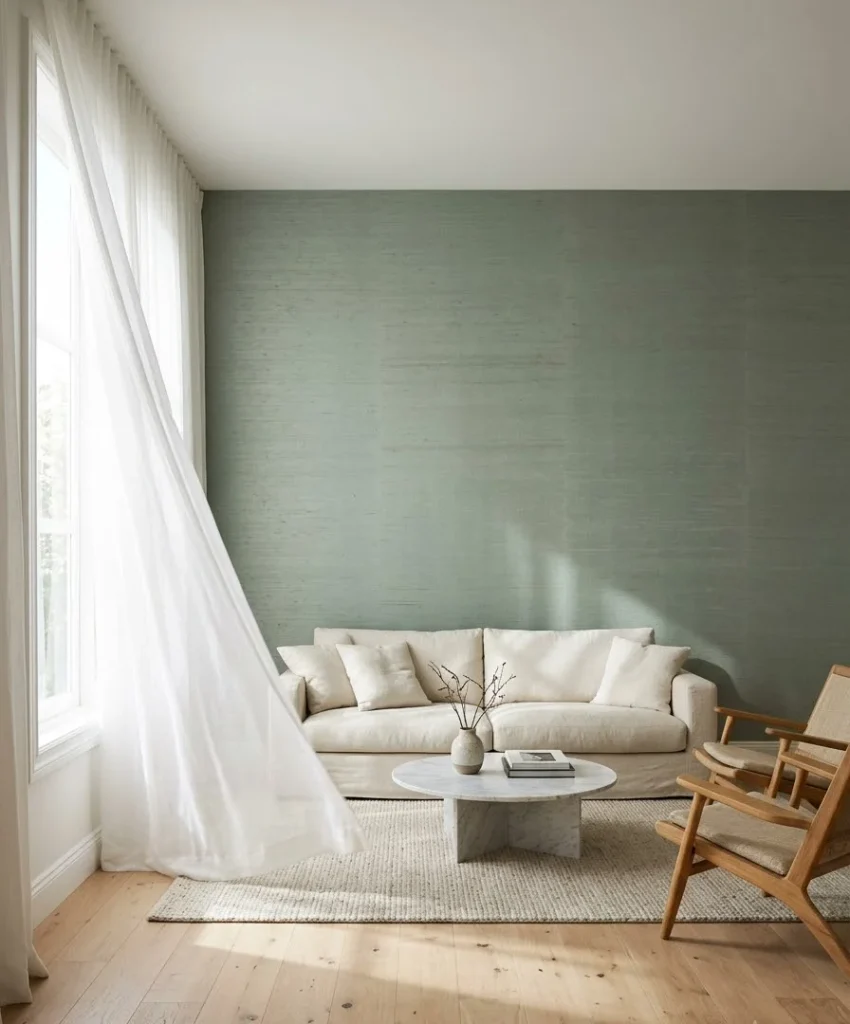
Light hits this wall all day, so color and texture show up beautifully. It also tends to be flat and unbroken, which makes installation way easier.
IMO this wall photographs best, and Pinterest users notice that.
Skip walls with lots of outlets, vents, and doorways. Every cut-out adds work and adds places where edges can curl. A clean rectangle saves you an hour of swearing.
Peel-and-stick wallpaper: the obvious favorite
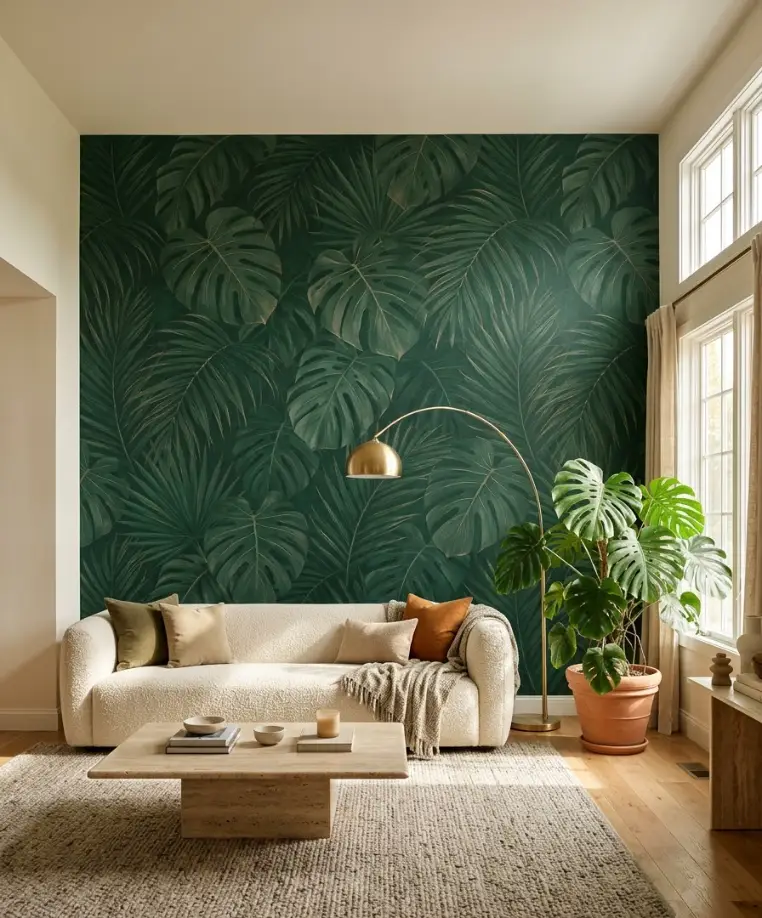
Peel-and-stick wallpaper is the king of renter-friendly accent walls, and the hype earns its keep.
It goes up fast, it looks like real wallpaper from five feet away, and it comes off when you’re done.
Brands like Tempaper sell an enormous range of patterns, from botanical prints to plain grasscloth looks.
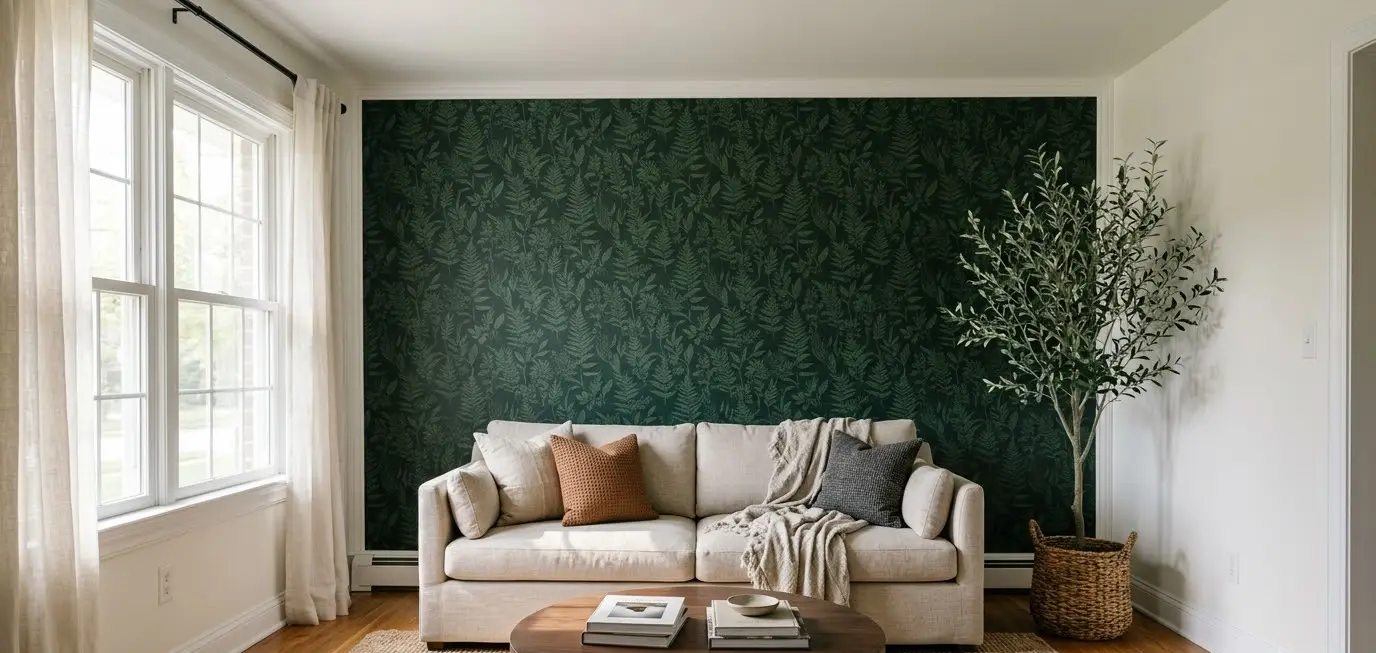
I covered a 10-foot wall in a deep green botanical print about two years ago. It took me one afternoon, two rolls of patience, and a podcast.
The result still gets compliments on every video call I take.
Check your wall surface first
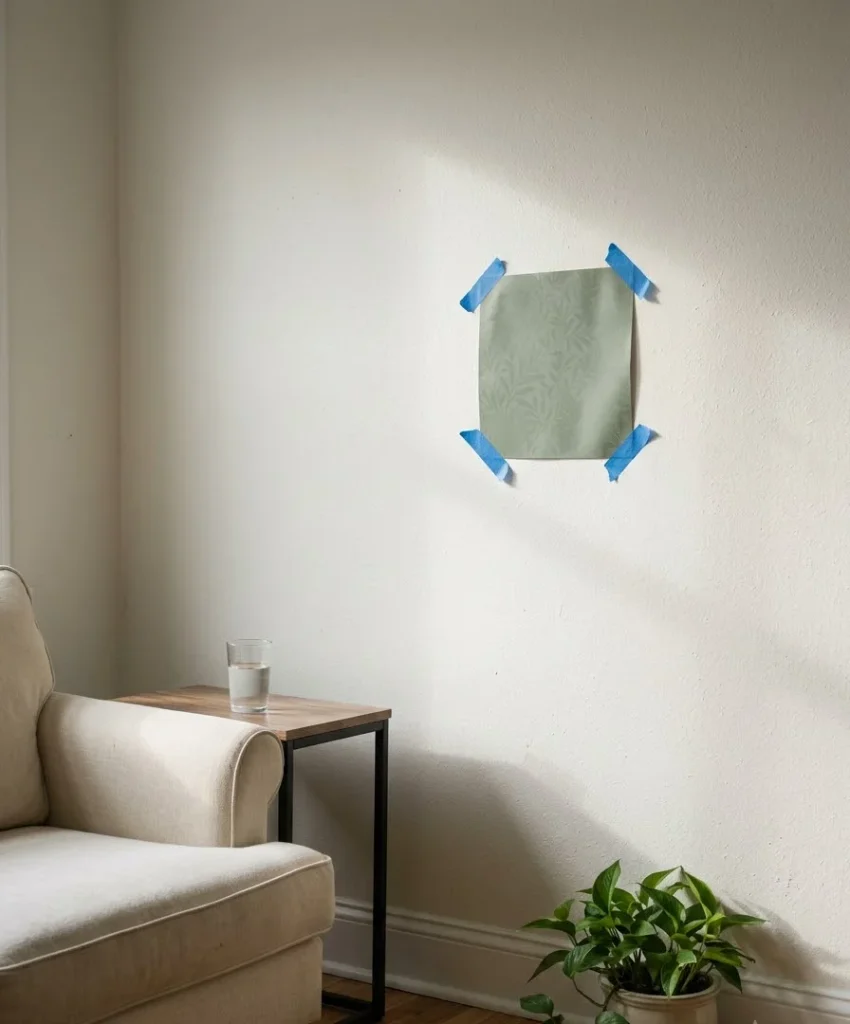
Wallpaper sticks best to smooth, clean, fully cured paint. Heavy texture, like orange peel or knockdown, gives the adhesive less surface to grab, and the edges lift within weeks.
Run your hand across the wall. If it feels like a dry sponge, test a small sheet in a corner for a few days before you buy ten rolls.
Wait at least 4 weeks after any fresh paint job. Paint that hasn’t cured fully can peel off with the wallpaper when you remove it.
Flat and matte finishes cause the most trouble, so test those first.
How I apply it
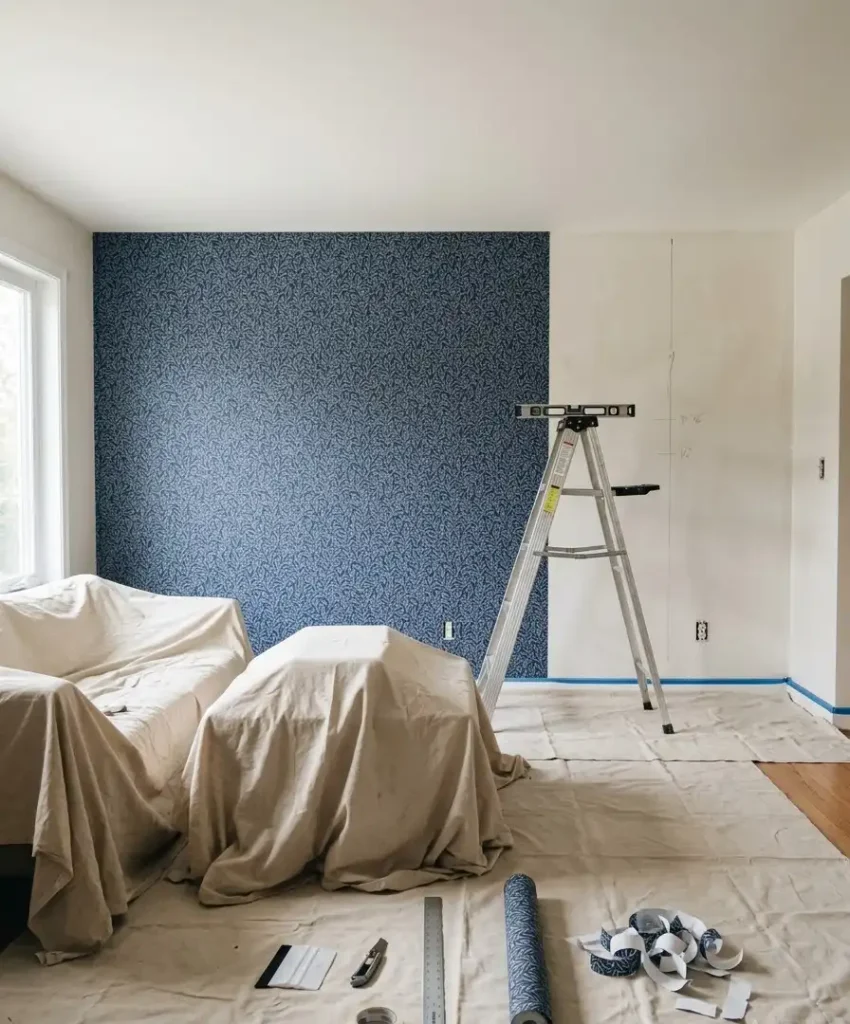
- Wipe the wall with a damp cloth and let it dry completely.
- Mark a plumb line with a level and a pencil, since ceilings and corners lie.
- Peel back only 12 inches of backing at the top, then press the panel in place.
- Smooth downward with a squeegee or an old gift card, working out bubbles as you go.
- Overlap or butt seams according to the manufacturer’s instructions, and match the pattern as you go.
- Trim excess at the ceiling and baseboard with a sharp craft knife.
Honestly, step 2 matters most. A crooked first panel ruins every panel after it, and I learned that the hard way with a stripe pattern that slid a full inch off by the final strip. Stripes show everything.
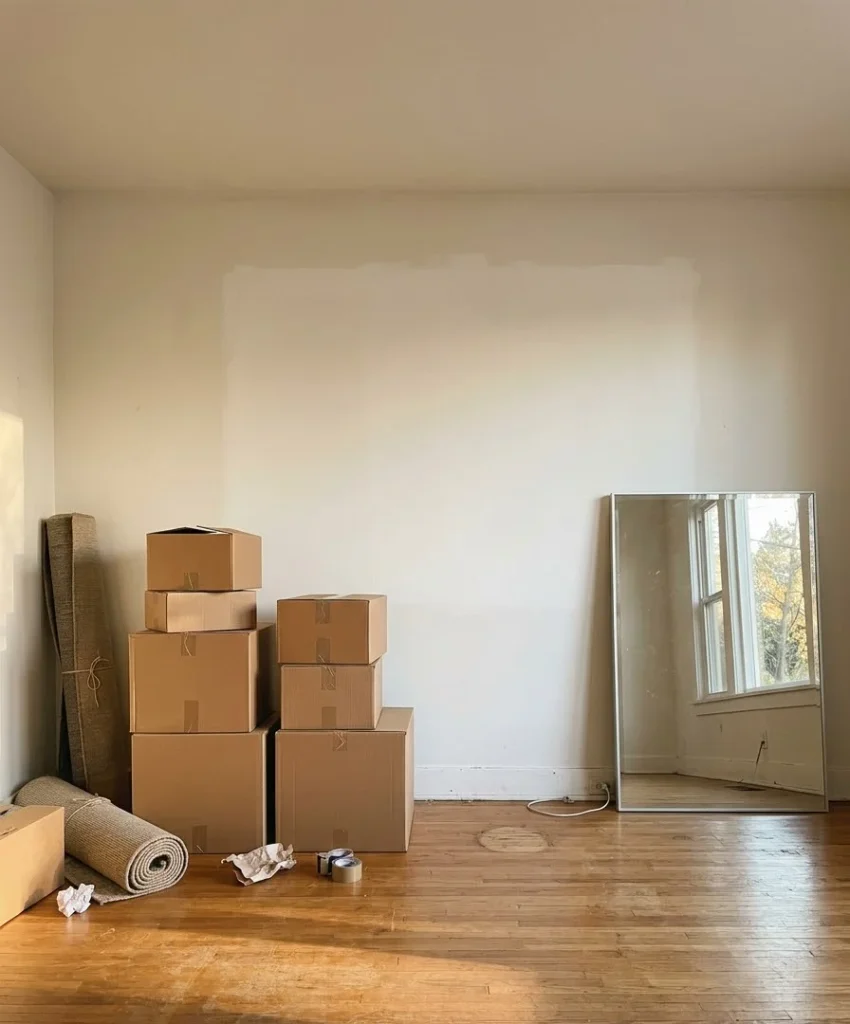
Removal day
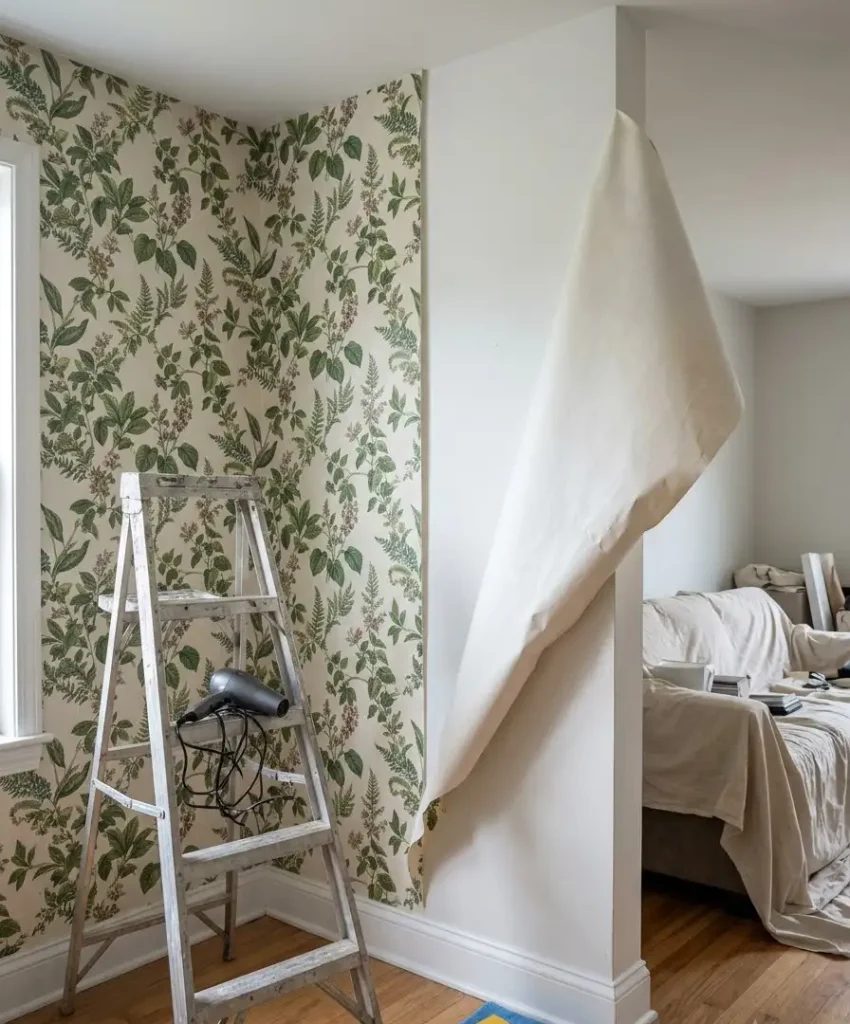
Peel slowly at a low angle, and warm stubborn spots with a hair dryer on low heat.
Wallpaper that fights you usually needs more warmth, not more force. Pull fast and you risk taking paint with it, which defeats the entire point.
Removable wall panels and slats
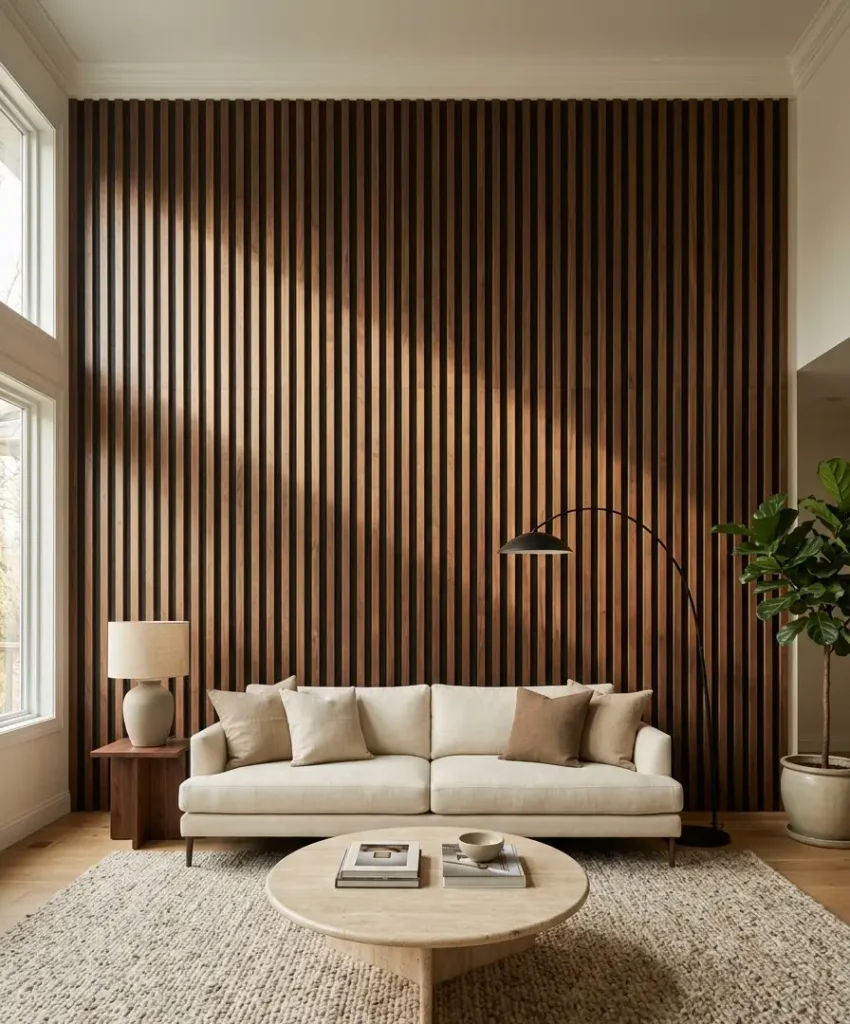
Wood slat walls dominate Pinterest right now, and I understand why. They add depth and warmth to a flat white rental wall in a way paint can’t touch.
Peel-and-stick slat panels exist, and they stick directly to the wall. For lighter versions,
I use felt-backed or foam-backed slats attached with removable mounting strips.
Check the weight rating on every package. Heavier real-wood slats need more strips than you think, and a falling panel at 2 a.m. will teach you that lesson loudly.
What I like and don’t like
- I love the texture. Slats catch light and shadow differently throughout the day, so the wall looks new at breakfast and again at dinner.
- I hate cutting them. My first slat project involved a hand saw, a very crooked line, and several words my mother wouldn’t approve of.
- Paint-matched slats look more expensive. I stained mine a warm walnut, and visitors assumed I built it into the wall.
- Gaps between slats collect dust. You will vacuum this wall more often than you’d like.
Slat panels cost more than wallpaper, but they hide wall flaws better than almost anything else.
If your rental wall has patched holes or uneven paint, slats cover all of it.
Fabric and starch: the cheapest trick I know
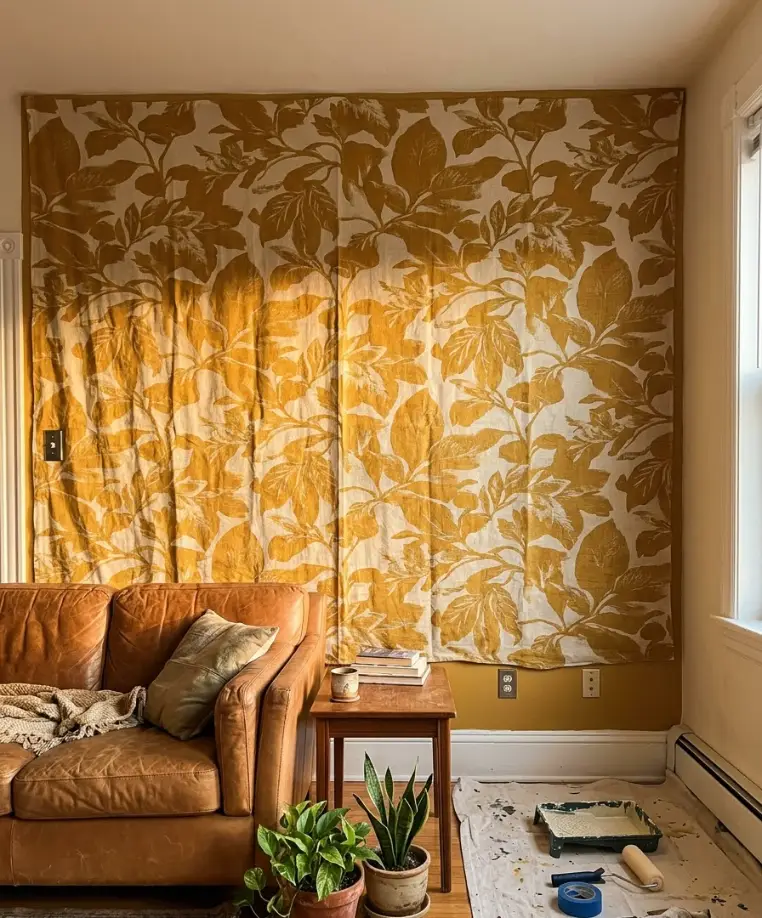
Here’s a method I stumbled on during a very broke year. You can hang fabric on a wall using liquid starch, with no nails, adhesive, or staples.
Pour starch into a paint tray, roll it onto the wall, press the fabric against it, and smooth out wrinkles.
The starch holds the fabric in place while it dries. When you move out, you peel the fabric off and wipe the wall with warm water.
Where this works best
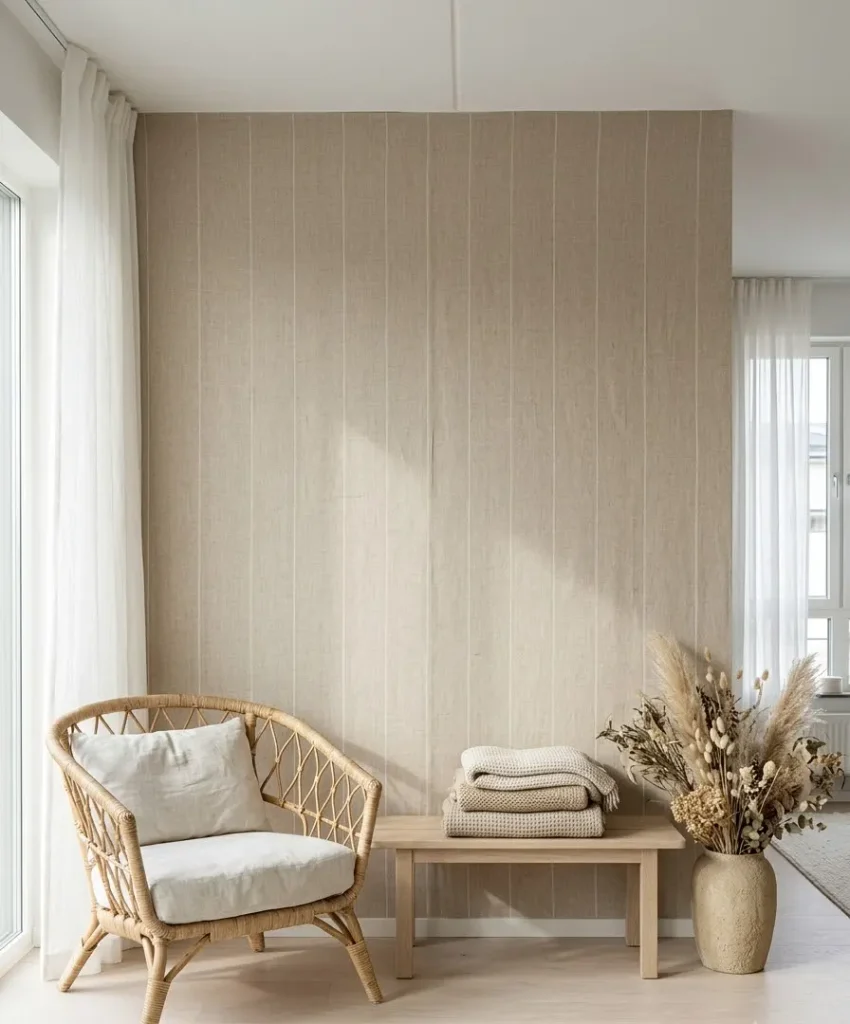
Lightweight cotton and linen work best. Thick or stretchy fabric sags.
Dark fabric over white starch can show wet patches until everything dries, so wait before you judge the result.
I used a bold mustard print on a living room wall for about 14 months. It looked wonderful and cost under $40.
Pinterest users love this trick because it feels creative and nobody expects it.
Paint, with permission and a plan
Some landlords allow paint, and some even like it. If yours says yes in writing, ask whether you need to repaint before you leave. Many do, and that needs a budget.
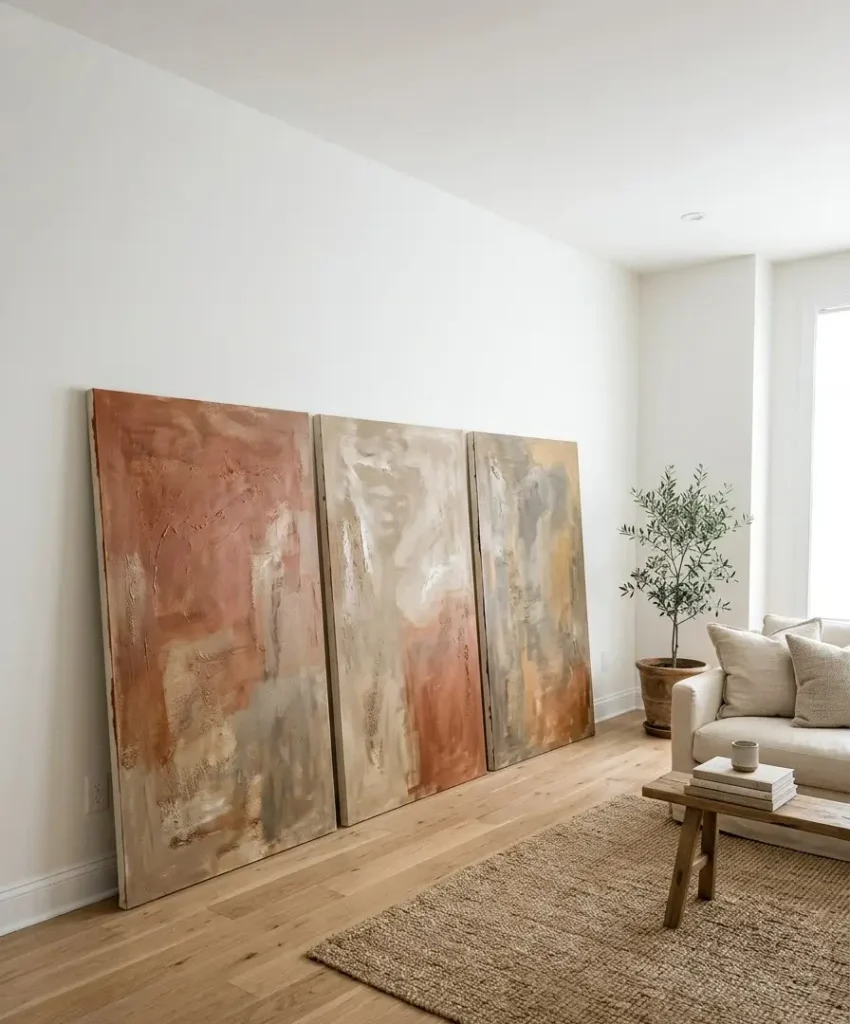
For paint-free pops of color, I use a trick that costs almost nothing: paint large canvases and lean them against the wall.
A set of three oversized canvases in terracotta, sand, and clay can mimic a color-blocked wall.
Tilt them against the baseboard and nobody sees a single hole.
You can also try peelable paint products, though I’d test them on a hidden patch before committing to a whole wall.
Coverage and removal vary a lot by brand and by wall condition. Benjamin Moore’s color tools help you preview shades if your landlord does allow a repaint.
Hang art without drilling
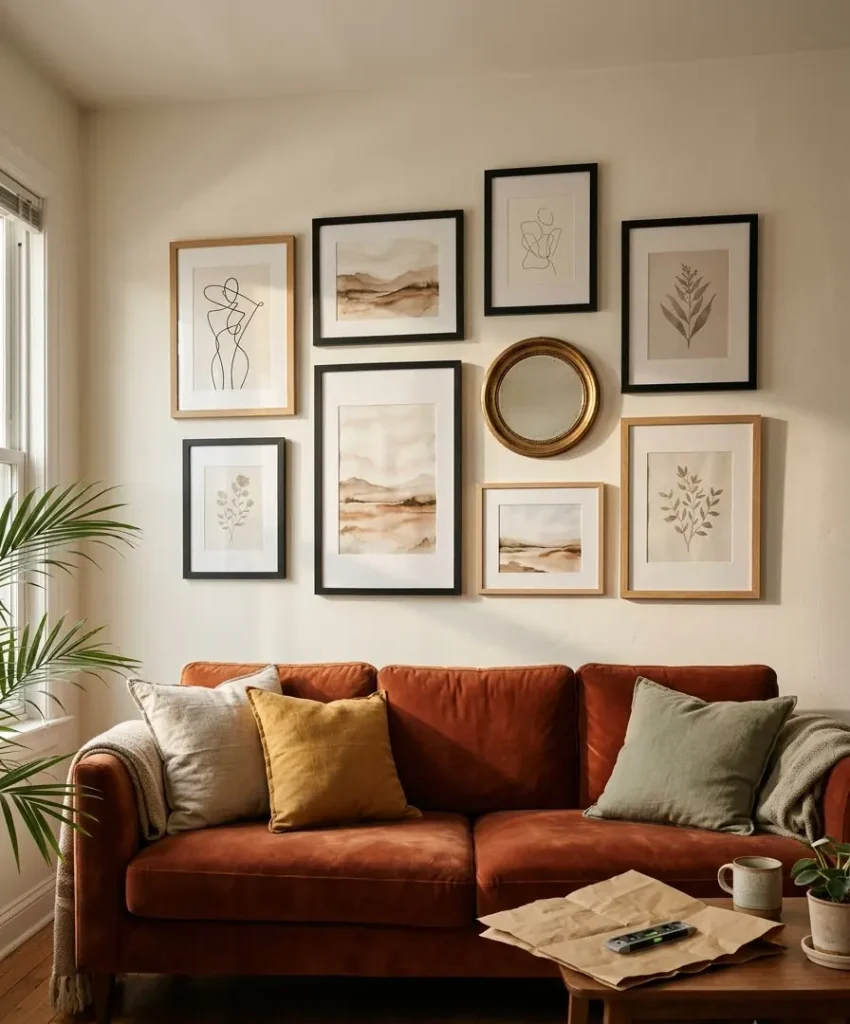
Gallery walls make a fabulous accent wall, and adhesive strips make them landlord-proof.
3M Command strips sit at the top of my list for hanging frames, because they remove cleanly when you follow the instructions.
The trick most people skip: pull the tab straight down, parallel to the wall, and stretch it slowly. Yank it outward and you rip paint.
My layout method
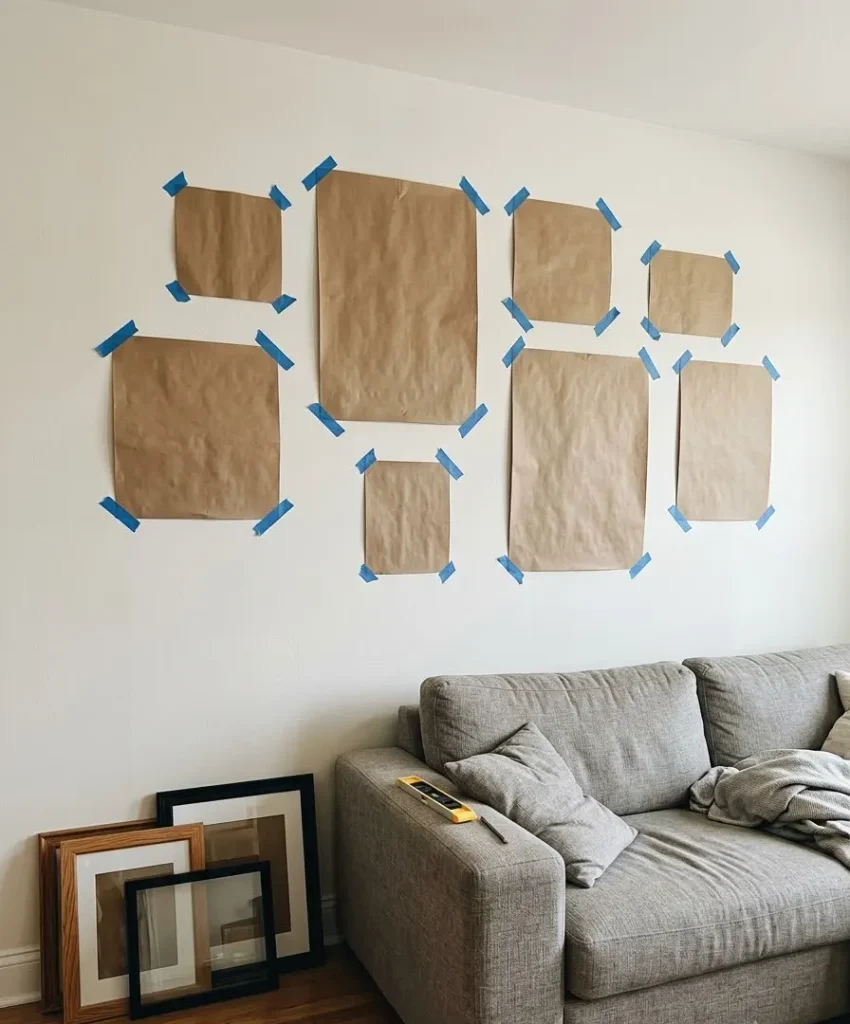
I cut brown paper to the size of each frame, tape the paper to the wall with painter’s tape, and rearrange until it looks right.
Only then do I stick the strips. This takes 20 extra minutes and saves me from moving strips around, which weakens the adhesive.
Mix frame sizes and finishes. Black frames beside warm wood frames beside one gold mirror gives you the layered, collected look that Pinterest loves.
Keep spacing consistent at about 2 inches between frames, or the whole thing looks haphazard in a bad way.
Quick comparison table
Here’s how my favorite methods stack up in my own experience:
| Method | Typical cost | Install time | Damage risk |
|---|---|---|---|
| Peel-and-stick wallpaper | $80 to $300 | 3 to 5 hours | Low on smooth, cured paint |
| Slat panels | $150 to $500 | 4 to 6 hours | Low to medium |
| Starch and fabric | $30 to $80 | 2 to 3 hours | Very low |
| Adhesive-strip gallery wall | $40 to $150 | 1 to 2 hours | Very low if you remove strips correctly |
Costs shift depending on wall size and brand, so treat these as ballpark figures from my own projects.
A quick tangent about dust
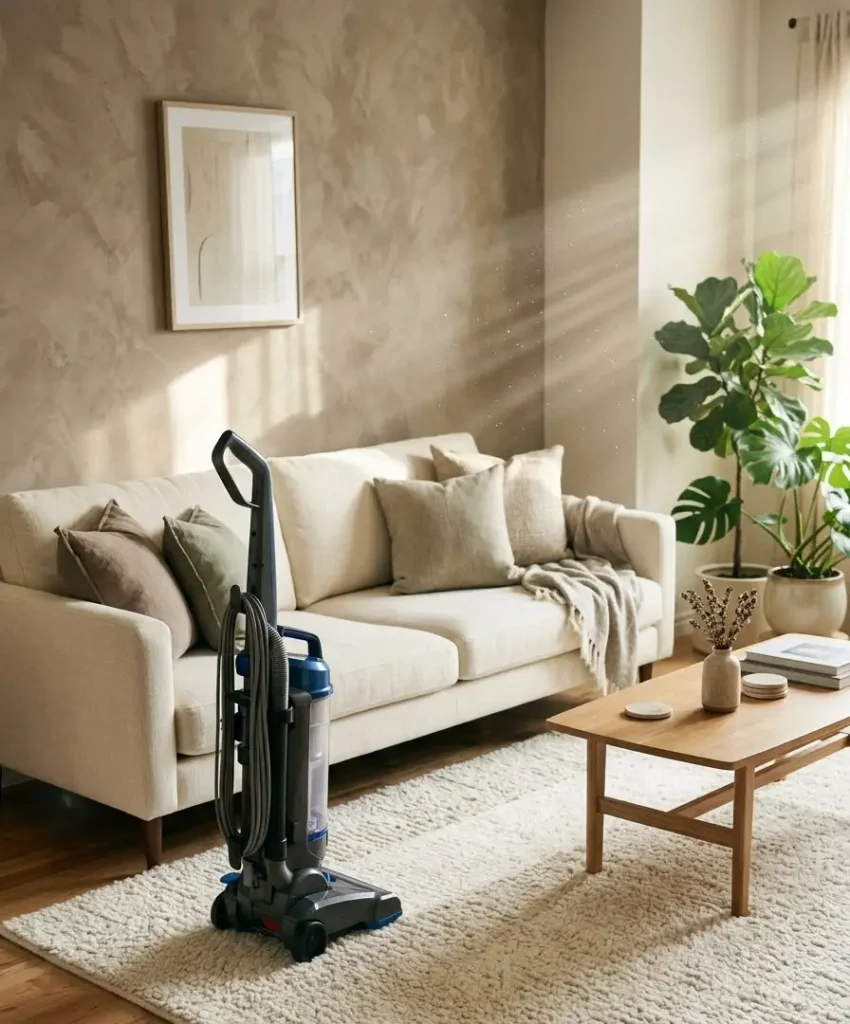
Okay, small detour. I own a vacuum with a name (it’s Gerald), and I’ve realized I clean more thoroughly when a room looks good.
Maybe that’s just me. But a finished accent wall makes me want to keep the whole living room tidy, and that might be the sneakiest benefit of any decor project. Back to walls.
Add layers around the wall
An accent wall alone can look flat in photos.
The things around it do half the work.
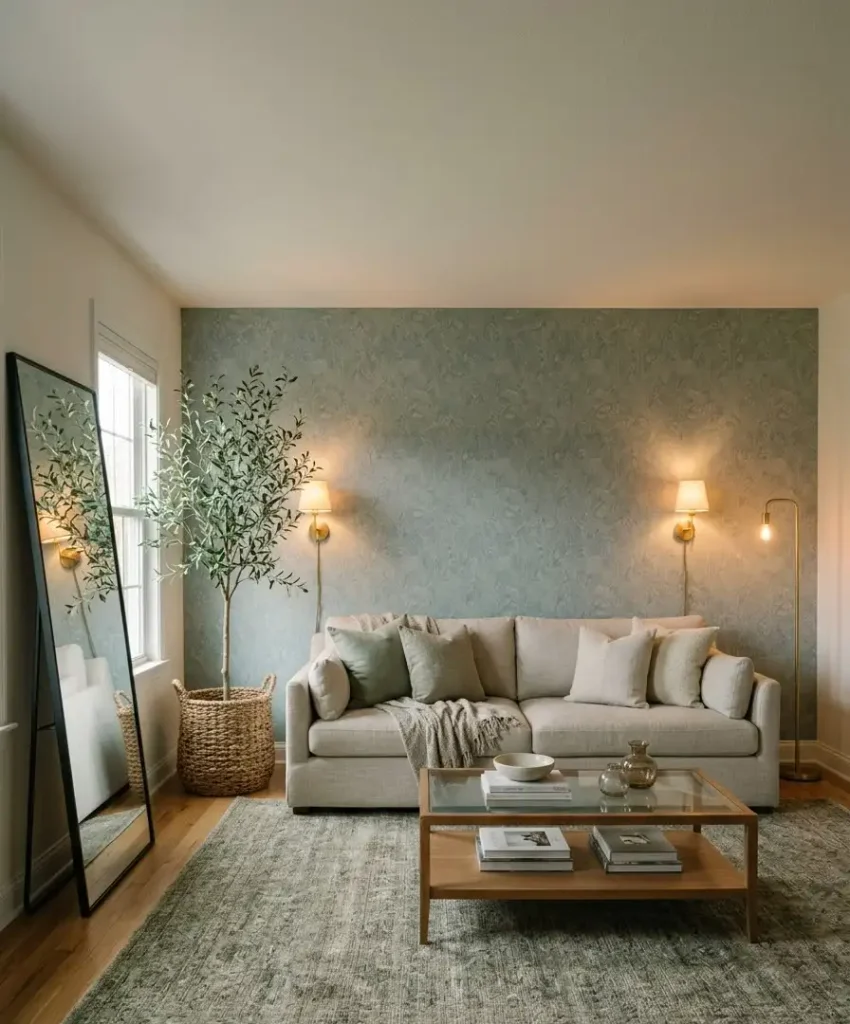
- Mirrors: A big leaning floor mirror bounces light across the wall and costs zero holes. I swear by this one for small living rooms.
- Plants: A tall fiddle-leaf fig or olive tree in front of a patterned wall gives you instant depth. Real or faux, both photograph well.
- Plug-in sconces: These hang from adhesive hooks and plug into the outlet, so you get wall lighting without hardwiring anything.
- A rug in a related color: I match my rug to one shade in the wallpaper, and the whole room clicks together.
- Floor lamps: Warm bulbs near a textured wall make shadows that look rich on camera.
I skip anything fussy. Too many trinkets compete with the wall, and the wall should win.
Colors that work in rentals
Rentals usually come with white or beige walls, cream trim, and mystery flooring. Choose accent colors that play well with that backdrop.
Deep green looks expensive against warm white. Navy gives a calm, grown-up feel.
Terracotta and rust feel cozy, especially in living rooms with lots of wood.
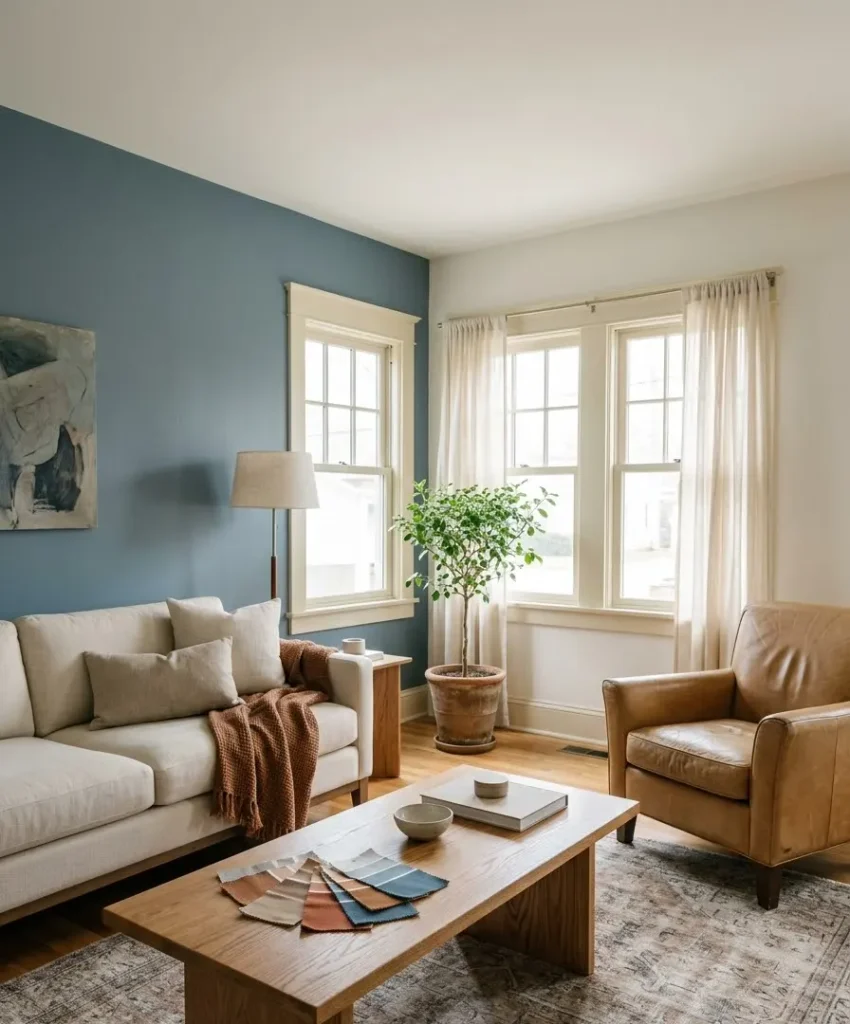
If you rent a dark apartment, I’d go lighter, like soft sage or dusty blue, because a deep color in a room with one small window swallows light fast.
Test a sample first. Tape it to the wall and look at it at 8 a.m., noon, and 9 p.m.
Wallpaper that looks gorgeous in daylight sometimes turns muddy under yellow lamps, and you want to know that before you commit.
Mistakes I made so you can skip them
I’ve made most of these myself, and the list is long enough that I’ll keep it to the greatest hits.
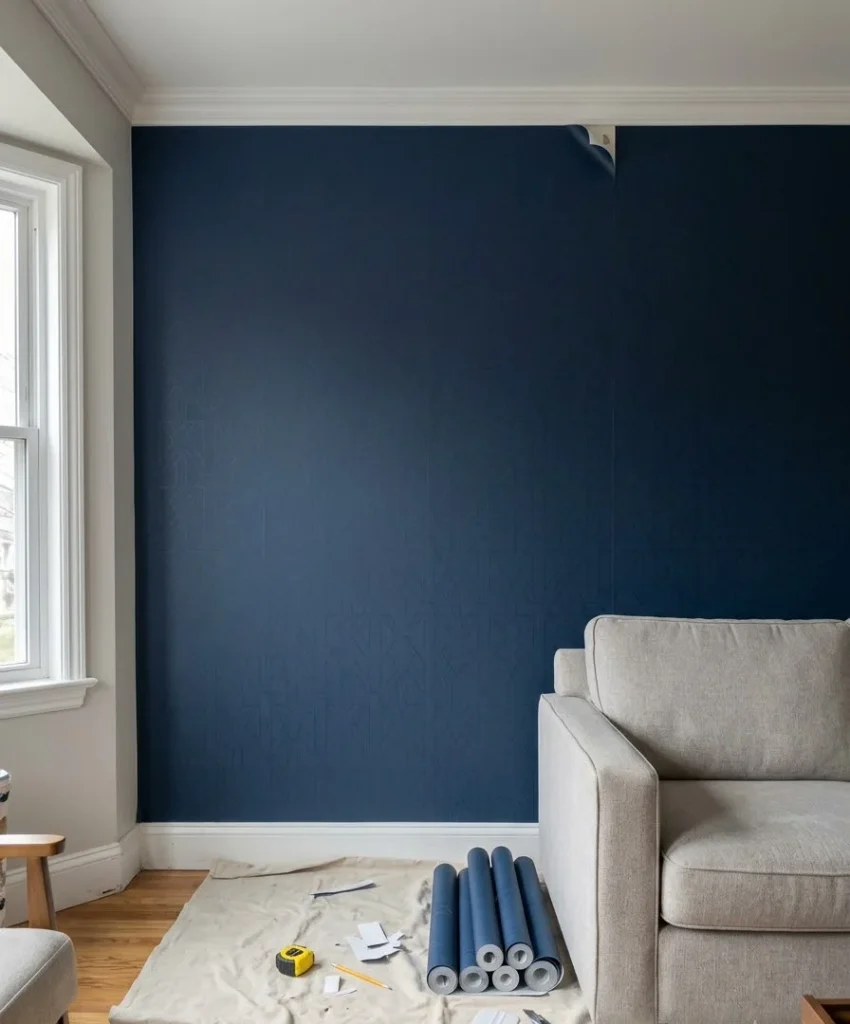
- I skipped the wall test. My first wallpaper peeled at the corners within a week because I ignored the textured paint.
- I measured once. Always measure twice and order 10 to 15 percent extra for pattern matching and mistakes.
- I ignored humidity. A living room near a kitchen or bathroom can steam adhesive loose, so watch where you stick things.
- I used the wrong strip size. Heavier frames need bigger or more strips. Check the weight limit on the package, every time.
- I rushed removal. Peeling wallpaper in 30 seconds nearly cost me a chunk of paint, and I regret that choice a lot.
Notice a pattern? Almost every mistake comes from impatience. Slow down and the wall rewards you.
Pinterest-ready styling tips
You want this wall to look great in person and in photos. Those goals overlap but they don’t match perfectly.
Shoot your wall in morning light with the curtains open. Straighten the camera so lines stay vertical, since a tilted wall looks like a mistake.
Style in odd numbers, like a vase with two stems and a stack of three books, and leave breathing room around the focal wall.
For pins, vertical photos win. I shoot at a 2:3 ratio, add a short text overlay like “Renter-friendly accent wall, zero holes,” and include a before-and-after if I have one.
The before shot matters, because people love seeing how plain the room looked first.
Browse Pinterest for “renter friendly living room” and you’ll see the same pattern in the top results.
Moving out and getting your deposit back
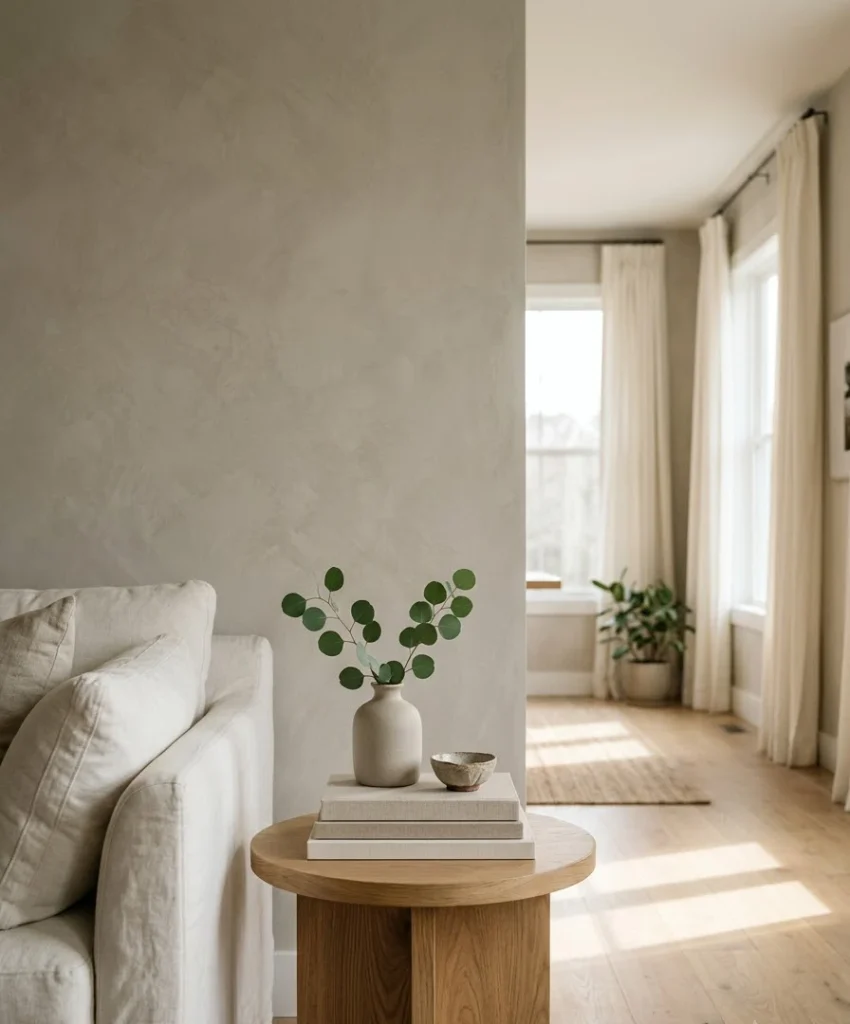
Removal day decides whether all your effort pays off. Start with a hair dryer, a plastic scraper, and patience. Peel wallpaper slowly at a low angle.
Pull adhesive strips straight down. Wipe any residue with warm water and a drop of dish soap, and let the wall dry before you photograph it.
Take after photos in the same spots as your before photos, with the same lighting if you can manage it.
Send both sets to your landlord with a friendly note. I’ve done this three times now and I’ve gotten my full deposit back every time, which still feels like winning a tiny lottery.
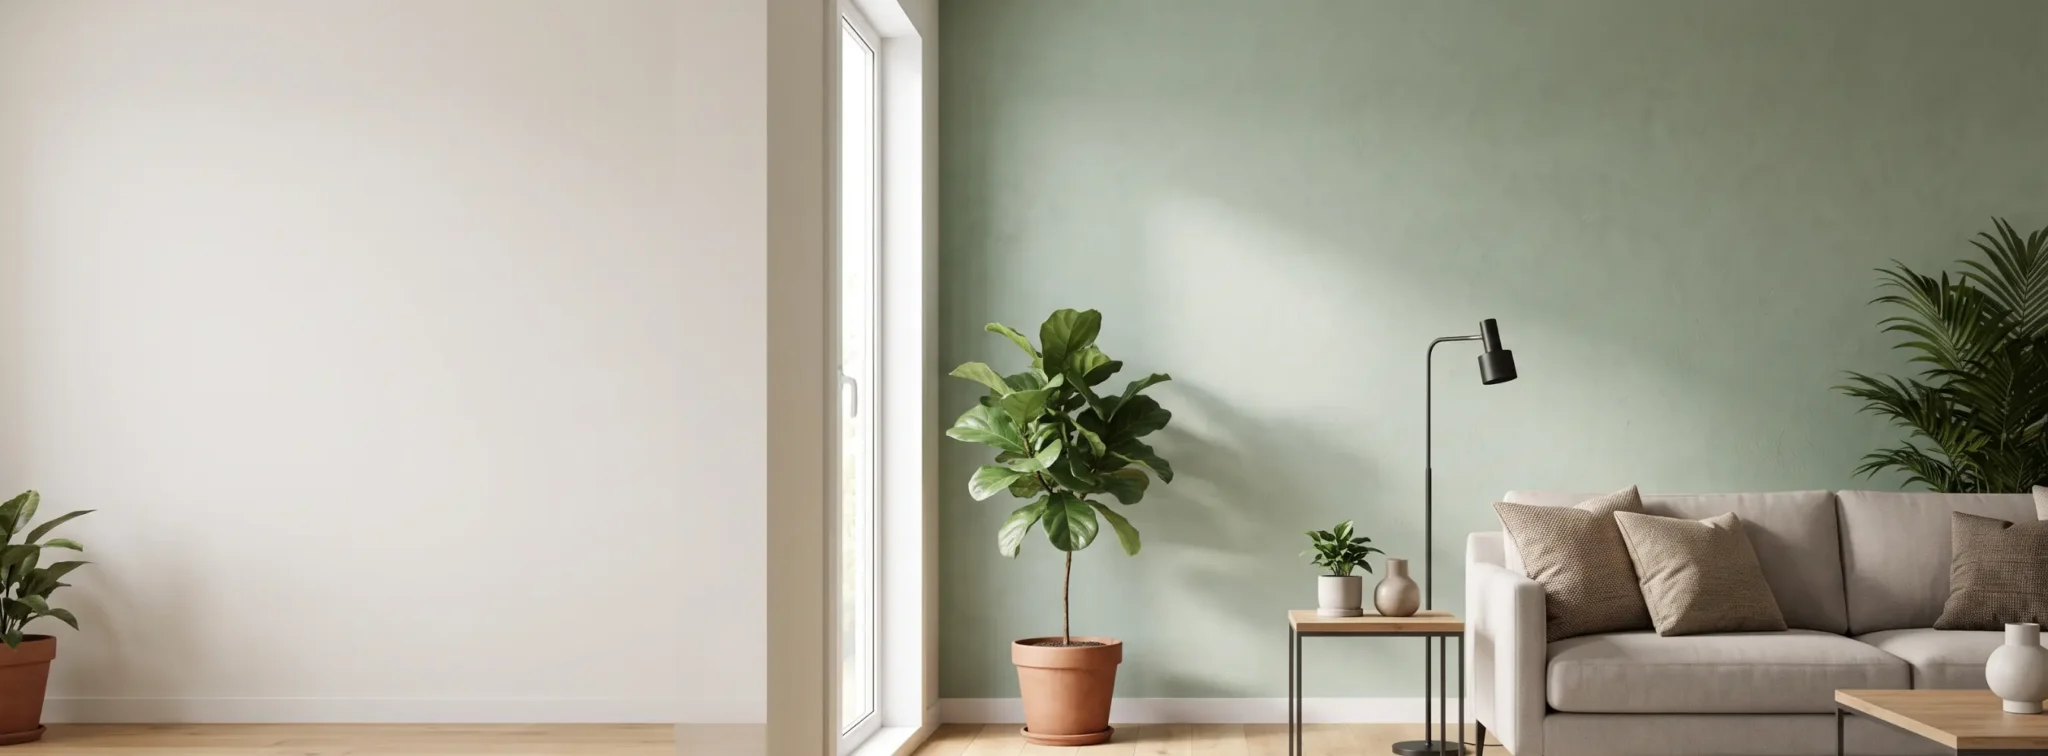
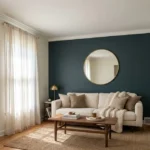
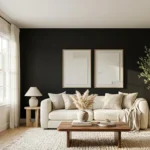
Subtle Accent Wall Living Room Ideas With Neutral Colors And Natural Textures
See More Ideas →Short FAQ
Will peel-and-stick wallpaper damage my rental walls?
Usually it won’t on smooth, fully cured paint, as long as you remove it slowly with gentle heat.
Fresh paint, flat finishes, and cheap builder-grade paint raise the risk, so always test a small sheet first. Ask your landlord before you start.
Can I do an accent wall with no adhesive at all?
Yes. Leaning large canvases, a floor mirror, a freestanding folding screen, or a big tapestry hung from a tension rod all create the look without touching the wall.
They won’t give you the same full-wall effect, but they come close and carry zero risk.
How much does a renter-friendly accent wall cost?
I’ve seen results from $30 for a fabric-and-starch wall up to $500 or more for real slat panels.
Most people land around $100 to $200 using peel-and-stick wallpaper.
Buy a little extra material, because running short halfway through hurts.
Final thoughts
An accent wall changes how your whole living room feels, and you don’t need your landlord’s blessing to love the place you live in.
Pick one wall, choose one method, and take your time with it. Most of the work comes down to prep and patience.
I still think about that $400 I lost, and I’d happily have traded it for a wall as pretty as the one I have now.
So here’s my question for you: which wall in your living room has been begging for attention, and what would you put on it?