I rent. I have rented for most of my adult life, and I have stared at more beige walls than any person should. Last spring I got tired of it and decided my living room needed one wall with a pulse.
Here’s the thing: you can do this without losing your deposit, and without a landlord emailing you in all caps.
I’ve pulled off a few accent walls in rentals now (one great, one decent, one I still don’t talk about).
This guide covers what worked, what peeled off at 2 a.m., and what I’d do again.
If your Pinterest board is full of moody green walls and slatted wood panels, stay with me. Almost all of it is doable in a rental.
Vaulted Accent Wall Living Room Fireplace Ideas That Anchor Your Main Space
Check It Out →Start with your lease, not your paint swatches
Before you buy a single roll of anything, read your lease. I know. Boring. But the paragraph on alterations, nail holes and wall coverings decides everything that follows.
Some leases ban paint outright. Others allow it if you repaint to the original color before you leave.
A few landlords will say yes to almost anything if you ask in writing, and I’ve had that conversation go better than I expected.
What to look for in the paperwork
Scan for these phrases: “alterations,” “decorating,” “wall coverings,” “restore to original condition,” and “normal wear and tear.”
Each one tells you how much freedom you get and what the landlord can charge you for later.
If you’re in the US, the U.S. Department of Housing and Urban Development has general renter resources, and your state’s tenant guide will spell out how security deposits work where you live.
UK renters can check the government’s private renting guidance for deposit rules and tenant rights.
Rules vary by location, so treat my advice as general and your own lease as the final word.
Ask in writing, even for small stuff
I always send a short email before I start. Something like: “I’d like to put up removable wallpaper on one living room wall and take it down when I move out. Is that okay?
” A written yes costs you two minutes and can save you hundreds of dollars.
Take dated photos of the wall before you touch it. Wide shots, close-ups of existing scuffs, the lot. Those photos are your insurance policy.
Pick the right wall (this matters more than the color)
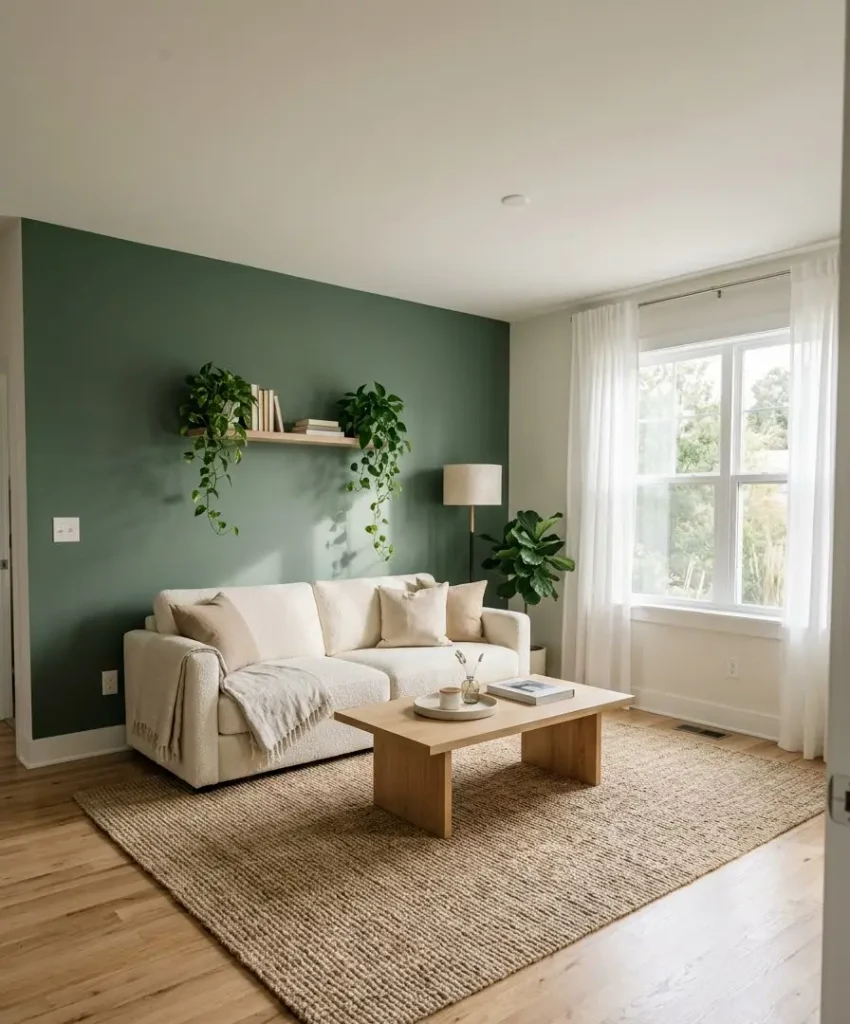
A good accent wall draws your eye the moment you walk in. A bad one makes the room feel lopsided, like a hat on a dog.
Most living rooms have one obvious candidate. It’s the wall your sofa faces, the one behind your TV, or the one you see first from the front door.
Pick the wall that already gets the most attention and give it a reason to deserve it.
Walls that usually work
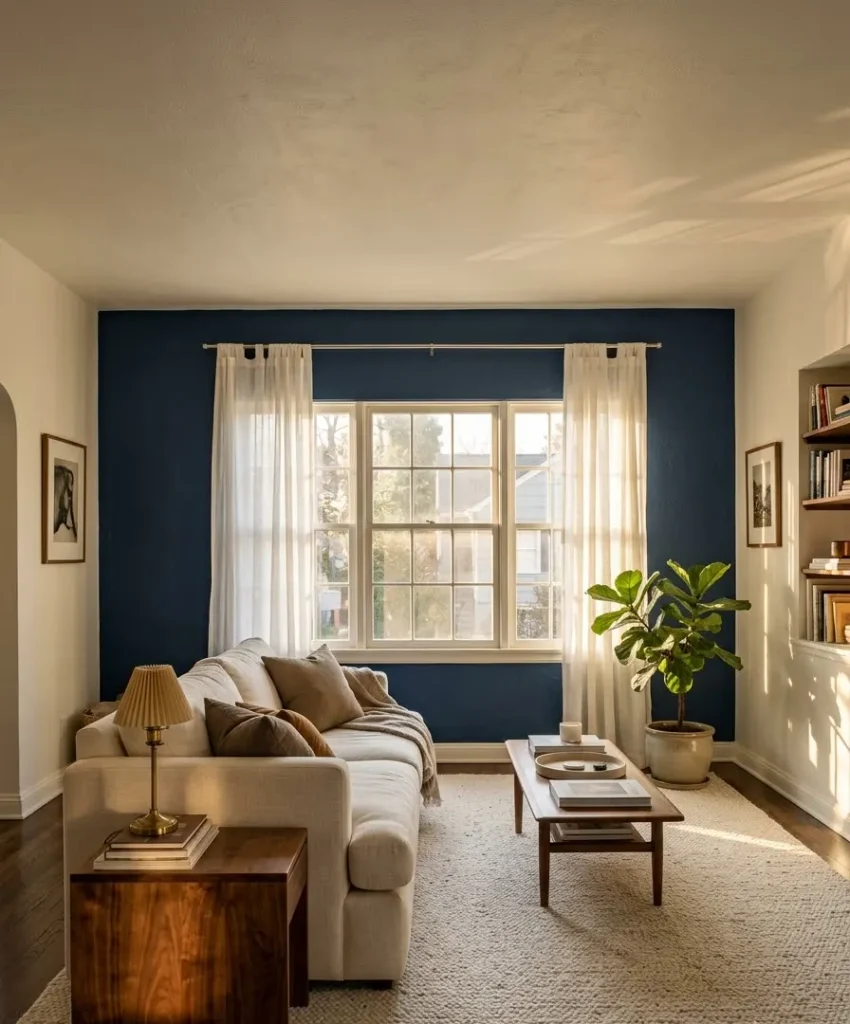
- The wall behind your sofa. It frames the seating area and gives the whole room an anchor.
- The wall with a window in the middle. A deep color around a window looks gorgeous and cozy, in my experience.
- The wall opposite the entrance. It greets you when you walk in, which is the whole point of an accent wall.
- A narrow wall by itself. Small walls take bold patterns without overwhelming the room.
Walls I’d skip
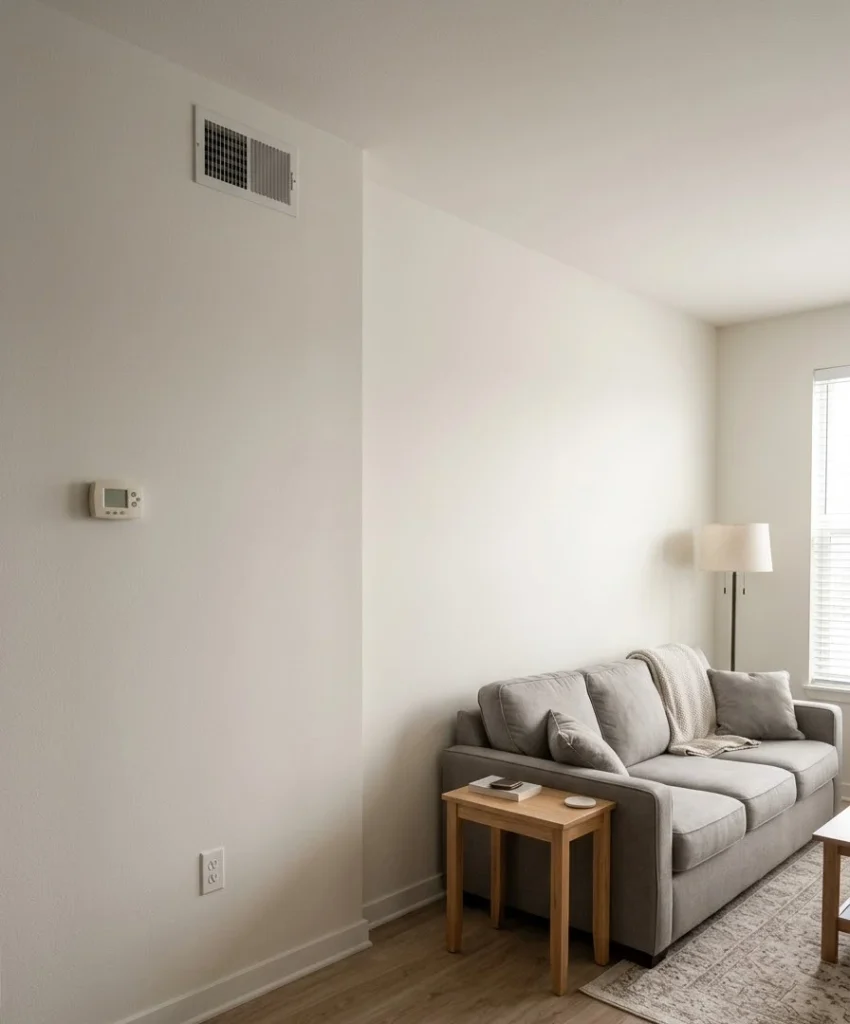
Skip any wall with a thermostat, a pile of switches, or a vent in the middle.
They look clunky against bold patterns and make installation miserable.
Also skip a wall that gets chopped up by doors on both sides, because the pattern has nowhere to breathe.
I once put wallpaper on a wall with two outlets, a cable box and a smoke detector.
Wow, what a mistake. I spent more time cutting around obstacles than hanging paper.
Compare your options before you commit
Not every method suits every renter.
Here’s a quick snapshot of the most common ones, based on what I’ve tried or watched friends try.
| Method | Typical cost | Removal difficulty | Best for |
|---|---|---|---|
| Peel-and-stick wallpaper | $60 to $300 | Low to medium | Patterns, texture, big impact |
| Painted wall (with permission) | $40 to $100 | Medium (repaint needed) | Deep color, long stays |
| Fabric with liquid starch | $30 to $120 | Low | Soft texture, tight budgets |
| Freestanding or lightweight panels | $80 to $400 | Very low | Wood slats, arches, zero wall contact |
Costs shift by brand, wall size and region, so use the table as a rough guide and check current prices before you buy.
Peel-and-stick wallpaper: the renter classic
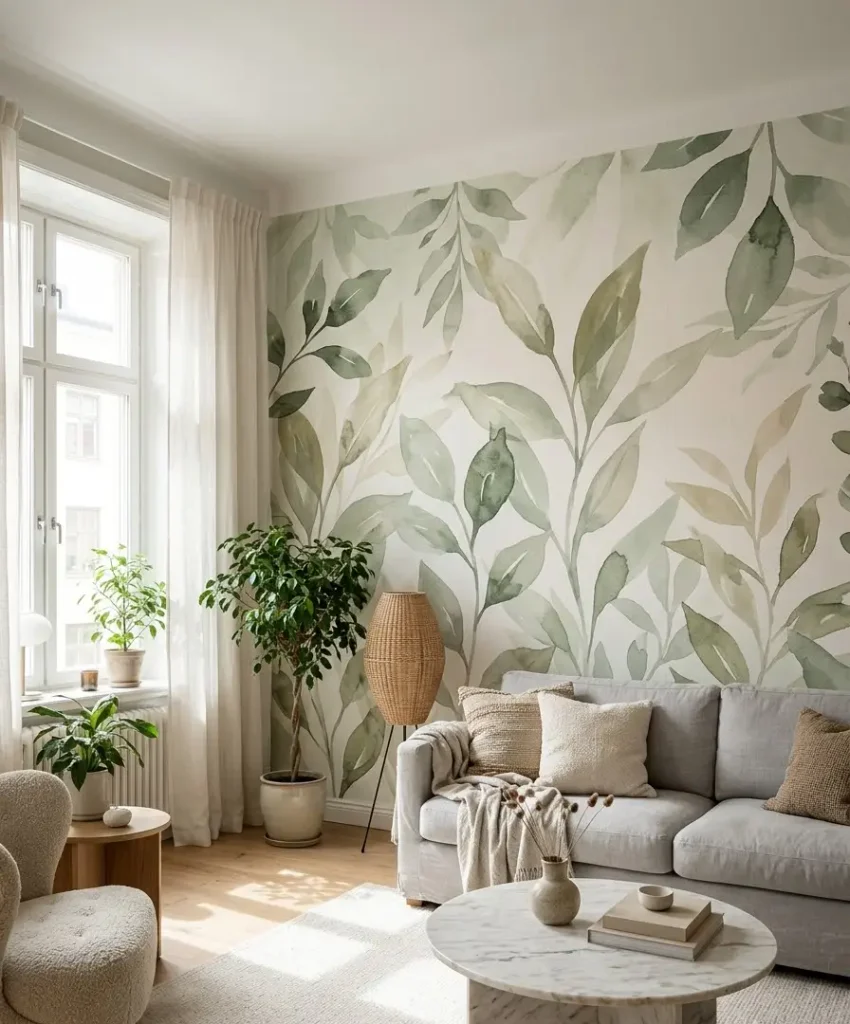
Peel-and-stick is the first thing people think of, and for good reason. It goes up fast, it comes in thousands of patterns, and it photographs like a dream. Pinterest is basically built on it.
IMO, it’s the best balance of drama and low commitment for most apartments. But quality varies a lot.
Cheap rolls curl at the seams, while good ones stay flat for a year or more.
Check your wall surface first
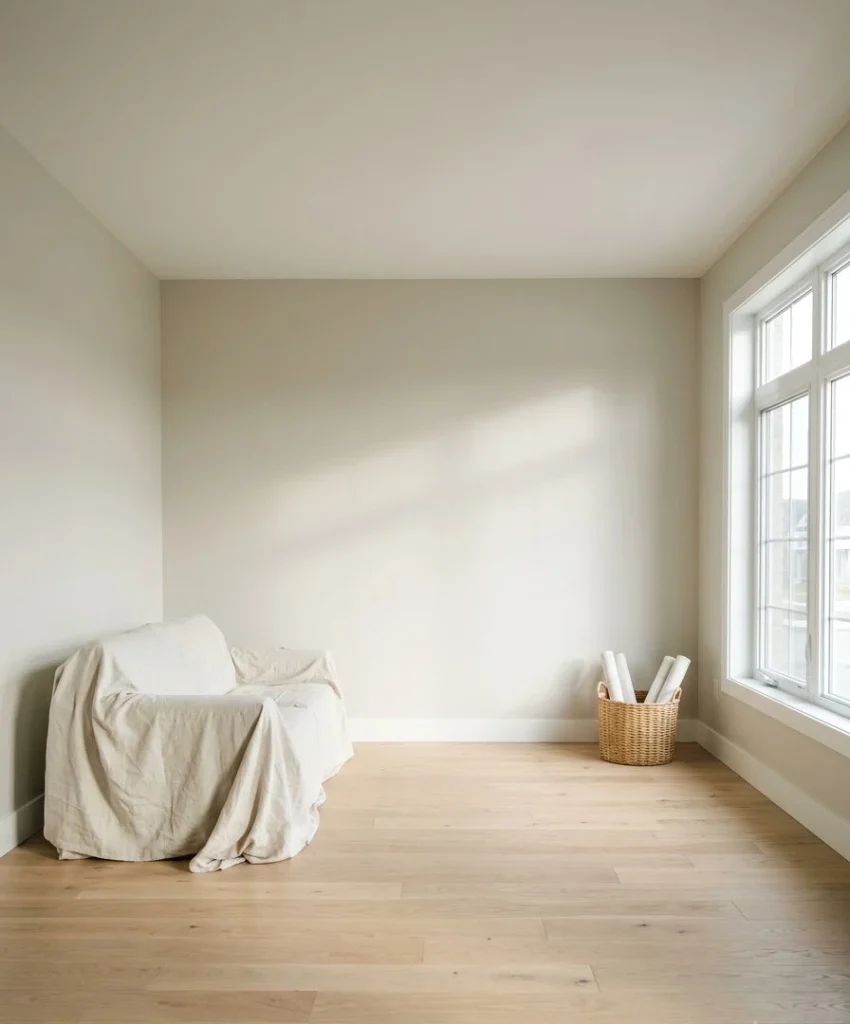
Peel-and-stick sticks best to smooth, clean, fully cured paint. Satin and eggshell finishes tend to work well.
Heavy texture, like orange peel or knockdown, gives the adhesive less to grip, and I’ve watched seams lift on textured walls within weeks.
Painted walls less than about 4 weeks old can also cause trouble, because fresh paint keeps releasing gases and the paper can bubble or pull paint off when you remove it.
If your landlord just repainted before you moved in, wait a month. Or test a small piece in a hidden spot first.
Do a test patch
Stick a small sample in a closet or behind a door. Leave it for a week, then peel it slowly and see what happens. If paint comes with it, you just saved yourself a deposit dispute.
I skipped this step once and lost a postcard-sized chunk of paint near a baseboard. I covered it with a plant, and the plant is still there. :/
Patterns that photograph well
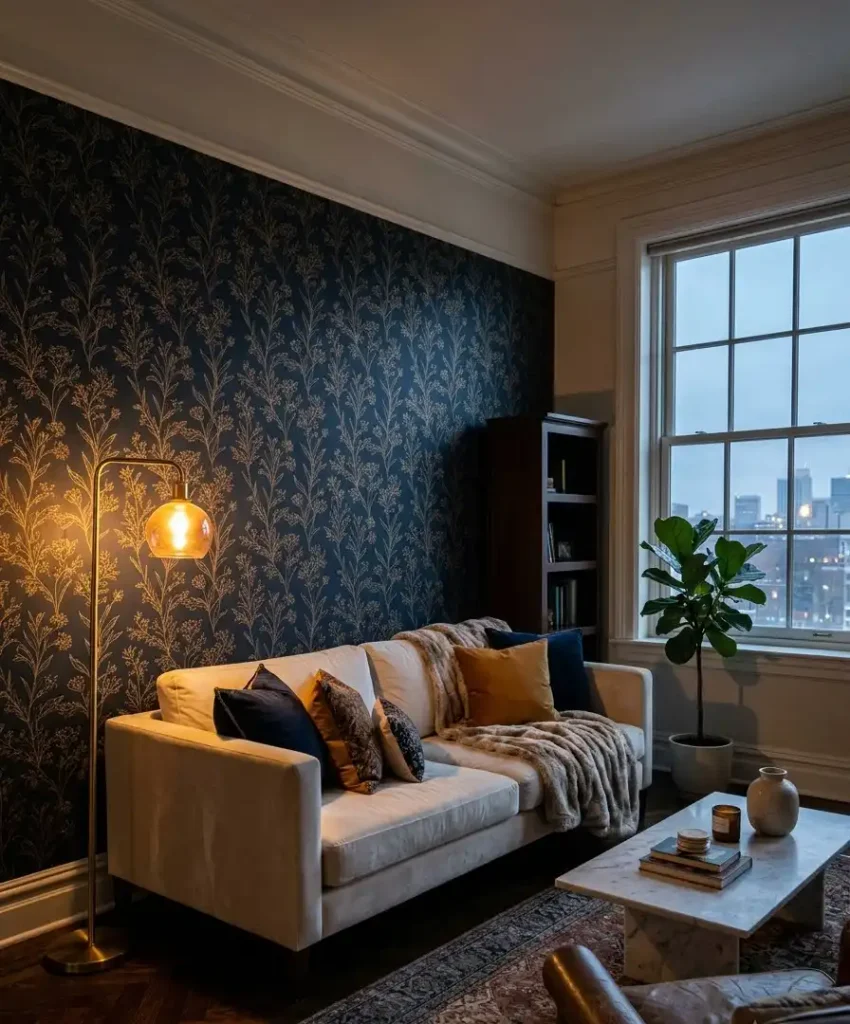
- Large botanical prints. They look like a mural and hide minor seam lines.
- Grasscloth textures. Real grasscloth is a nightmare for renters, but faux peel-and-stick versions give you the look at a tenth of the stress.
- Small geometric repeats. They forgive crooked hanging better than stripes do.
- Dark, moody florals. I’m biased here. A deep navy floral behind a cream sofa is my favorite living room combo I’ve ever built.
Paint: bold, permanent-ish, and sometimes allowed
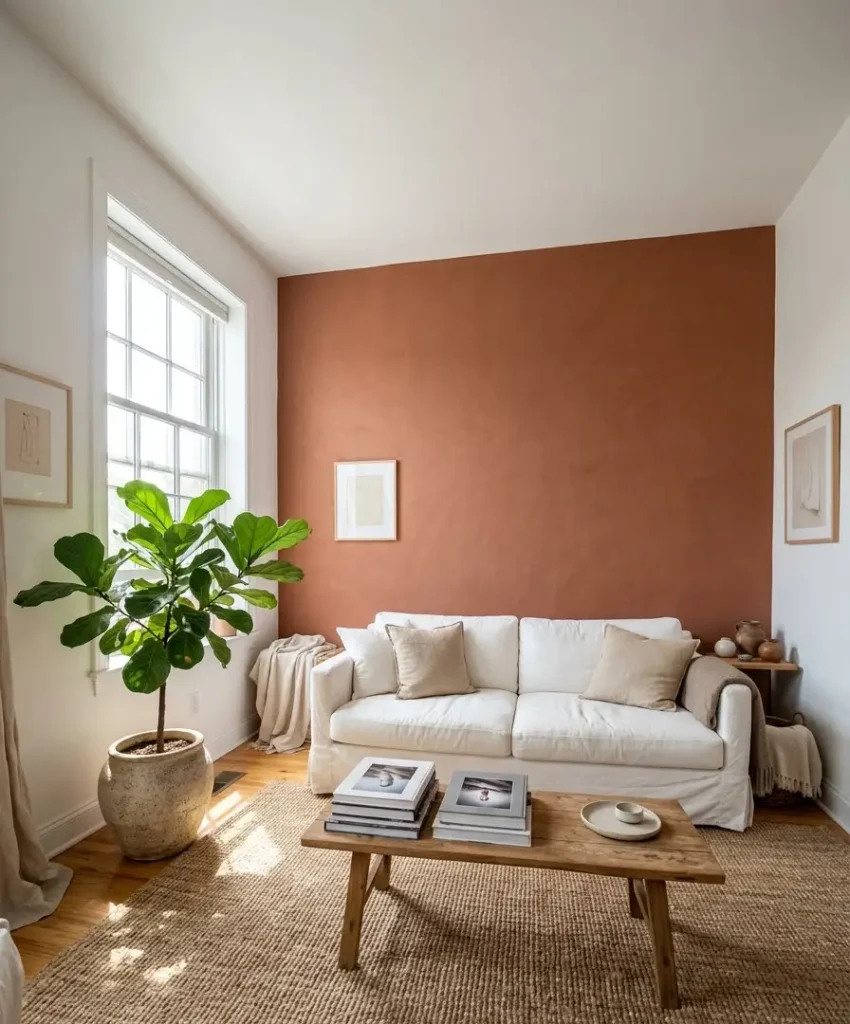
Paint gives you the richest color of any renter-friendly option. A deep green, terracotta or charcoal can change the entire mood of a room for under $60.
The catch is permission. Some landlords say yes if you promise to repaint, and a few even like it because fresh paint helps them re-rent the unit.
Get that in writing, and ask for the exact color of the original so you can match it later.
Save the original color
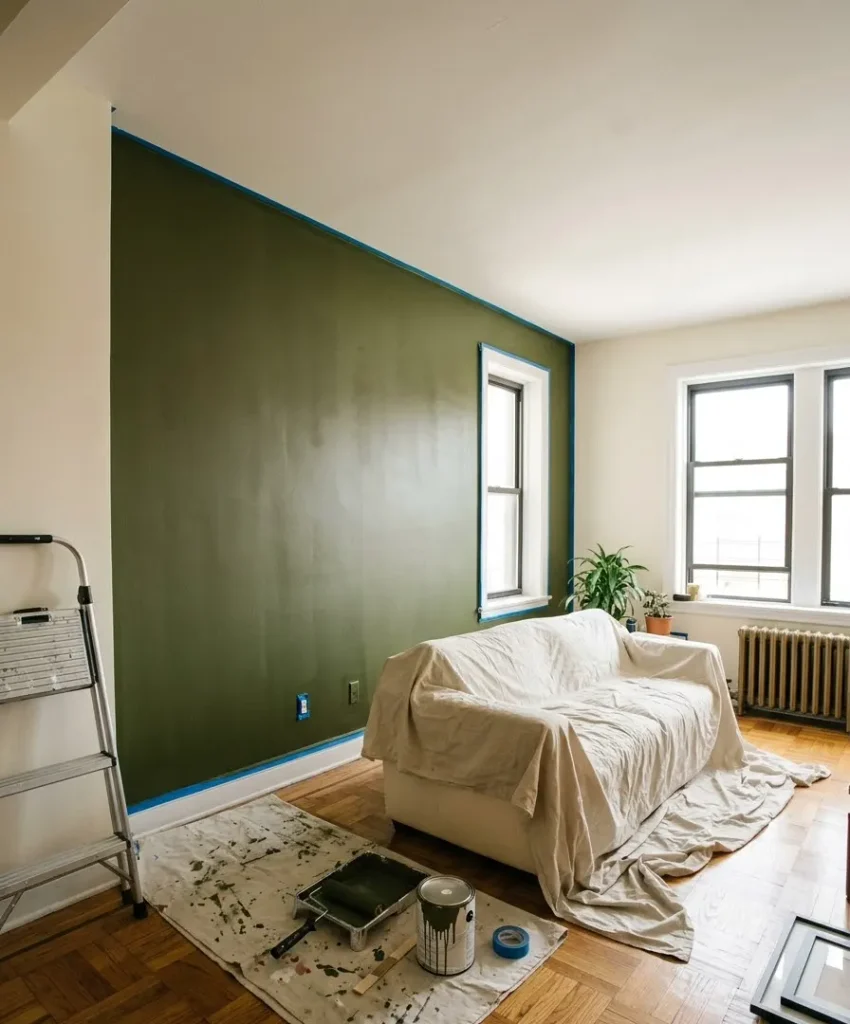
Ask your landlord for the paint brand, color name and sheen. If they don’t know,
take a chip of the paint to a hardware store, where most can scan and match it. I keep a labeled sample card in a folder with my lease.
The Benjamin Moore and Sherwin-Williams sites both have color tools that let you preview shades on a sample room before you buy anything.
Use them. I’ve bought paint samples blind before, and the color on my wall looked nothing like the little card.
Paint small, think big
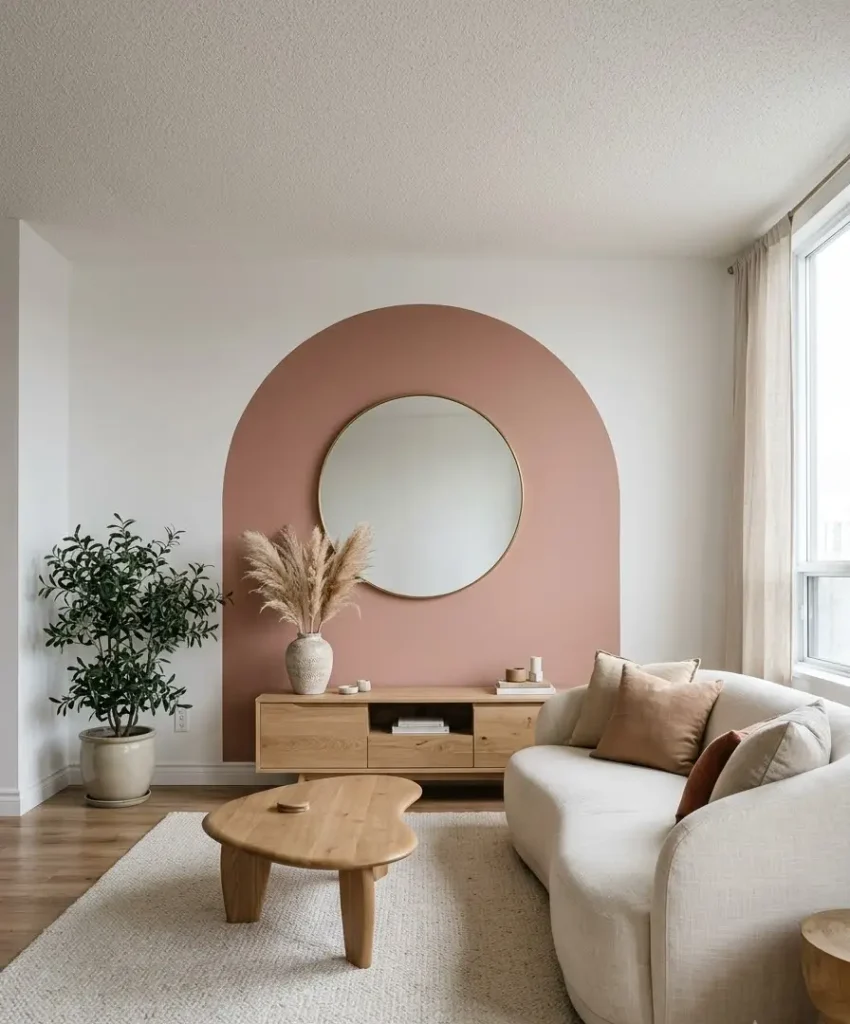
If you’re nervous, paint a half wall, a vertical stripe or a large arch behind the sofa.
These shapes look intentional, use less paint, and cost less to undo when you move out.
I did a painted arch once with a roll of painter’s tape and a cheap string compass.
It took one Saturday and looked like it came out of a magazine. Okay, a small magazine.
Fabric and starch: the sleeper hit
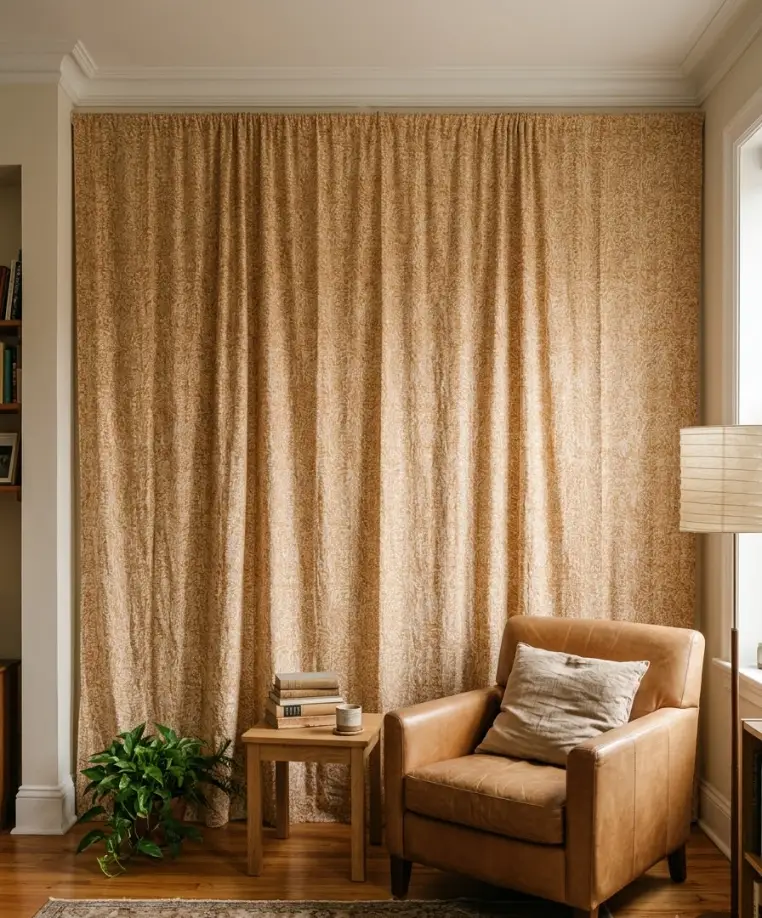
This one surprises people. You can hang fabric on a wall using liquid starch, and it peels off later with little more than patience and warm water.
Fabric gives you pattern, color and a soft texture that wallpaper can’t copy.
I tried it with a cotton print I found on sale, and the result looked expensive. The fabric absorbs sound a little too, which helped my echoey living room.
How the starch method works in short
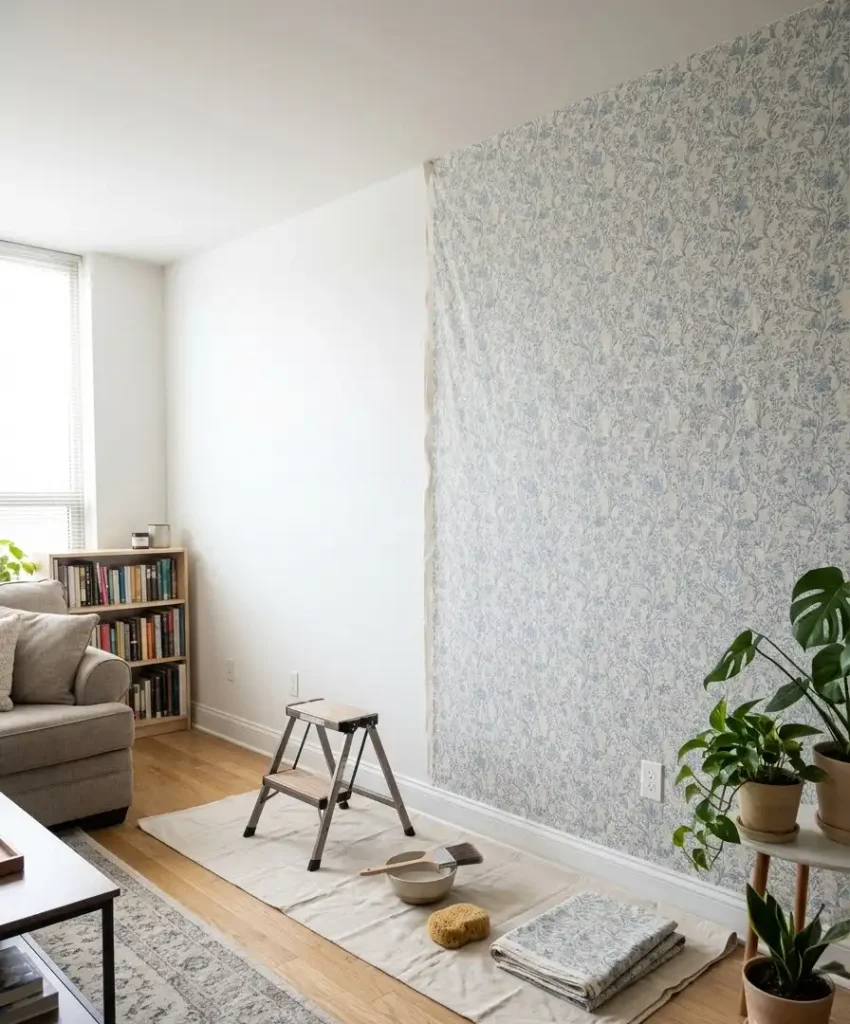
You brush liquid starch on a painted wall, press the fabric on, smooth it out, then brush starch over the top.
Once it dries, the fabric stays put. To remove it, you peel it off and wipe away leftover starch with a damp cloth.
Test a patch first, just like with wallpaper. Lightweight cotton and linen blends behave best, while heavy upholstery fabric tends to droop.
Where it falls short
Starch takes longer to cure in humid rooms, and some fabrics stain or darken when wet.
Pick a fabric that you won’t mind losing to a test run. And FYI, bold stripes show every crooked line, so beginners should pick a loose print.
Panels and slats: the no-contact option
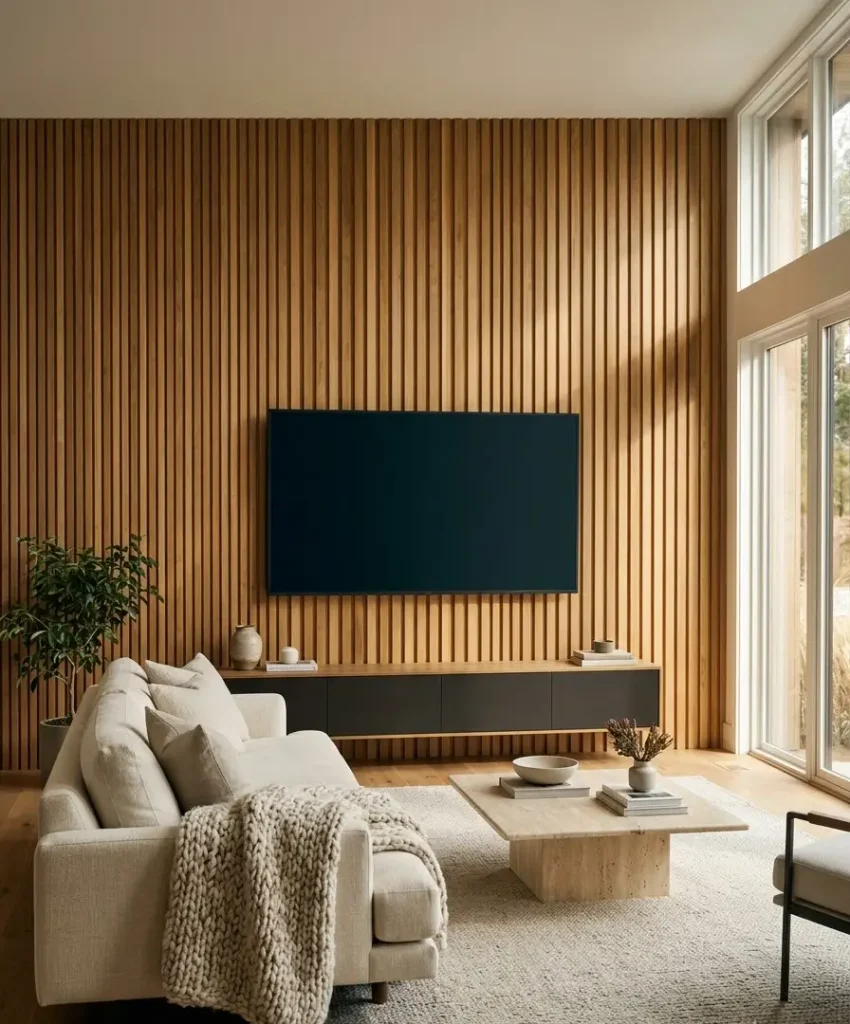
Wood slat walls have taken over Pinterest, and honestly, I get it. They add warmth, shadow and texture all at once.
But real installation needs screws, glue or nails, which means a rental disaster.
Lightweight freestanding panels give you the look with little or no wall contact. You can lean them, prop them on a console or use adhesive strips rated for the weight.
Always check the strip’s weight limit, and use more strips than the package says you need.
Faux slat options
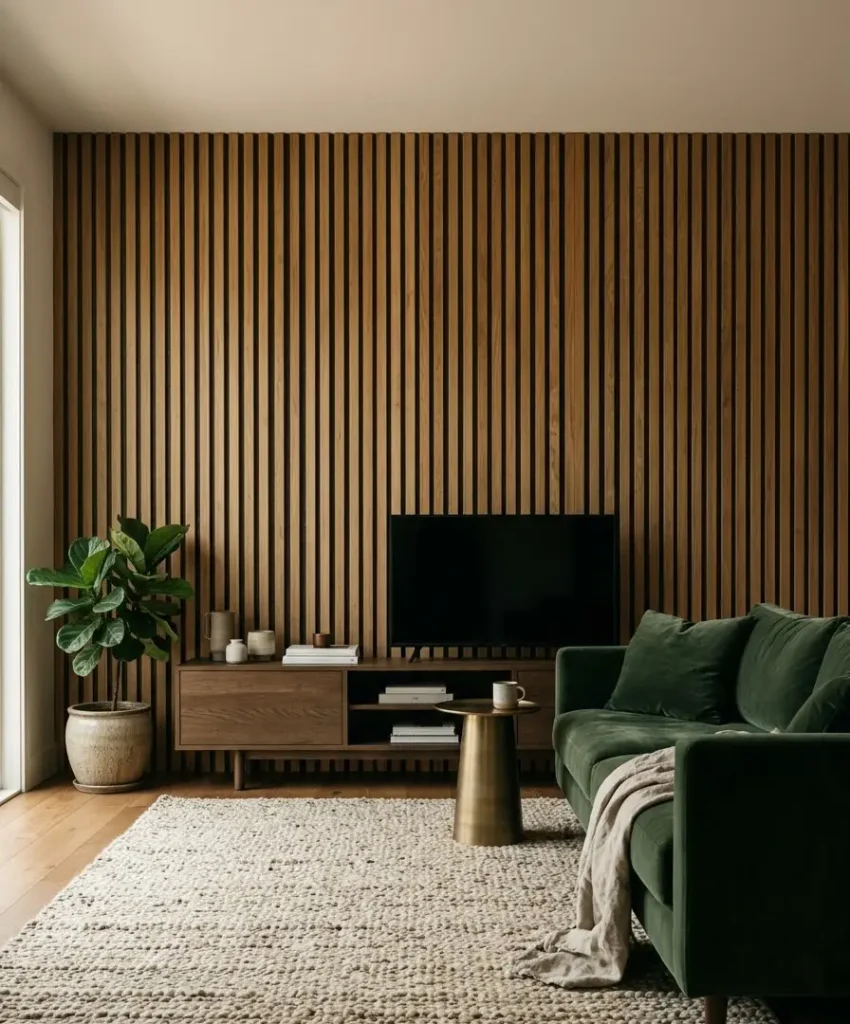
Some brands sell flexible felt or foam slat panels that stick on with removable adhesive.
They weigh almost nothing, and they also muffle noise. In my opinion, they look best in a dark wood tone behind a TV, where the wall needs some visual calm.
I’d skip the cheapest ones, though. Thin ones can look like cardboard under a lamp.
A freestanding frame
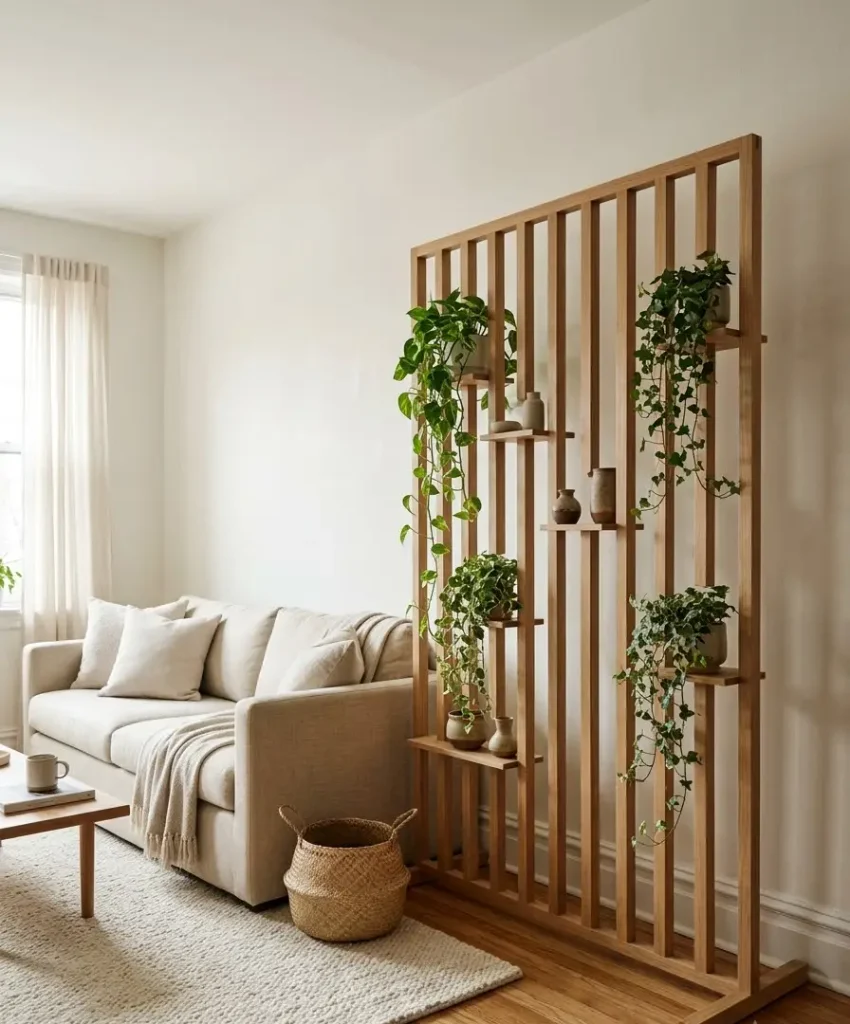
Another approach is to build a freestanding frame that sits a few inches from the wall.
It can hold slats, fabric or even plants. It takes more effort, but nothing touches your landlord’s paint.
Gallery walls, mirrors and light
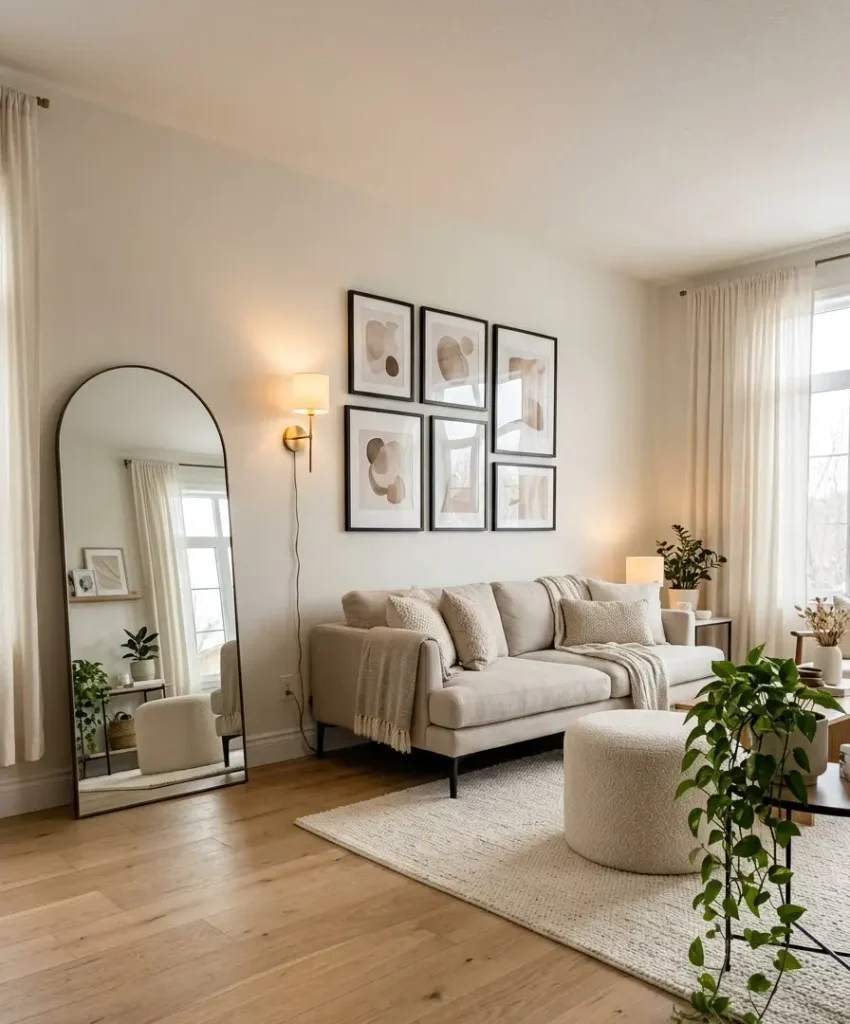
You don’t need to cover a wall to make it an accent wall. A tight, well-planned group of frames can do the same job, and so can a very big mirror or a good lamp.
Adhesive hooks and strips
Removable hooks and strips hold lightweight frames and keep your walls intact if you use them correctly.
Follow the weight limit printed on the package, clean the wall first, and press for the full recommended time.
I’ve watched a $40 frame crash because someone rushed that last step.
Lean, don’t hang
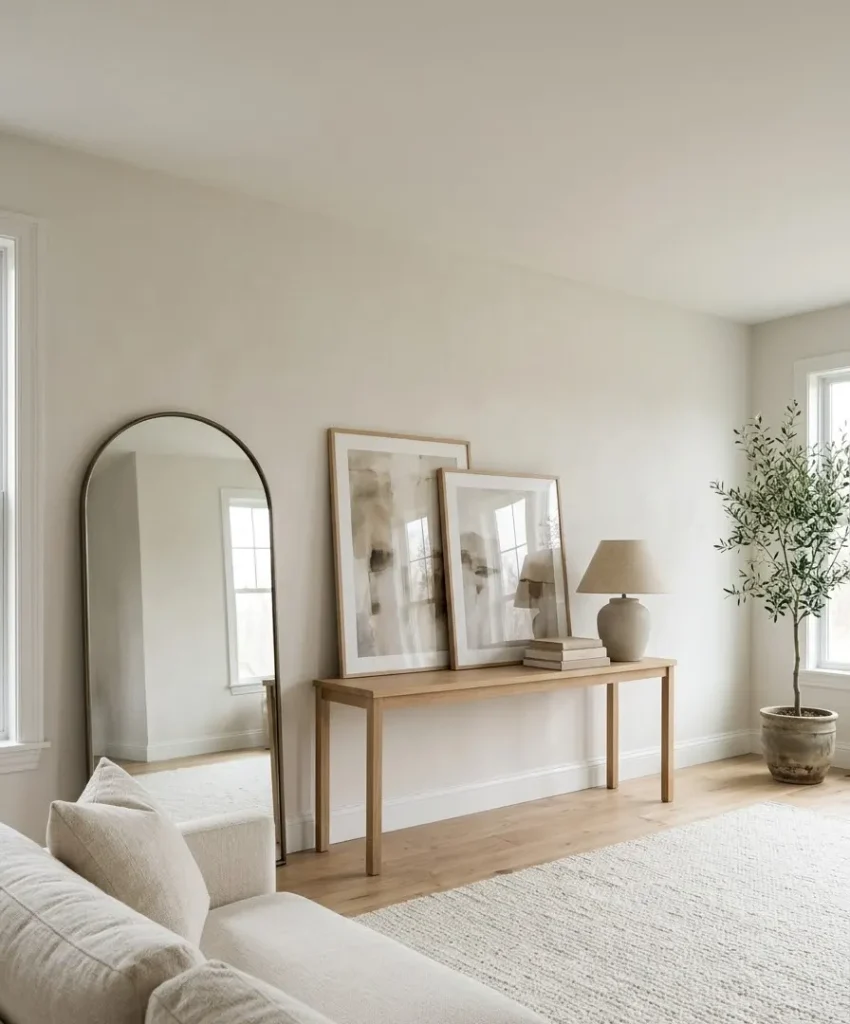
Large mirrors and big framed prints can lean against a wall on the floor or on a console.
This makes your living room look styled without a single hole. I’ve leaned a 5-foot mirror for two years, and it still looks great.
Light as an accent
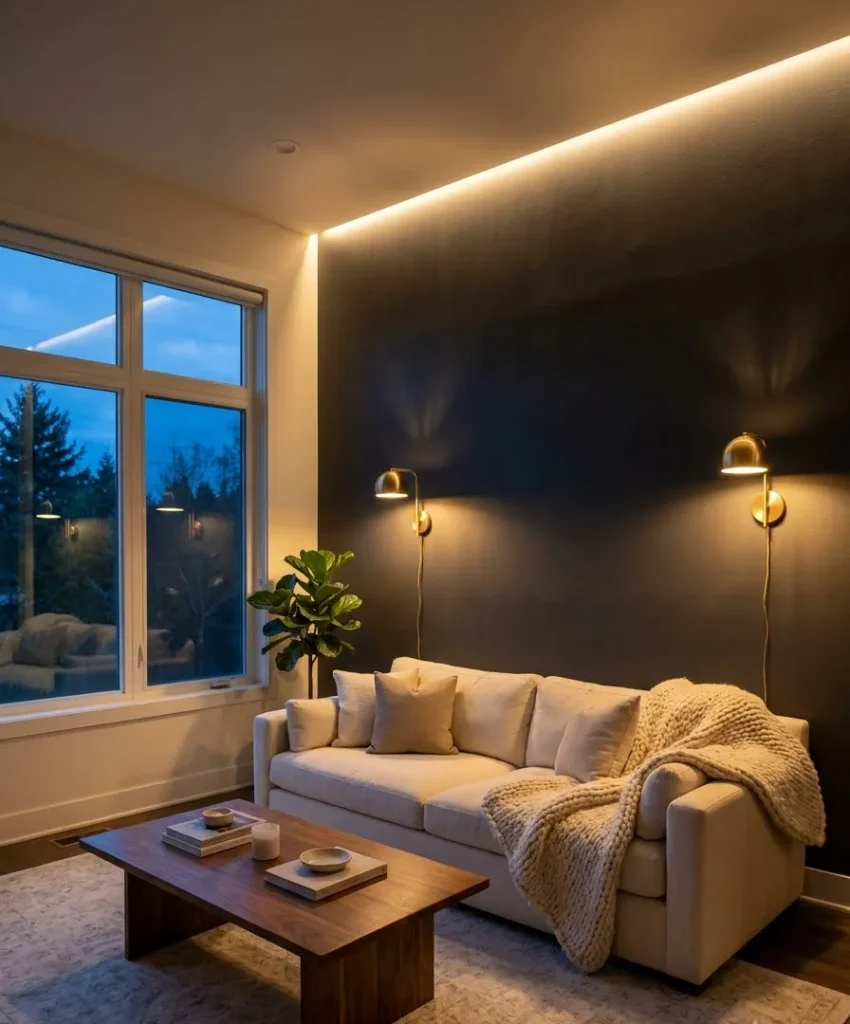
A row of wall-washing LED strips or a plug-in sconce paints a wall with glow.
Plug-in sconces especially have become a Pinterest staple, since they swap out hardwired lights without any electrician.
One warm lamp pointed up a dark wall can feel more luxurious than wallpaper, IMO.
Colors that work in a rental living room
Most rental living rooms have one of two problems: not enough light or too much beige. Your color choice should respond to whichever one you have.
For dark, small rooms
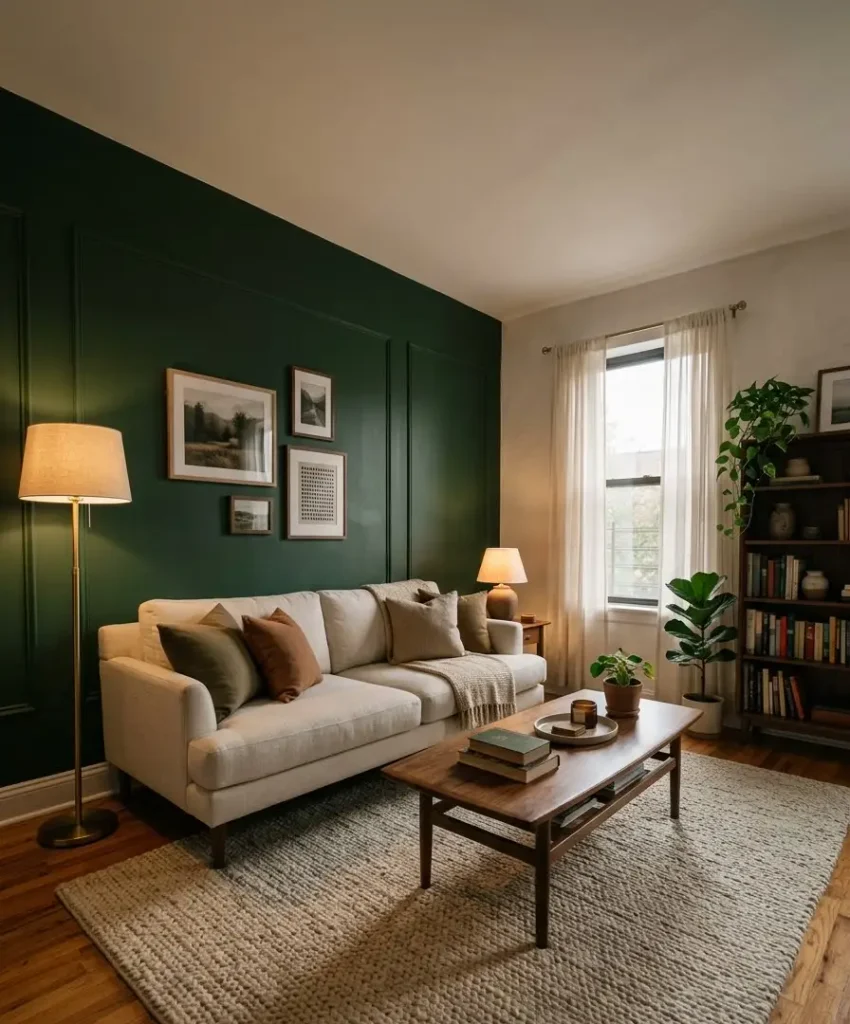
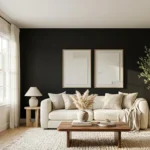
Don’t be scared of dark colors. A deep green, navy or charcoal wall can make a small living room feel cozy and a bit mysterious, rather than smaller.
Pair it with light furniture and warm bulbs, and the room starts to glow.
I know people who swear that white walls make small rooms feel bigger. I tried it, and my 11-by-12 living room still felt like a shoebox, only a bright one.
For bright, airy rooms
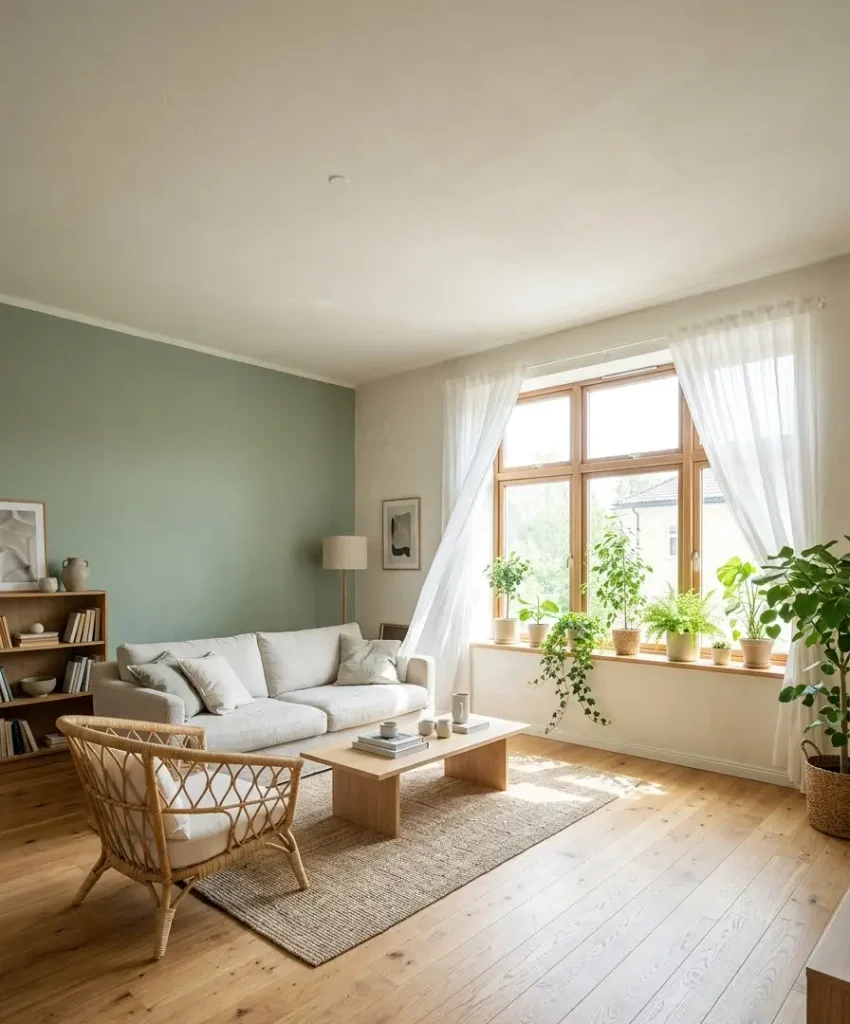
If you get lots of sun, you can go warm: terracotta, clay, mustard or dusty rose.
These colors look soft in daylight and rich at night. Cooler blues and sage greens also work well and stay calm in strong light.
Match what you can’t change
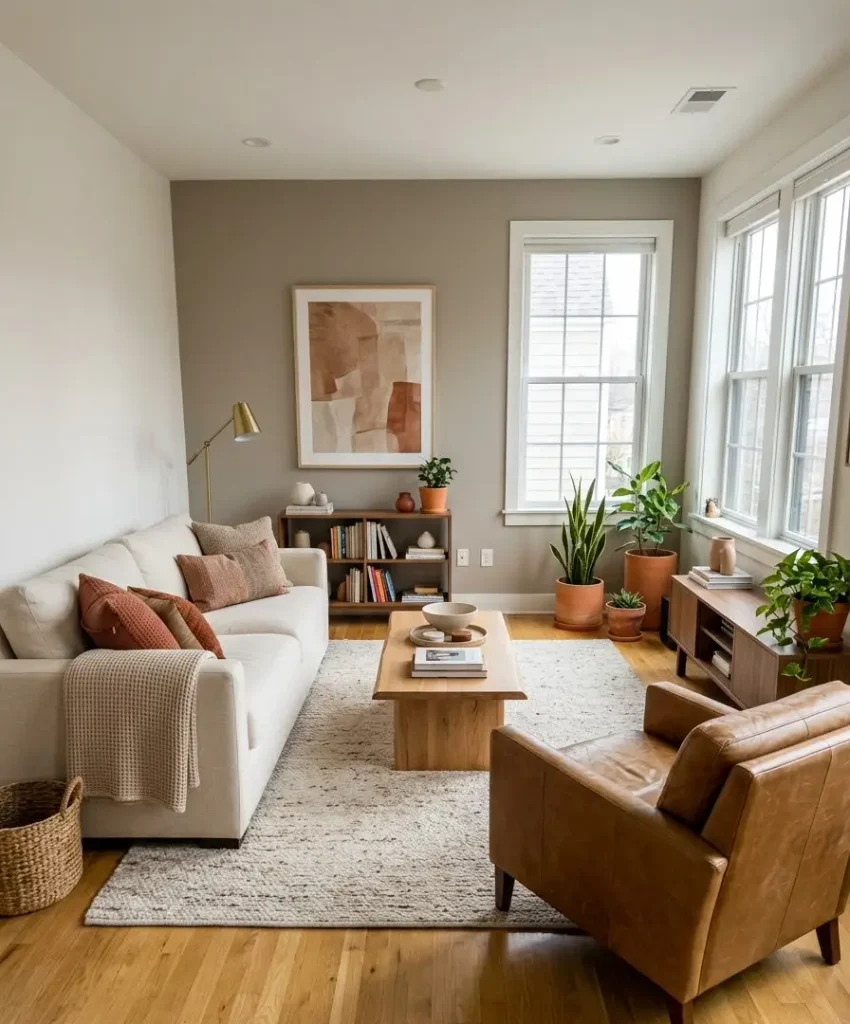
Rentals come with things you can’t swap: the floors, the countertops, the cabinet finish.
Look at those first. A yellowish oak floor clashes with cool gray, while a warm gray or greige gets along with it.
Hold your sample up beside your sofa and floor at different times of day. Morning light and evening lamplight change colors more than you’d think.
Pinterest-worthy accent wall ideas that renters can actually pull off
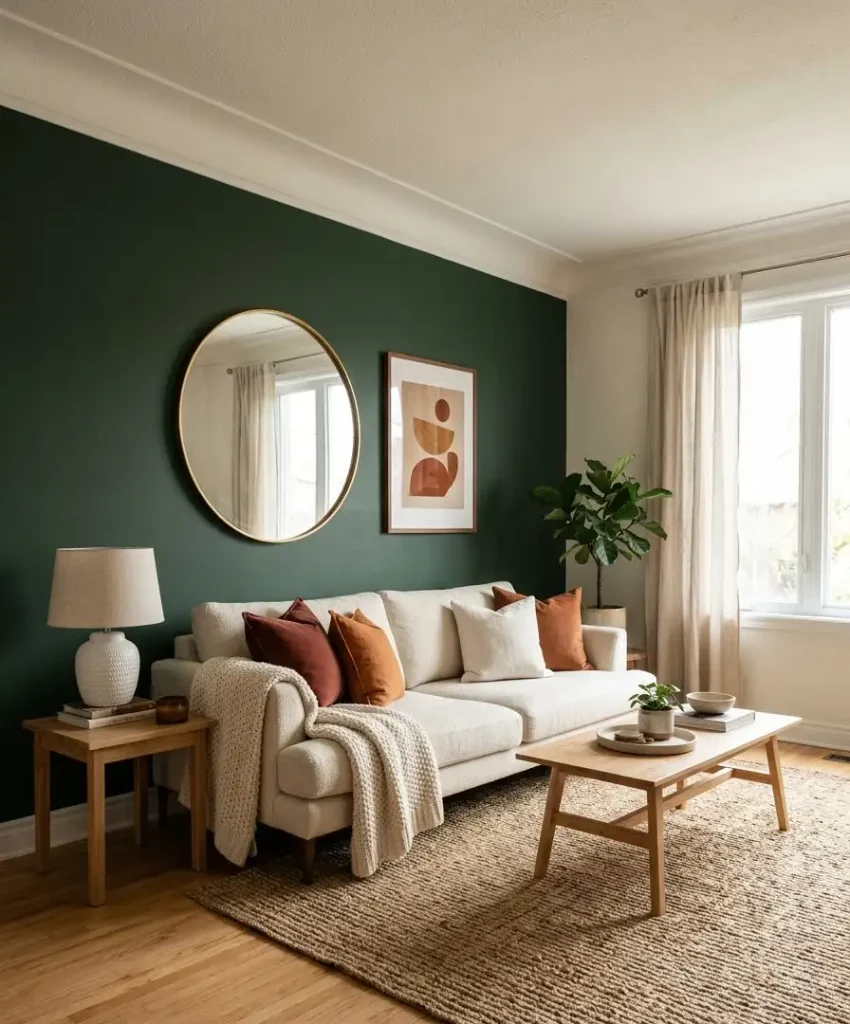
I’ve saved far too many ideas over the years. These are the ones I’d actually build in a rental, and I’ve added my honest opinion of each.
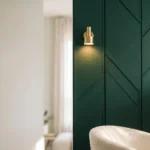
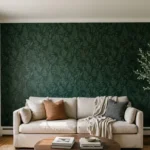
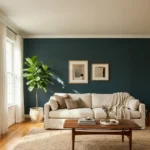
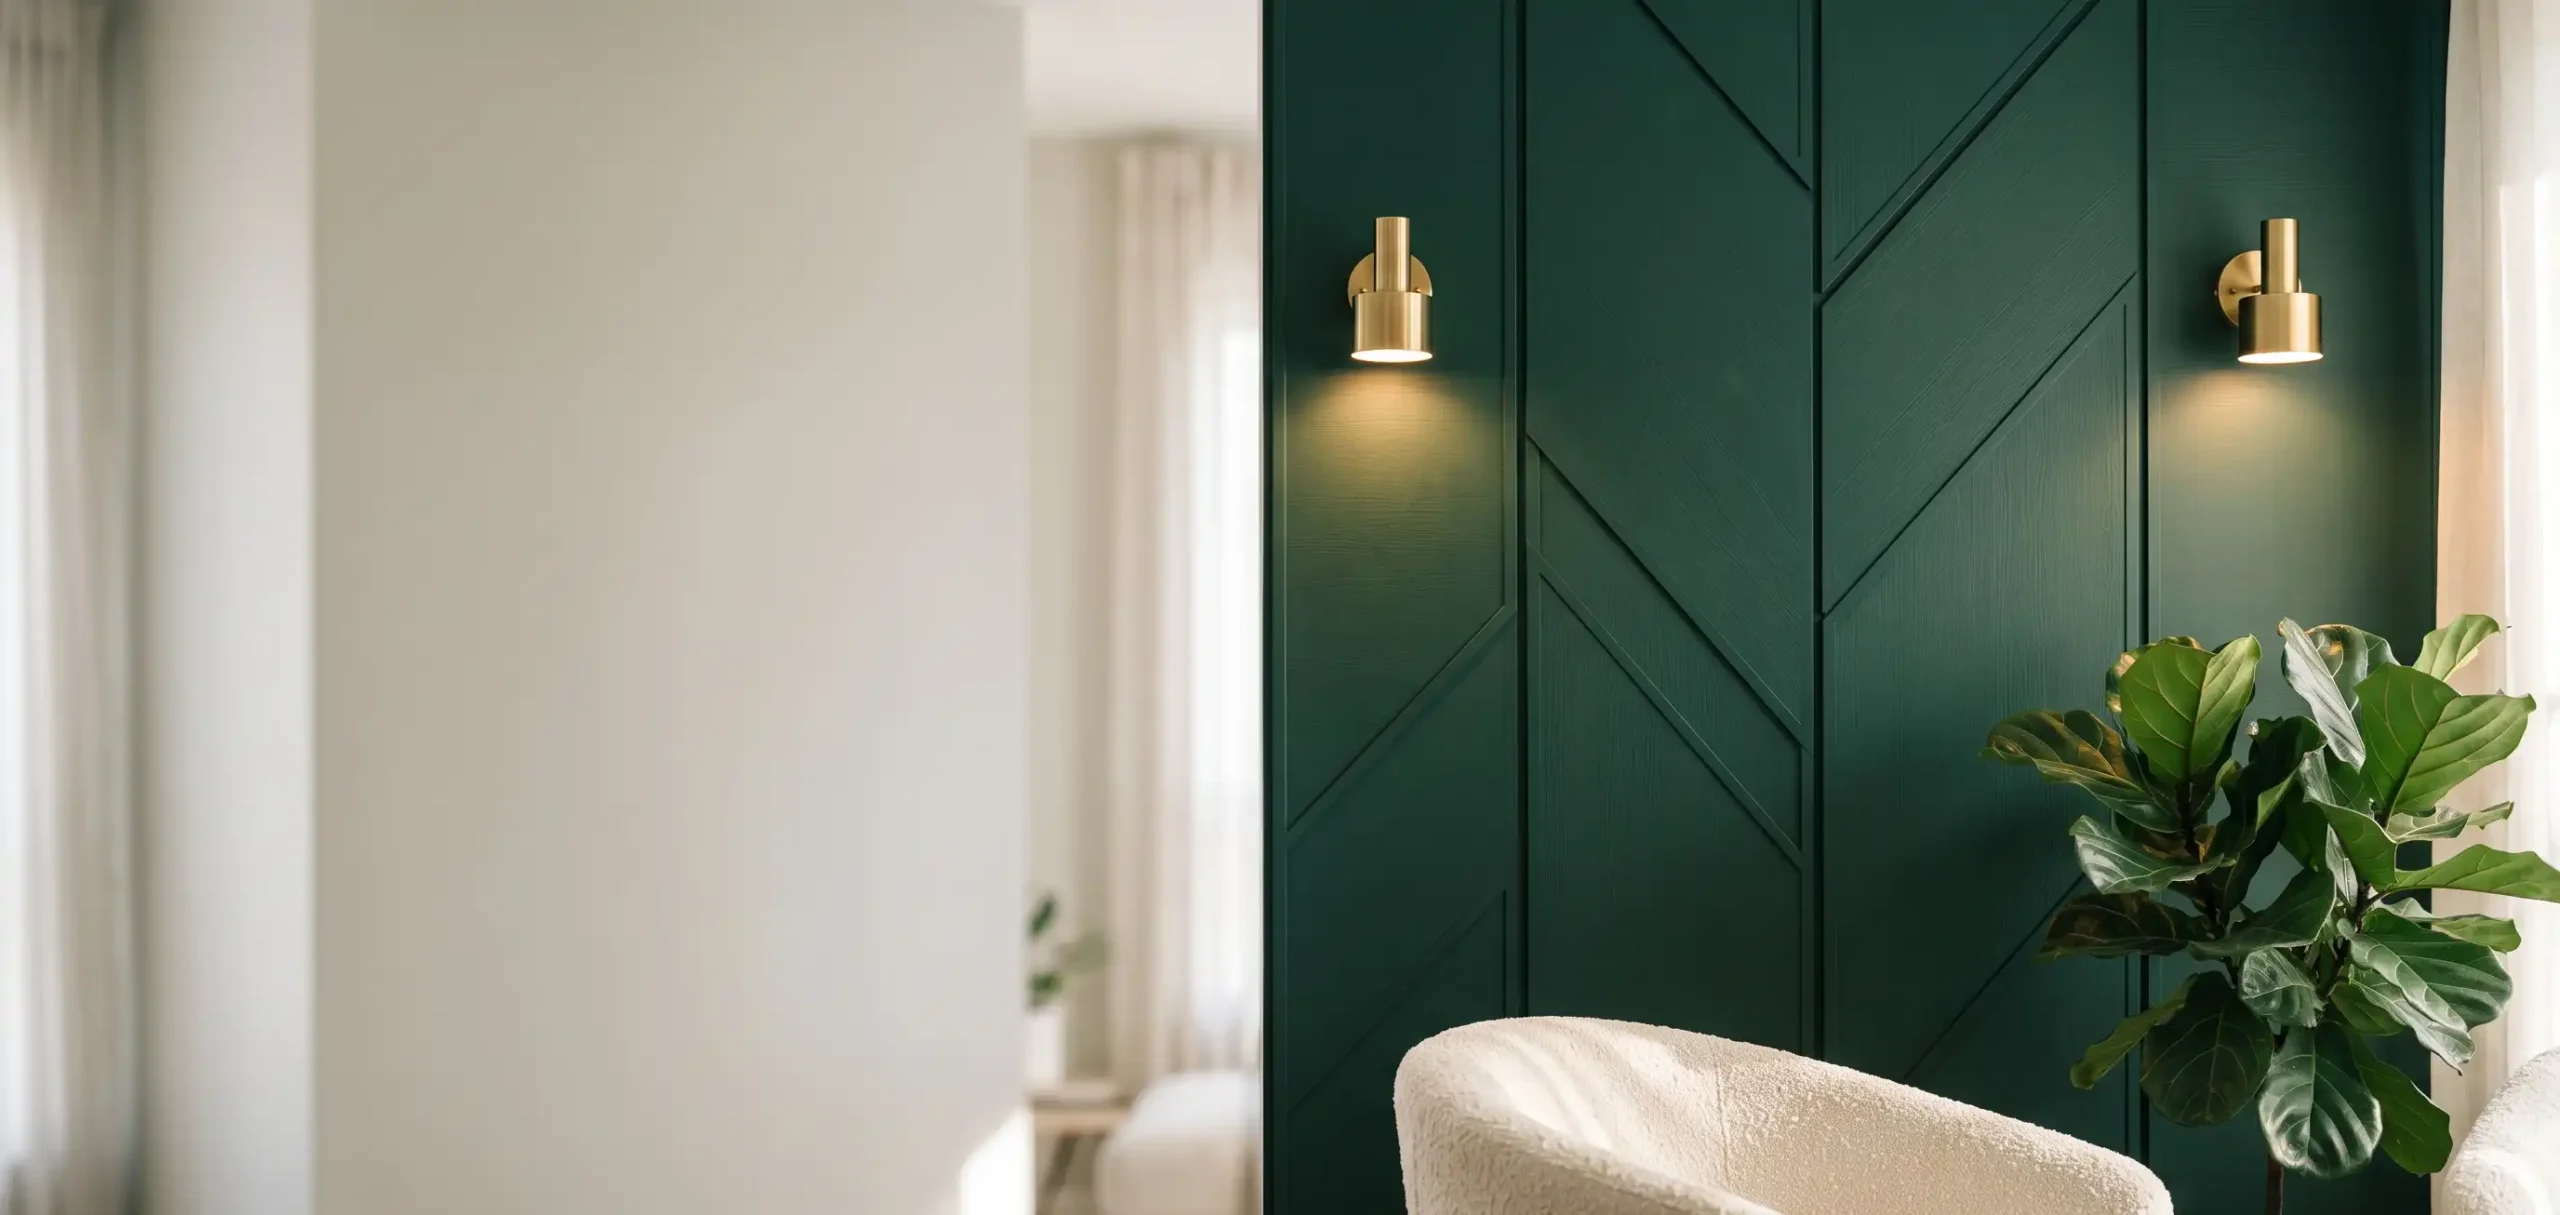
- Deep green wall behind a cream sofa. Gorgeous, but only if your lease allows paint. My favorite on this list.
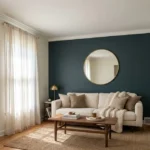
- Peel-and-stick arch in a different color. Cheap, bold and easy to remove. I think it looks better with a round mirror in the middle.
- Vertical stripes in two close shades. Very subtle, very pretty. I’d skip it on crooked walls because every flaw shows up.
- Oversized botanical mural. Looks like art. My one complaint is that the seams sometimes show in bright light.
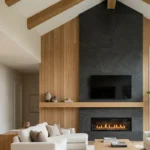
- Faux wood slats behind the TV. It hides cables a little and looks warm. I’d pick a medium oak tone over black, which swallows light.
- A gallery wall in matching black frames. Works with any lease. Honestly, this one needs patience more than money.
- Wallpapered ceiling-to-floor panel next to a window. A narrow strip looks designer and uses a single roll.
Two of my favorites on that list come with real caveats. A gallery wall looks effortless in photos and takes about 3 hours of arranging on the floor first.
And that botanical mural? Wow, it looked incredible until the third seam lined up wrong.
Step-by-step: installing peel-and-stick wallpaper
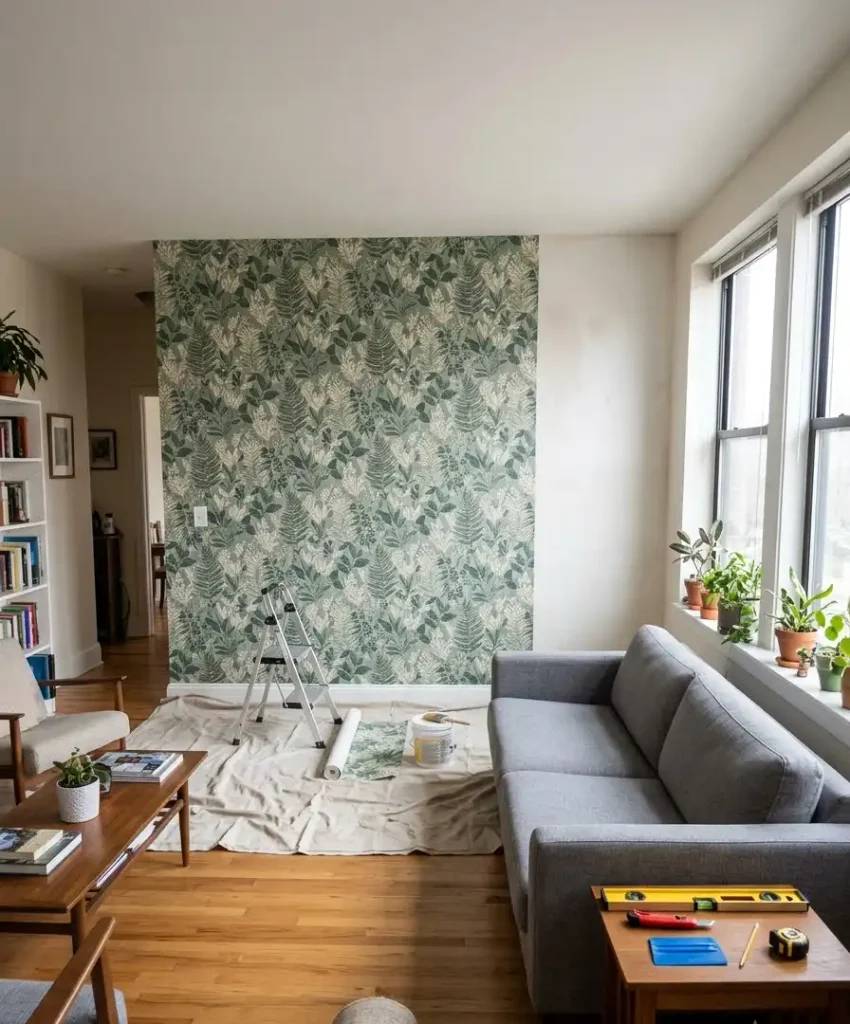
I’ve done this four times now, and I’ve gotten faster and a little calmer each round.
Here’s the process I follow.
- Clean the wall. Wipe it with a damp cloth and let it dry completely. Dust and grease keep the adhesive from gripping.
- Measure twice. Measure the wall height and width, then add a few extra inches to each strip for trimming. Order at least 10 to 15 percent more than you think you need.
- Mark a plumb line. Use a level and a pencil to draw a straight vertical line near the starting corner. Walls are rarely straight, so never trust the corner.
- Peel a few inches at the top. Press the top edge against the wall and line it up with your plumb line.
- Smooth as you go. Peel the backing slowly and use a smoothing tool or a credit card to push air bubbles toward the edges.
- Match the pattern at each seam. Overlap or butt the next strip according to the manufacturer’s directions.
- Trim the edges. Use a sharp craft knife and a straight edge at the ceiling, baseboard and corners. Change the blade often.
- Cut around outlets. Turn off power at the breaker, remove the cover plate, trim the paper, and put the plate back. Don’t skip the power part.
The first strip is the hardest, and honestly it decides the whole wall. Take your time on it. A sloppy first strip makes every following strip worse.
A quick tangent about podcasts
Random thought: I never realized how much a good podcast changes a DIY project.
I put one on during my second wallpaper install, and four hours disappeared. If you’re about to spend a Saturday wrestling a 9-foot strip of paper, queue something up first. Anyway.
Style the wall once it’s up
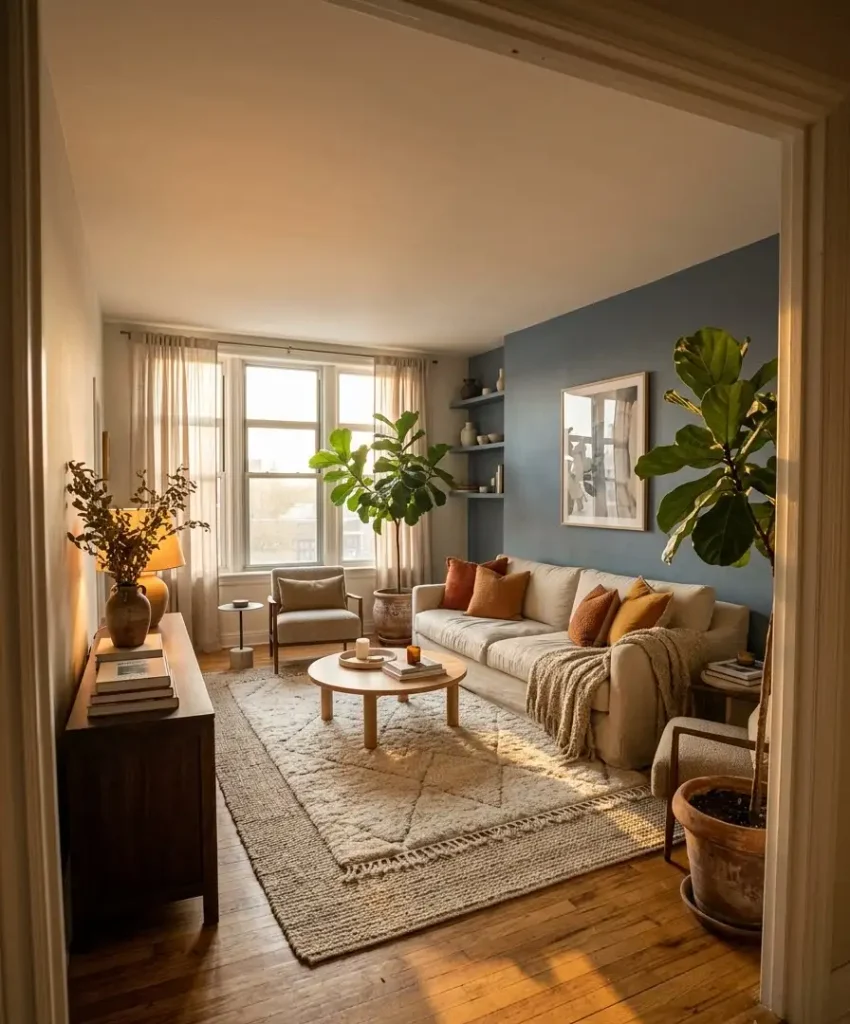
An accent wall looks best when the rest of the room backs it up. You don’t need to buy a lot of stuff, but a few moves help it feel intentional.
Repeat the color
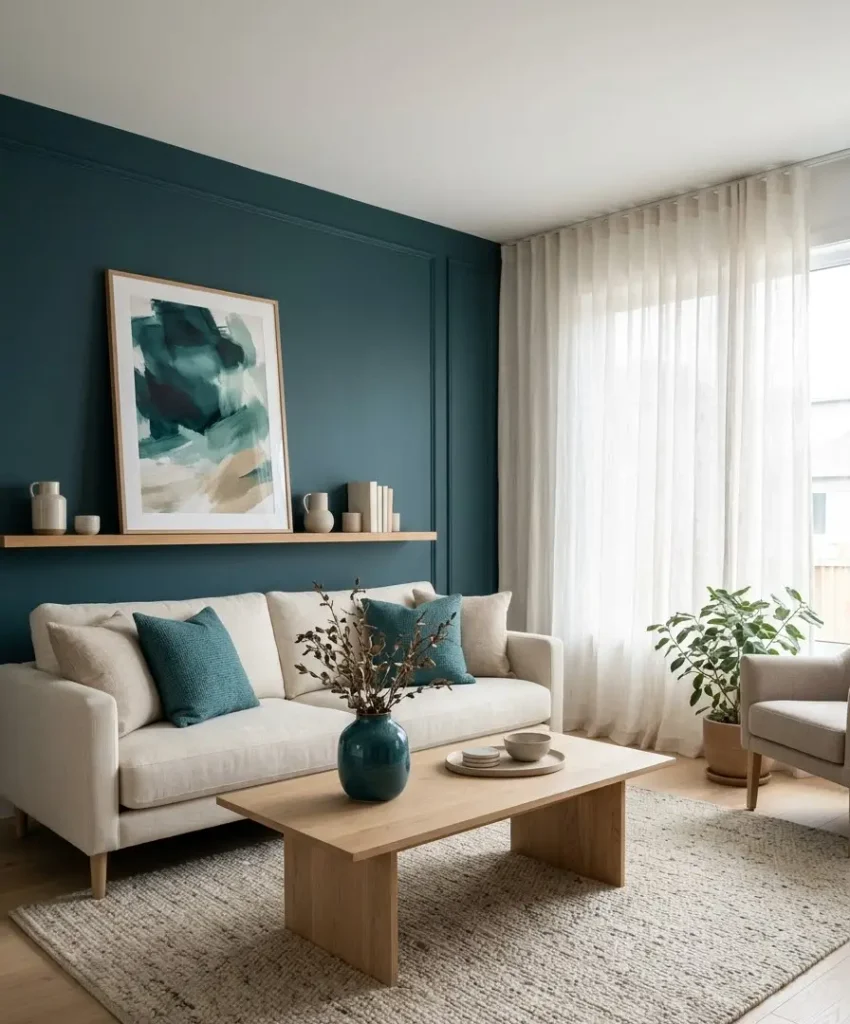
Pull one color from the wall into a pillow, a throw, a vase or a print. That small repeat ties the room together.
If your wall has a busy pattern, repeat just one shade from it, and keep everything else quiet.
Mind the furniture
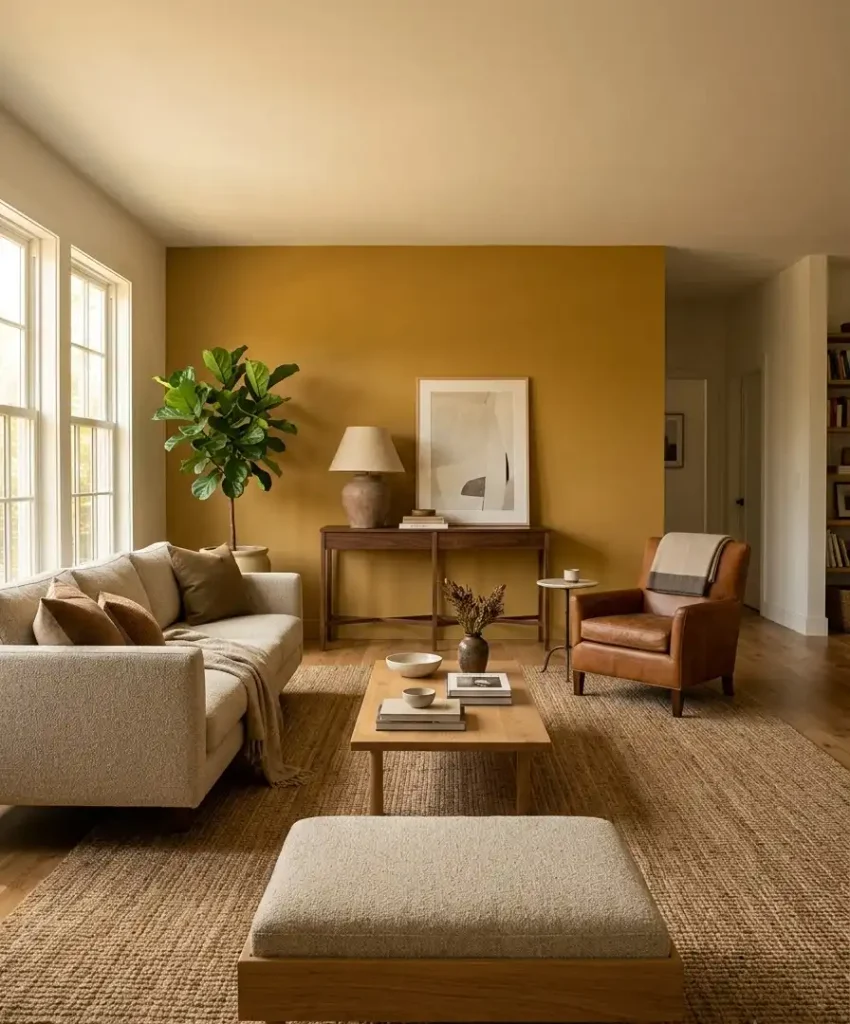
Push a sofa against the accent wall if you can. If your layout needs the sofa floating, set a console table or a bookshelf against the wall instead.
The wall should have something in front of it, or it looks like a mistake.
Layer the lighting
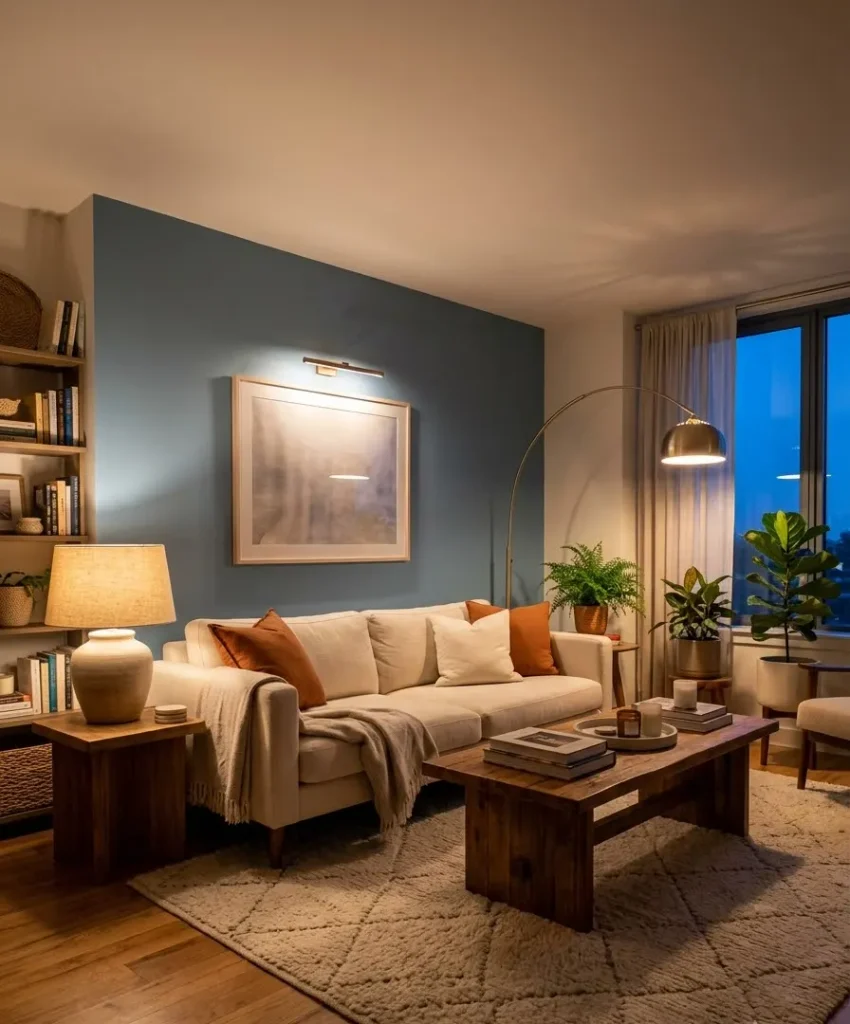
A single overhead light flattens a wall. Add a floor lamp or a table lamp on a nearby side table, and use warm bulbs, around 2700K.
The wall will pick up shadow and depth, and the room will look better in every photo you take.
Think in photos
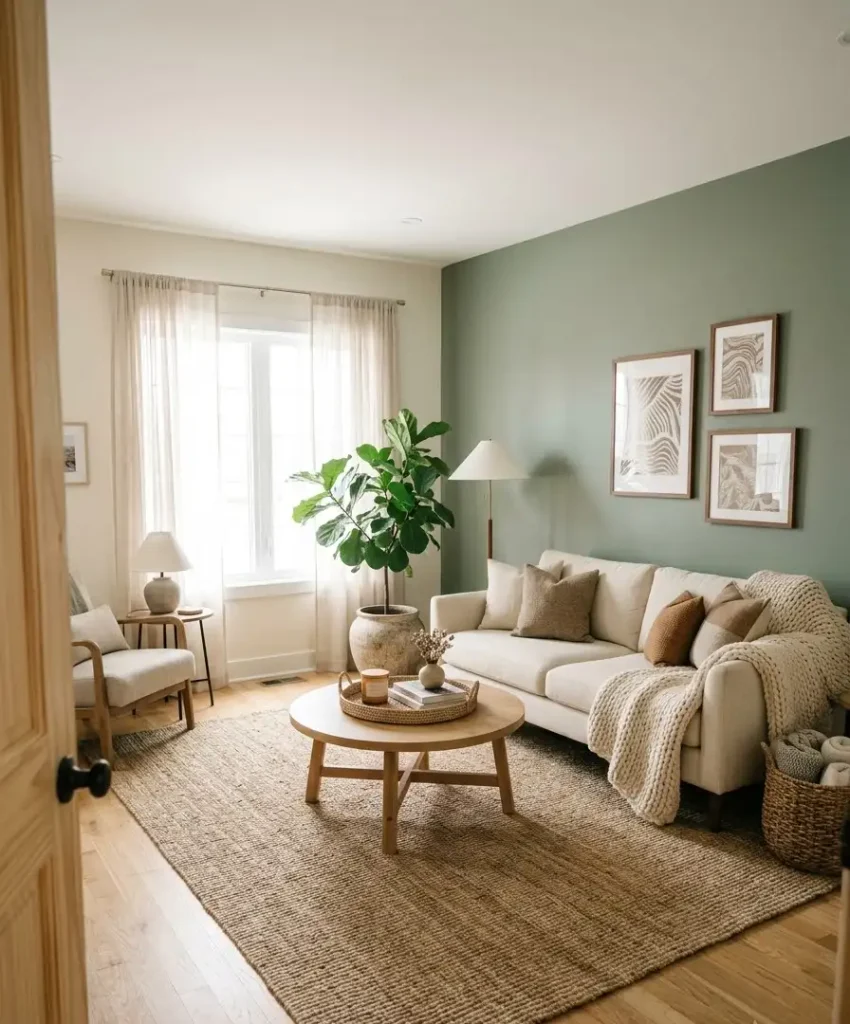
If you’re a Pinterest person like me, you probably care how the wall looks on camera.
Shoot it in daylight, from the doorway, with a throw blanket on the sofa and a plant in the corner.
Corner shots tend to look the most natural, and they show the wall and the room together.
Mistakes I made so you don’t have to
I’ve learned most of this the hard way. Here’s the short list.
- Skipping the test patch. Cost me a corner of paint. Do it.
- Buying too little material. Rolls from different batches can differ slightly in color. Always order extra.
- Hanging on a humid wall. Bathroom-adjacent walls and steamy kitchens can make adhesive fail.
- Ignoring seams at the ceiling line. Crooked ceilings are common in older buildings. Trim after you smooth, not before.
- Choosing a trend over my taste. I once bought a pattern because it was everywhere on Pinterest. I got sick of it in three months.
That last one is the most expensive mistake, IMO. A trend ends. Your living room is where you actually live.
How to take it down without losing your deposit
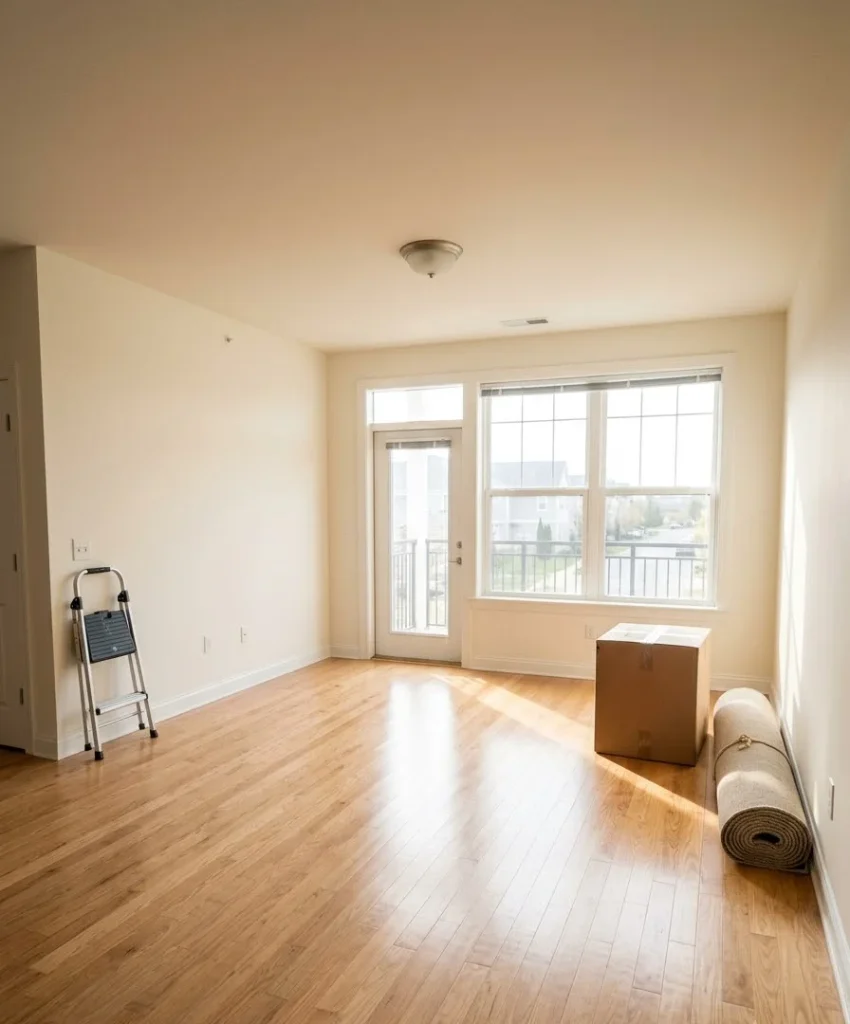
Removal should happen slowly and gently. Rushing is how paint comes off with the paper.
For peel-and-stick wallpaper, start at a top corner and pull the strip back at a low angle, almost parallel to the wall.
If it resists, warm the surface with a hair dryer on low heat for a few seconds to soften the adhesive. Go slowly, and stop if paint starts lifting.
For fabric and starch, peel off the cloth and wipe the wall with warm water and a sponge until the starch is gone.
For painted walls, repaint the original color with the matched paint, and use two coats if the accent color was dark.
Take new photos once you finish, in the same spots as your move-in photos. Keep both sets until your deposit comes back. I do this every time, and it has settled the one dispute I ever had in about 10 minutes.
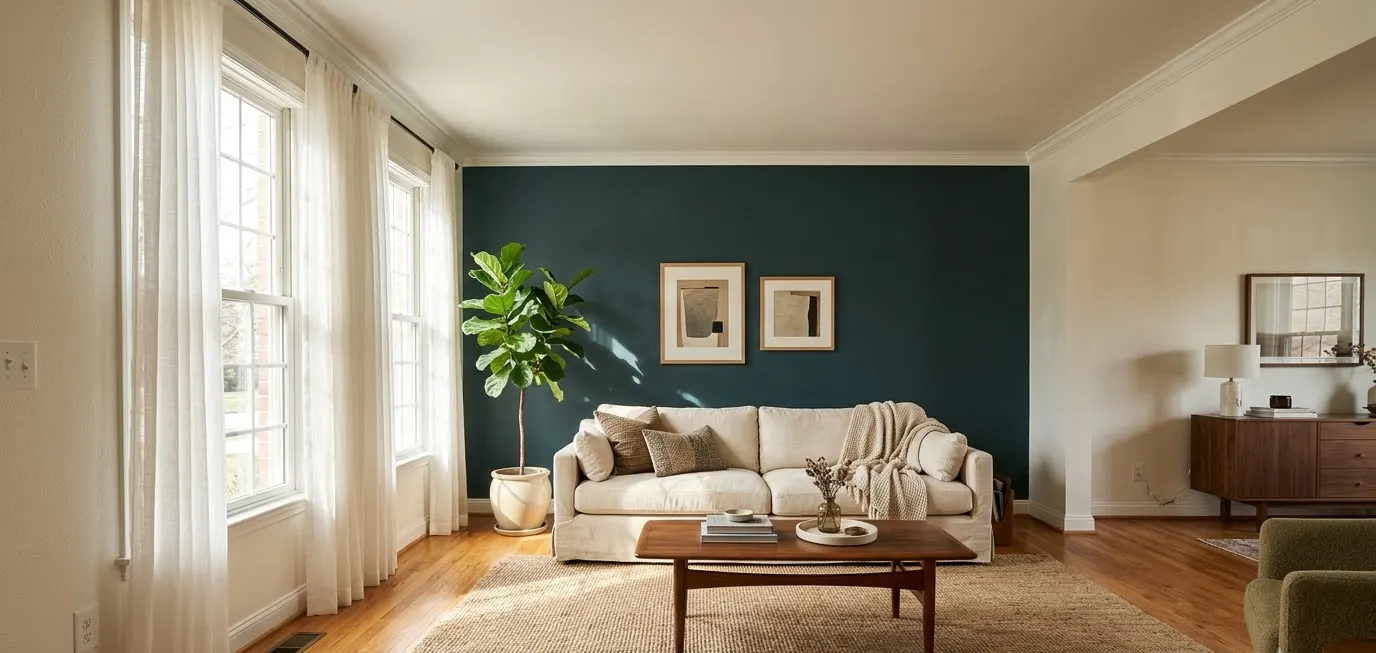
What an accent wall actually costs
Costs vary by wall size, brand and where you live, so treat these as ballparks.
A basic peel-and-stick install on a standard wall usually runs from around $60 for budget rolls to a few hundred dollars for premium ones.
Paint for a single wall rarely costs more than $50 to $100 with supplies. Fabric and starch can come in under $50 if you shop remnants.
Add a few small extras: a level, a craft knife, a smoothing tool and fresh blades.
You can usually find them for $15 to $25 total. I’d spend a bit more on the knife blades, since dull blades tear paper, and a torn strip at 11 p.m. is a mood.
Quick FAQ
Will peel-and-stick wallpaper damage my walls?
It can, depending on the wall. On smooth, fully cured, well-painted surfaces, it usually comes off clean. On fresh paint, cheap paint or textured walls, it can pull paint or leave residue, so do a test patch and ask your landlord first.
Can I paint an accent wall in a rental?
Maybe. Many landlords allow it with written permission and a promise to repaint when you move out. Always ask before you start, and keep the original color information handy.
What’s the cheapest renter-friendly accent wall?
I’d say fabric with liquid starch or a leaning mirror and a good lamp. Both cost far less than wallpaper and carry almost no risk to your deposit. A painted arch with painter’s tape also comes in cheap.
Final thought
An accent wall in a rental isn’t about winning a design contest. It’s about making the room you come home to feel like yours, for as long as you live there.
Start with your lease, pick the wall that earns attention, test everything small, and choose the method that matches how long you’ll stay.
Do those four things, and you’ll end up with a wall that looks great and costs you nothing at move-out.
So, which wall in your living room keeps catching your eye, and what would you put on it first?