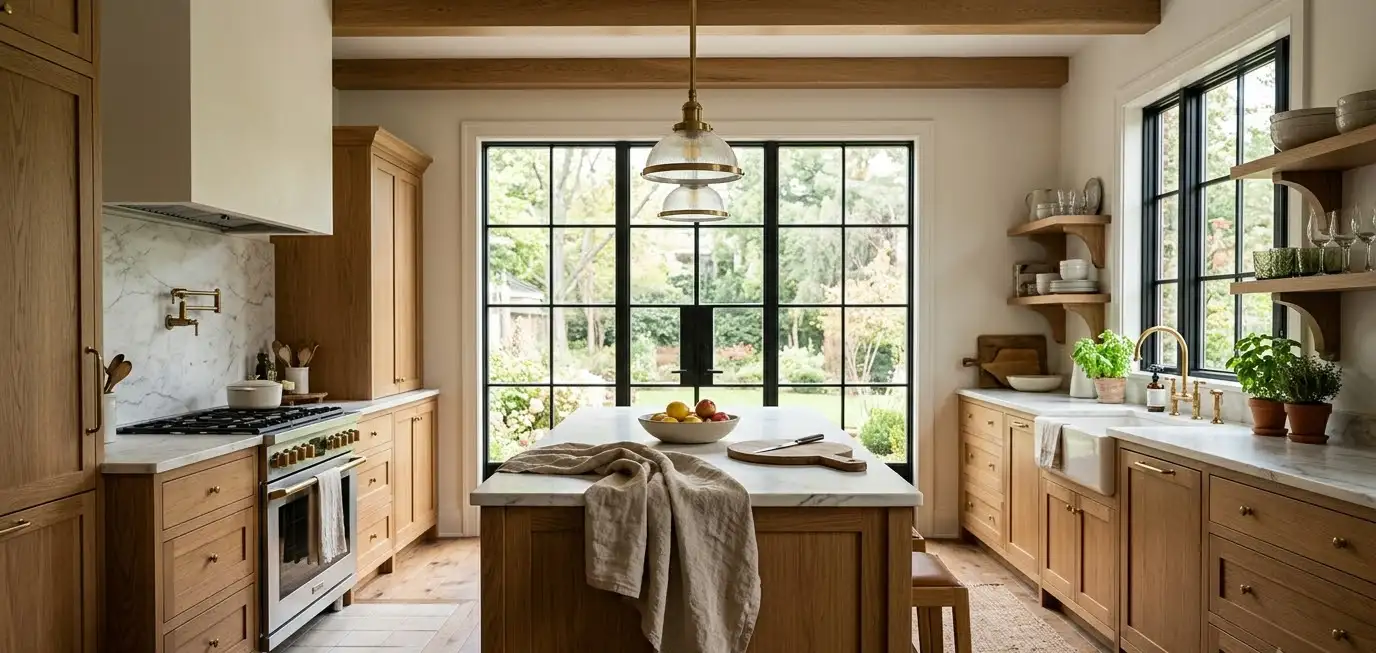
I redid my kitchen counters for less than the cost of a nice dinner out. No contractor, no dumpster in the driveway, no three-week wait for a slab to get quarried in Italy.
Just me, a roll of contact paper, and a Saturday afternoon.
Marble kitchens look expensive because, well, they usually are. Real marble slabs run anywhere from 40 to 100 dollars per square foot before installation.
Add fabrication, sealing, and a plumber to reconnect your sink, and a small kitchen easily crosses 5,000 dollars. For most of us, that’s a car payment, not a countertop.
I’ve spent the last two years obsessing over budget kitchen makeovers, partly because I move apartments a lot and partly because I have zero patience for waiting to save up for the “real” renovation.
Every time I scroll Pinterest and see one of those dreamy white kitchens with the dramatic gray veining,
I think the same thing: I want that, and I want it by next weekend, not next year.
So I started testing shortcuts. Contact paper, peel-and-stick tile, thrifted accessories, paint techniques that made a mess of my kitchen table twice before they worked.
Below are 10 ways to get that cool, veiny, high-end marble look without draining your savings account.
Some of these I’ve tried myself. A few, I learned the hard way not to try (looking at you, DIY paint marbling attempt number one).
All of them cost a fraction of what a real renovation runs, and most take a weekend or less.
1. Cover your countertops in marble contact paper
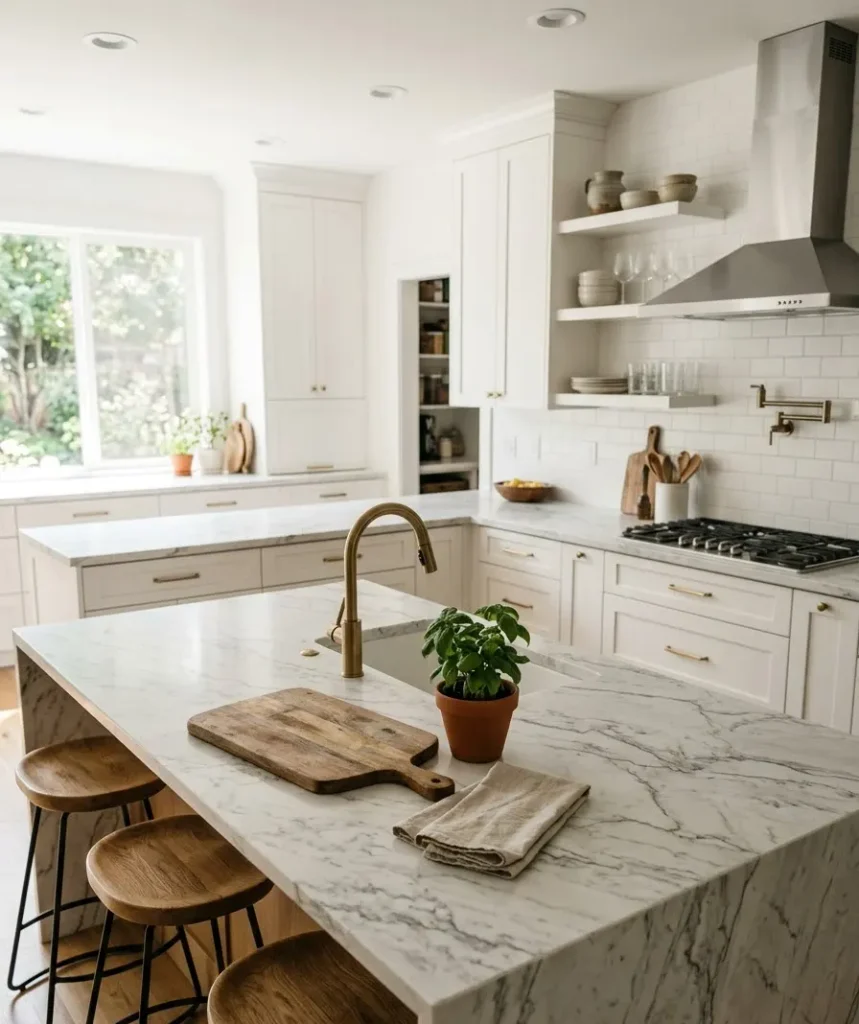
This is the big one. Peel-and-stick marble contact paper has gotten shockingly good in the last few years.
The older stuff looked like a photocopy of marble. The newer rolls have real depth, subtle veining, and a finish that catches light the way actual stone does.
I used a thick PVC roll on my kitchen counters and it survived spilled coffee, hot pans (with a trivet, don’t be reckless), and my roommate’s questionable knife skills. A few things I learned along the way:
- Buy 10 to 15% more paper than your measurements say you need. You will mess up at least one cut.
- Use a squeegee or an old credit card to smooth out bubbles as you go.
- Clean and dry the surface completely first. Grease is the enemy of adhesive.
If you want a deeper breakdown of which brands actually hold up under daily kitchen abuse, the countertop paper reviews at Kitchen Advisor are worth a scroll before you buy.
Cost: $15 to $40 per roll, depending on width and quality.
The seam problem nobody warns you about
Most rolls come in widths between 15 and 36 inches. If your counter is wider than the roll, you’ll have a seam somewhere.
I hid mine along the back edge, tucked just under where the backsplash meets the counter, so it’s basically invisible unless you go looking for it on your hands and knees.
Plan your seam placement before you start cutting, not after.
One more thing worth mentioning: heat is the real enemy here, not water. My contact paper laughed off spilled sauce and standing water from a leaky dish rack.
A pan straight off the stove, set down without a trivet, left a slight discoloration near my stovetop.
Lesson learned. Keep trivets within arm’s reach and you’ll be fine.
2. Swap your backsplash for peel-and-stick marble tile
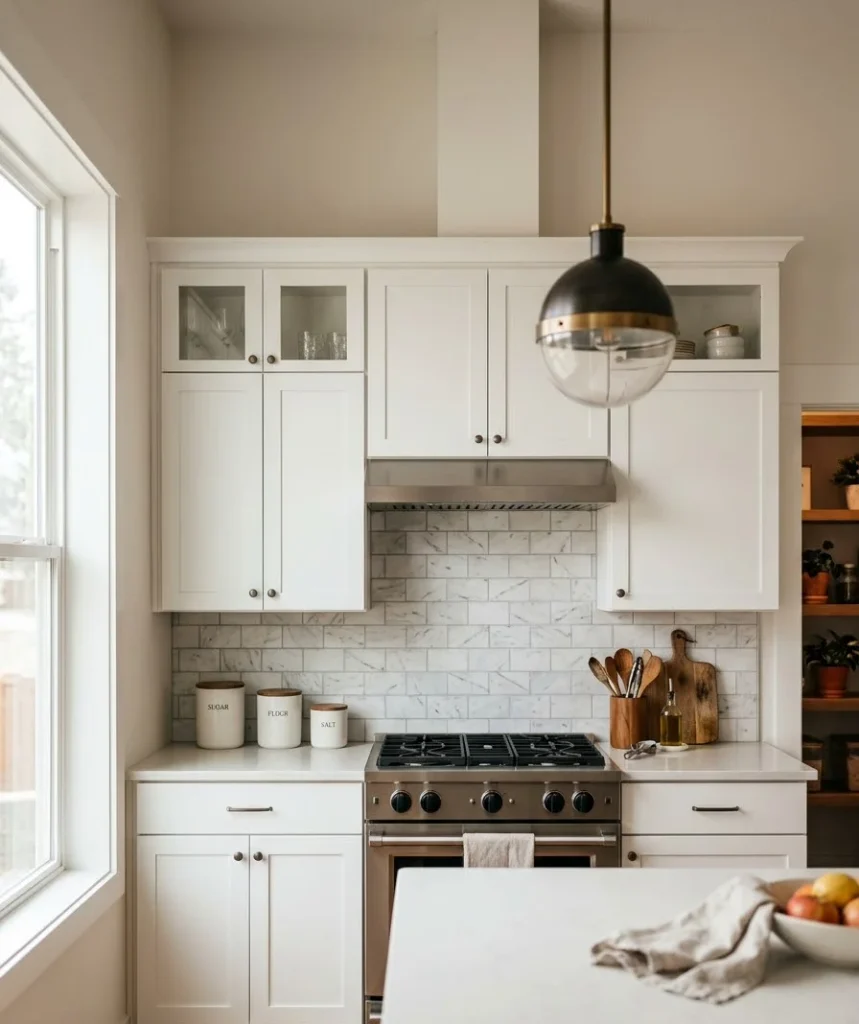
A backsplash covers a small footprint but does a lot of visual heavy lifting.
Peel-and-stick marble or marble-look tile sheets let you skip grout, skip a tile saw, and skip the entire concept of hiring someone.
My first attempt at this was, honestly, a little crooked. Start your first row from the center of the wall, not the corner, so any uneven cuts end up hidden at the edges instead of front and center above your stove.
Angi’s installation guide walks through the basic steps if you’ve never done this before, and it’s a decent refresher even if you have.
IMO the marble hexagon and subway patterns look the most convincing in person.
Solid slab-style sheets can sometimes read a little flat depending on the lighting in your kitchen.
A few pattern options worth considering
- Classic white Carrara-style subway tiles
- Herringbone marble mosaic sheets
- Large-format “slab look” panels for a seamless wall
For more inspiration on how different patterns actually look installed rather than just sitting flat in a product photo, Tile Club’s backsplash gallery has a decent range of real kitchen photos to scroll through before you commit to one style.
One thing I didn’t expect: outlet cutouts take way longer than the actual tile installation.
Budget extra time for that part, and unscrew your outlet covers before you start rather than trying to trim tile around them while they’re still attached to the wall.
3. Reface your cabinet fronts with faux marble
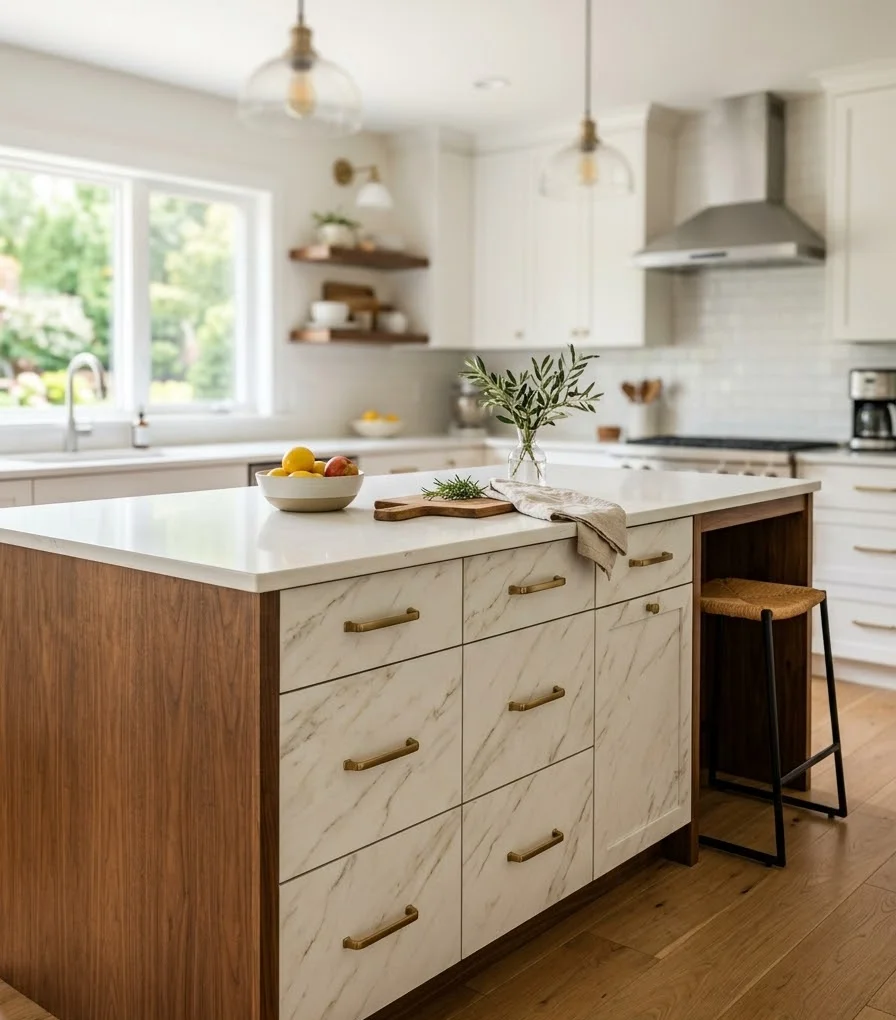
Cabinets take up more visual space in a kitchen than almost anything else.
If yours are dated laminate or scuffed wood, a marble-effect contact paper on just the drawer fronts or lower cabinets can shift the entire vibe of the room.
I did this to a set of kitchen island drawers in a rental and got my security deposit back in full, because it peels off clean when you’re ready to move.
This stuff is temporary by design, which makes it perfect for renters who still want their space to feel like theirs.
A tip that saved me a lot of frustration: remove the drawer fronts and cabinet doors before applying the paper.
Working on a flat table beats trying to smooth wrinkles out while a door swings on its hinges.
It takes an extra 20 minutes per door and the finished result looks noticeably neater, with cleaner edges around the hardware holes.
If your budget stretches a little further, doing just the kitchen island in a contrasting marble finish while leaving the surrounding cabinets a solid color is a classic designer move. It draws the eye to one focal point instead of trying to marble-ify an entire room, which can start to feel like overkill fast.
4. Try marble-look peel-and-stick floor tiles
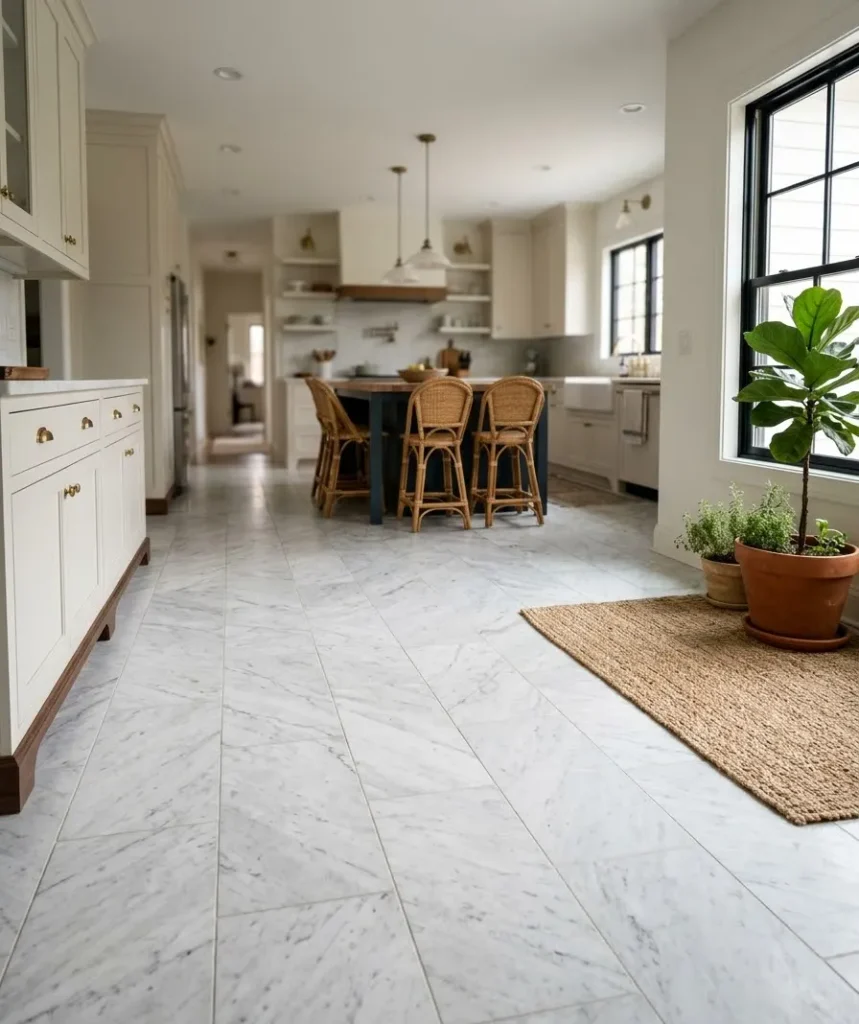
Real marble flooring is gorgeous and also a nightmare to install, seal, and maintain (it stains if you look at it wrong).
Vinyl marble-look floor tiles solve that problem entirely. Modern versions have textured, matte finishes that don’t scream “plastic” the way older vinyl did.
This works especially well in a small kitchen or a breakfast nook where you don’t need to cover a massive square footage.
Lay a few tiles down before committing to check how the pattern repeats.
Cheaper packs sometimes have obvious repetition every third or fourth tile, and that’s the fastest way to ruin the illusion.
My honest opinion, after trying both: peel-and-stick vinyl floor tiles are more forgiving for beginners than the sheet-style rolls.
Individual tiles let you swap out a single damaged piece years later instead of replacing an entire section.
Sheet rolls look slightly more seamless when done well, but one bad cut near a doorway and you’re stuck staring at it every single day.
Grout-look lines between tiles help sell the illusion too.
Some brands include a thin gray or beige line printed right into the pattern, which mimics real grout without you having to apply any yourself.
5. Layer in small real-marble accessories
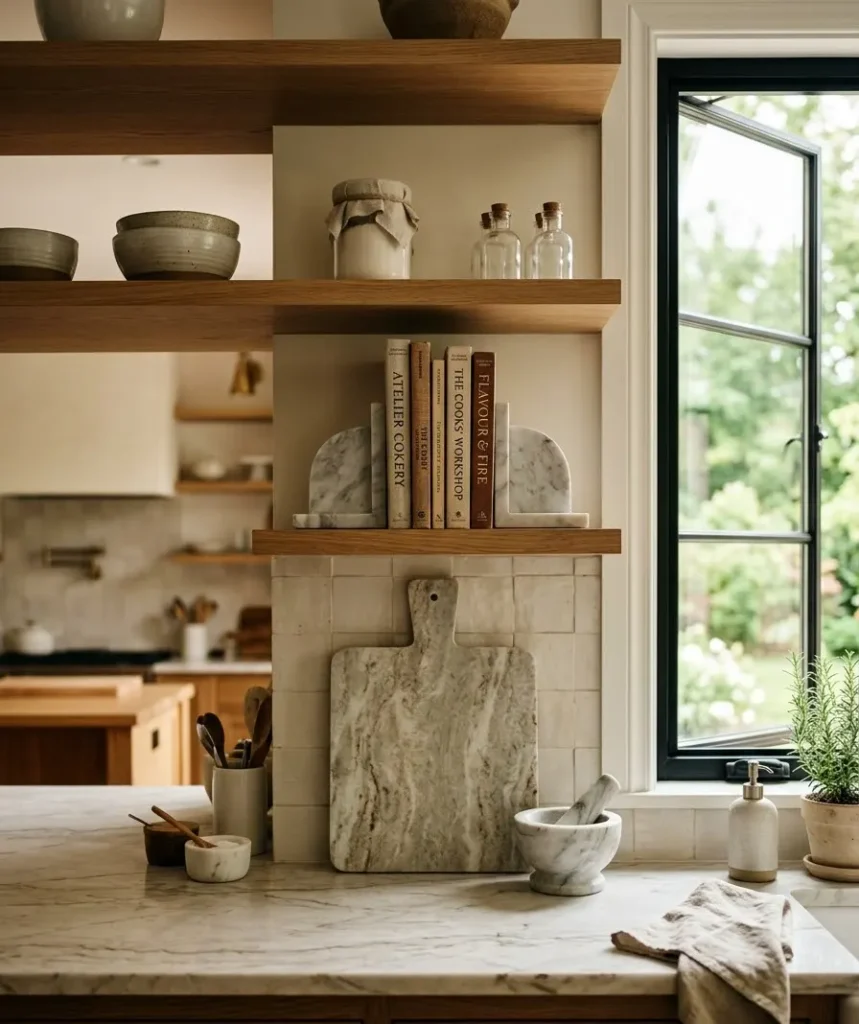
Sometimes the smartest move is a mix: fake the big surfaces, but spend a little on a few genuinely real marble pieces.
A small marble cheese board, a set of coasters, or a trivet costs a fraction of a slab and adds authentic texture and weight next to your faux surfaces.
I picked up a marble mortar and pestle at a thrift store for six dollars. Six. It sits on my counter and does more for the “high-end kitchen” illusion than half the stuff I actually paid full price for.
- Marble cutting boards double as decor when leaned against a backsplash
- Marble bookends work surprisingly well holding up cookbooks on open shelving
- A single marble vase or utensil holder adds contrast without overwhelming the space
- Marble drawer knobs are a small splurge that touches every cabinet you open
Facebook Marketplace and estate sales tend to have better marble finds than big box stores, in my experience, and usually at half the price.
People sell off entire sets of marble kitchenware when they’re downsizing or renovating, often barely used.
Check listings for “granite” and “stone” too, since sellers don’t always know the difference between marble and other natural stone.
6. Paint a faux marble finish yourself
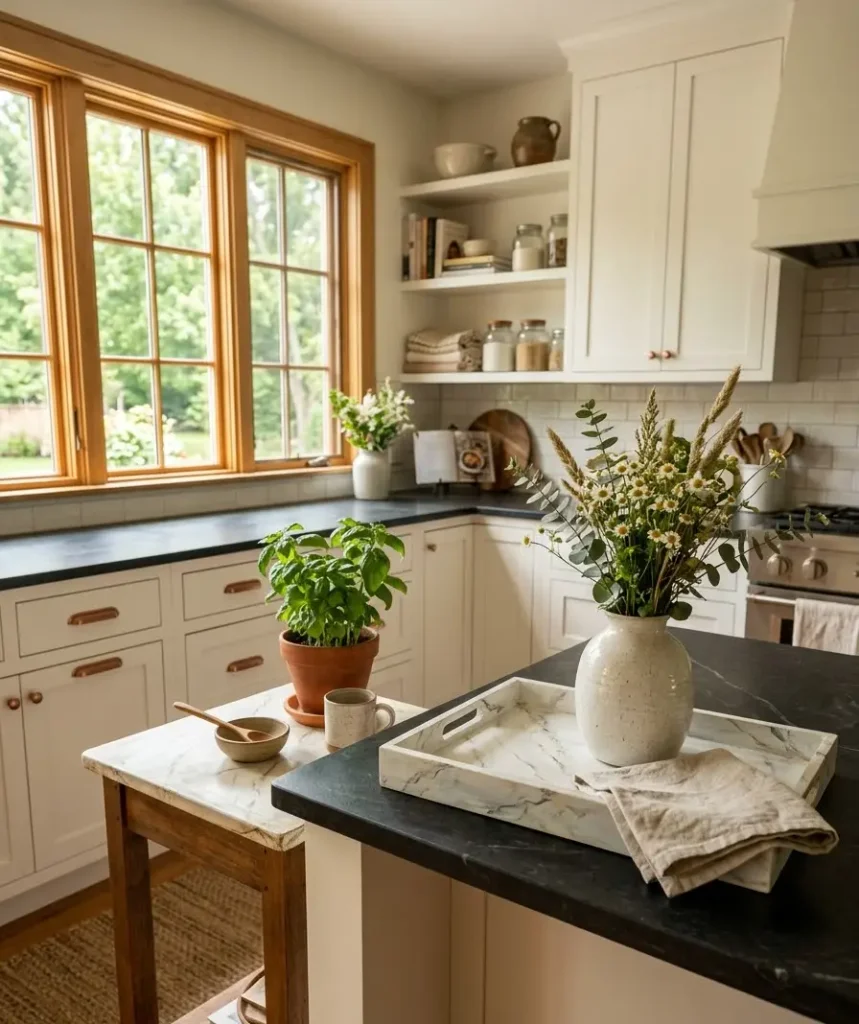
This one requires patience and a steady hand, but it costs almost nothing beyond a few tubes of paint.
Faux marbling involves layering a base coat, then feathering in veins with a thin brush or a feather (yes, an actual feather works well for this).
My first attempt looked more like a bruise than a stone. My third attempt, after watching probably a dozen tutorials, actually fooled a dinner guest for about thirty seconds.
Practice on a scrap board or cardboard before you touch your actual cabinets or countertop edges.
This technique works best on smaller accent pieces: a side table, a tray, the trim on a kitchen island, rather than an entire counter.
Full countertops need more durable topcoats to survive daily wear.
Here’s the basic process I eventually landed on: paint a base coat in white or cream, let it dry completely, then dip a thin artist’s brush in gray or black paint and drag it lightly at irregular angles.
Real marble veins branch and fork unpredictably,
so resist the urge to make yours symmetrical. Once dry, seal the whole thing with a few coats of clear polyurethane.
Skip the sealant and you’ll regret it the first time a wet glass sits on it too long.
I’ll admit this method takes the most trial and error of anything on this list. But there’s something satisfying about pointing at a tray and telling people you painted the veining by hand.
That’s a story a peel-and-stick roll just can’t give you.
7. Add marble-pattern wallpaper to a pantry or accent wall
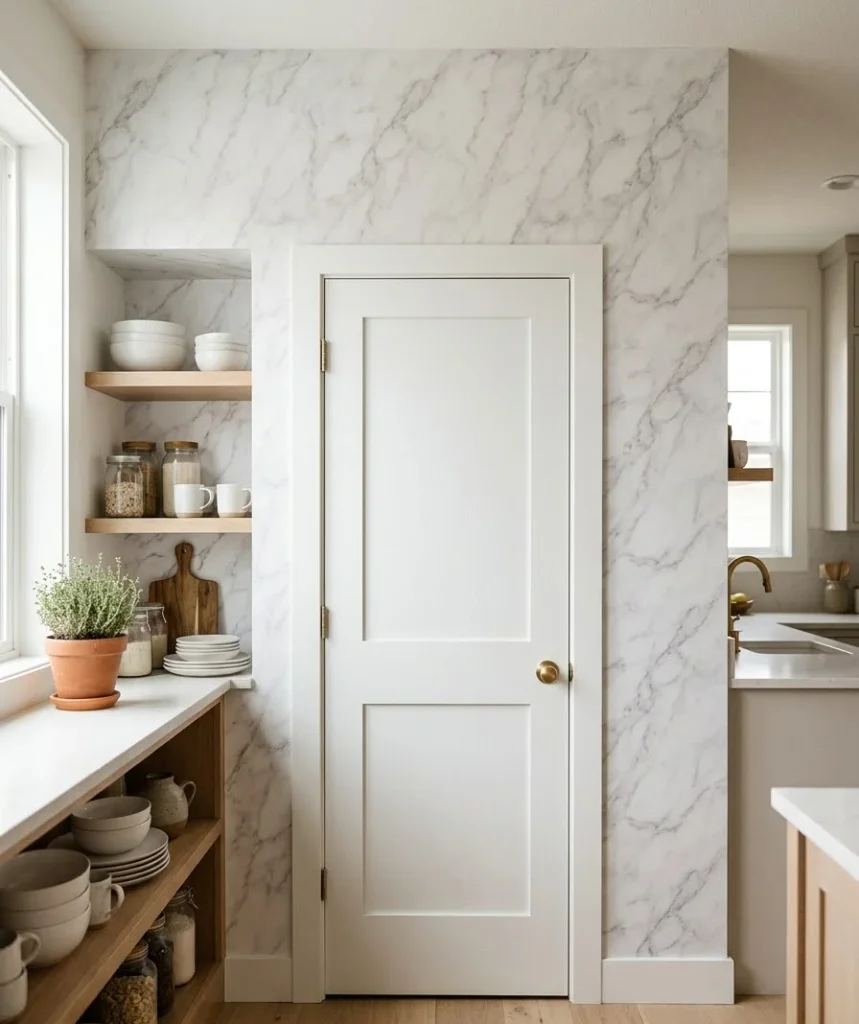
If your kitchen has an awkward pantry door, a small accent wall, or even just the inside of open shelving, marble wallpaper is an easy win.
It’s less exposed to spills and scratches than a countertop, so you can use lighter-weight paper without worrying as much about durability.
Peel-and-stick versions install in an afternoon and remove without damaging paint or drywall underneath, which matters a lot if you’re renting.
I lined the back of my open kitchen shelving with a soft gray marble wallpaper and it completely changed how the shelf displays look, even though nothing on the shelf itself changed.
Plates, mugs, and jars suddenly looked curated instead of just stored.
It’s a small move that photographs really well too, which matters if your kitchen doubles as content for a home decor board.
Standard (non-peel) marble wallpaper tends to run cheaper per roll if you don’t mind using wallpaper paste, though the application process takes longer and isn’t as forgiving of mistakes.
| Method | Typical cost | Effort level | Best for |
|---|---|---|---|
| Contact paper (counters) | $15–$40 | Medium | Countertops, cabinet fronts |
| Peel-and-stick tile (backsplash) | $20–$60 | Medium | Backsplash, small accent walls |
| Faux paint marbling | Under $20 | High | Trays, trim, small accents |
| Marble wallpaper | $15–$50 | Low | Pantry doors, accent walls |
8. Update your hardware and lighting to match
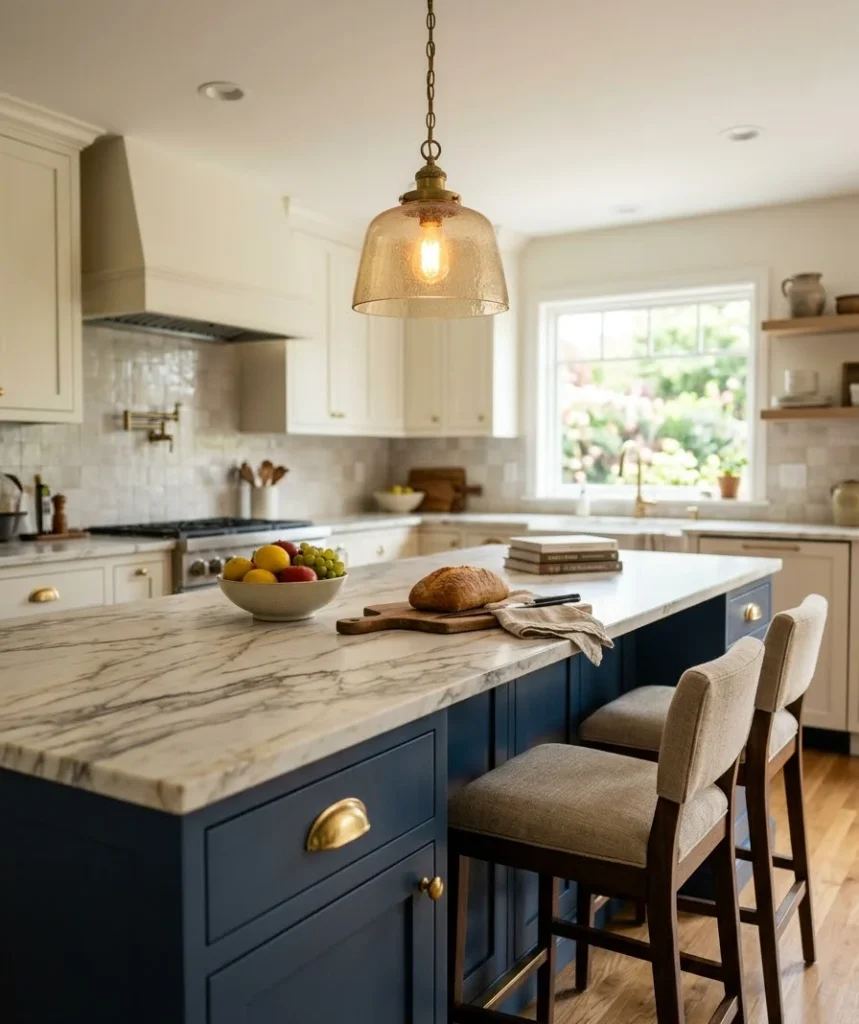
Here’s something people skip: marble looks flat without the right metal accents around it.
Brass, gold, or warm brushed nickel hardware makes faux marble surfaces read as intentional and upscale instead of like a cover-up.
Swapping cabinet knobs and pulls is one of the cheapest updates you can make in a kitchen, and it takes maybe an hour with a screwdriver.
I switched mine from dull silver to brushed brass and the whole kitchen suddenly looked like it belonged in a magazine spread. Or at least a really good Pinterest board.
Pendant lighting matters here too. A warm-toned bulb over your island makes marble veining look richer and more dimensional than a harsh white LED does.
This is one of those details that costs almost nothing to change (a bulb is a bulb) but makes a noticeable difference in photos and in person.
If your budget only stretches to one hardware update, prioritize the pulls on your most-used cabinets and drawers.
Those are the pieces people’s hands actually touch, and worn or mismatched hardware there is oddly more noticeable than in the corners of the room nobody reaches into.
9. Use a marble-look table runner or shelf liner for smaller surfaces
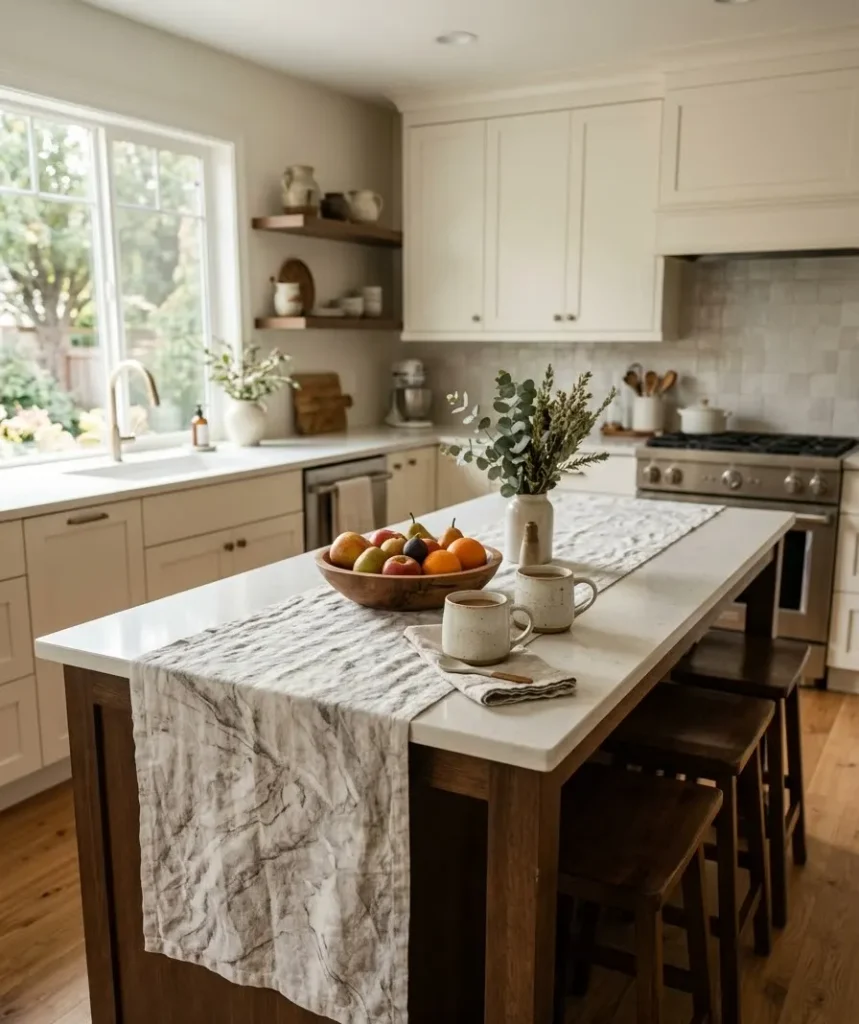
Not every surface needs a permanent overhaul. A marble-pattern table runner on your kitchen island, or a marble contact paper liner inside glass-front cabinets, gives you that visual texture in spots where a full renovation would be overkill.
This is honestly one of my favorite cheap tricks because it’s completely commitment-free. Don’t like it in six months? Roll it up and swap it out. Try doing that with a granite slab.
Table runners in particular are the fastest seasonal swap I know.
I keep two on rotation, a cool gray-and-white for most of the year and a warmer beige-and-gold version for fall, and switching between them takes about ten seconds.
It’s a small ritual, honestly, but it makes the kitchen feel refreshed without touching a single permanent surface.
10. Mix textures so the marble doesn’t feel like a costume
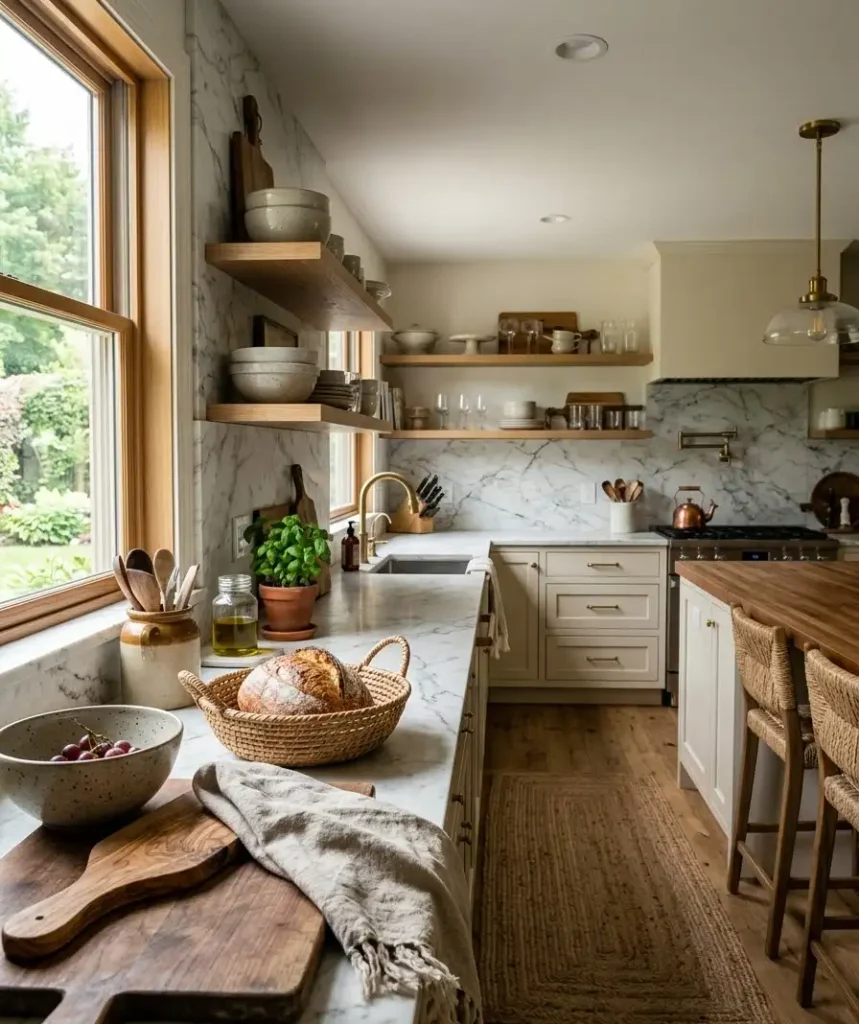
This one is more of a mindset than a product.
The fastest way to make faux marble look cheap is to surround it with things that scream budget too, thin cabinet handles, flimsy shelving, harsh overhead lighting.
Pair your marble surfaces with a few sturdier, tactile elements: a wood cutting board, a woven basket, a heavier ceramic bowl.
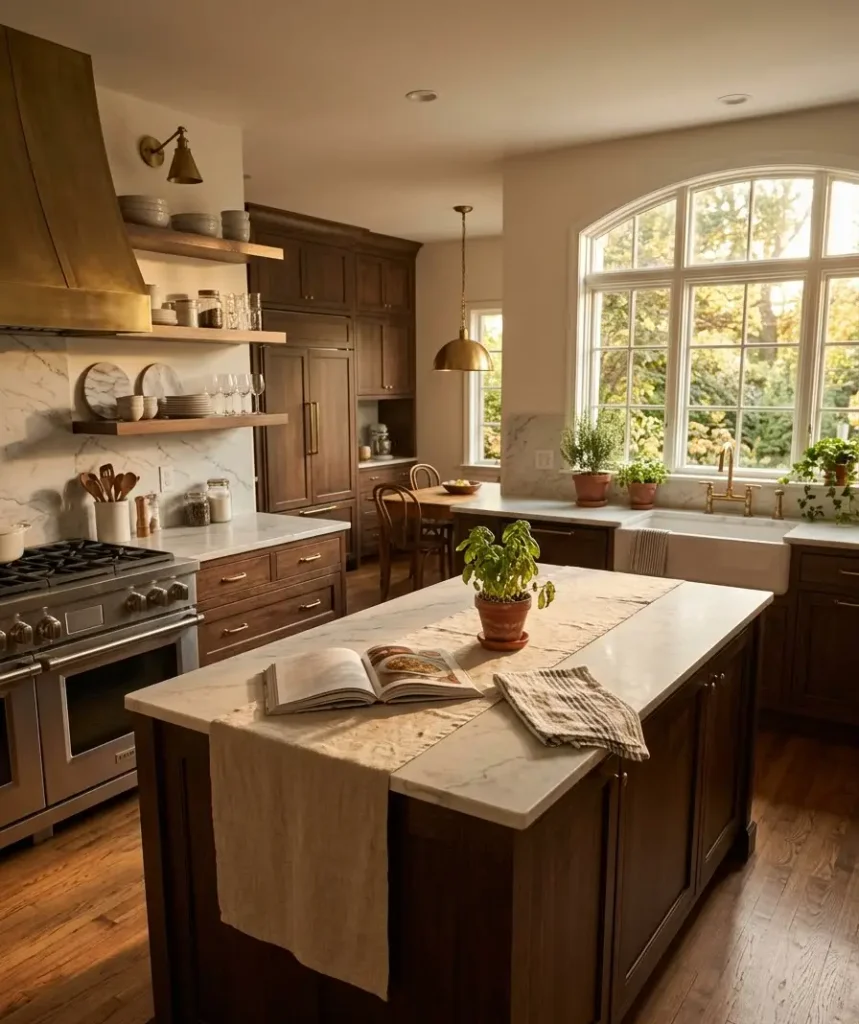
Random thought while I’m on this topic: I’ve noticed the kitchens that photograph best for Pinterest almost always have one slightly imperfect, lived-in object in frame, a chipped mug, an open cookbook, a plant that’s clearly seen better days. Perfection reads as staged.
A little texture and mess reads as a home someone actually cooks in.
Quick FAQ
Does marble contact paper actually look real in photos? Yes, especially the thicker matte or satin-finish rolls. Glossy versions can catch glare
under bright kitchen lighting, so matte tends to photograph more convincingly for things like Pinterest pins.
How long does peel-and-stick marble backsplash tile last? With proper surface prep, most brands hold up for several years of normal kitchen use.
Heat and heavy grease near the stove are the main things that shorten its lifespan, so keep it slightly back from direct flame.
Can I put marble contact paper over laminate countertops? Absolutely, and it’s one of the most common uses for it.
Clean the laminate thoroughly and sand any glossy spots first so the adhesive actually grips the surface instead of sliding around.
Wow, ten ways in, and none of them required a contractor, a loan, or ripping out a single cabinet.
That’s kind of the whole point. A high-end marble kitchen is less about the price tag and more about how confidently you
commit to the details, the veining, the metal accents, the little real-stone pieces mixed in with the fakes.
So which one are you trying first, the counters, the backsplash, or that thrifted marble mortar and pestle you didn’t know you needed?
Save this for your next kitchen refresh and pin your favorite trick before you forget it.









1 thought on “Affordable marble kitchen decor: 10 ways to get the high-end look on a budget”