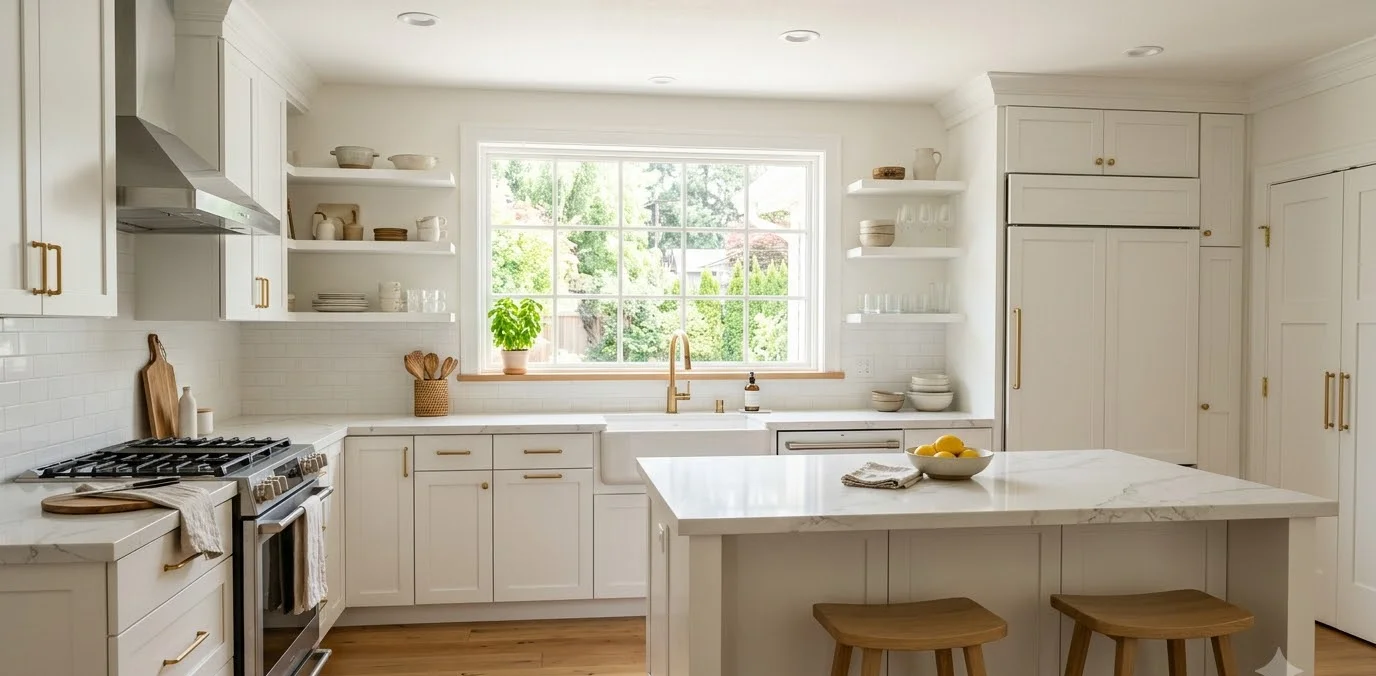
I redid my kitchen for under $400 and it still stops people at the door. Not because it’s fancy.
Because it’s white, bright, and every upgrade actually earned its spot.
If you’ve been scrolling Pinterest for hours wondering how people afford those dreamy all-white kitchens, here’s the truth: most of them didn’t spend what you think.
A white kitchen reads expensive because of light, contrast, and a handful of smart swaps. Not a full renovation.
I’ve spent the last few years flipping rentals and refreshing my own kitchens on a tight budget, and white kitchens are honestly the easiest style to fake on the cheap.
White reflects light. It makes cheap fixtures look intentional. And it forgives a lot of small imperfections that a darker palette would expose immediately.
So here’s my real list. Twenty upgrades, all budget-friendly, all things I’ve either done myself or watched work in a friend’s kitchen.
No fluff, no “imagine a dream kitchen” nonsense. Just what actually moves the needle.
Quick reference: cost and effort at a glance
| Upgrade type | Typical cost | Time needed |
|---|---|---|
| Hardware swaps, switch plates, small decor | $10 to $40 | Under an hour |
| Paint projects (cabinets, trim, walls) | $30 to $120 | A weekend |
| Backsplash, lighting, faucet | $40 to $150 | A weekend, sometimes two |
Use this as a rough map. Start with the cheap wins if you’re testing the waters, then move up once you see the difference a $15 change can make.
1. Swap the cabinet hardware
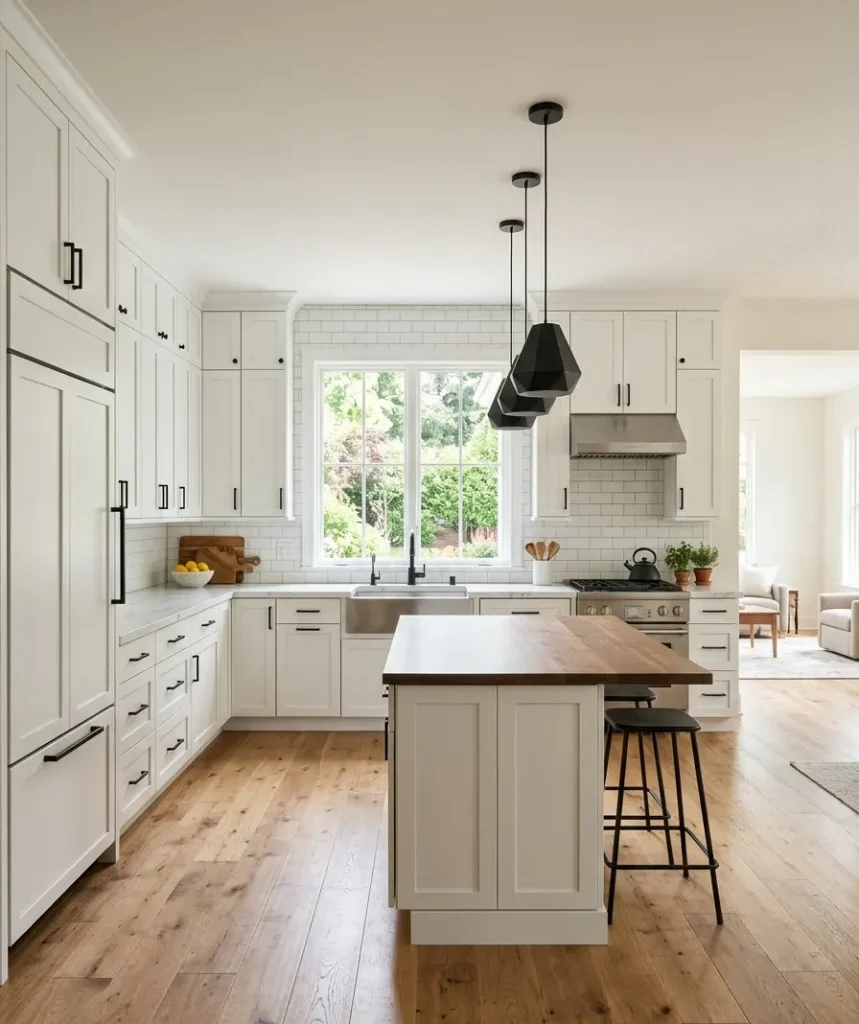
This is the single highest return-on-effort upgrade in this whole list. Old brass knobs from 1998 instantly date a kitchen, even a freshly painted one.
Swap them for matte black, brushed gold, or unlacquered brass pulls and the whole room shifts.
I did this in my last apartment for about $35 total. Twenty minutes with a screwdriver and it looked like a completely different kitchen.
IMO this should be step one for anyone on a budget.
2. Paint or refresh your cabinets
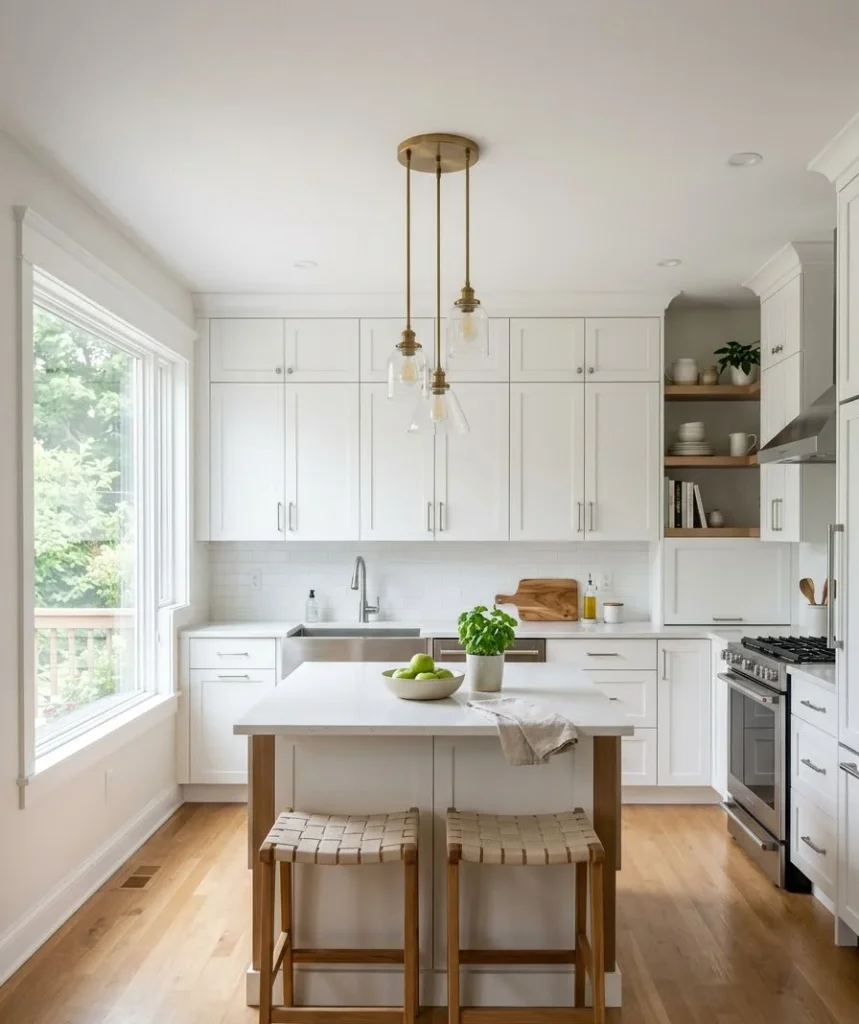
You don’t need to strip and refinish anything. A cabinet-specific paint like Benjamin Moore’s Advance line goes on smooth and holds up to daily wear without the brush marks you’d get from regular wall paint.
If your cabinets are already white but looking dingy or yellowed, a fresh coat resets the whole kitchen.
Budget for a few days. Not because the painting takes long, but because cure time matters.
Rushing this step is how people end up with tacky, sticky cabinet doors two weeks later.
3. Add open shelving
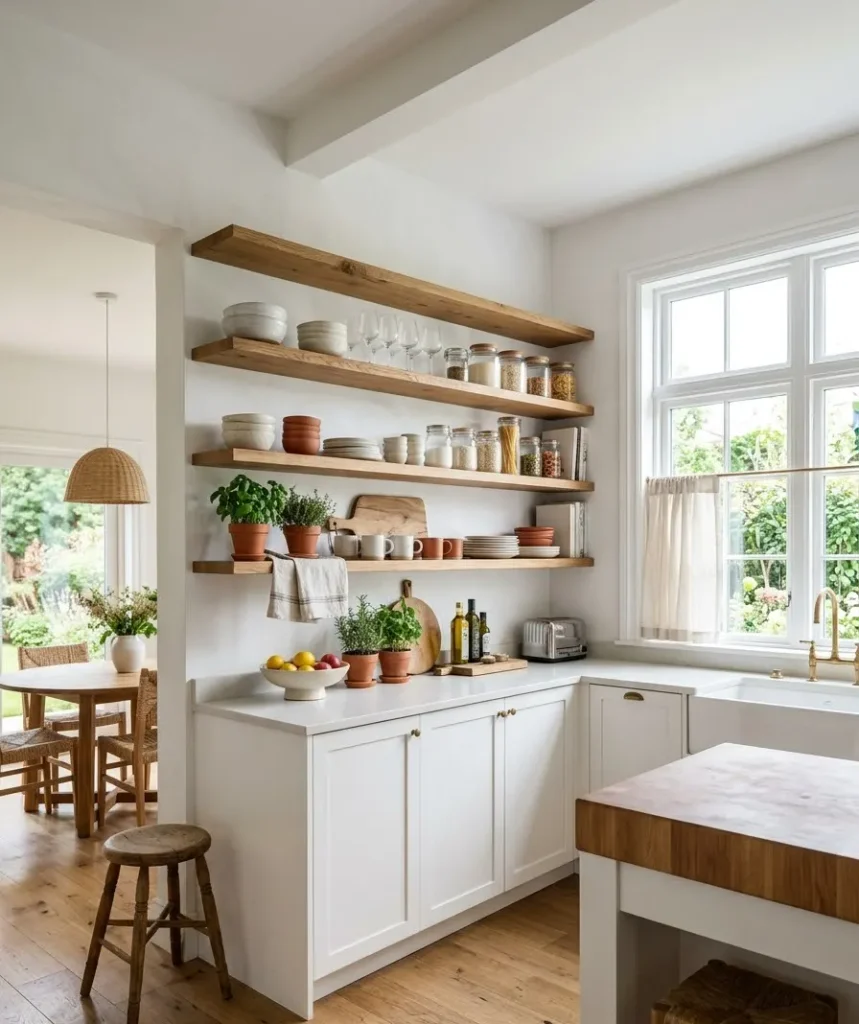
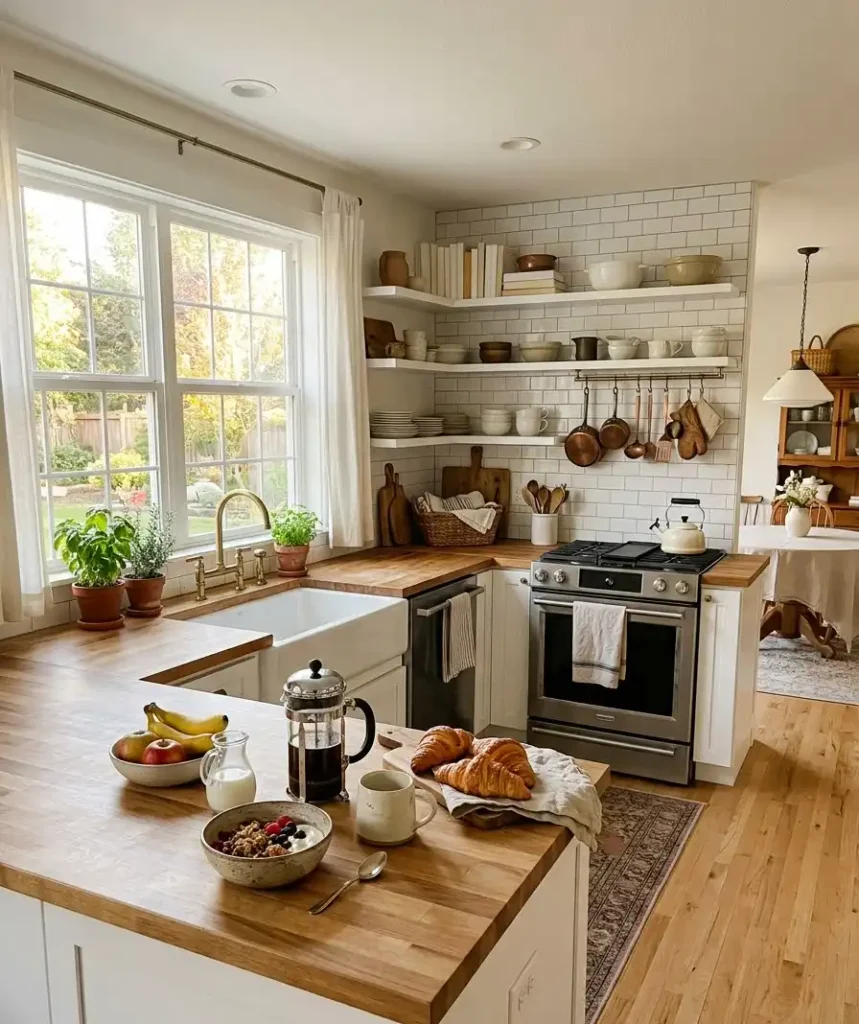
Ripping out one or two upper cabinets and replacing them with simple wood or white-painted shelves changes the entire feel of a kitchen.
It opens up the wall visually and gives you a spot to style with white dishware, a few plants, and some cookbooks.
Ever notice how open shelves make a kitchen feel bigger even though you’re removing storage? That’s the trick. Less visual clutter reads as more space.
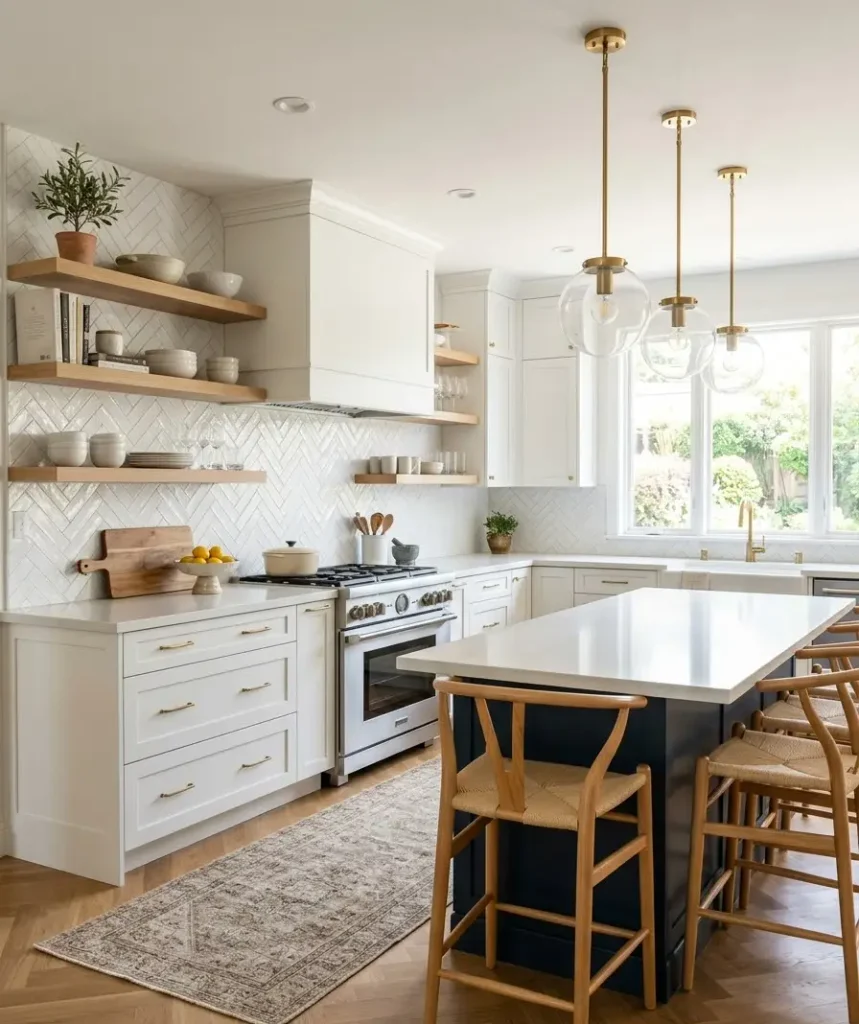
4. Install a peel-and-stick herringbone backsplash
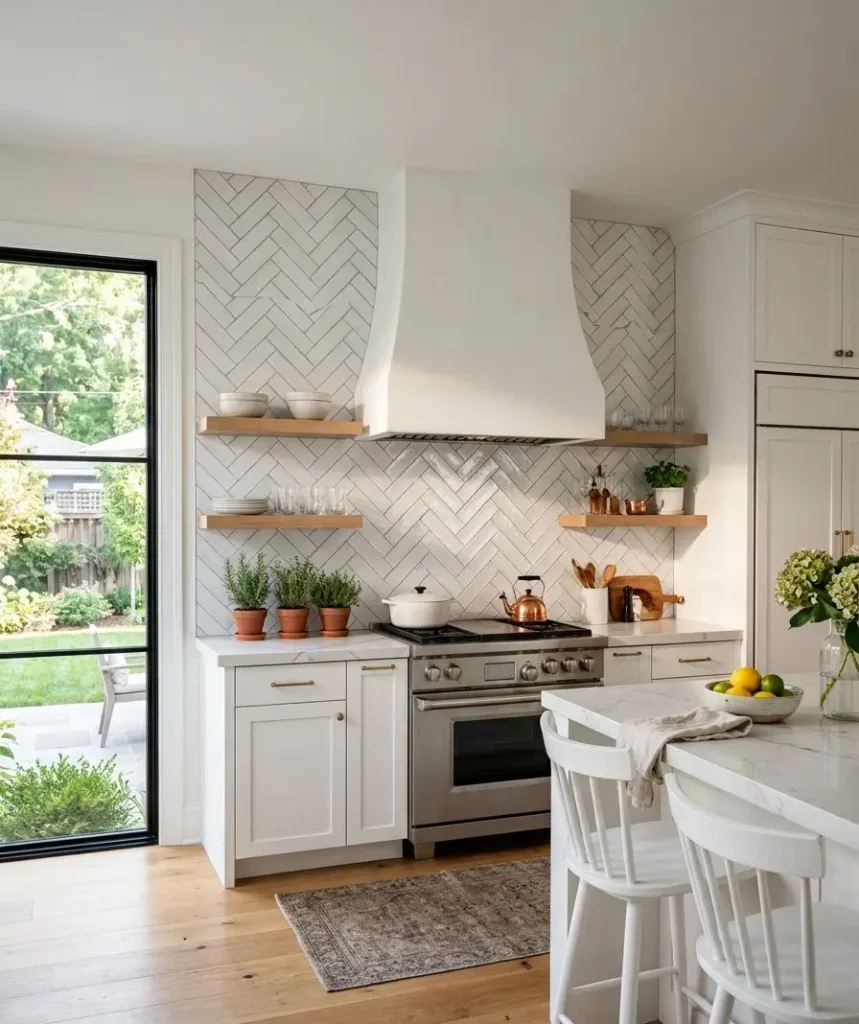
Real tile backsplashes run into the hundreds once you add grout, spacers, and labor.
Peel-and-stick herringbone panels get you 90% of the visual impact for a fraction of the cost and none of the mess.
A few things worth knowing before you commit:
- Clean the wall thoroughly first. Grease residue is the number one reason these panels peel off within a month.
- Buy 10 to 15% more than your measurements say. Herringbone patterns waste material at the edges.
- Avoid direct stovetop heat. Some cheaper vinyl panels warp near a range without a metal or glass guard.
5. Upgrade the light fixture
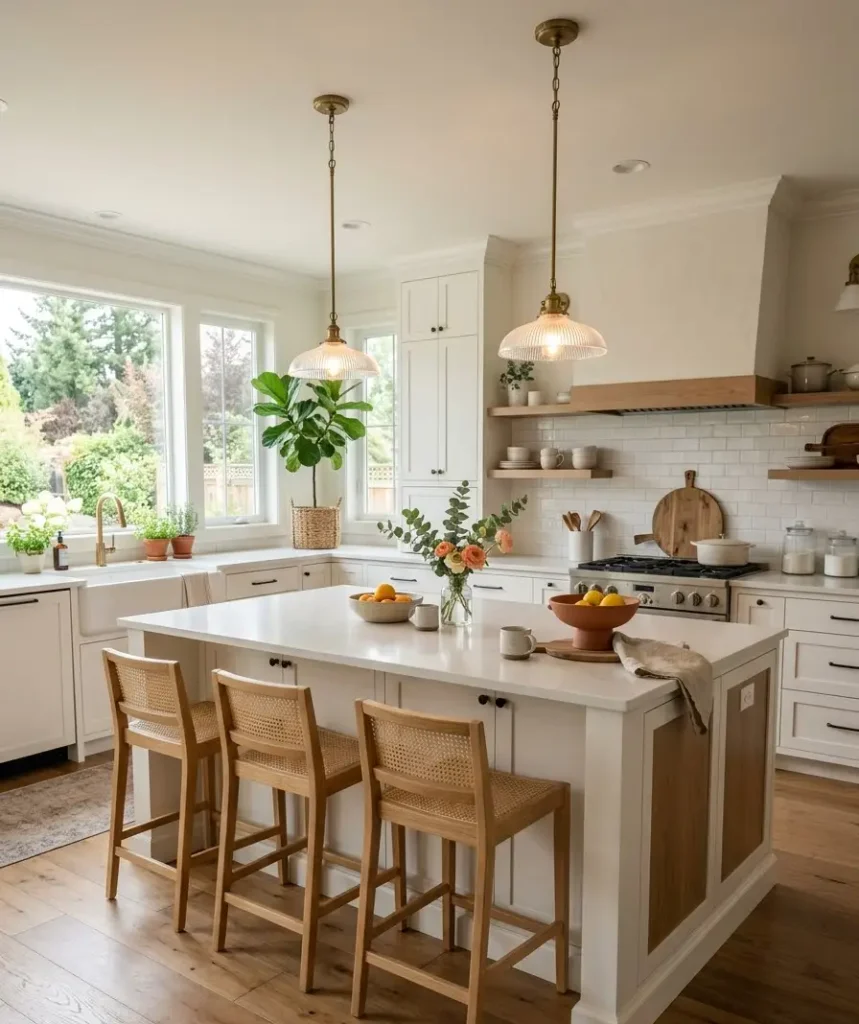
A dated flush-mount light is one of the fastest ways to age a kitchen. Swapping it for
A simple linear pendant or a pair of small schoolhouse-style fixtures over an island changes the lighting quality and the whole vibe in one afternoon.
I’ll be honest, this was the upgrade I put off the longest in my own place, thinking it’d be complicated.
It took forty minutes and made every other change look more intentional.
6. Refresh countertops with contact paper
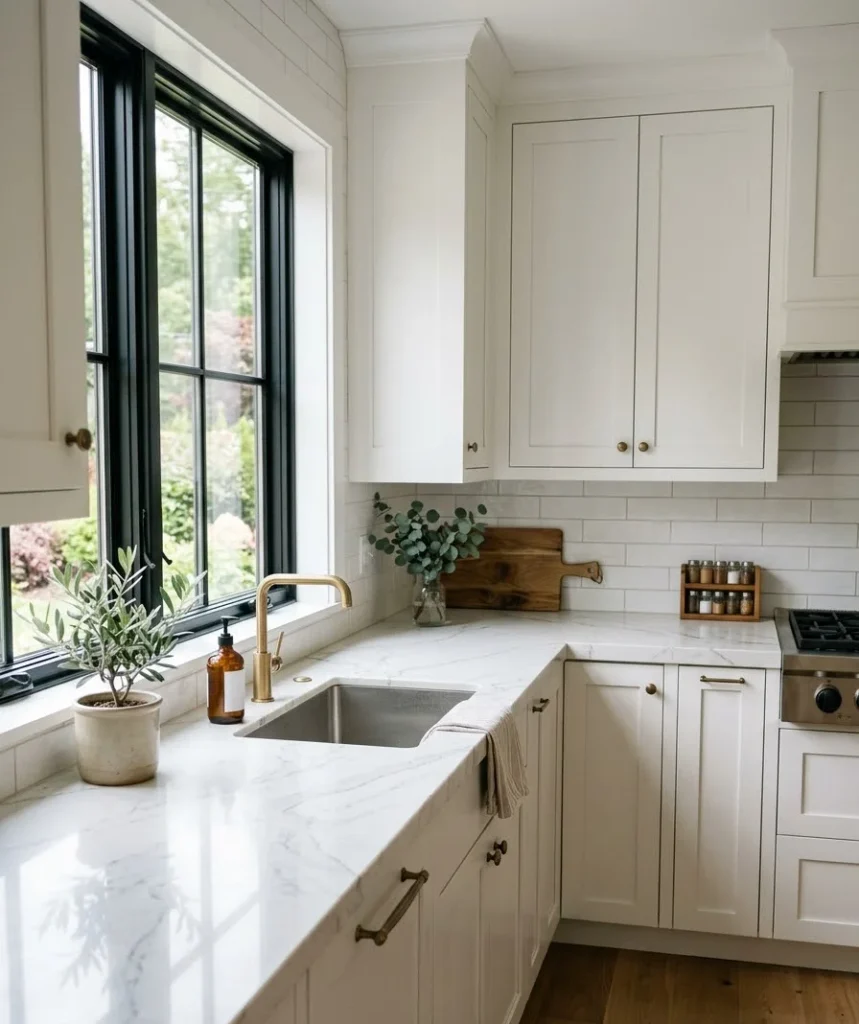
Marble-look contact paper has come a long way. It’s not going to fool a countertop inspector, but for Pinterest photos and everyday living,
A good faux-marble or faux-quartz wrap looks convincing from a few feet away.
This one splits opinion. Some people think it looks obviously fake in person. I think it depends entirely on lighting and the quality of the product.
Cheap contact paper looks cheap. A well-reviewed one from a specialty brand holds up surprisingly well.
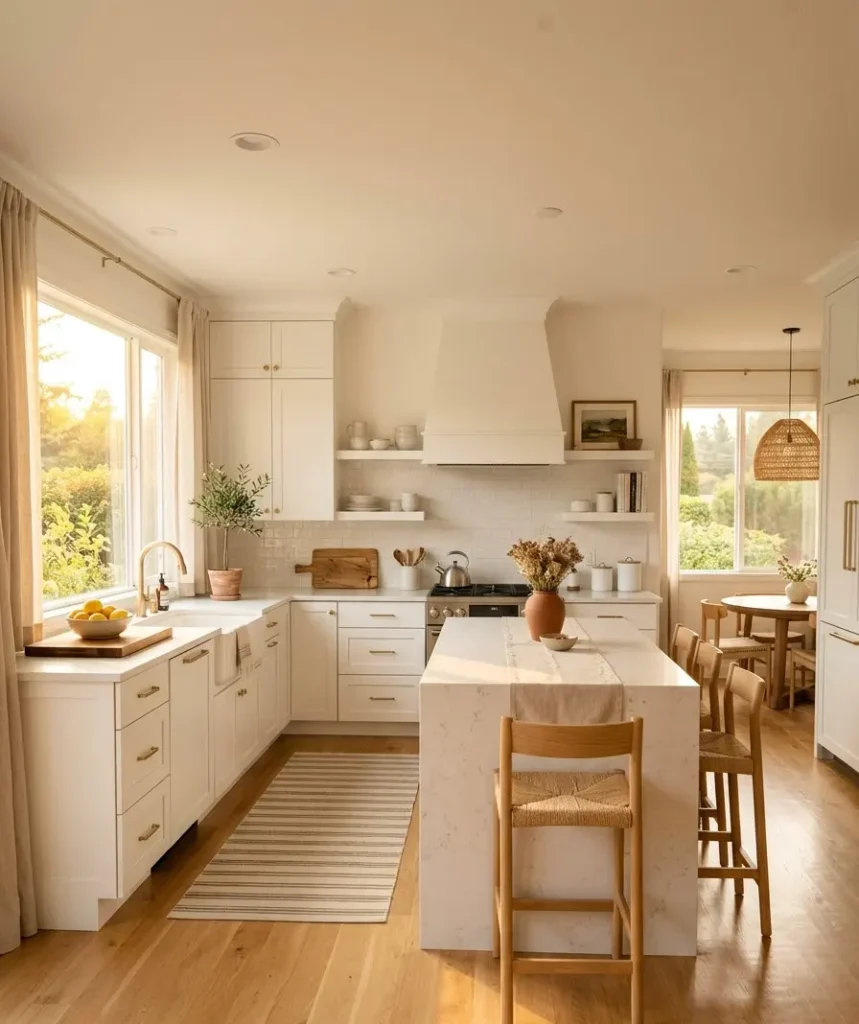
7. Layer in a runner rug
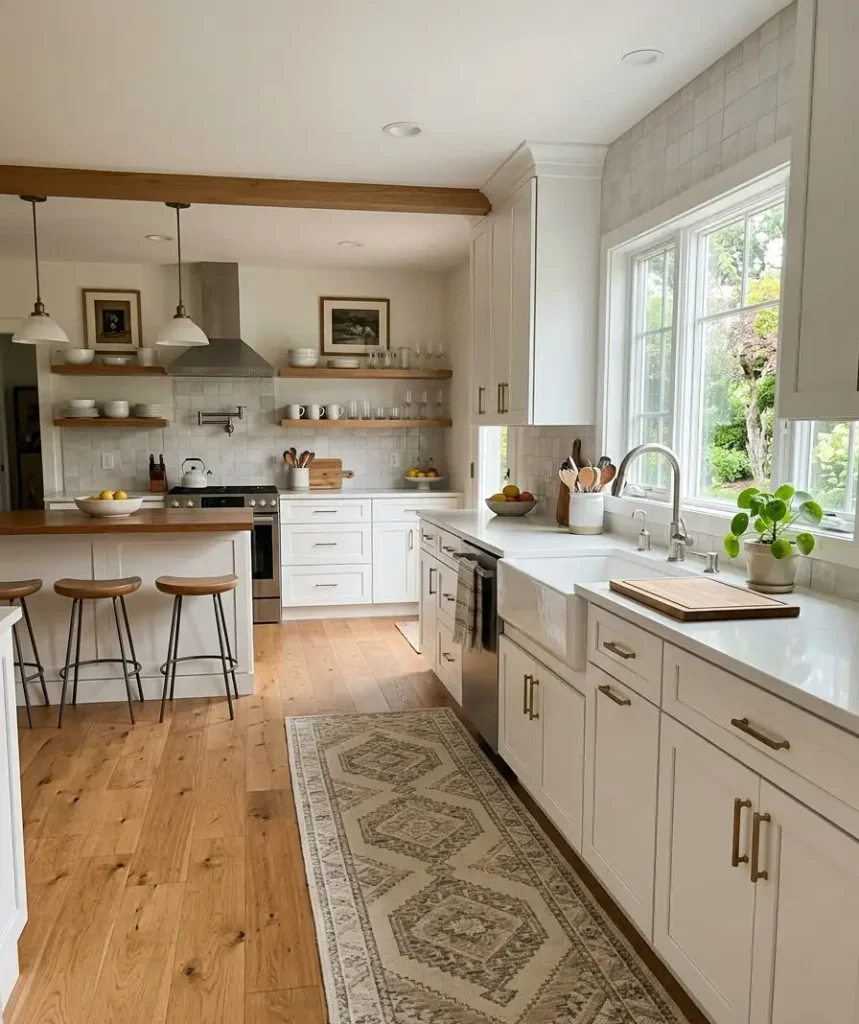
A neutral or patterned runner in front of the sink adds warmth and softens all those hard surfaces.
Wow, does this change the feel of a white kitchen. It goes from clinical to lived-in almost instantly.
Stick to washable materials. Kitchens are messy, and a rug that needs dry cleaning is a rug you’ll stop using within a month.
8. Recaulk and regrout
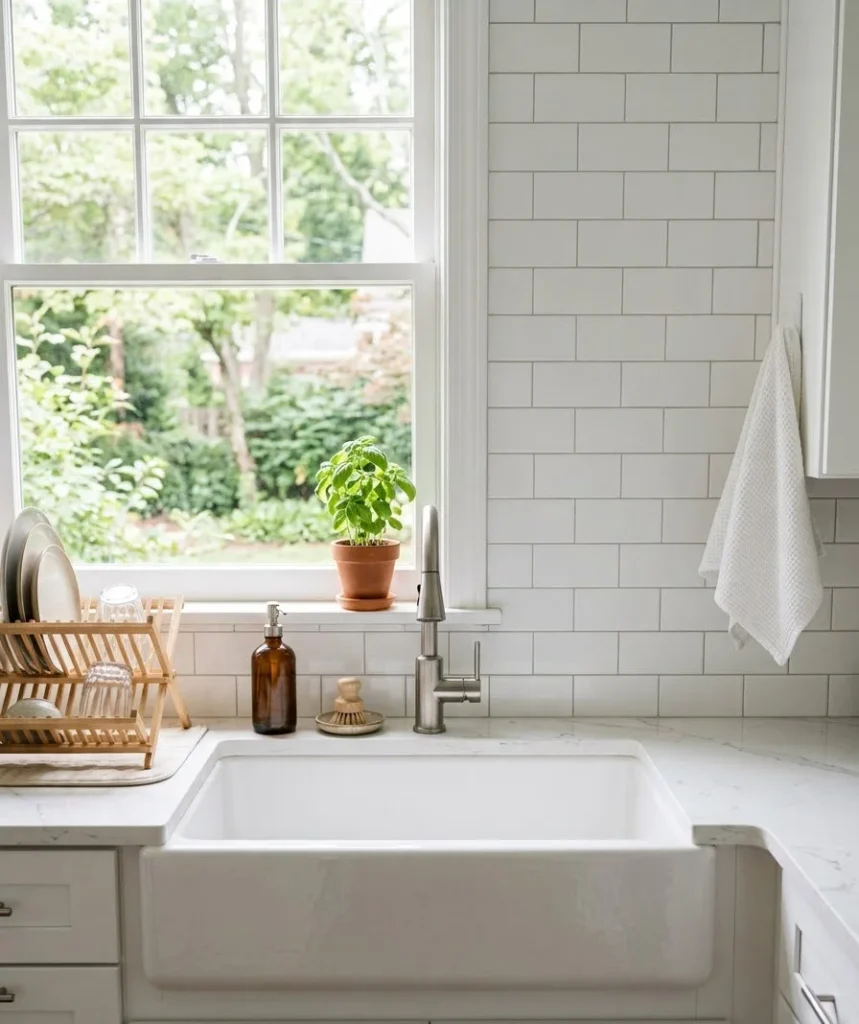
Nobody puts this on their Pinterest board, but yellowed caulk around a sink or backsplash is one of the biggest silent kitchen-agers out there.
A tube of caulk costs about $6. Regrouting a small section of tile costs even less.
This is not a glamorous upgrade. It’s also one of the most effective ones per dollar spent.
9. Swap the faucet
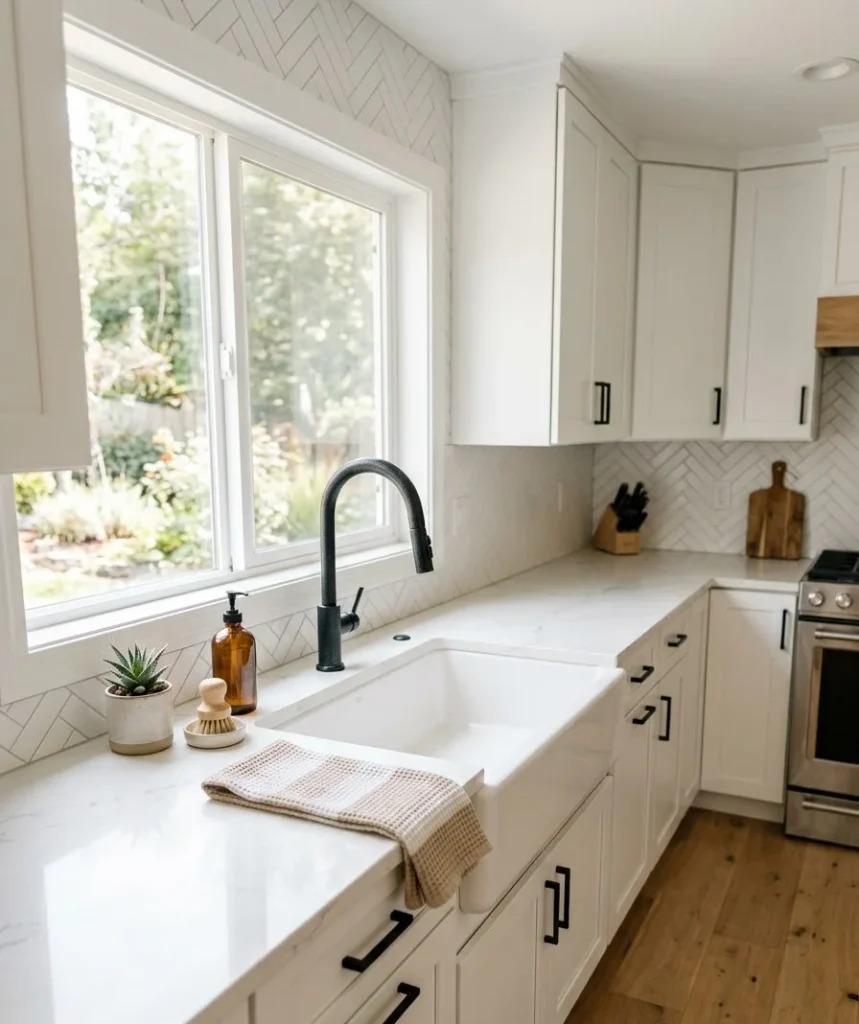
A brushed nickel or matte black faucet against white cabinetry and a white sink creates instant contrast.
It’s a focal point that draws the eye without costing what a full renovation would.
Budget models from brands like Moen or Delta start under $100 and still look premium once installed.
Just check your existing sink hole configuration before buying, since some faucets need specific hole counts.
10. Bring in greenery
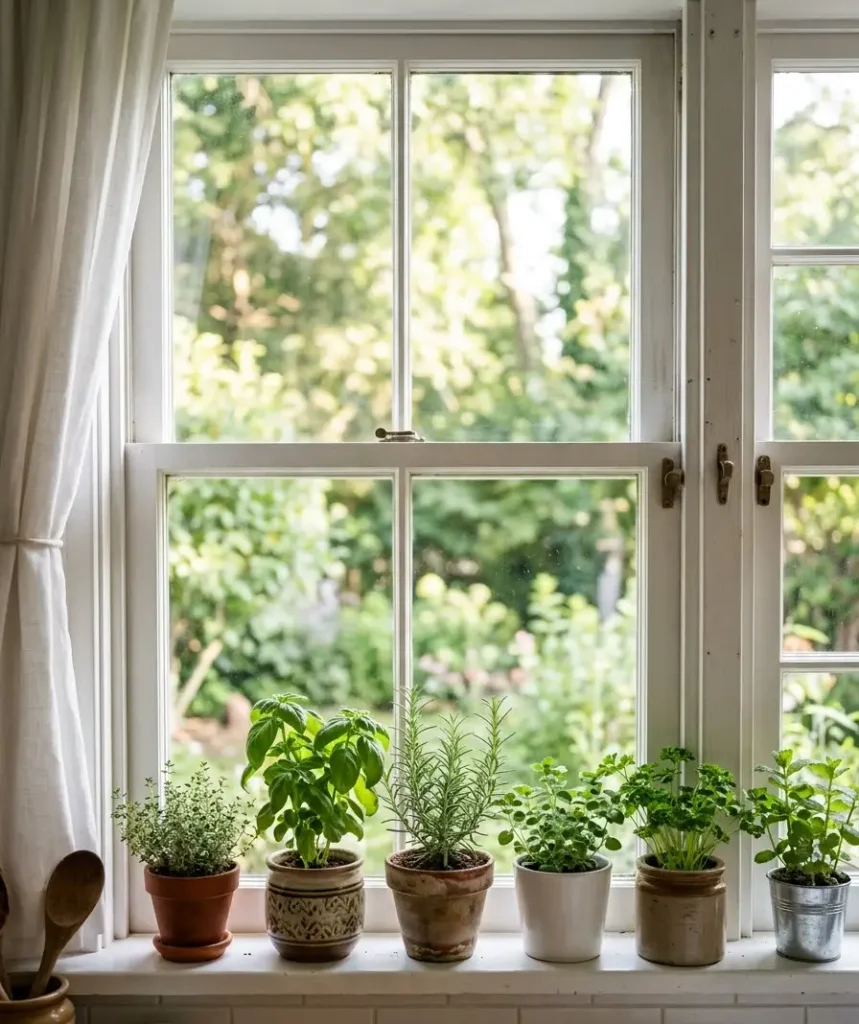
A few potted herbs on the windowsill or a trailing pothos on top of the cabinets adds life to an all-white space that could otherwise feel a little sterile.
Real plants are ideal, but a good faux fiddle leaf fig works fine if your kitchen doesn’t get much natural light.
Rosemary and basil are my go-to. They smell good, they’re forgiving if you forget to water them for a few days, and they’re genuinely useful.
11. Style open shelves with white dishware
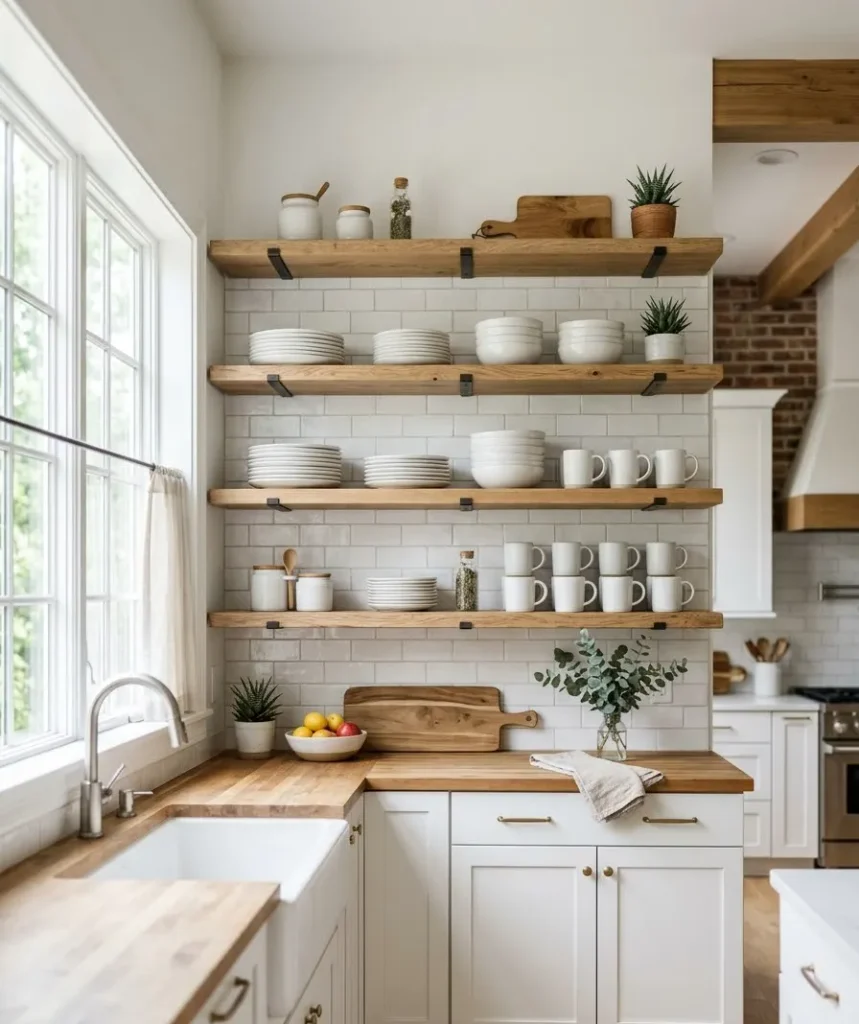
If you already have open shelving or added it in step 3, styling it matters as much as the shelf itself.
Matching white plates, bowls, and mugs create a clean, curated look rather than a chaotic mismatched one.
Thrift stores are a goldmine here. I’ve found entire sets of white stoneware for under $20 that would’ve cost $80 new.
12. Add simple curtains or a café curtain
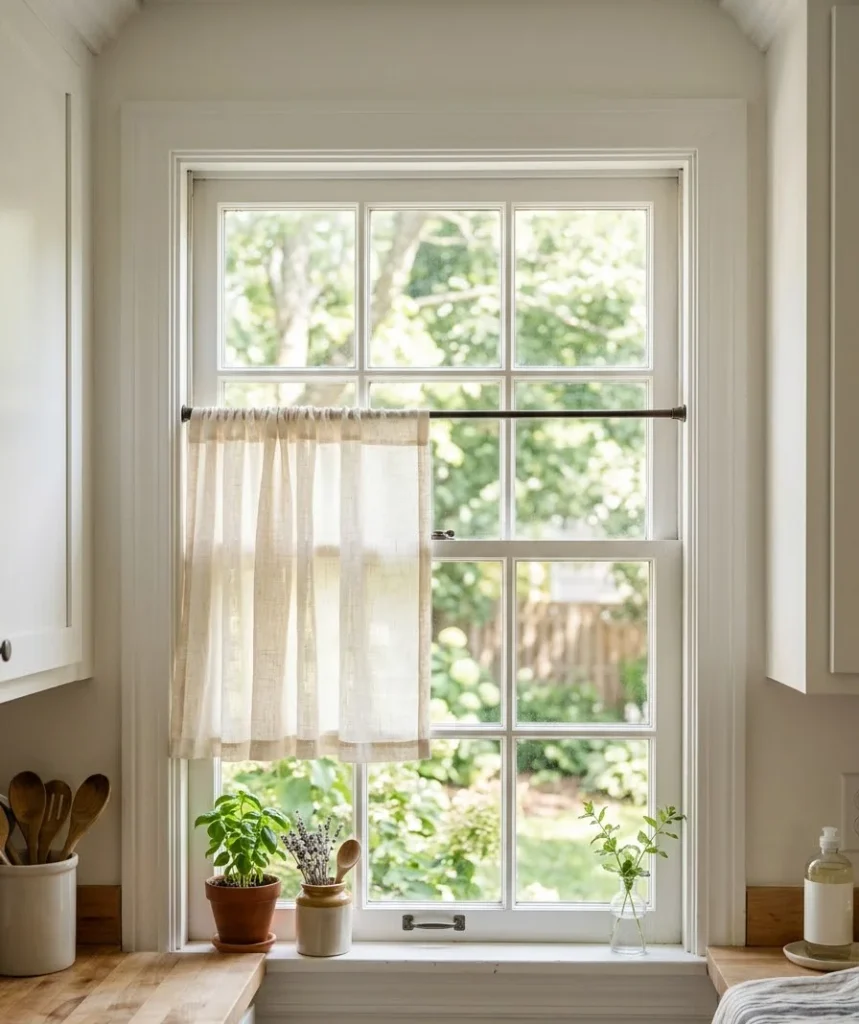
A linen café curtain on a small tension rod softens a kitchen window without blocking light.
This is one of those small details that photographs beautifully and costs almost nothing.
Skip anything heavy or lined. Kitchen curtains need to breathe, especially near a stove where grease and steam build up over time.
13. Refresh your bar stools
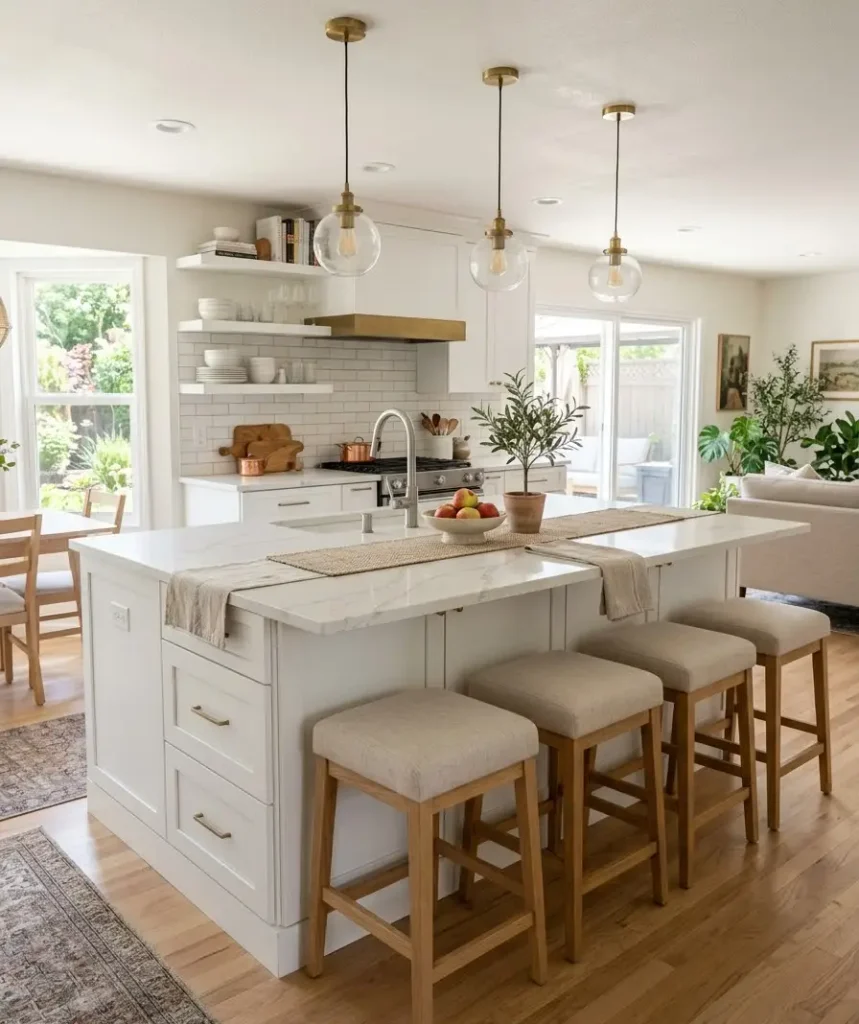
Old bar stools with worn fabric or scratched wood pull focus in an otherwise clean space.
A can of spray paint for the frame and a quick reupholster with a staple gun can transform a tired set for under $30.
If reupholstering sounds intimidating, it’s genuinely not. YouTube has dozens of ten-minute tutorials, and the actual process is closer to wrapping a gift than sewing.
14. Build a small gallery wall
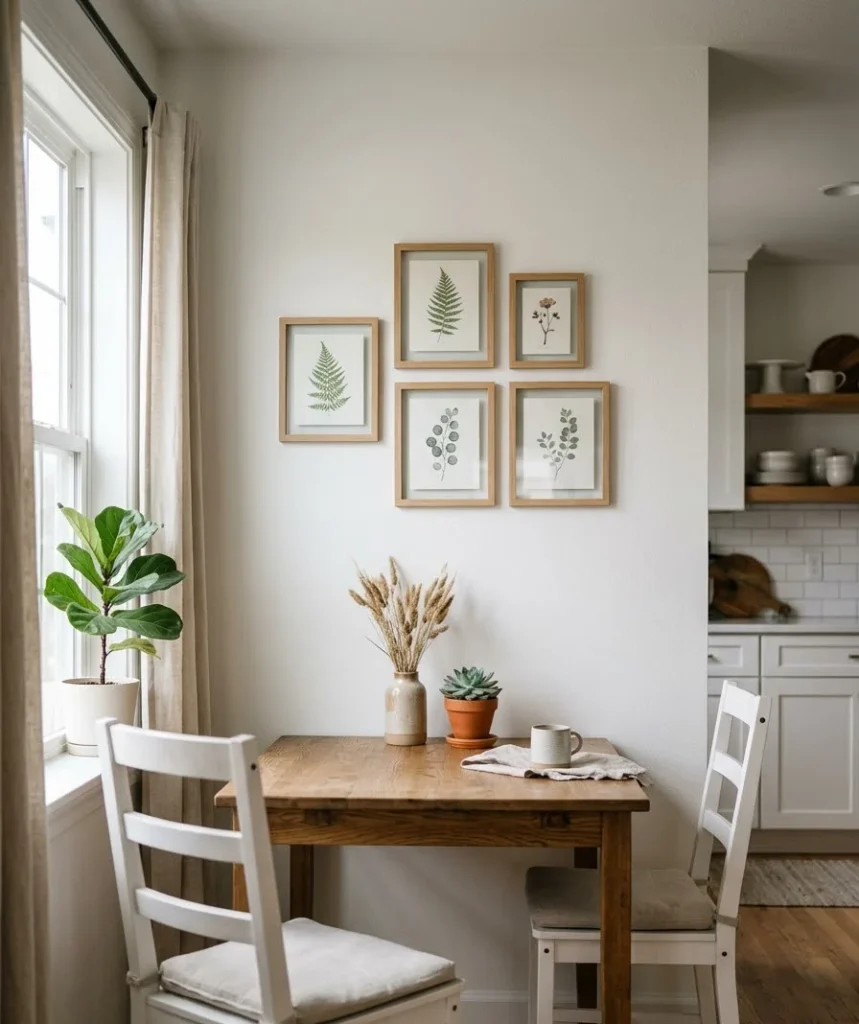
A cluster of three or four small framed prints near the kitchen table or above a coffee station adds personality.
Botanical prints, simple line art, or black-and-white photography all pair well with a white kitchen’s clean palette.
Frame sets from budget retailers make this easy to pull off symmetrically without a lot of guesswork.
15. Hide the trash can
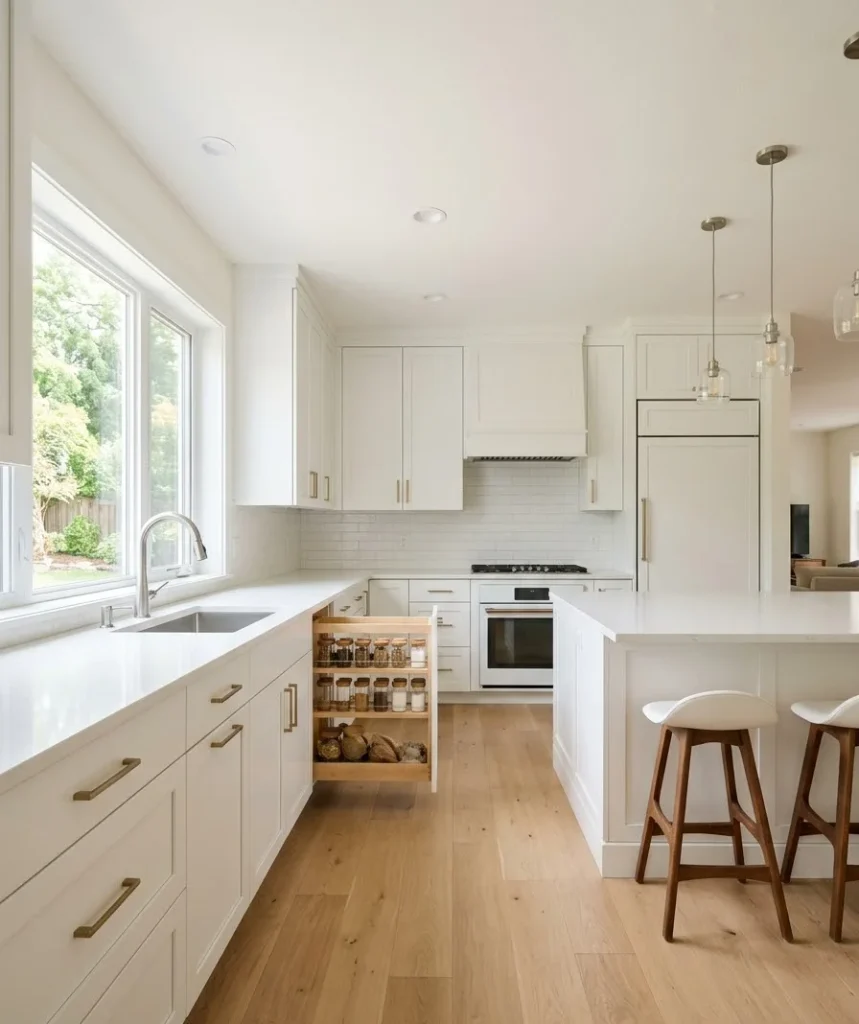
An exposed trash can under an open counter or in a corner undercuts even the most beautifully styled kitchen.
A simple pull-out trash cabinet insert, or even just relocating the can behind a cabinet door, cleans up the whole visual line of the room.
This isn’t glamorous, but it’s one of those things that, once fixed, you wonder why you lived with it for so long.
16. Add woven baskets for storage
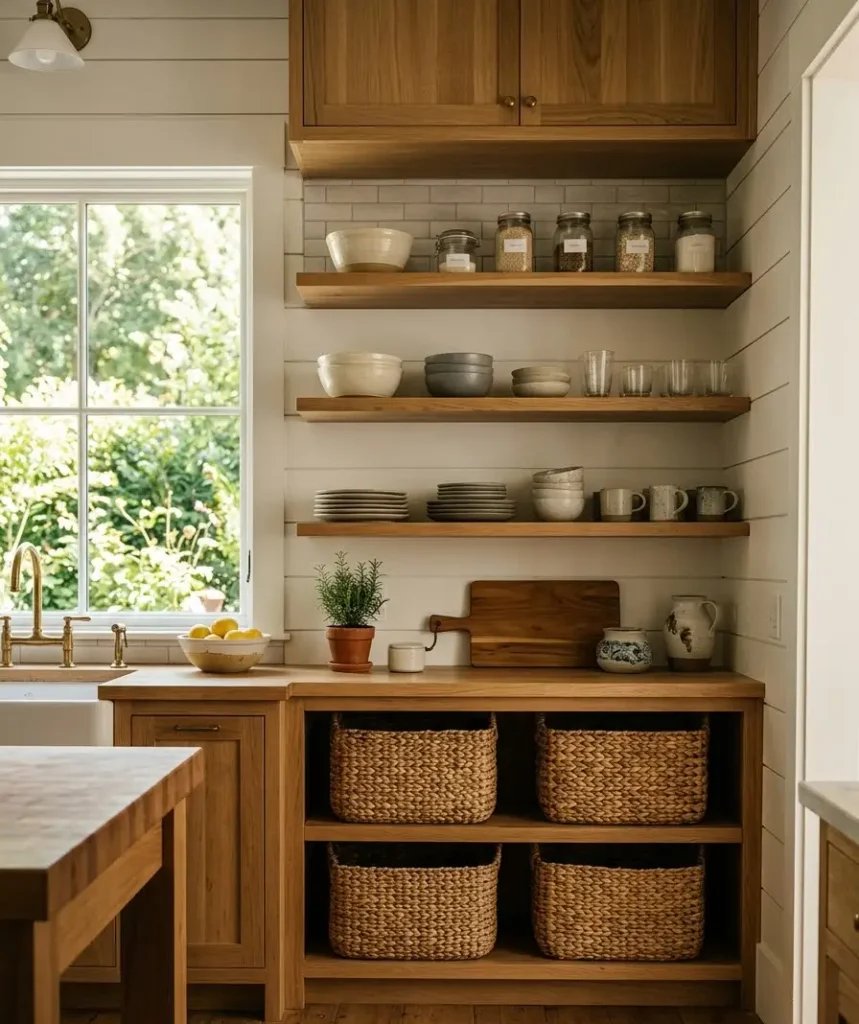
Baskets tucked under open shelves or on top of cabinets hide clutter while adding warm, natural texture against all that white.
It’s a small styling trick borrowed straight from coastal and Scandinavian design, and it works because texture is what keeps an all-white room from feeling flat.
17. Swap switch plates and outlet covers
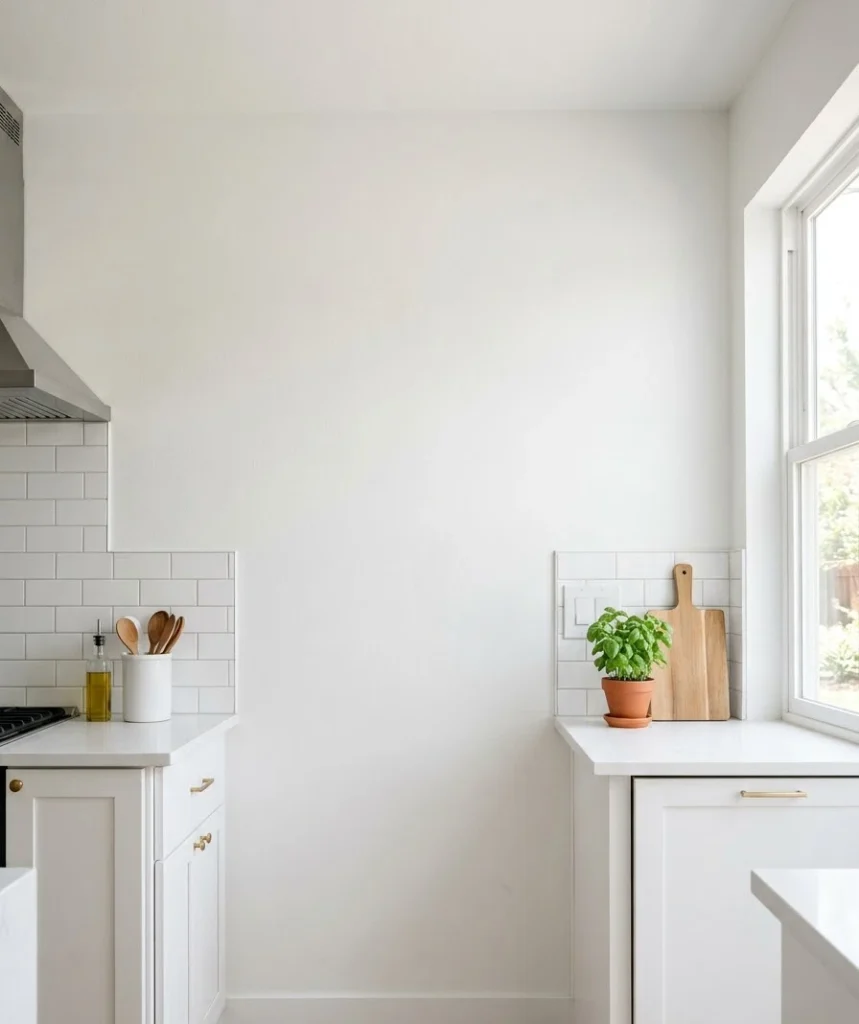
This is a five-dollar fix that almost nobody thinks about. Old, yellowed plastic switch plates stand out more than you’d expect once everything else in the kitchen is fresh.
White or matte black plates blend seamlessly and cost next to nothing.
18. Add peel-and-stick trim to cabinet fronts
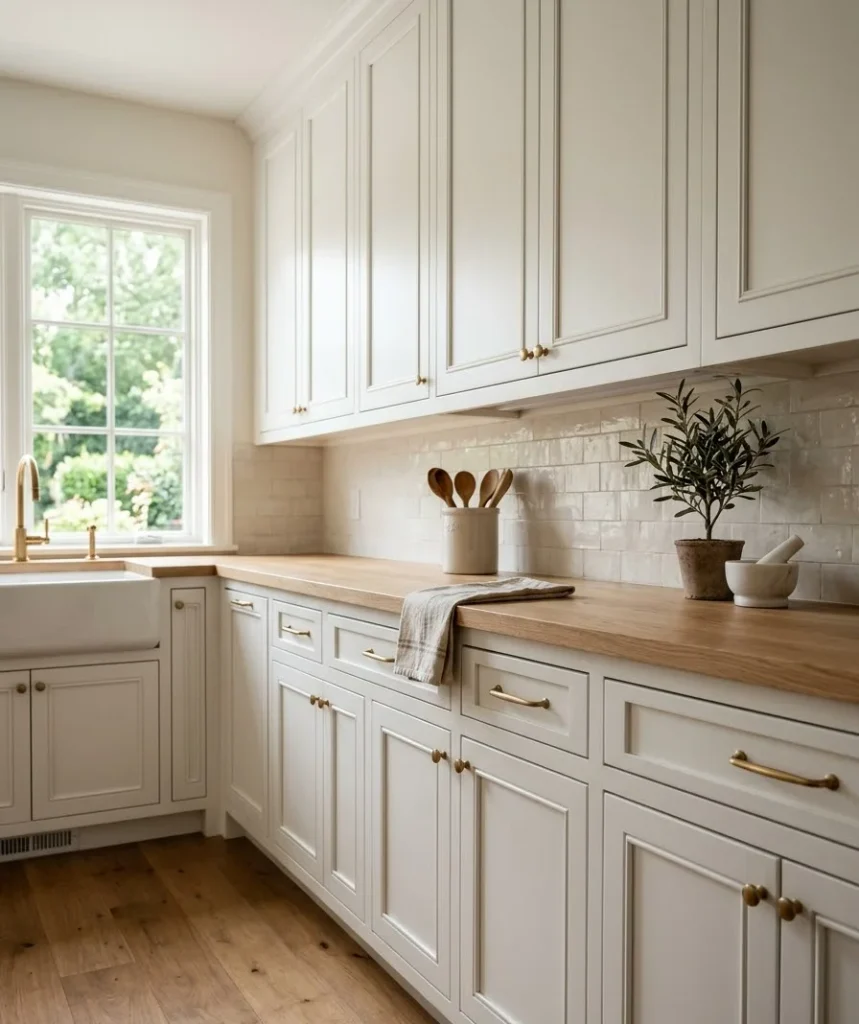
Adding a thin strip of trim or molding to flat, builder-grade cabinet doors gives them a Shaker-style look without replacing a single door.
Peel-and-stick trim kits are inexpensive and paintable once installed.
This one takes patience more than skill. Measure twice, and don’t rush the adhesive step.
19. Update cabinet interiors
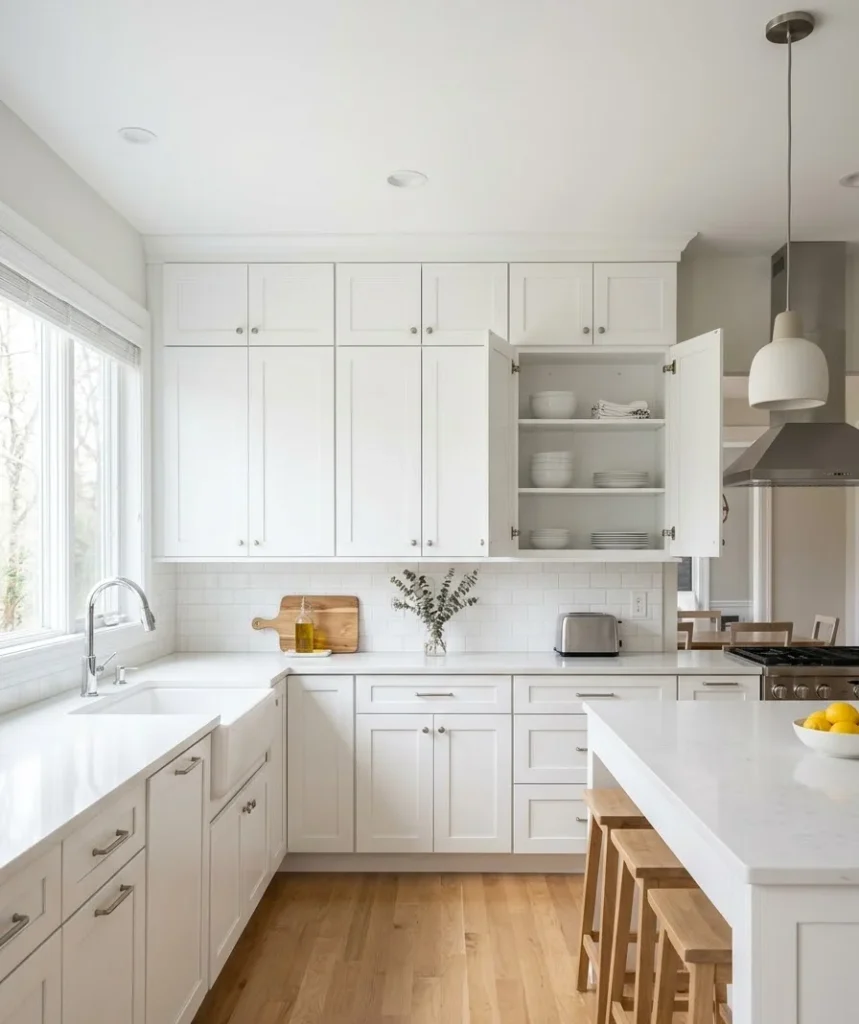
Open a cabinet and see stained, old shelf paper? That’s an easy fix.
A fresh coat of white paint or a clean sheet of contact paper inside your cabinets is invisible in most photos but makes the whole kitchen feel more finished the moment someone opens a door.
20. Add a statement mirror
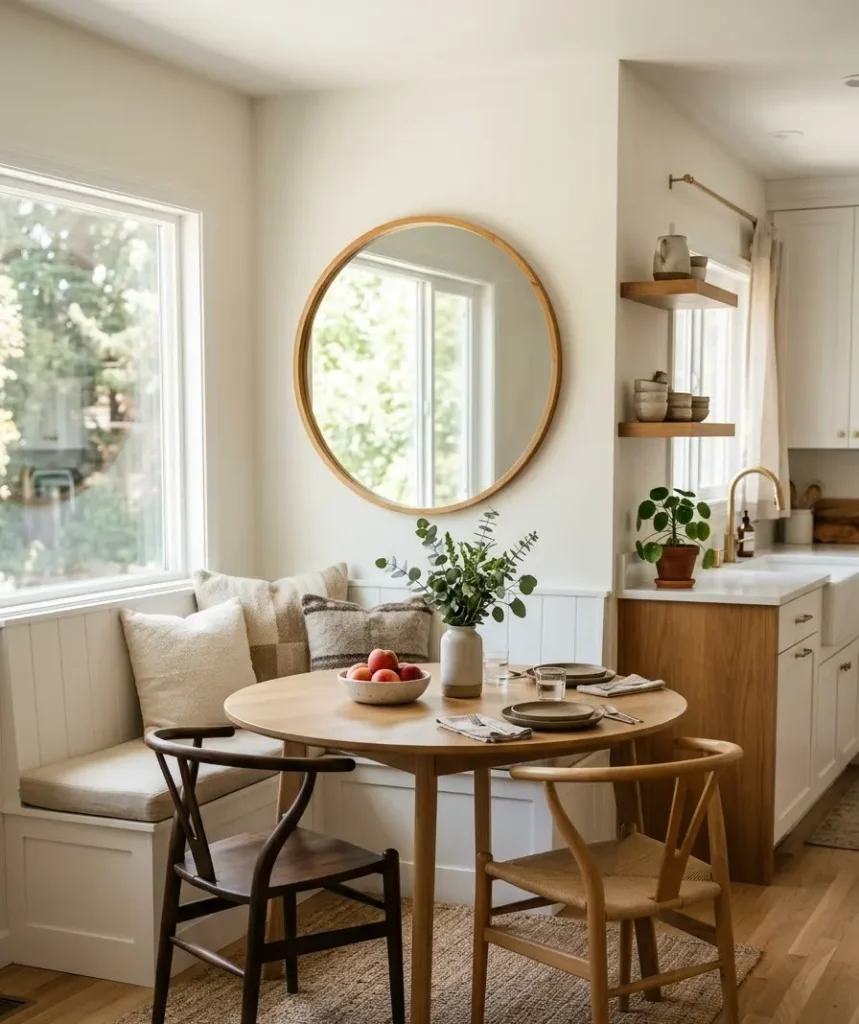
An unexpected mirror in a kitchen, especially near a breakfast nook or dining area, bounces light around and adds a design element most people don’t think to include.
It’s a small, unconventional touch that makes a kitchen feel considered rather than default.
For color guidance on any of these paint-based upgrades, Sherwin-Williams’ color visualizer is a genuinely useful free tool, and Benjamin Moore’s white paint guide breaks down
the difference between warm and cool whites better than most blog posts I’ve read on the topic.
If you want more general kitchen styling inspiration beyond this list, The Spruce’s kitchen decor archive is worth a scroll.
A quick honest note
Not every upgrade on this list will suit every kitchen. If your cabinets are already in good shape, skip the paint and put that budget toward lighting instead.
IMO the biggest mistake people make with budget renovations is trying to do everything at once instead of picking the two or three changes that’ll actually move their specific kitchen forward.
Also, slightly random, but has anyone else noticed how much better food photographs in a white kitchen?
I started cooking more just because my counter finally looked decent in photos. Small side effect of this whole project, but a real one.
Frequently asked questions
Do I need to prime cabinets before painting them white?
Yes, almost always.
Skipping primer is the top reason DIY cabinet paint jobs peel or show brush strokes within a few months, especially over existing stained or glossy finishes.
Is peel-and-stick backsplash actually durable?
Good quality panels can last several years with proper wall prep and away from direct heat sources.
Cheap ones tend to bubble and peel within months, so it pays to read reviews before buying.
What’s the cheapest single upgrade on this list?
Swapping switch plates and outlet covers, usually under $10 total, along with cabinet hardware.
Both take under an hour and make a noticeable difference in photos.
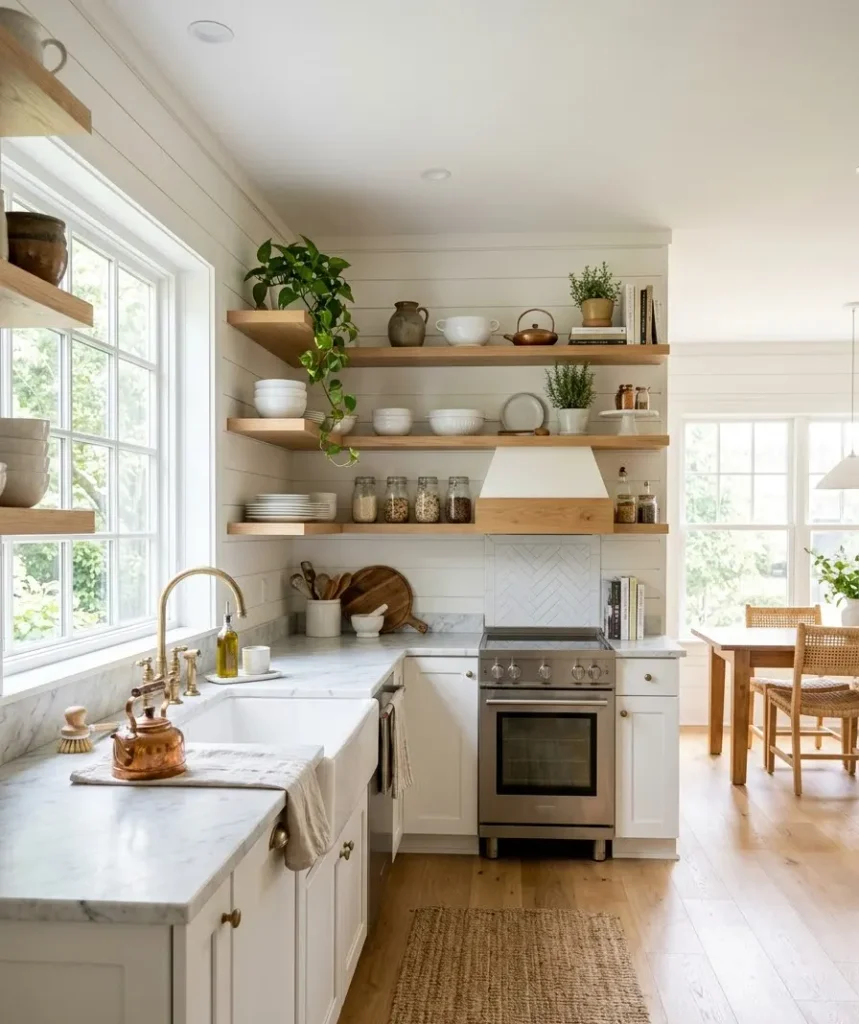
A white kitchen doesn’t need a five-figure renovation to look like it belongs on a design blog.
It needs a handful of intentional, well-executed small changes. Which one of these are you starting with first?
Drop it in your notes app and go pick up whatever you need this weekend.