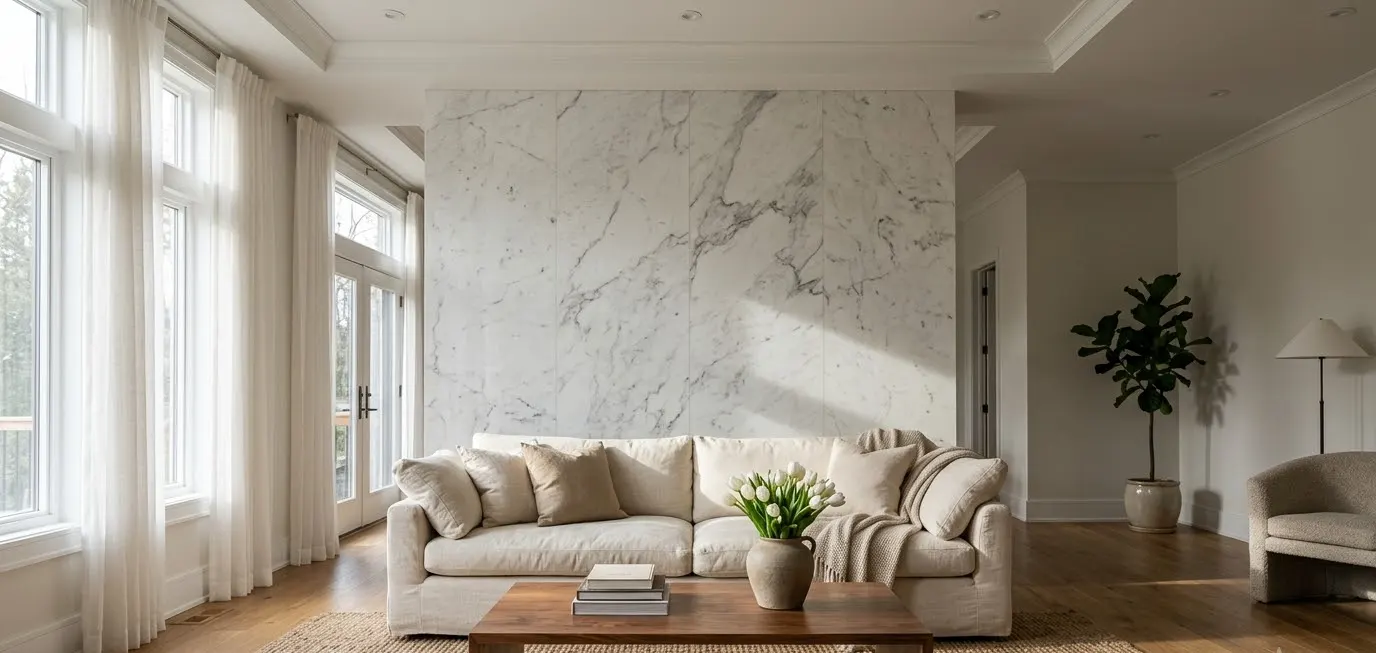
Real marble costs more than my first car. I found that out in a stone showroom, staring at a slab price tag while a very polite salesman watched my face fall.
So I went home and spent a weekend and about $90 on a marble accent wall that fooled my mother-in-law.
She ran her hand across it and asked who installed the stone.
I said “me, and a squeegee.” That’s still my proudest moment as a renter-adjacent DIYer.
If you’re scrolling Pinterest at midnight, saving veined white walls to a board called “someday,” this guide is for you.
I’ll walk you through peel-and-stick options, faux marble paint, thin tile tricks, and every mistake I made so you can skip them. Ready to get your walls looking expensive?

Big Accent Wall Living Room 30 Modern Materials That Look Expensive On A Budget
Check It Out →Why a marble accent wall works so well in a living room
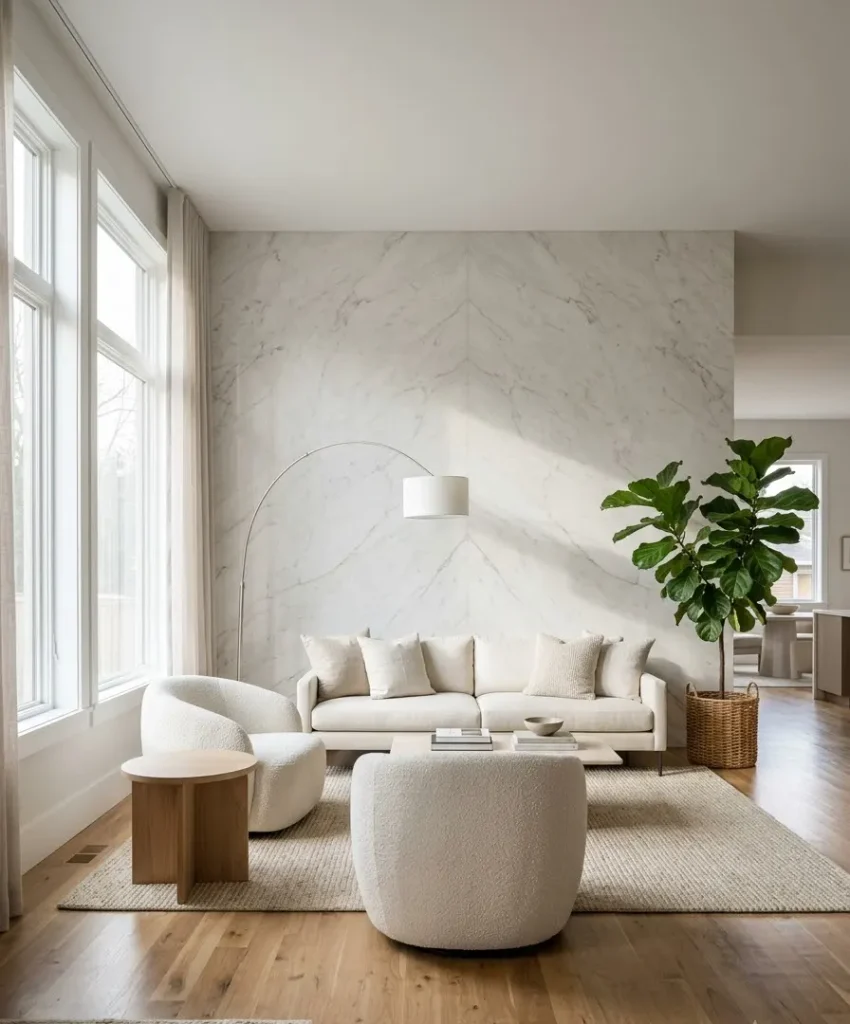
Marble reads as calm and rich at the same time. The soft gray veining gives your eye something to follow, and the pale background bounces light around a room like a mirror would.
Living rooms usually have one wall that dominates the space, such as the TV wall, the sofa wall, or the fireplace wall, and marble makes that wall the star.
Pinterest knows this. Scroll through the marble accent wall boards on Pinterest and you’ll see the same pattern repeat: one dramatic feature wall, quiet furniture in front of it, and warm lighting washing across the surface.
The look photographs beautifully, which explains why it keeps showing up in your feed.
Here’s the part I love most. Marble is a natural stone formed when limestone transforms under heat and pressure (the Wikipedia entry on marble covers the geology if you’re curious), and no two slabs match.
Your faux version can borrow that randomness, and the random bits look better than anything perfectly uniform.
What a budget version actually gives you
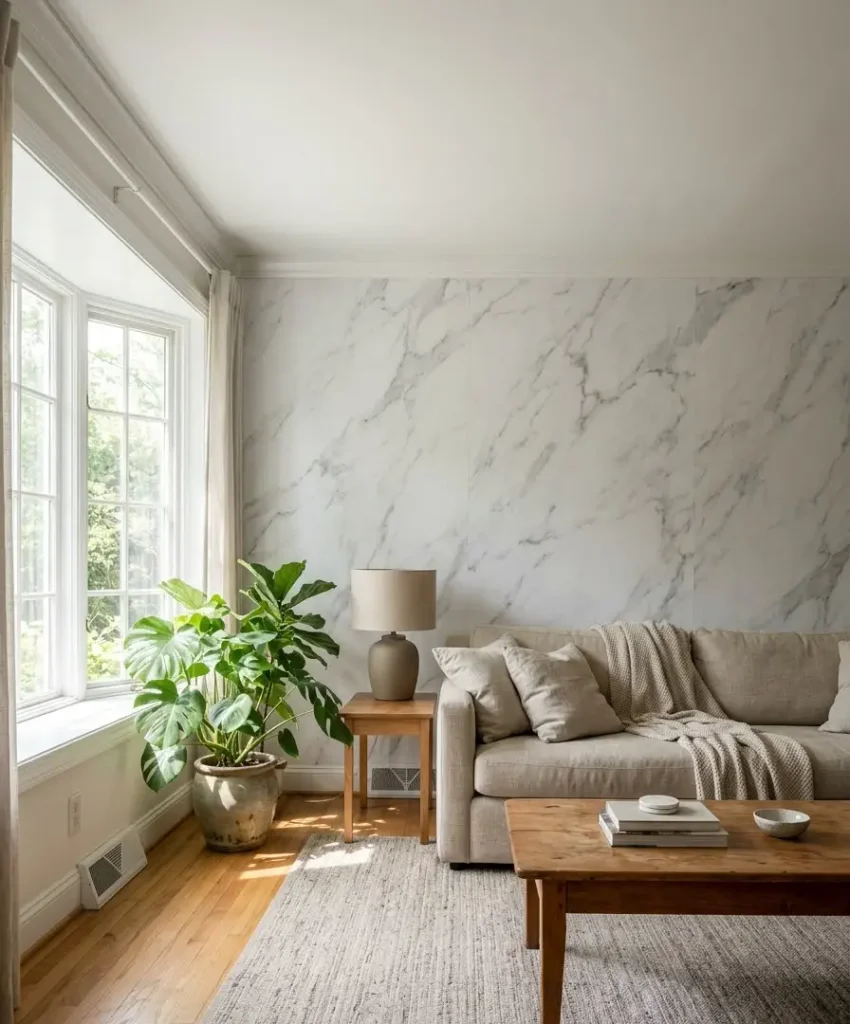
A good fake delivers about 90 percent of the visual impact for roughly 5 to 10 percent of the cost.
You get the veining, the glow, and the “oh, fancy” reaction from guests. You skip the weight, the contractor, and the sealing schedule.
You also keep your security deposit if you rent. Peel-and-stick products come off most painted walls without drama when you apply and remove them carefully, and I’ll explain how.
Pick your method before you buy anything
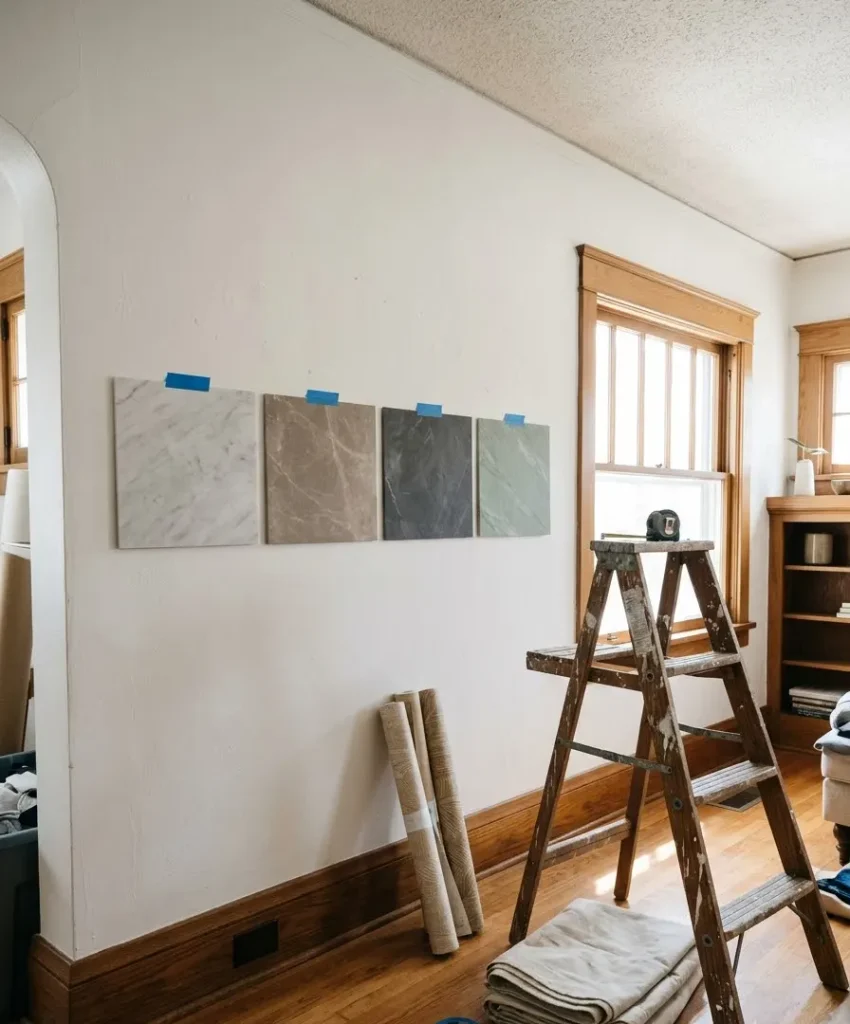
I wasted $40 on the wrong roll before I understood the differences between methods. Learn from my wallet.
Four main options exist, and each one suits a different budget, skill level, and wall.
Peel-and-stick marble wallpaper
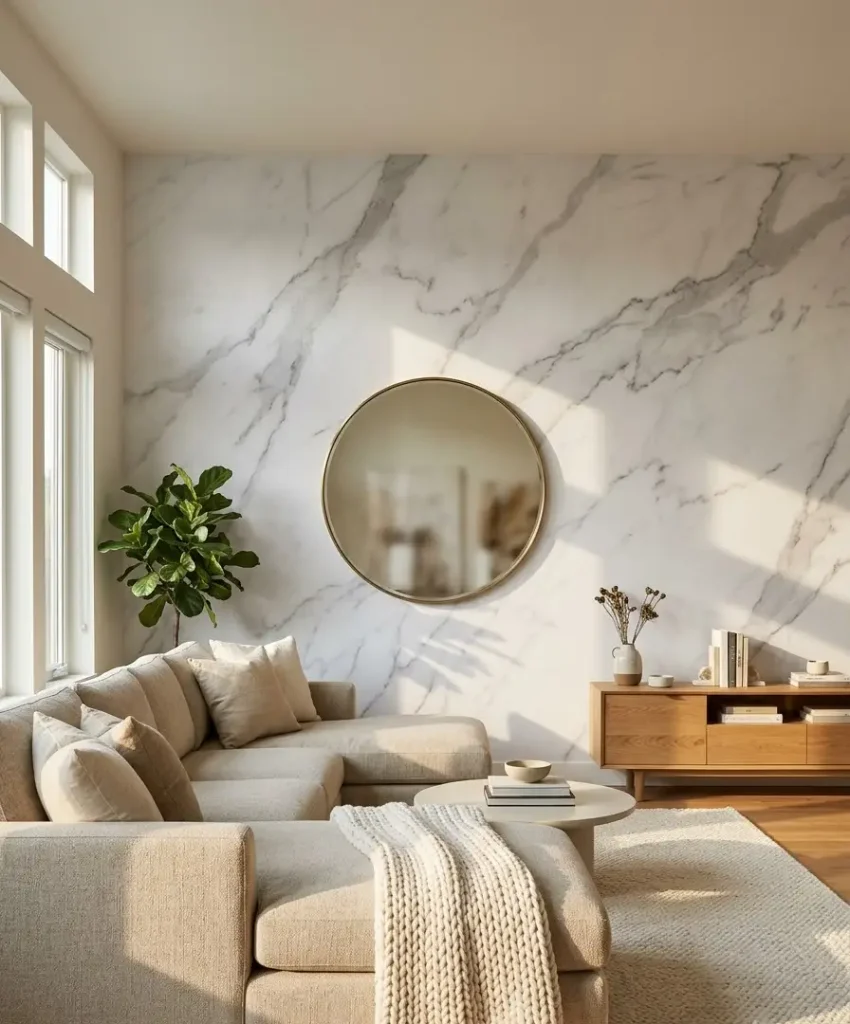
This is the method I recommend most often. It’s a vinyl wallpaper with an adhesive back, and it comes on rolls usually around 20 inches wide.
Many rolls cover roughly 28 to 30 square feet, though you should always check the label for your brand.
The thicker products hide minor wall flaws better and feel more like the real thing.
IMO, spending $5 more per roll on a thicker, matte-finish vinyl beats saving money on a glossy thin one. Glossy cheap rolls reflect light in a way that screams “sticker.”
Marble contact paper
Contact paper costs less and comes in shorter, narrower rolls.
It works great for smaller projects such as a fireplace surround, a shelf back, or a console table top.
On a full accent wall, though, it gets fiddly, because thin material wrinkles easily and shows every bump underneath.
I use it for bookshelf backs. For the main wall, I reach for proper wallpaper.
Faux marble paint technique
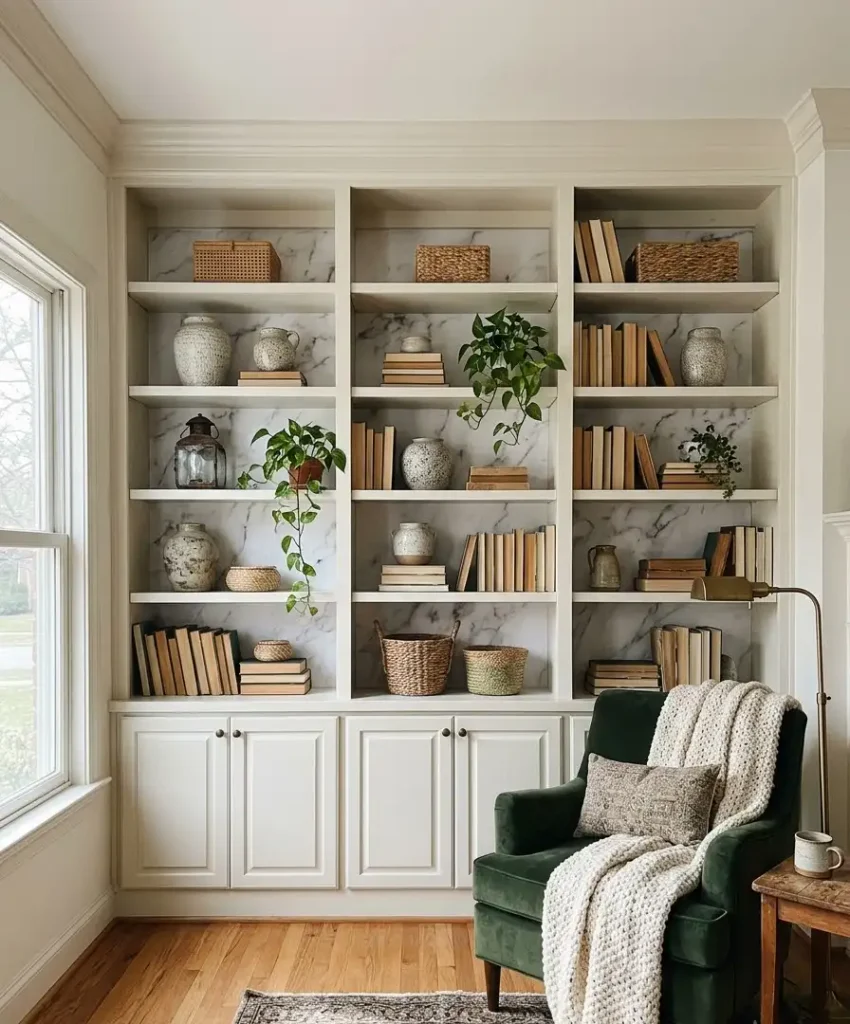
Paint is the cheapest route, and it gives you the most control over the final look.
You choose your veining colors, your thickness, and your pattern. It also demands patience, a steady hand, and a tolerance for messy middle stages.
Wow, does it look ugly at the halfway point. Mine looked like a smudged gray sneeze for about two hours.
Then the final blending pass hit and the whole thing snapped into place.
Peel-and-stick tile with a marble print

If you want dimension, vinyl tiles with a marble pattern add grout lines that suggest real stone slabs.
They cost more than wallpaper but still land far below real tile. They suit a fireplace wall or a TV wall where you want a grid look.
Cost and effort at a glance
Prices below are rough estimates for an 8 by 10 foot wall (80 square feet).
Your actual numbers shift with brand, store, and sales, so check Home Depot and Lowe’s for current pricing.
| Method | Rough cost | Skill level | Renter friendly |
|---|---|---|---|
| Peel-and-stick wallpaper | $75 to $150 | Easy to medium | Yes |
| Marble contact paper | $40 to $90 | Medium | Mostly |
| Faux marble paint | $40 to $80 | Medium to hard | No |
| Peel-and-stick tile | $150 to $400 | Medium | Yes |
Choose the right wall first
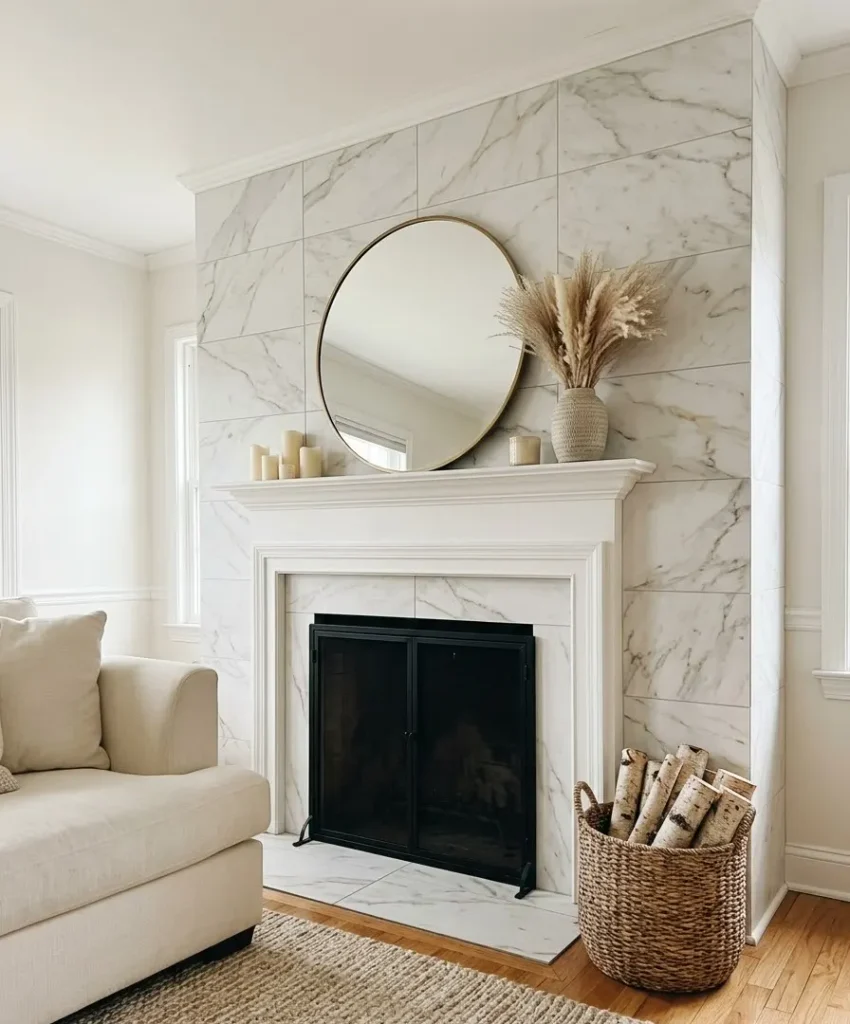
Not every wall deserves marble. The best candidate is the one your eyes land on when you walk in, and it should be fairly flat, fairly clean, and not interrupted by six doors and a radiator.
Smooth painted drywall gives you the best result. Heavily textured walls, like orange peel or knockdown finishes, make peel-and-stick vinyl bubble and lift.
If your wall has texture, sand it lightly, skim coat it, or switch to the paint method.
A few more checks save you grief later:
- Fresh paint needs time. Wait at least 3 to 4 weeks after painting before you stick anything on it. Uncured paint peels off with the vinyl, and I learned this by ripping a strip of my own hallway paint off in one long, sad ribbon.
- Avoid steamy spots. Right beside a shower or over a stove, adhesive struggles. Living rooms rarely have this problem, but kitchen-adjacent open plans do.
- Pick the wall with the fewest outlets. Every outlet means one more careful cutout, and each cutout takes about 10 minutes of swearing.
- Check for direct sun. A wall that bakes in afternoon light for 6 hours will warm the adhesive and may cause bubbles in cheaper vinyl.
I also recommend taping a large sample to the wall for a full day. Look at it in morning light, at 6 p.m., and under your lamps at night.
Marble tones shift dramatically, and a cool gray can look purple under warm bulbs.
How to install peel-and-stick marble wallpaper
I’ve done this on 4 different walls now, and the process stays about the same each time.
Set aside a full afternoon for an 8 by 10 wall. Rushing turns a clean install into a crooked one.
Gather your tools
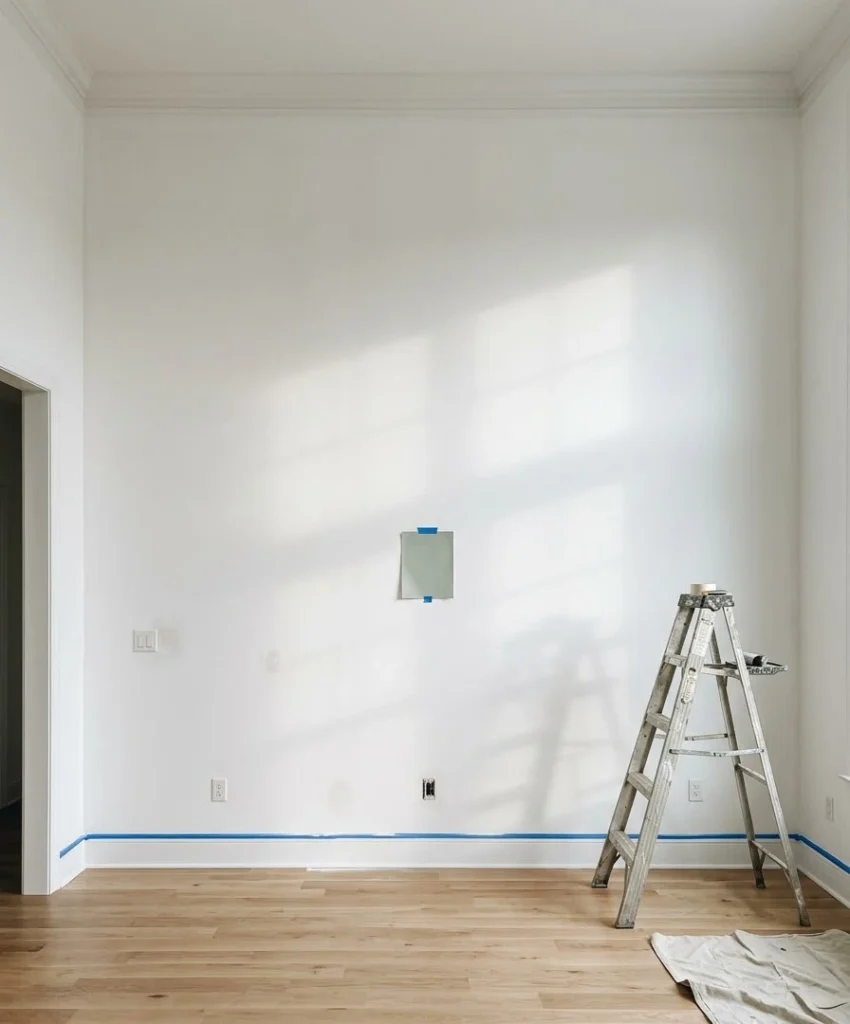
You need very little. A squeegee or plastic smoothing tool, a sharp utility knife with fresh blades, a level, a measuring tape, a pencil, and a hair dryer cover almost everything. A step stool helps if your ceilings run tall.
Buy one extra roll beyond your measurement. Marble patterns repeat, and you’ll waste some material matching veins at the seams.
I ran short by 14 inches on my first wall, and the second batch came from a different print run with a slightly different shade. Ugh.
Prep the surface
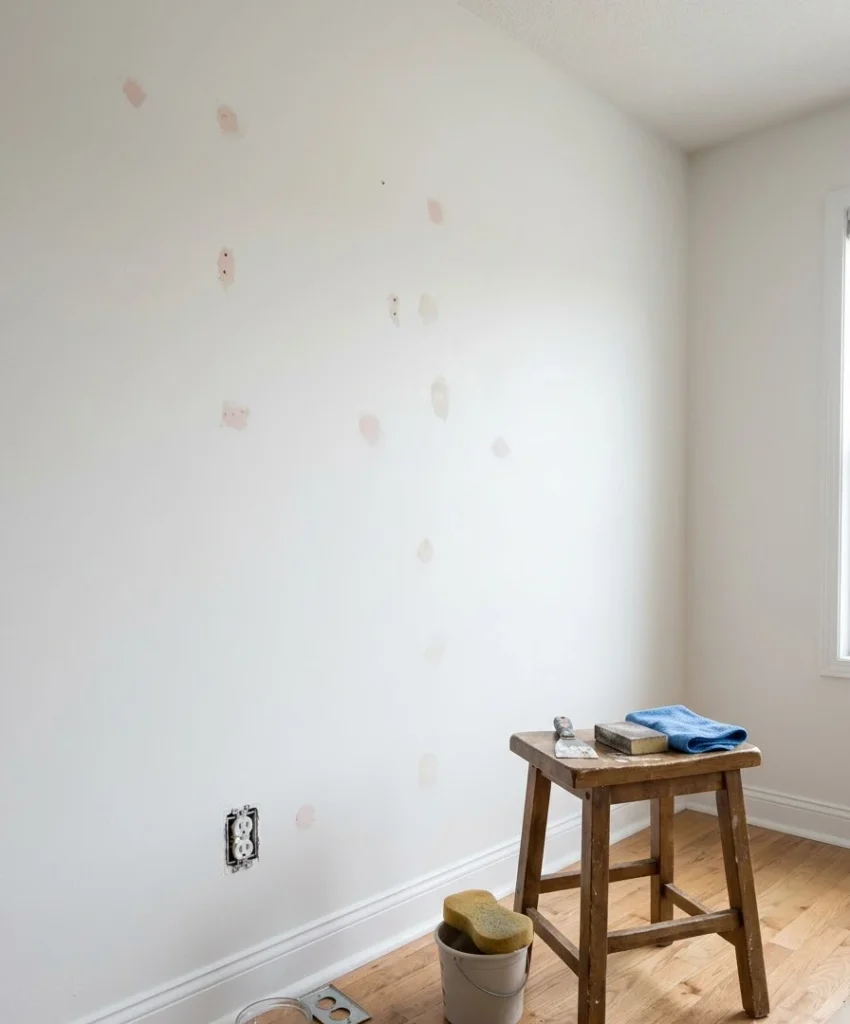
Wipe the wall down with a damp cloth and a little mild soap.
Dust and grease keep adhesive from gripping, so don’t skip this. Let the wall dry completely, for at least an hour.
Fill any holes or dents with spackle, sand them smooth, and wipe again.
Vinyl shows every bump, so a bump you ignore today turns into a bump you stare at for years.
Pull off outlet covers and switch plates, and keep the screws in a labeled cup.
Mark a true vertical line
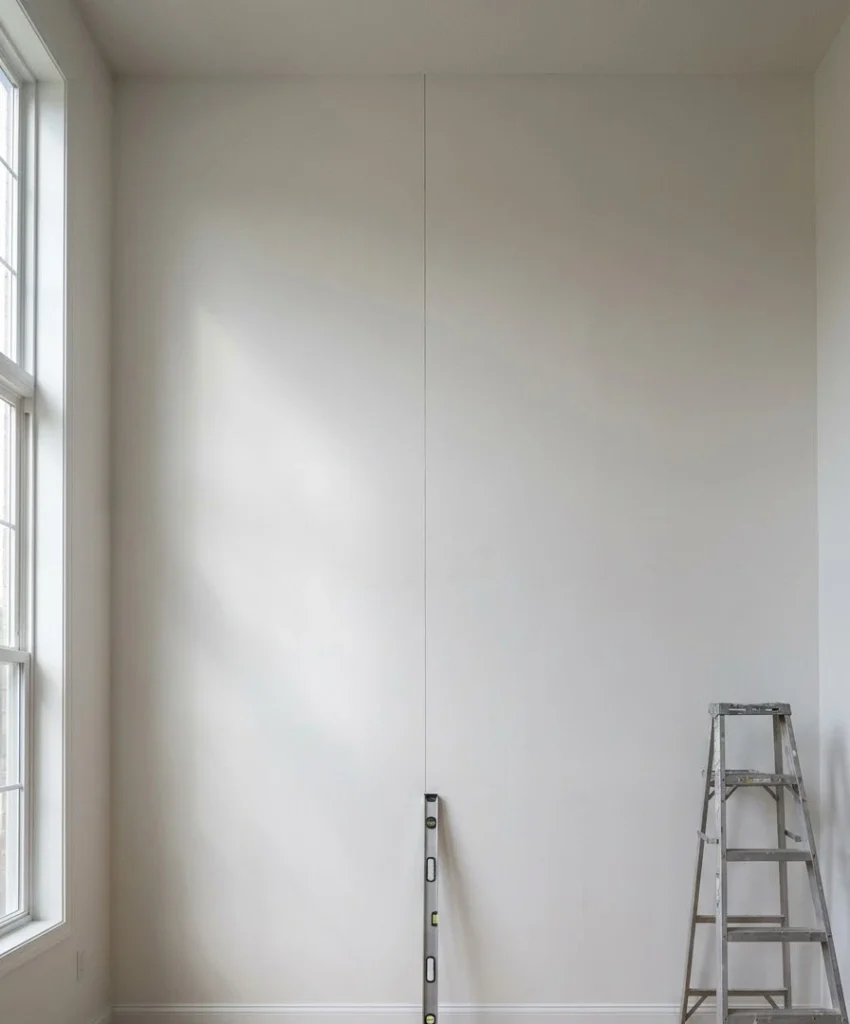
Here’s the step people skip, and it ruins the whole wall. Ceilings and corners lie.
They look straight but run slightly crooked, and if you follow them, your strips drift sideways over 8 feet.
Use your level to draw a plumb line near the starting edge. Start your first strip against that line, not against the corner.
This 5-minute step saves you from a wall that slants like a funhouse.
Hang the first strip
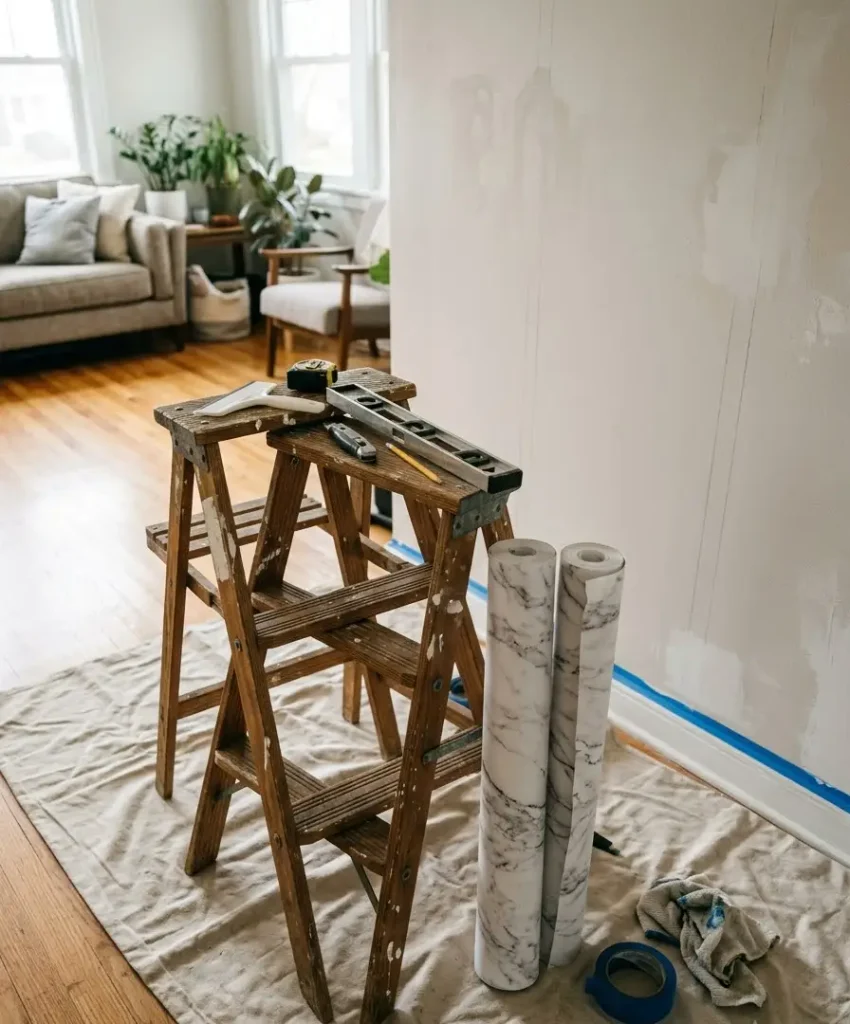
Peel back about 6 inches of the backing paper at the top. Line the edge up with your pencil mark, leave a half inch of extra material at the ceiling, and press the top section flat.
Then peel the backing down slowly while you smooth outward with the squeegee, working from the center toward the edges.
Smooth in short strokes and work out air bubbles as you go. If a section goes crooked, lift it gently and reposition it.
Good vinyl forgives mistakes in the first few minutes, so use that window.
Match the pattern at each seam
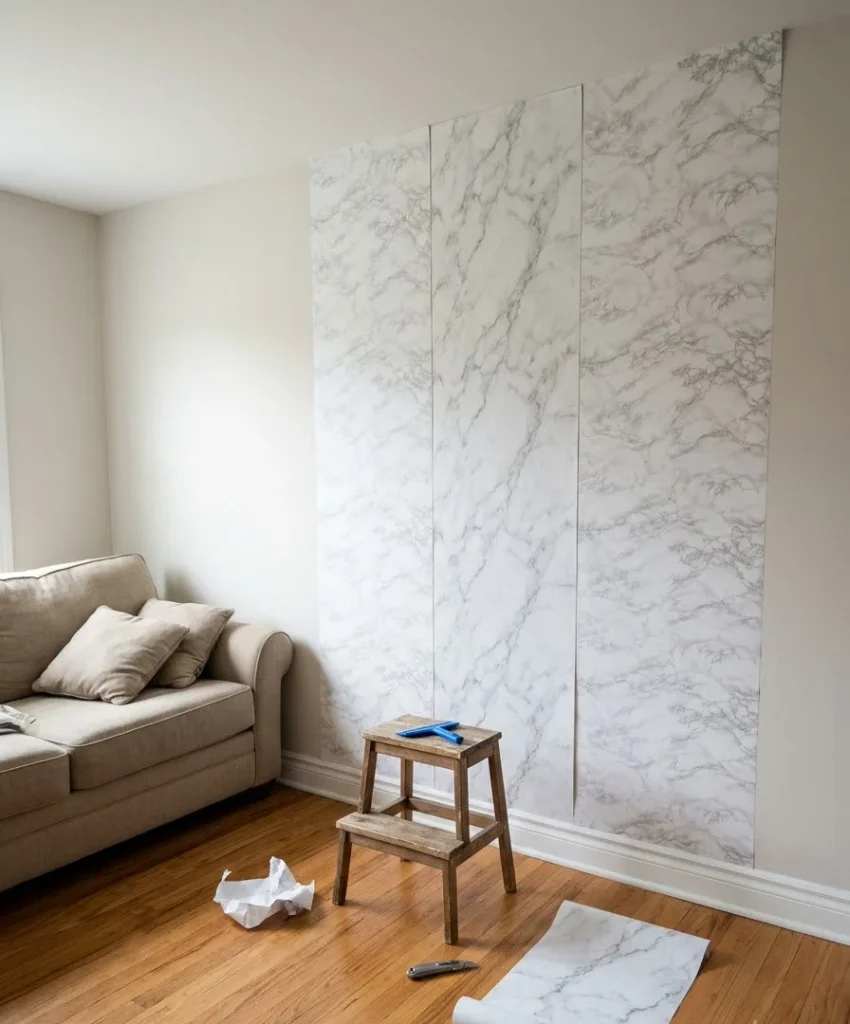
Overlap or butt the next strip against the first, depending on the instructions that come with your roll.
Most marble prints include a pattern repeat, and you want the veins to flow from one strip to the next. Slide the strip up or down until the veins meet like puzzle pieces.
This takes patience and a lot of squinting. I stand back 6 feet after every second strip and check the flow.
When the veins connect well, the wall looks like one giant slab, and that’s the whole illusion.
Handle outlets, corners, and edges
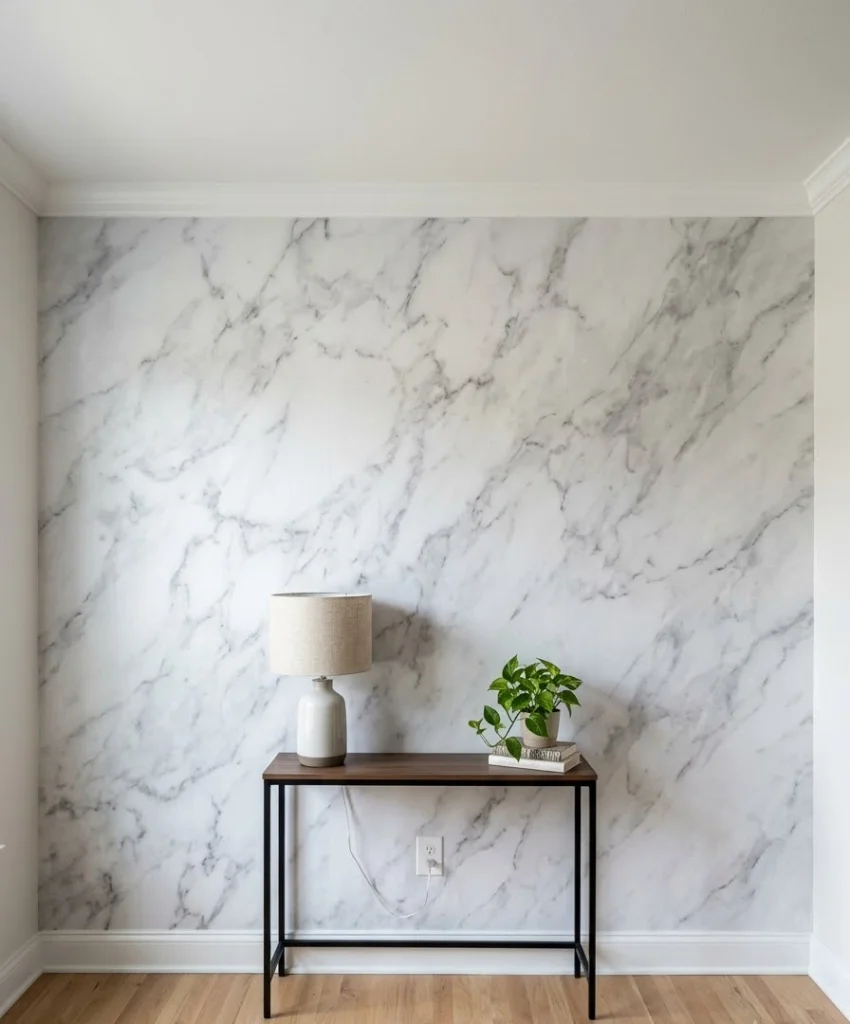
Cut outlet holes after the strip sits flat. Press lightly so the outline of the box shows through, then slice an X from corner to corner and trim the flaps. The cover plate hides rough edges.
At the ceiling and baseboard, press the vinyl into the crease and run your knife along a metal straightedge or the squeegee edge.
Use a fresh blade every few cuts. A dull blade drags, tears, and leaves jagged edges you’ll notice forever.
If you hit a stubborn bubble, poke it with a pin, press the air out toward the hole, and smooth it down.
A hair dryer on low heat softens the vinyl and relaxes wrinkles. Keep it moving, because overheating warps the print.
The faux marble paint technique for people who like a challenge
Painting marble gives you a custom wall that nobody else on your street owns. It also costs the least.
You’ll spend an afternoon, but you’ll end up with something that looks hand-carved if you commit to the blending step.
What you need
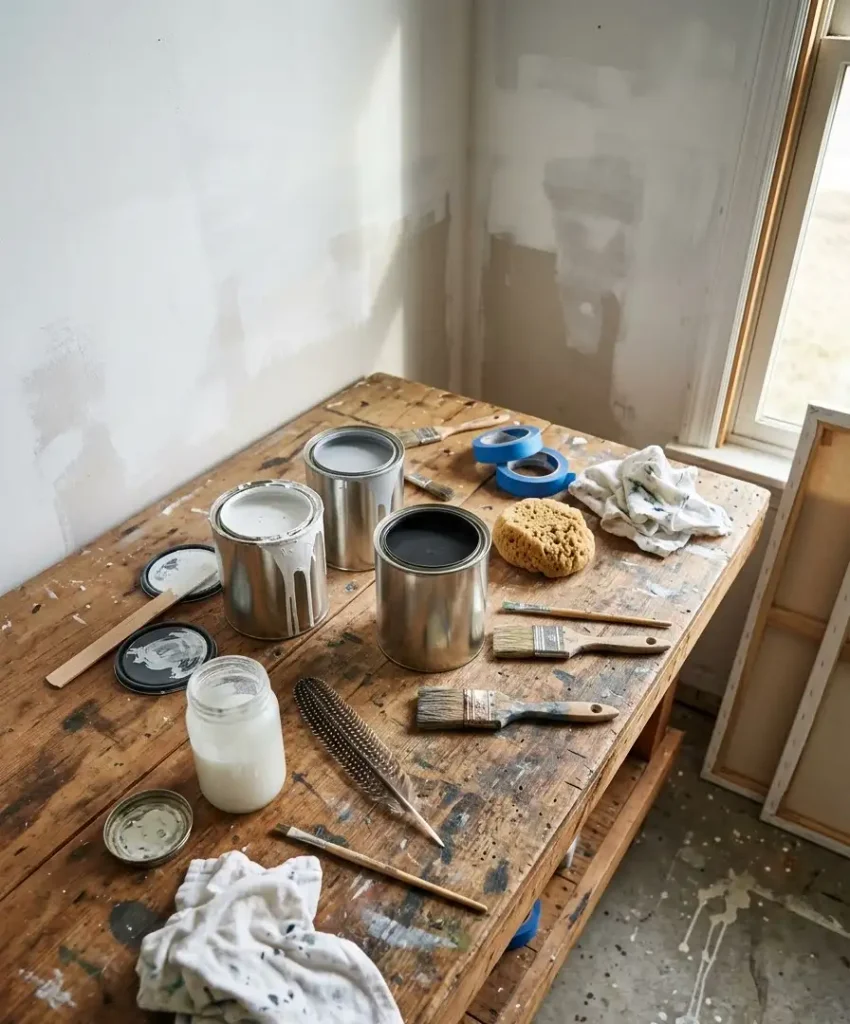
- A white or soft off-white satin or eggshell paint for the base (I like a warm white such as the ones in the Benjamin Moore palette)
- Light gray, charcoal, and a touch of black or deep taupe for veining
- A clear glaze or glazing medium to thin the paint and extend working time
- A feather (a real, craft-store feather works great), a thin artist brush, and a soft wide brush for blending
- A natural sea sponge
- Painter’s tape, drop cloths, and rags
Some people use a dry-fluffy “badger” brush for blending.
I used a cheap wide chip brush from the hardware store, and it worked fine after I teased the bristles apart with my fingers. Don’t buy fancy tools for your first try.
Step by step
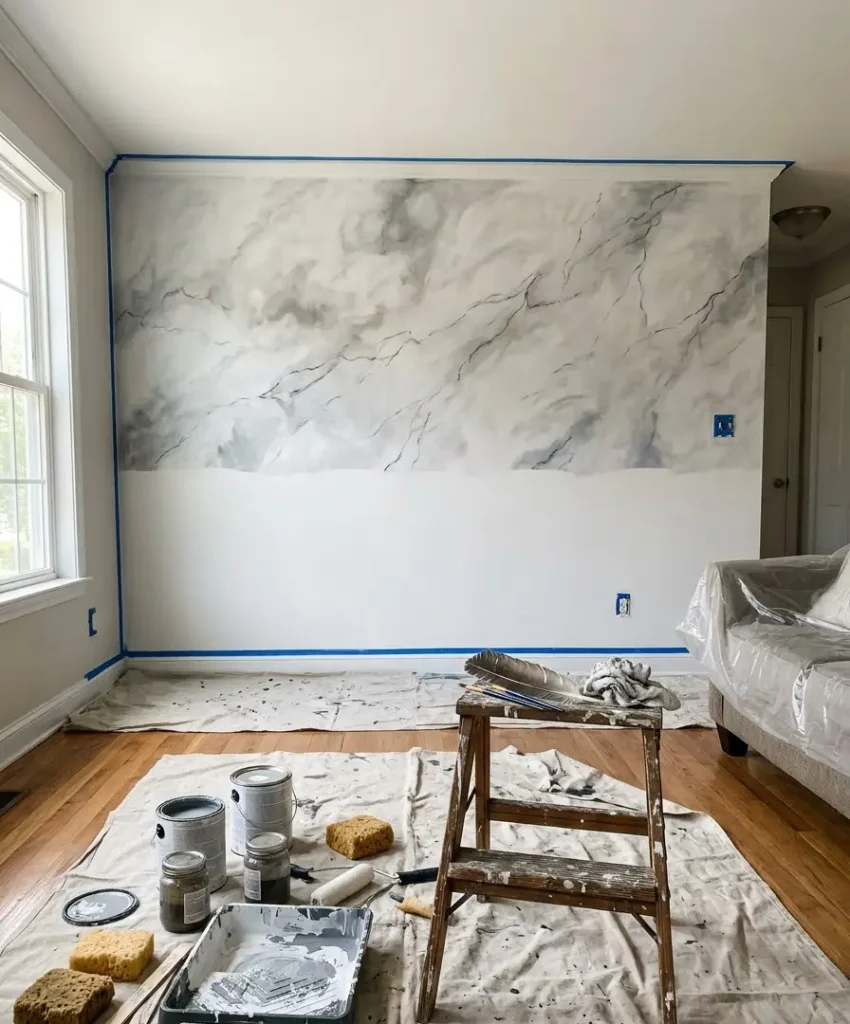
First, paint the base coat. Roll two even coats of your white and let it dry fully, usually overnight.
Smooth, dry paint keeps the veins from sinking into patchy spots.
Second, mix your glaze. I use roughly 1 part gray paint to 3 or 4 parts glaze, but eyeball it.
You want a thin, see-through wash that looks like skim milk with a gray tint, because veins should look soft and deep, not painted on.
Third, sponge on a loose gray cloud. Dab the sea sponge in glaze, blot it on a rag, and tap it across the wall in random patches.
Leave plenty of bare white areas. Real marble has calm stretches, and your wall needs them too.
Fourth, draw the veins. Dip the feather edge in charcoal paint, then drag it diagonally across the wall in a wobbly line.
Feathers leave beautiful, uneven, branchy marks that look natural.
Veins should run mostly in one direction, usually from upper left to lower right, with a few small branches off the main line.
Fifth, blend while everything stays wet. Sweep your soft brush lightly over the veins and clouds, pulling them in the same diagonal direction. Barely touch the wall.
The goal is a blur, and if the veins look sharp, brush more softly and more often.
Sixth, add a few hairline veins with the thin artist brush. Use very little paint and let your hand shake a bit. Straight lines look fake, and wobble looks real.
Let it dry for 24 hours. If you want a sheen like polished stone, roll on a thin coat of clear satin or semi-gloss water-based topcoat.
I tried it on one wall, and the sheen made the marble glow under evening lamps.
Mistakes that ruin faux marble paint
Too many veins ruin the look fastest. I painted a wall that looked like a gray spiderweb convention.
Fewer, bolder veins with a lot of empty white space make the wall look richer.
Overworking the wet paint also hurts. If you keep blending, everything turns to gray mud. Stop earlier than you think you should.
A short detour about why I love weekend projects
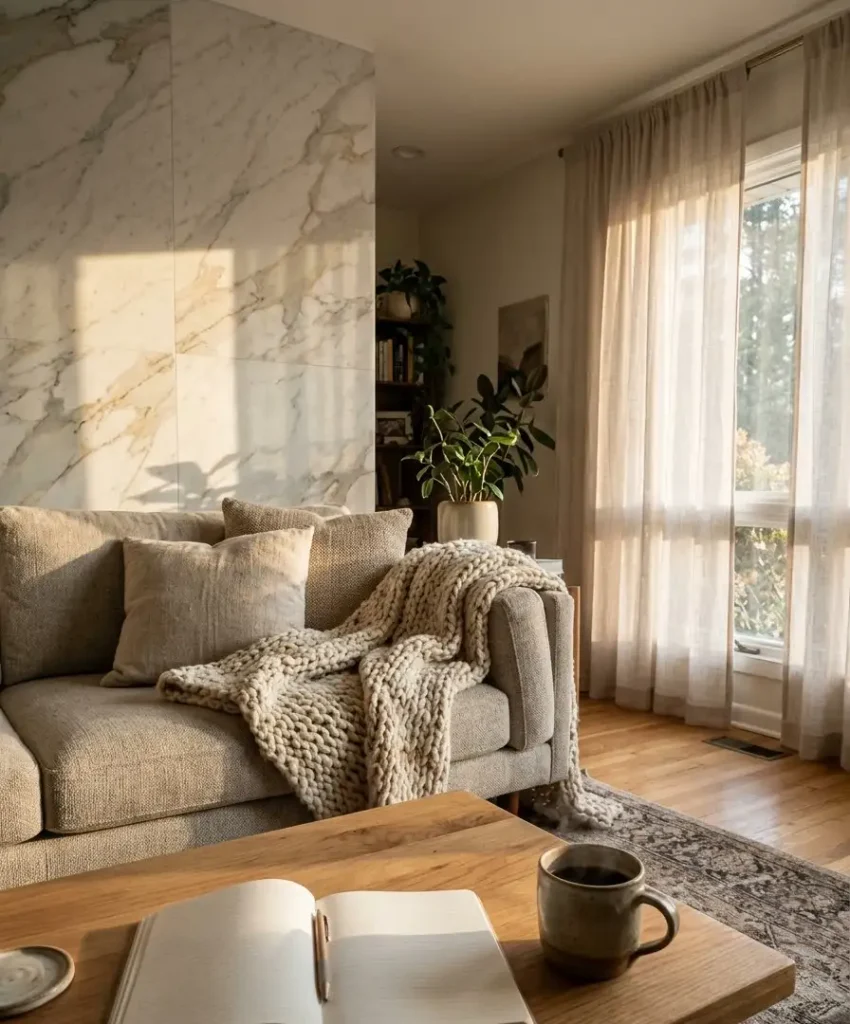
Okay, a random thought before we get back to styling. I think a small DIY project does something for your head that a big purchase never does.
Buying a $2,000 accent wall feels like a bank transaction, but peeling, smoothing, and squinting at veins for 6 hours feels like making something.
When I finish a project, I notice the wall every single morning with my coffee.
I don’t feel that way about the sofa I bought online. Anyway, back to the good stuff.
Style the wall so it looks intentional
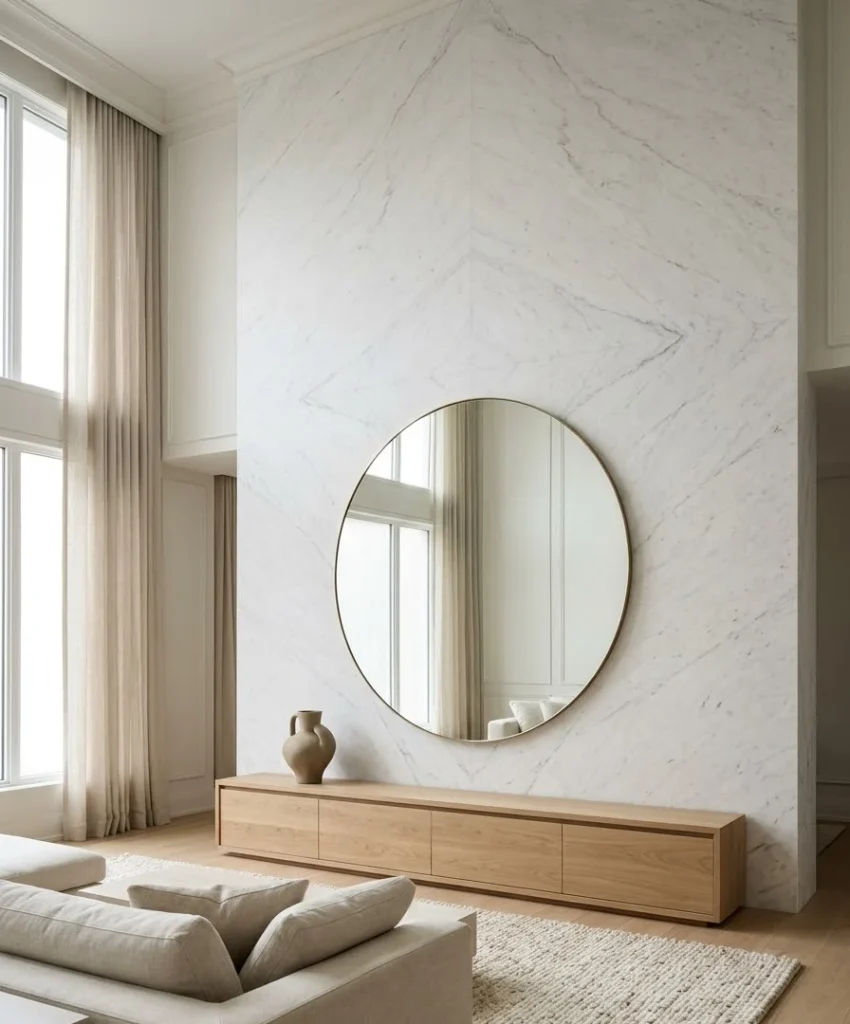
Marble walls look best when the rest of the room stays calm.
I made the mistake of hanging 9 frames, a floating shelf, and a giant mirror on mine, and the wall looked like a yard sale. Pull things back and let the veins breathe.
Pair marble with warm materials
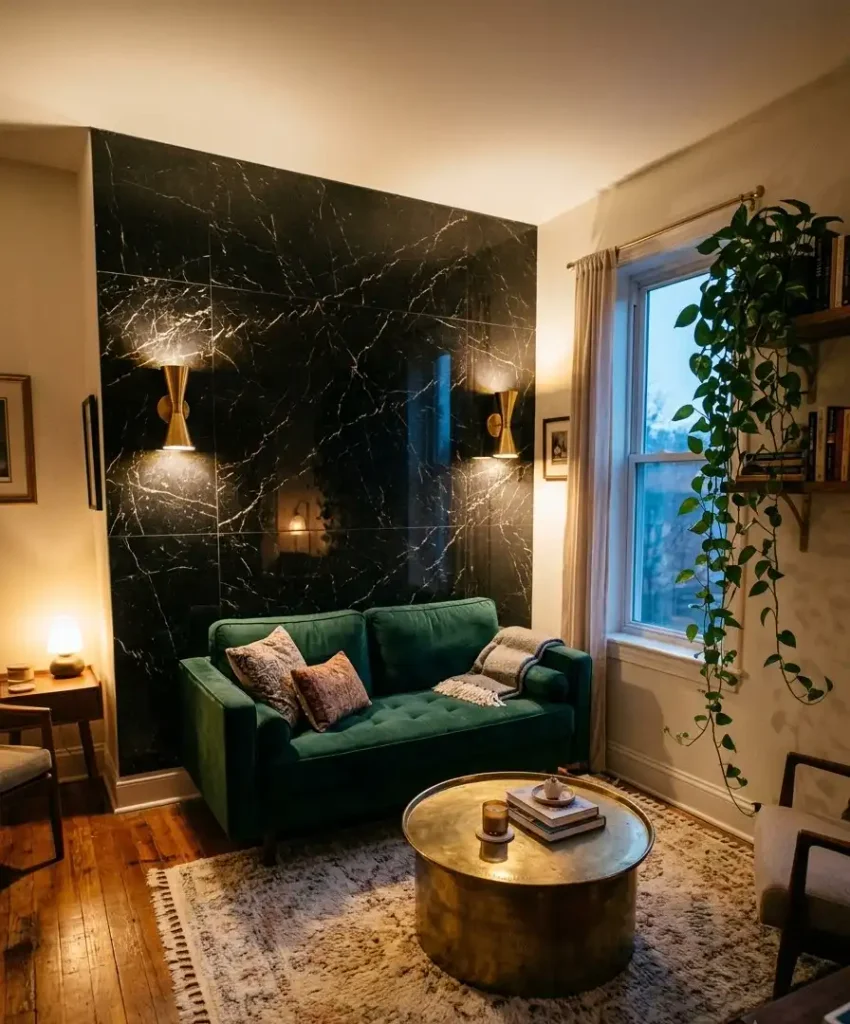
White and gray stone can feel cold, especially in a room with cool daylight. Warm wood, brass, and woven textures fix that quickly.
A walnut console, a rattan chair, or a jute rug brings in warmth without fighting the marble.
My favorite pairing is a honey-toned oak media console under a gray-veined wall. It looks like a boutique hotel lobby, and it costs a tiny fraction of one.
Choose your lighting with care
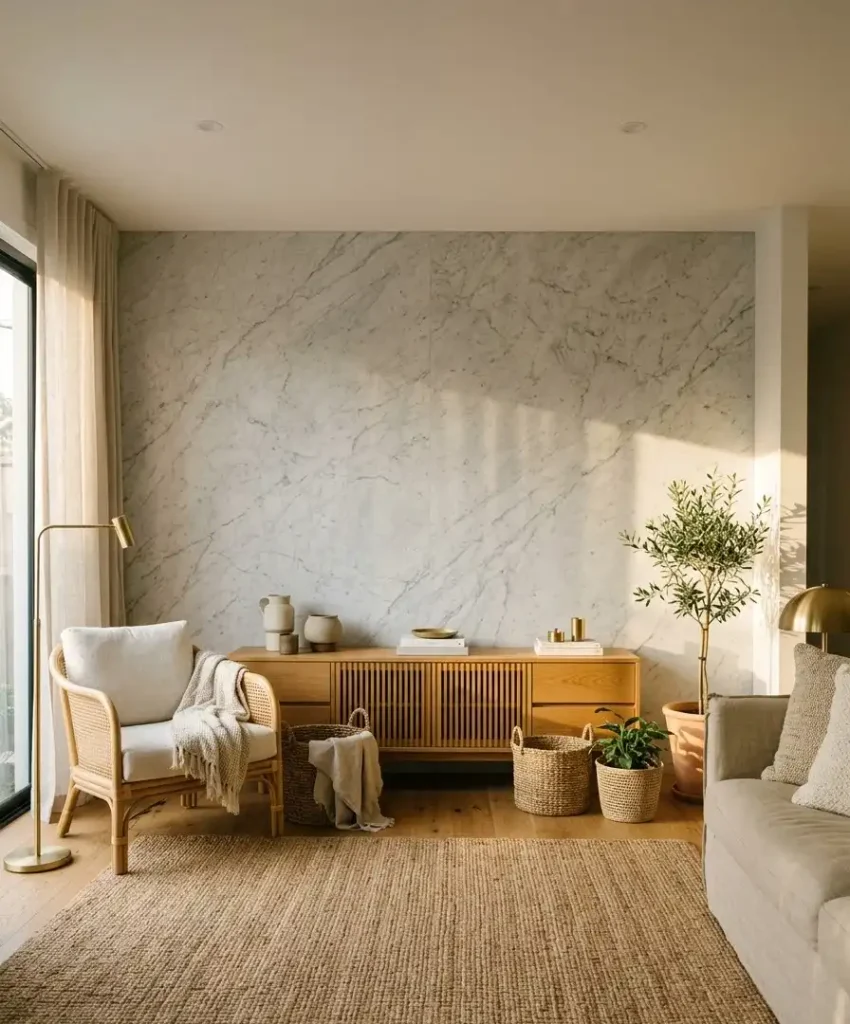
Light changes everything on a marble wall. A pair of warm sconces (2700K bulbs) skimming the surface makes the veining glow. A single harsh overhead light flattens it.
I added a $30 plug-in picture light above my shelf, and my husband asked if I’d bought new art. I hadn’t. The light did all the work.
Ideas people save on Pinterest
These layouts show up on boards again and again, and I’ve tried most of them. A few are my personal opinions, flagged below.
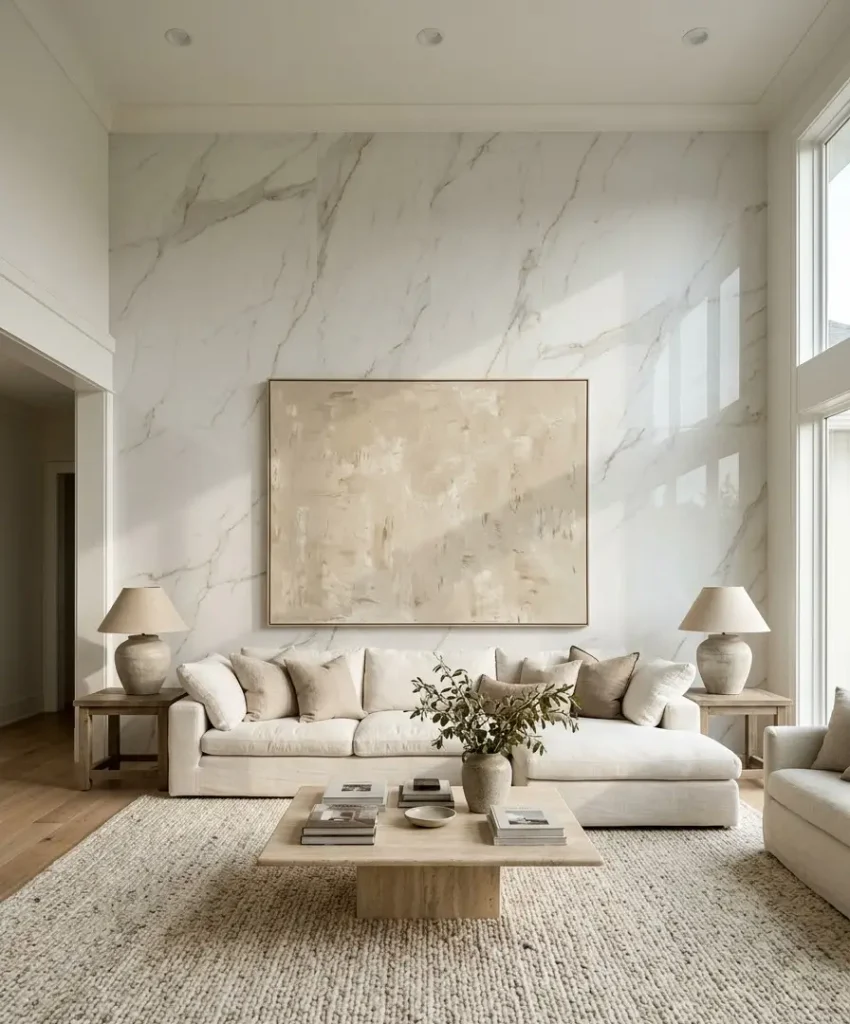
- Full-height marble behind the sofa. It anchors the seating area and photographs well.
- Add one large round mirror or one oversized print, and stop there.
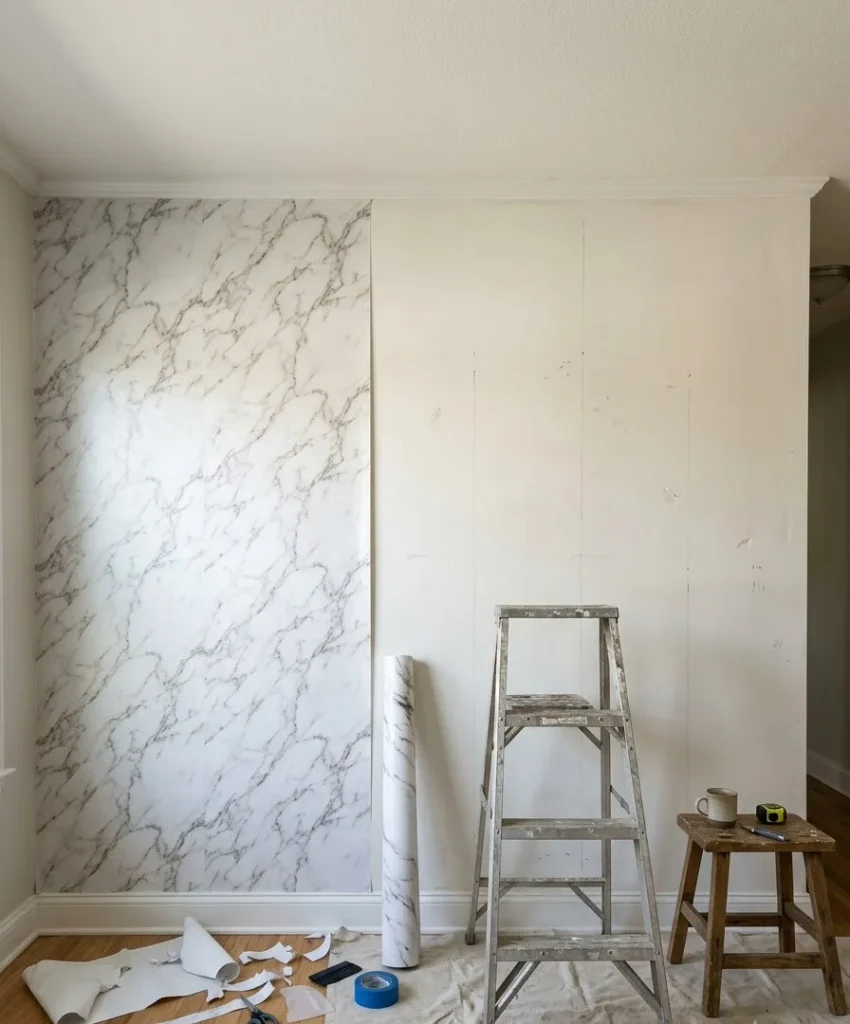
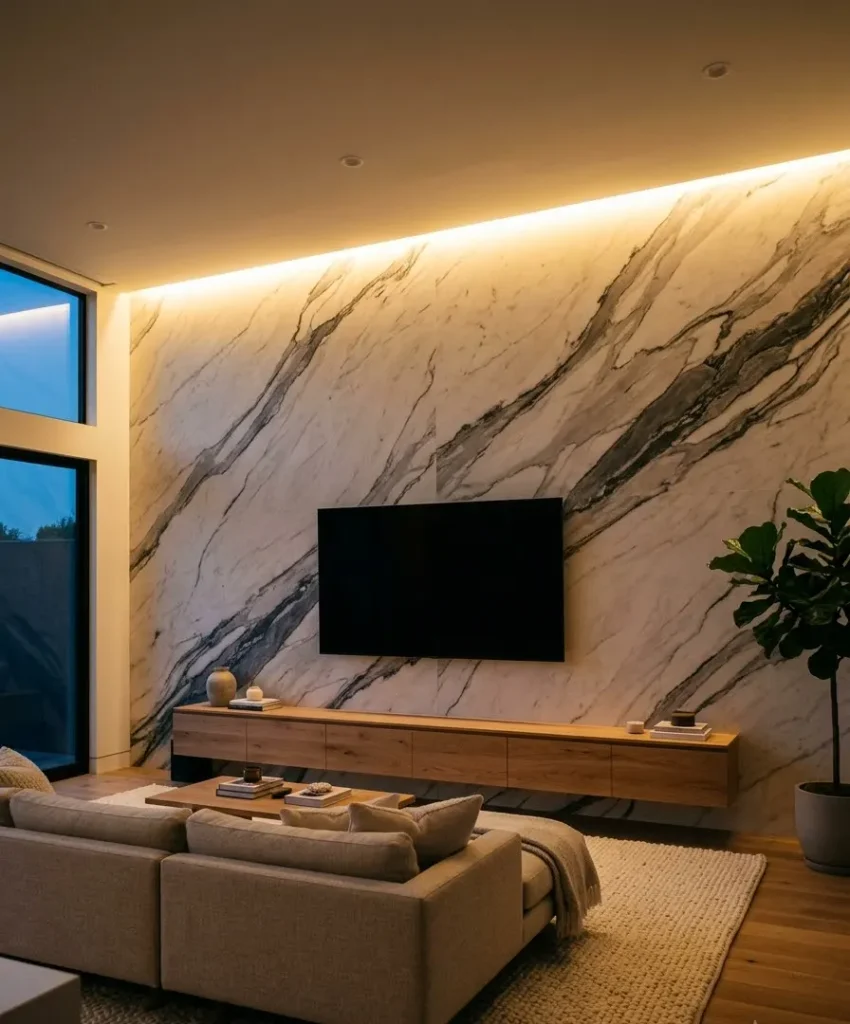
- Marble around a TV. Cover the whole TV wall and mount the screen on top. The pattern hides the black rectangle better than plain paint does.
- IMO, this is the best budget use of marble in a living room, because the TV already steals attention and the wall gives it a frame.
- Marble fireplace surround. Peel-and-stick tile or contact paper works here. Check the heat rating on any product near a firebox, and keep adhesive vinyl away from anything that gets hot. I’d skip vinyl entirely on a working fireplace.
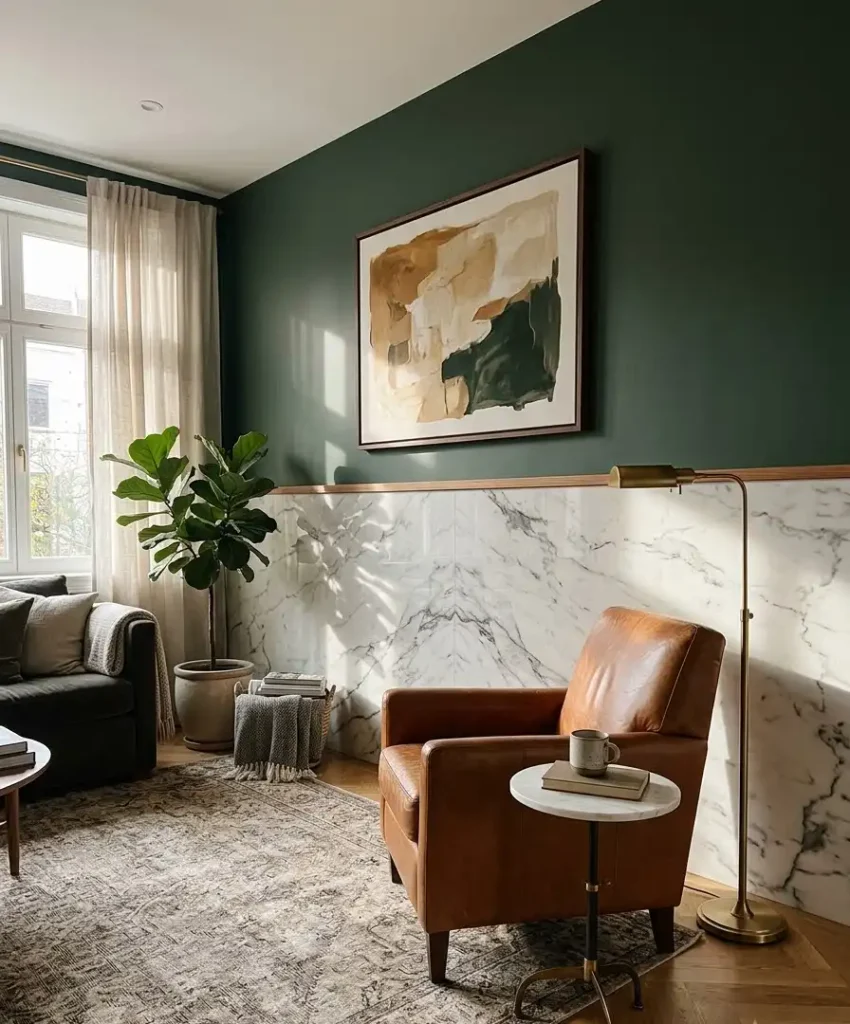
- Half-wall marble with a painted top. Run marble up to about 48 inches, add a thin wood trim cap, and paint the upper section a deep green or navy. This looks fantastic and uses half the material.
- Black marble feature wall. Dark veining on a charcoal base goes dramatic and moody. I think it works best in small rooms with good lighting, where it feels cozy instead of heavy.
- Gold-vein marble. It looks glam, and I find it a little loud for a whole wall. Try it behind a bar cart or on a niche.
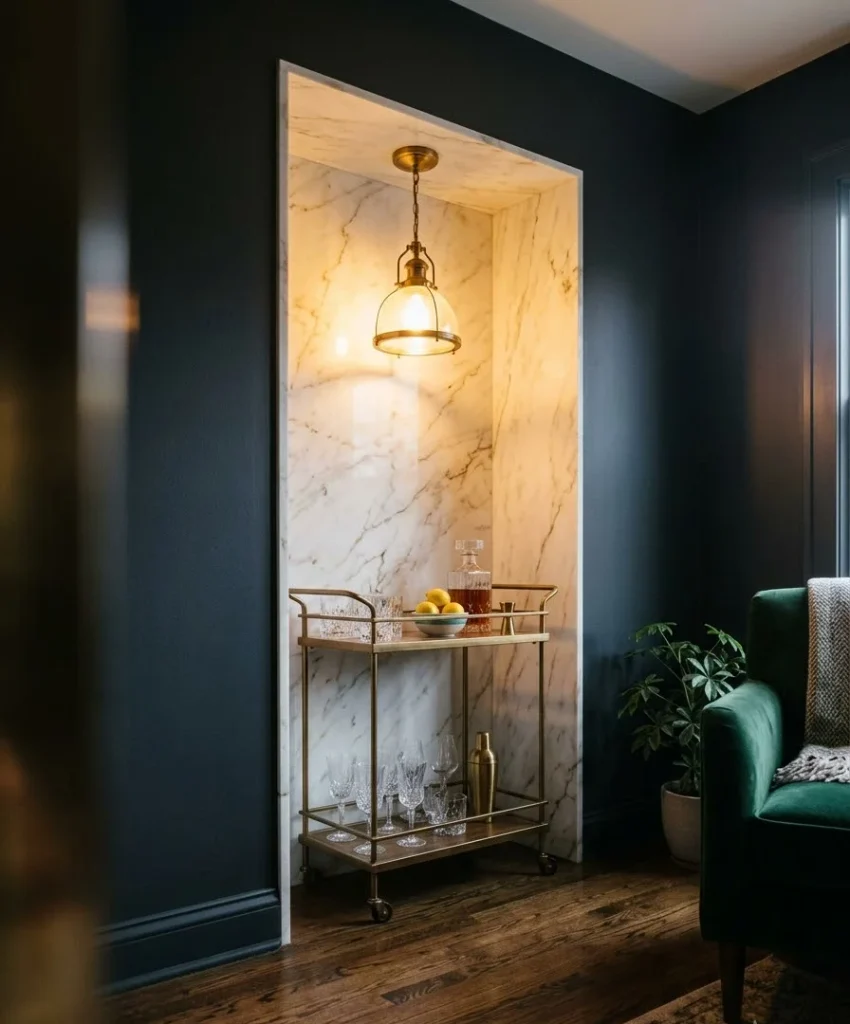
Color combinations that work
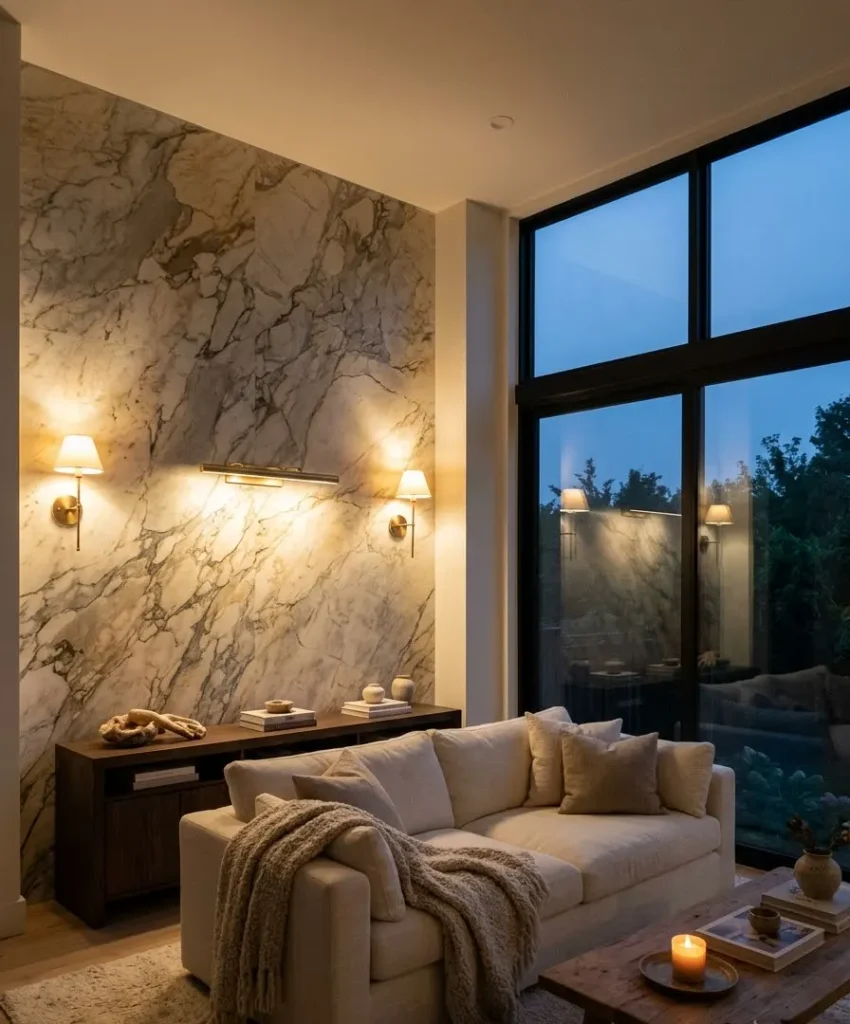
White marble with gray veins pairs well with black metal frames and cream upholstery.
Warm white marble with taupe veins looks softer and suits earthy rooms with beige and clay tones. Green or blue marble prints look bold and expensive when you keep furniture neutral.
My honest mistakes (so you don’t repeat them)
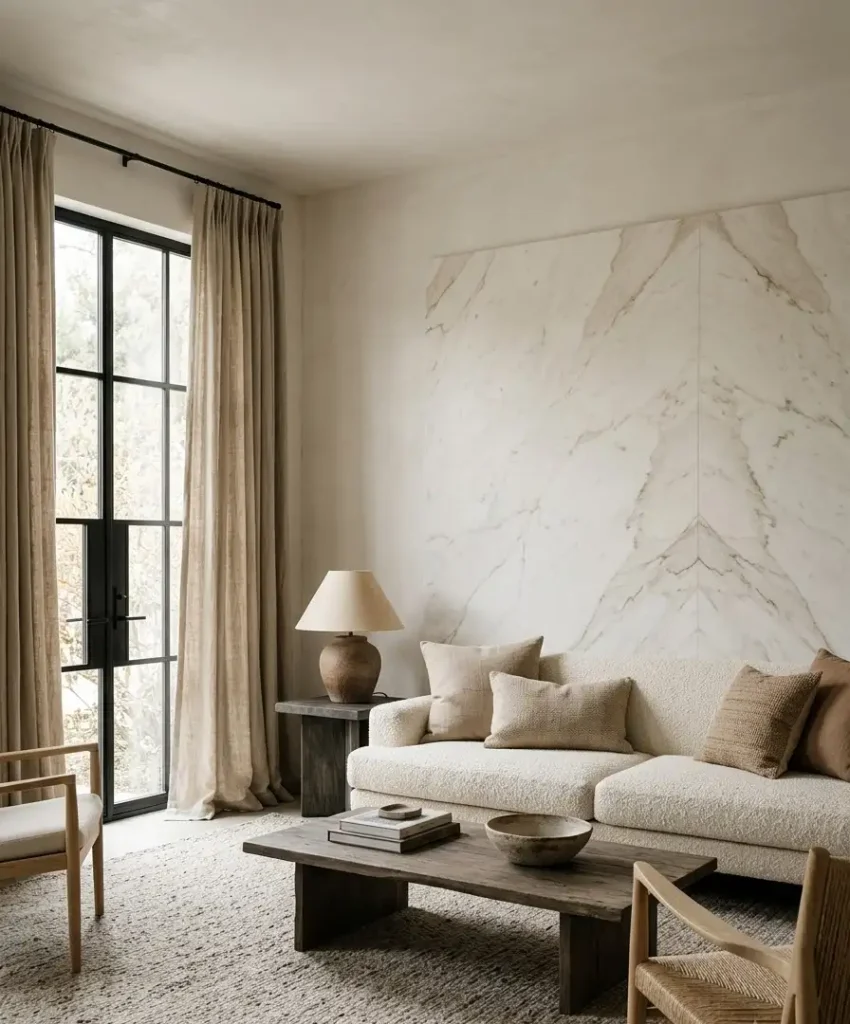
I’m not going to pretend my first wall went perfectly. I made at least 5 mistakes, and each one taught me something.
First, I bought the cheapest roll I found. It arrived thin, glossy, and curled at the edges.
After 3 weeks, one seam peeled up near the ceiling, and I spent a Sunday pressing it back down with a credit card. :/
Second, I skipped the plumb line. My strips drifted about half an inch off true by the right edge, and I noticed the angle only after the whole wall was done.
I looked at it for a month before I peeled and redid the worst two strips.
Third, I forgot to order extra. The reorder arrived from a different batch, and the white leaned slightly warmer.
Marble patterns hide minor shade differences better than solid colors do, so I got lucky, but it could have gone badly.
Fourth, I stuck vinyl on a wall I’d painted 5 days earlier. When I removed one strip to fix a bubble, paint came with it.
Wait the full 3 to 4 weeks. Yes, it feels like forever. No, there’s no shortcut.
Fifth, I tried to work alone on a full-height strip near the ceiling.
Two people make tall strips much easier, because one person holds the top while the other smooths down.
FYI, a friend and a pizza cost less than redoing a ruined strip.
Budget breakdown for a real living room wall
Let’s put actual numbers on a typical project. This example covers an 8 by 10 foot wall using peel-and-stick wallpaper, with prices at the time I priced mine. Your totals will vary.
- Wallpaper: 4 rolls, about $25 to $35 each, so $100 to $140
- Squeegee and knife set: around $10
- Spackle and sandpaper: around $8
- Extra blades: around $5
- Plug-in light or sconce: $25 to $60, optional but worth it
Total comes to roughly $150 to $220, and you can trim that to under $100 with a sale and a thinner roll.
Compare that to a stone installation, which can run into the thousands for the same wall (get local quotes, because prices vary a lot by region and material).
If you go the paint route, expect to spend closer to $40 to $80 on supplies, and most of that is glaze and a couple of sample pots.
Pennies per square foot, honestly.
Keeping it clean and taking it down
Vinyl marble wipes clean with a damp microfiber cloth. Skip harsh chemicals and abrasive scrubbers, since they dull the print and can lift edges.
A little dish soap in warm water handles fingerprints and dust.
For removal, warm the vinyl gently with a hair dryer and peel slowly at a low angle.
If adhesive stays behind, a bit of warm soapy water and a soft cloth usually clears it. Work slowly, because rushing tears paint and drywall paper.
Renters should test a small patch somewhere hidden, like behind a bookcase or near the floor, before committing to the whole wall.
Check your lease too, since some landlords care and some don’t. A quick text beats an awkward move-out conversation.
Painted faux marble stays on the wall for good, so skip that method if you rent. You’d need to repaint the entire surface before you leave.
Quick FAQs
Does a peel-and-stick marble accent wall look cheap?
It looks cheap when you buy thin, glossy vinyl or ignore pattern matching at the seams.
A thicker, matte-finish product with carefully lined-up veins fools most visitors from a few feet away. Good lighting and restrained decor push it even further toward “expensive.”
How long does a peel-and-stick marble wall last?
On a smooth, properly prepped wall, most quality products last for years, often 3 to 5 or longer, depending on humidity, sunlight, and the brand. Corners and seams fail first, so press them down firmly and check them after the first few weeks.
Can I do a marble accent wall on a textured wall?
You can, but you’ll fight bubbles and lifting edges. Sand and skim coat the wall first, or choose the paint method, which hides texture much better than vinyl does.
Final thought
A marble accent wall costs a lot less than it looks like it should, and it rewards patience more than skill.
Choose your method, prep the wall like you mean it, match the veins at every seam, and light the whole thing warmly.
Do that, and someone will eventually run a hand across your wall and ask who installed the stone.
So which wall in your living room is begging for veins? Pick one, save a few inspiration pins, and tell me in the comments which method you’re trying first. I want to see the before and after.